先安装好TensorFlow。
1.安装sklearn
本安装方式是在anaconda prompt上用命令来更新
(1)激活TensorFlow:activate tensorflow
(2)查看是否有sklearn:conda list
(3)安装:conda install scikit-learn
sklearn使用示例:
>>> import numpy as np
>>> from sklearn.model_selection import train_test_split
>>> X, y = np.arange(10).reshape((5, 2)), range(5)
>>> X
array([[0, 1],
       [2, 3],
       [4, 5],
       [6, 7],
       [8, 9]])
>>> list(y)
[0, 1, 2, 3, 4]
>>> X_train, X_test, y_train, y_test = train_test_split(
...     X, y, test_size=0.33, random_state=42)
...
>>> X_train
array([[4, 5],
       [0, 1],
       [6, 7]])
>>> y_train
[2, 0, 3]
>>> X_test
array([[2, 3],
       [8, 9]])
>>> y_test
[1, 4]
>>> train_test_split(y, shuffle=False)
[[0, 1, 2], [3, 4]]
2.安装matplotlib
安装与1相同
(1)激活TensorFlow:activate tensorflow
(2)查看是否有sklearn:conda list
(3)安装:conda install matplotlib
matplotlib使用示例:
import matplotlib
import numpy
import scipy
import matplotlib.pyplot as plt

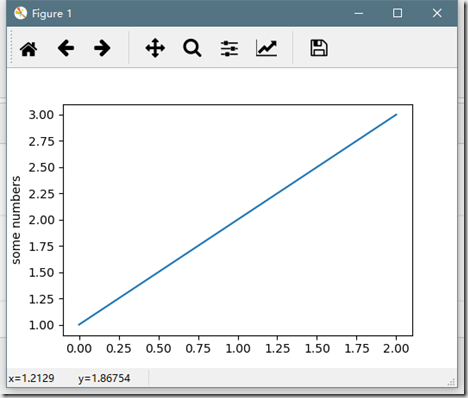
plt.plot([1,2,3])
plt.ylabel('some numbers')
plt.show()
import numpy as np
import matplotlib.pyplot as plt

X = np.arange(-5.0, 5.0, 0.1)
Y = np.arange(-5.0, 5.0, 0.1)

x, y = np.meshgrid(X, Y)
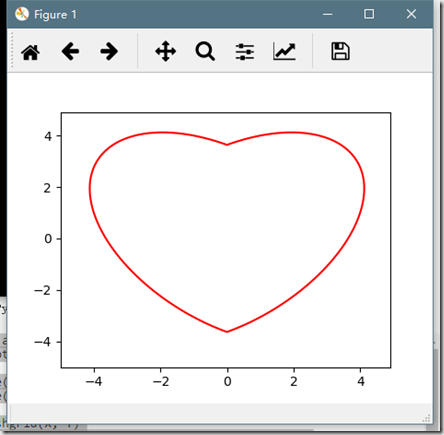
f = 17 * x ** 2 - 16 * np.abs(x) * y + 17 * y ** 2 - 225

fig = plt.figure()
cs = plt.contour(x, y, f, 0, colors = 'r')
plt.show()
import numpy as np
import matplotlib.pyplot as plt

N = 5
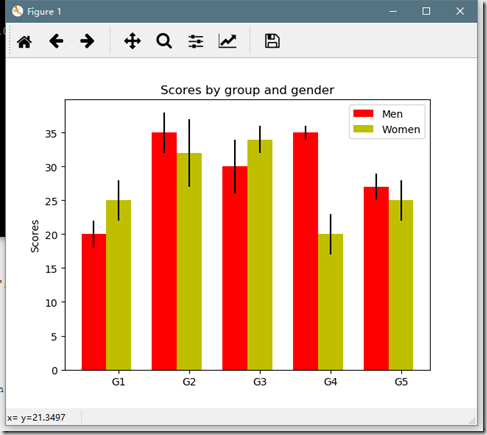
menMeans = (20, 35, 30, 35, 27)
menStd =   (2, 3, 4, 1, 2)

ind = np.arange(N)  # the x locations for the groups
width = 0.35        # the width of the bars

fig, ax = plt.subplots()
rects1 = ax.bar(ind, menMeans, width, color='r', yerr=menStd)

womenMeans = (25, 32, 34, 20, 25)
womenStd =   (3, 5, 2, 3, 3)
rects2 = ax.bar(ind+width, womenMeans, width, color='y', yerr=womenStd)

# add some
ax.set_ylabel('Scores')
ax.set_title('Scores by group and gender')
ax.set_xticks(ind+width)
ax.set_xticklabels( ('G1', 'G2', 'G3', 'G4', 'G5') )

ax.legend( (rects1[0], rects2[0]), ('Men', 'Women') )

def autolabel(rects):
    # attach some text labels
    for rect in rects:
        height = rect.get_height()
        ax.text(rect.get_x()+rect.get_width()/2., 1.05*height, '%d'%int(height),
                ha='center', va='bottom')

autolabel(rects1)
autolabel(rects2)

plt.show()


