AIDL的使用步骤
aidl远程调用传递的参数和返回值支持Java的基本类型(int long booen char byte等)和String,List,Map等。当然也支持一个自定义对象的传递。
服务端
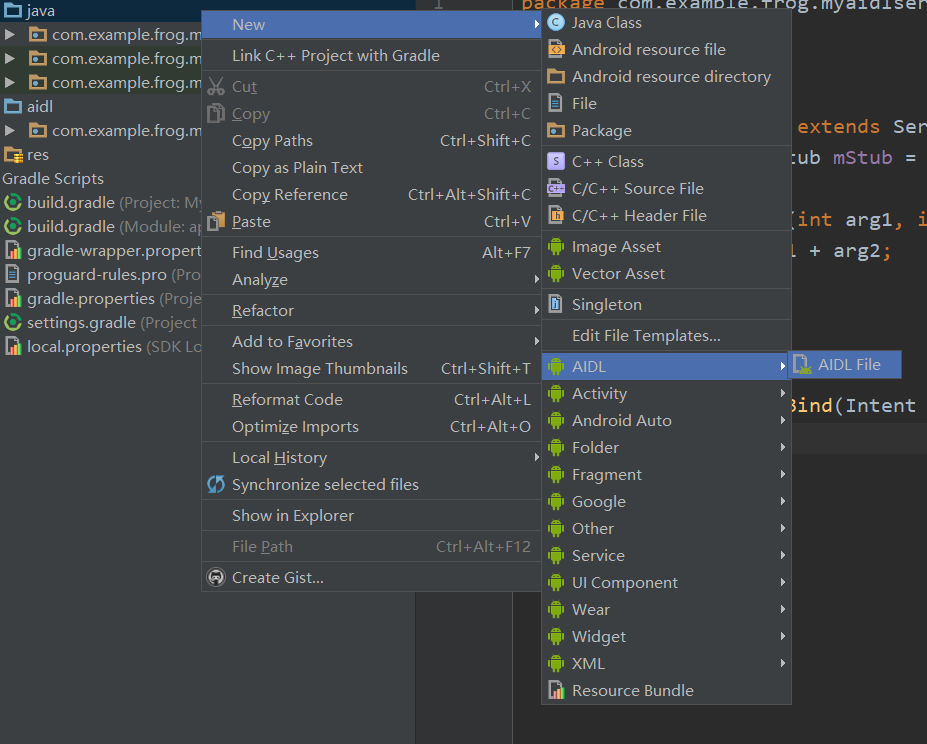
新建一个MyAidlDemoServer工程,然后在java目录下右键新建一个aidl File,然后在该目录下新建一个IMyAidlInterface.aidl文件,代码如下:
修改生成的.aidl文件中的内容
1 interface IMyAidlInterface {
2
3     int add(int arg1, int arg2);
4
5 }  //aidl文件里面的代码不需要加任何修饰符
这里定义了一个IMyAidlInterface接口,里面定义的add方法用于求和计算。
然后Build当前工程(Build选项里的Make Project)。
会发现在app/build/generated/source/aidl/debug目录下会生成一个与IMyAidlInterface.aidl文件同样包名的一个文件,该文件下面自动生成IMyAidlInterface文件,该文件里面自动实现了一些方法用于远程调用。
编写远程服务
新建MyService类继承Service,并实现以下代码。
 1 public class MyService extends Service {
 2     IMyAidlInterface.Stub mStub = new IMyAidlInterface.Stub() {
 3         @Override
 4         public int add(int arg1, int arg2) throws RemoteException {
 5             return arg1 + arg2;
 6         }
 7     };
 8
 9     @Override
10     public IBinder onBind(Intent intent) {
11         return mStub;
12     }
13 }
服务里的代码重写了IMyAidlInterface.Stub类中的 add方法,然后通过重写onBind()方法将重写的IMyAidlInterface.Stub类返回出去。
然后在AndroidManifest.xml对Service进行配置。
1  <service
2             android:process=":remote"
3             android:name=".MyService"
4             android:enabled="true"
5             android:exported="true">
6             <intent-filter>
7                 <action android:name="co.example.leo.myService"/>
8             </intent-filter>
9   </service>
这里设置了android:process属性,并且设置为":remote"。
android:process=":remote",代表在应用程序里,当需要该service时,会自动创建新的进程。而如果是android:process="remote",没有“:”分号的,则创建全局进程,不同的应用程序共享该进程。
然后添加了一个意图过滤器。
客户端
新建MyAidlDemoCustomer工程,然后直接把服务端的aidl目录直接拷贝到客户端的main目录下。这么一来客户端的aidl就无需编写了,直接和服务端的一模一样。包括路径的包名等。 当然也可以在客户端这边重新写aidl文件。
编辑布局文件:
 1 <?xml version="1.0" encoding="utf-8"?>
 2 <LinearLayout xmlns:android="http://schemas.android.com/apk/res/android"
 3     android:layout_width="match_parent"
 4     android:layout_height="match_parent">
 5
 6     <TextView
 7         android:id="@+id/tv"
 8         android:layout_width="wrap_content"
 9         android:layout_height="wrap_content"
10         android:textSize="30sp" />
11 </LinearLayout>
这里只用了一个TextView来显示最终的计算结果。
然后编辑客户端的调用代码:
 1 public class MainActivity extends AppCompatActivity {
 2
 3         TextView tv;
 4         IMyAidlInterface mStub;
 5
 6         @Override
 7         protected void onCreate(Bundle savedInstanceState) {
 8             super.onCreate(savedInstanceState);
 9             setContentView(R.layout.activity_main);
10
11             tv = (TextView)findViewById(R.id.tv);
12
13             Intent intent = new Intent();
14             //由于是隐式启动Service 所以要添加对应的action,A和之前服务端的一样。
15             intent.setAction("co.example.leo.myService");
16             //android 5.0以后直设置action不能启动相应的服务,需要设置packageName或者Component。
17             intent.setPackage("co.example.leo.myaidldemoserver"); //packageName 需要和服务端的一致.
18             bindService(intent,serviceConnection,BIND_AUTO_CREATE);
19         }
20
21         private ServiceConnection serviceConnection = new ServiceConnection() {
22             @Override
23             public void onServiceConnected(ComponentName name, IBinder service) {
24                 //调用asInterface()方法获得IMyAidlInterface实例
25                   mStub = IMyAidlInterface.Stub.asInterface(service);
26                 if (mStub == null) {
27                     Log.e("MainActivity", "the mStub is null");
28                 } else {        //当mStub不为空就调用其add方法进行计算,并显示到TextView上面。
29                     try {
30                         int value = mStub.add(1, 8);
31                         tv.setText(value + "");
32                     } catch (RemoteException e) {
33                         e.printStackTrace();
34                     }
35                 }
36             }
37
38             @Override
39             public void onServiceDisconnected(ComponentName name) {
40
41             }
42         };
43
44
45         @Override
46         protected void onDestroy(){
47             //解绑服务
48             super.onDestroy();
49             unbindService(serviceConnection);
50         }
51 }
最后安装上客户端和服务端,打开客户端后会发现已经调用了服务端的方法并计算出了结果。
总结
这是一个在AS下最简单的一个AIDL编程:
1.服务端创建一个aidl目录,然后在该目录下新建一个.aidl为后缀的接口类,该类定义远程调用的接口方法。
2.build编译之后会在app/build/generated/source/aidl/debug目录下会生成aidl远程实现类,该类是AS自动生成的。
3.在AndroidManifest.xml下配置Service的action和process属性。
4.将服务端的aidl目录拷贝到客户端相应的目录下,然后编写客户端调用代码,AS下简单的aidl编程就ok了。