update:
2019-11-04 --使用更直接和简单的方式在 CentOS(7.6)下安装Nginx(1.16.1),跳转查看
2019-03-25 --新增新装 Nginx 的启动、重启、关闭和查看
2019-02-19 --新增 yum 方式快速简单安装 Nginx
2018-09-29 --新增配置文件对HTTPS的设定
2018-05-23 --新增常用命令和防火墙命令
以 yum 方式安装 Nginx 之后如何查看
whereis nginx
其中默认运行程序是 /usr/sbin/nginx(注意 linux 下没有扩展名),而默认配置文件是 /etc/nginx/nginx.conf,如何查看和 nginx 有关的信息如版本、使用哪个配置文件等
/usr/sbin/nginx -V
检查 nginx 是否启动
ps -ef|grep nginx
以上命令列出master进程的 PID,如果 nginx 在运行将会看到不少于两行的输出信息,记住 master 进程的进程号
测试指定的配置文件是否正确
/usr/sbin/nginx -t -c /etc/nginx/nginx.conf
以上命令测试指定的配置文件是否正确,nginx 并不实际运行,-t 测试配置文件, -c 指定所使用的配置文件
测试通过,即可使用默认或指定的配置文件启动 nginx
/usr/sbin/nginx
/usr/sbin/nginx -c /etc/nginx/nginx.conf
上句为默认配置文件启动应用,下句为使用指定的配置文件启动,选择一种即可。
Nginx 支持以下信号量
TERM, INT    快速关闭
QUIT         优雅关闭
HUP          平滑重启
USR1         重新打开日志文件,在切割文件时用处较大
USR2         平滑升级
WINCH        从容关闭工作进程
使用 PID 配合信号量即可进行对 nginx 的操作,如平滑重启
kill -HUP <master进程号>
也可以通过 nginx -s [option] 直接发信号给 nginx 主进程达到管理目的
nginx -s stop      快速关闭
nginx -s quit      优雅关闭
nginx -s reload    重新载入配置文件
nginx -s reopen    重新开启日志文件
(或)创建一个 Nginx 的启动脚本,拷贝到 /etc/init.d 目录下,就可以通过 service nginx start 等目录操作 nginx
#!/bin/sh
# chkconfig: 2345 85 15
# description:Nginx Server

NGINX_HOME=/usr/local/nginx
NGINX_SBIN=$NGINX_HOME/sbin/nginx
NGINX_CONF=$NGINX_HOME/conf/nginx.conf
NGINX_PID=$NGINX_HOME/logs/nginx.pid

NGINX_NAME="Nginx"

. /etc/rc.d/init.d/functions

if [ ! -f $NGINX_SBIN ]
then
    echo "$NGINX_NAME startup: $NGINX_SBIN not exists! "
    exit
fi

start() {
    $NGINX_SBIN -c $NGINX_CONF
    ret=$?
    if [ $ret -eq 0 ]; then
        action $"Starting $NGINX_NAME: " /bin/true
    else
        action $"Starting $NGINX_NAME: " /bin/false
    fi
}

stop() {
    kill `cat $NGINX_PID`
    ret=$?
    if [ $ret -eq 0 ]; then
        action $"Stopping $NGINX_NAME: " /bin/true
    else
        action $"Stopping $NGINX_NAME: " /bin/false
    fi
}

restart() {
    stop
    start
}

check() {
    $NGINX_SBIN -c $NGINX_CONF -t
}


reload() {
    kill -HUP `cat $NGINX_PID` && echo "reload success!"
}

relog() {
    kill -USR1 `cat $NGINX_PID` && echo "relog success!"
}

case "$1" in
    start)
        start
        ;;
    stop)
        stop
        ;;
    restart)
        restart
        ;;
    check|chk)
        check
        ;;
    status)
        status -p $NGINX_PID
        ;;
    reload)
        reload
        ;;
    relog)
        relog
        ;;
    *)
        echo $"Usage: $0 {start|stop|restart|reload|status|check|relog}"
        exit 1
esac
内容借鉴自 https://yq.aliyun.com/articles/44661
此处为 2019-02-19新增“yum 方式快速安装 nginx”内容
基于华为云环境 + 《精通Nginx》,方法是先在Centos上先创建 nginx.repo 文件,然后用 yum 方式安装
切到目录,打开编辑器
cd /etc/yum.repos.d
vi
键入以下内容
[nginx]
name=nginx repo
baseurl=http://nginx.org/packages/centos/7/$basearch/
gpgcheck=0
enabled=1
保存文件,退出 vi
:w nginx.repo
:wq
查看一下 yum 源信息是否符合
yum info nginx
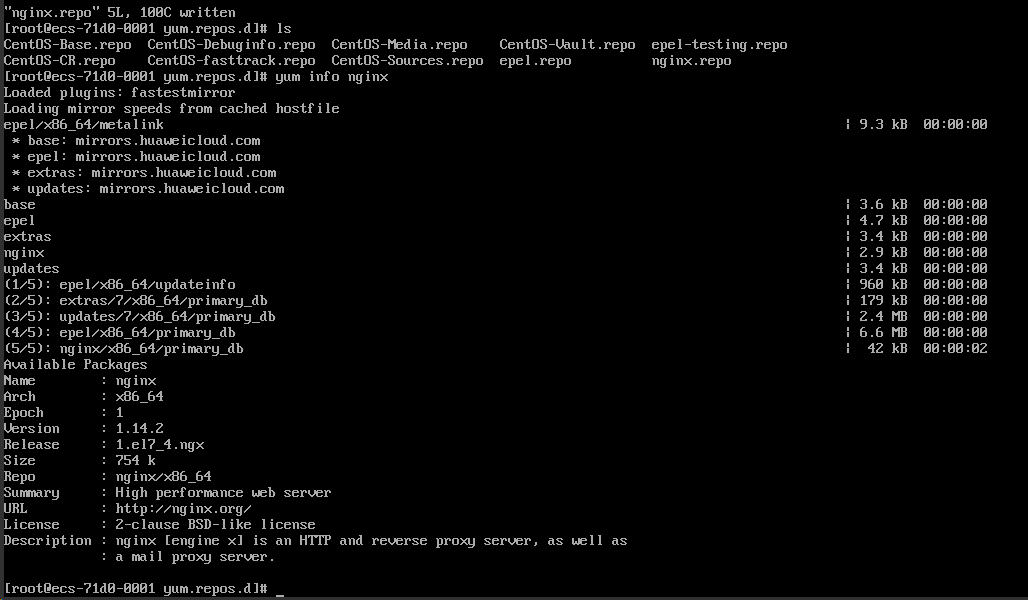
可以看到,现在(在之前运行时 Version 信息是 1.12.2)版本是 1.14.2,是编辑时官网能找到的最高 stable 版本,说明符合要求。
安装
yum install nginx

下载 rpm,说明是基于 rpm 包管理方式安装的,不同于官网下载 tar.gz 文件解压的源码安装方式

完成的倒是齁快,此种方式将安装在系统默认目录下,当前的默认安装结果是 /usr/sbin/nginx 等多个,配置文件在 /etc/nginx/ 下

此种方式有一点不如源码编译方式,就是对目录的控制,此种方式执行文件、配置文件等默认分散了,而源码编译方式可以让其更像在 Windows 下的环境,都在一个根目录中。
--以下为原文--
还是练练编译安装吧
先安装一些依赖
sudo yum install gcc-c++
sudo yum install pcre pcre-devel
sudo yum install zlib zlib-devel
sudo yum install openssl openssl-devel
sudo yum install gcc automake autoconf libtool make
这些安装应该没有什么问题,如果 yum 源和网络正常的话都应该非常快的完成,因此截图省。
检查已有的 nginx,如有就卸载
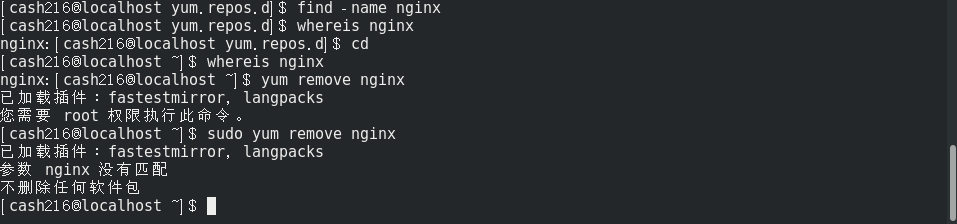
新系统没有安装过,因此找也找不到,卸载也不会成功。
使用 wget 命令把源码包下载到本地一个路径下,如 /usr/local/src 或其他

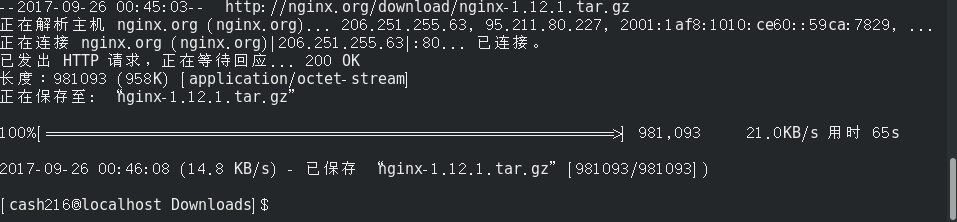
解压 tar ,省事儿的话就地释放(小经验,第一次以为参数 f 可以免除,结果进入了“空白”,后来发现 -f 是很重要的,其后面就直接接要处理的文件)
sudo tar -zxv -f nginx-1.12.1.tar.gz
选择一个安装目录,将作为 nginx 被安装的地方,如 /usr/local/nginx,设置 nginx 的编译参数,--prefix= 设置安装路径,--with...一些编译参数
sudo ./configure --prefix=/usr/local/nginx --with-http_stub_status_module --with-http_ssl_module --with-http_gzip_static_module

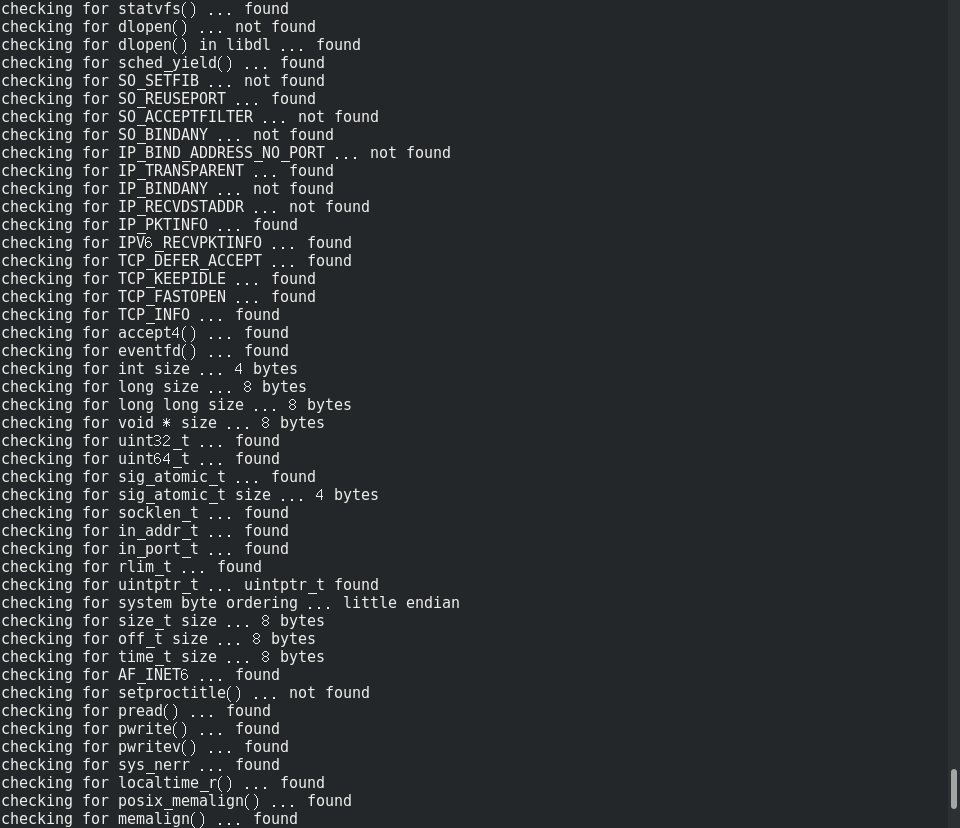
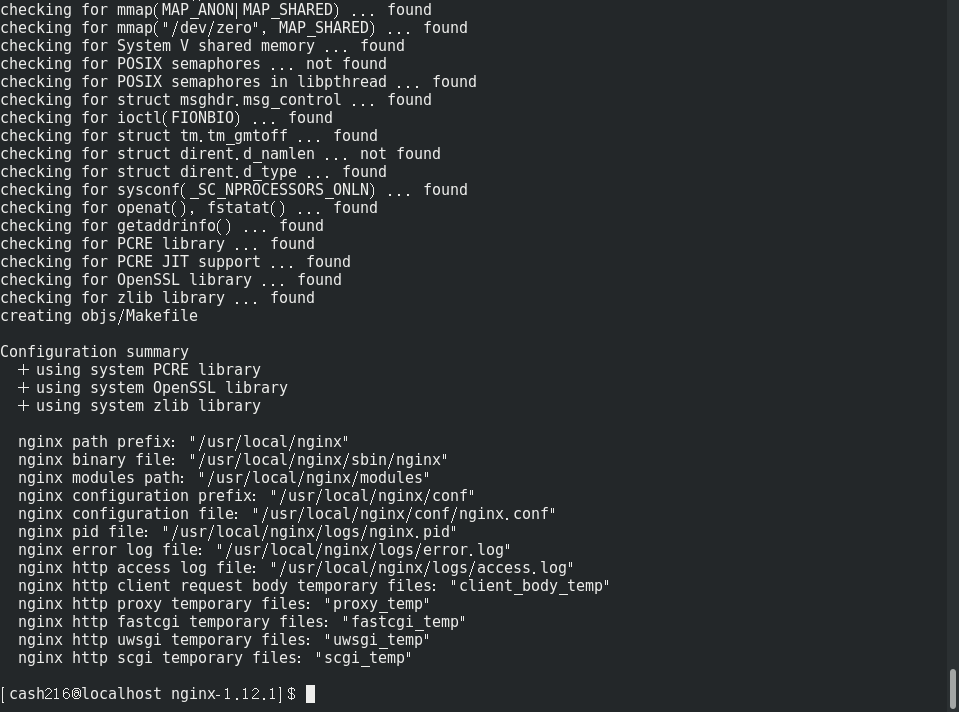
设置好后执行编译
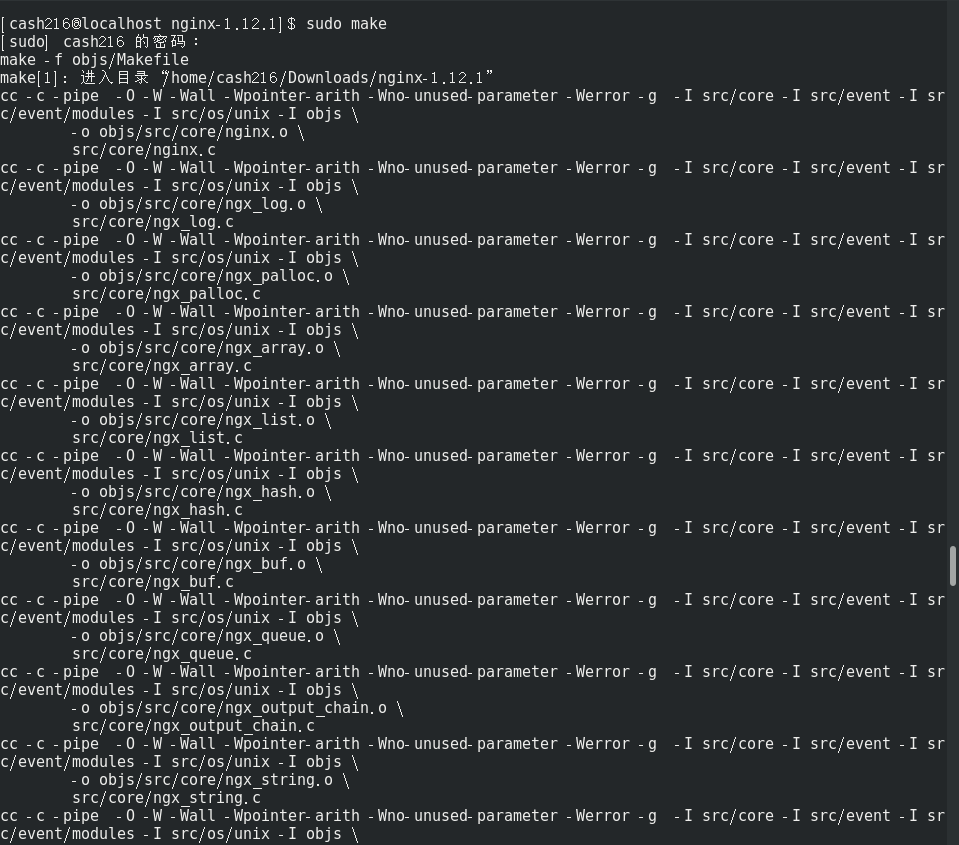
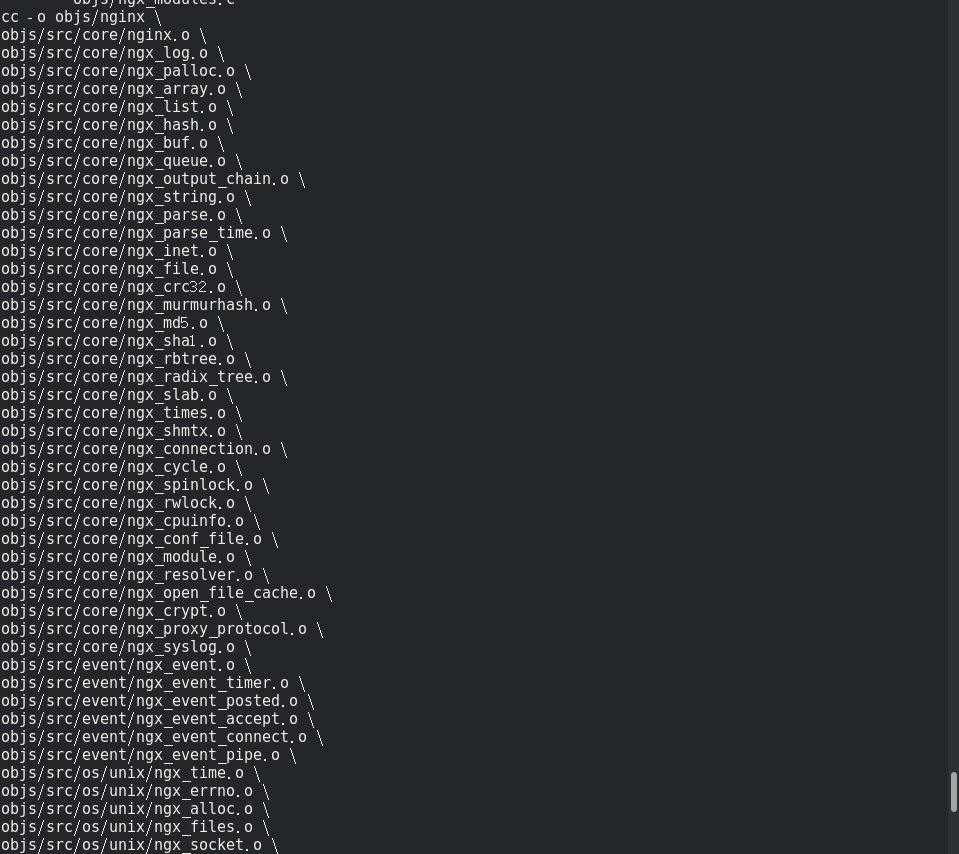
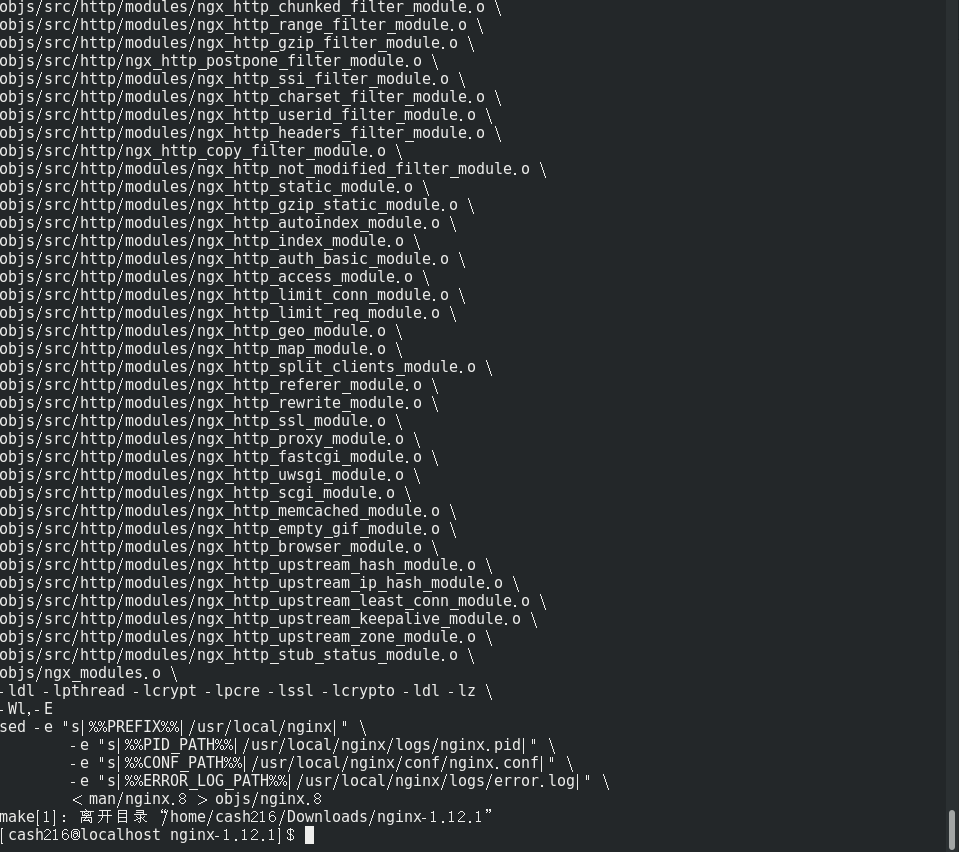
make
...... 太多省略部分
......太多省略部分
执行编译安装
make install
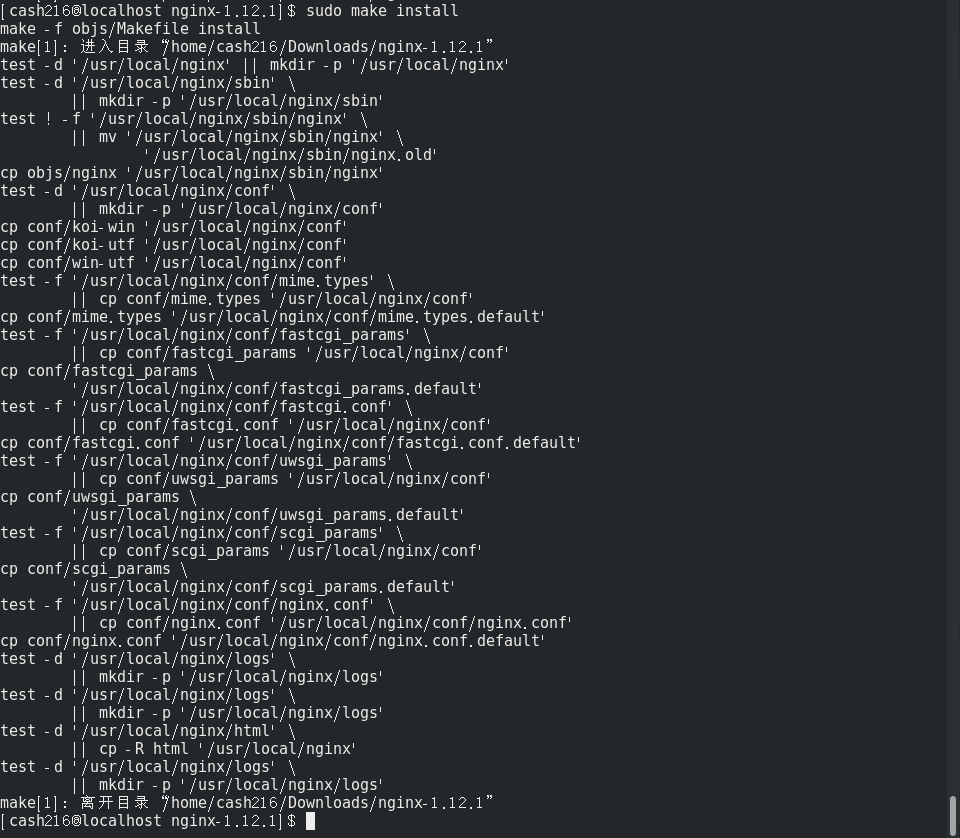
安装倒是很快,可以看到自动创建了原来不存在的 /usr/local/nginx 文件夹,安装后目录的样子
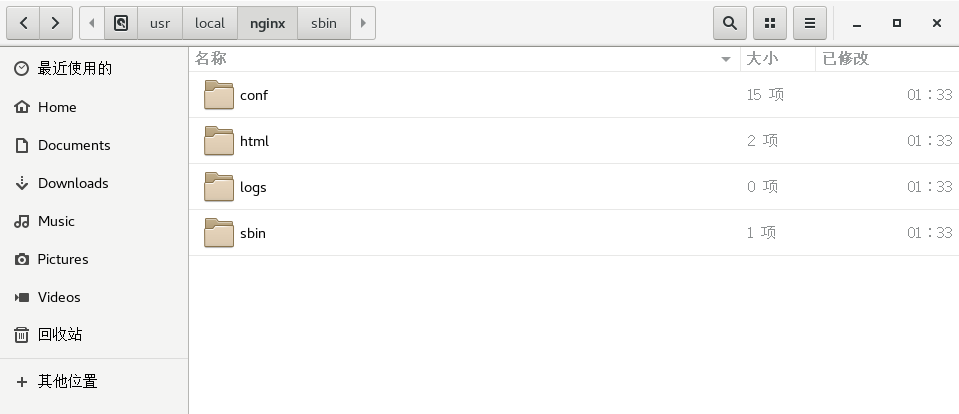
nginx 主程序在 sbin 里,就一个可执行程序。查看一下 80 端口的占用
netstat -ano|grep 80
启动 nginx
cd /usr/local/nginx/sbin
./nginx

遇到权限问题,先暴力解决一下,对 nginx 路径赋予权限
sudo chmod -R a+rw /usr/local/nginx

没消息就是好消息,继续启动一下试试

出现此问题由于以非root权限启动,原因 Linux 只有 root 用户可以使用 1024 以下端口,解决方式以 root 权限启动或更改 nginx 配置(nginx.conf) 端口改为 1024 以上,我当然选择 sudo 解决
sudo ./nginx
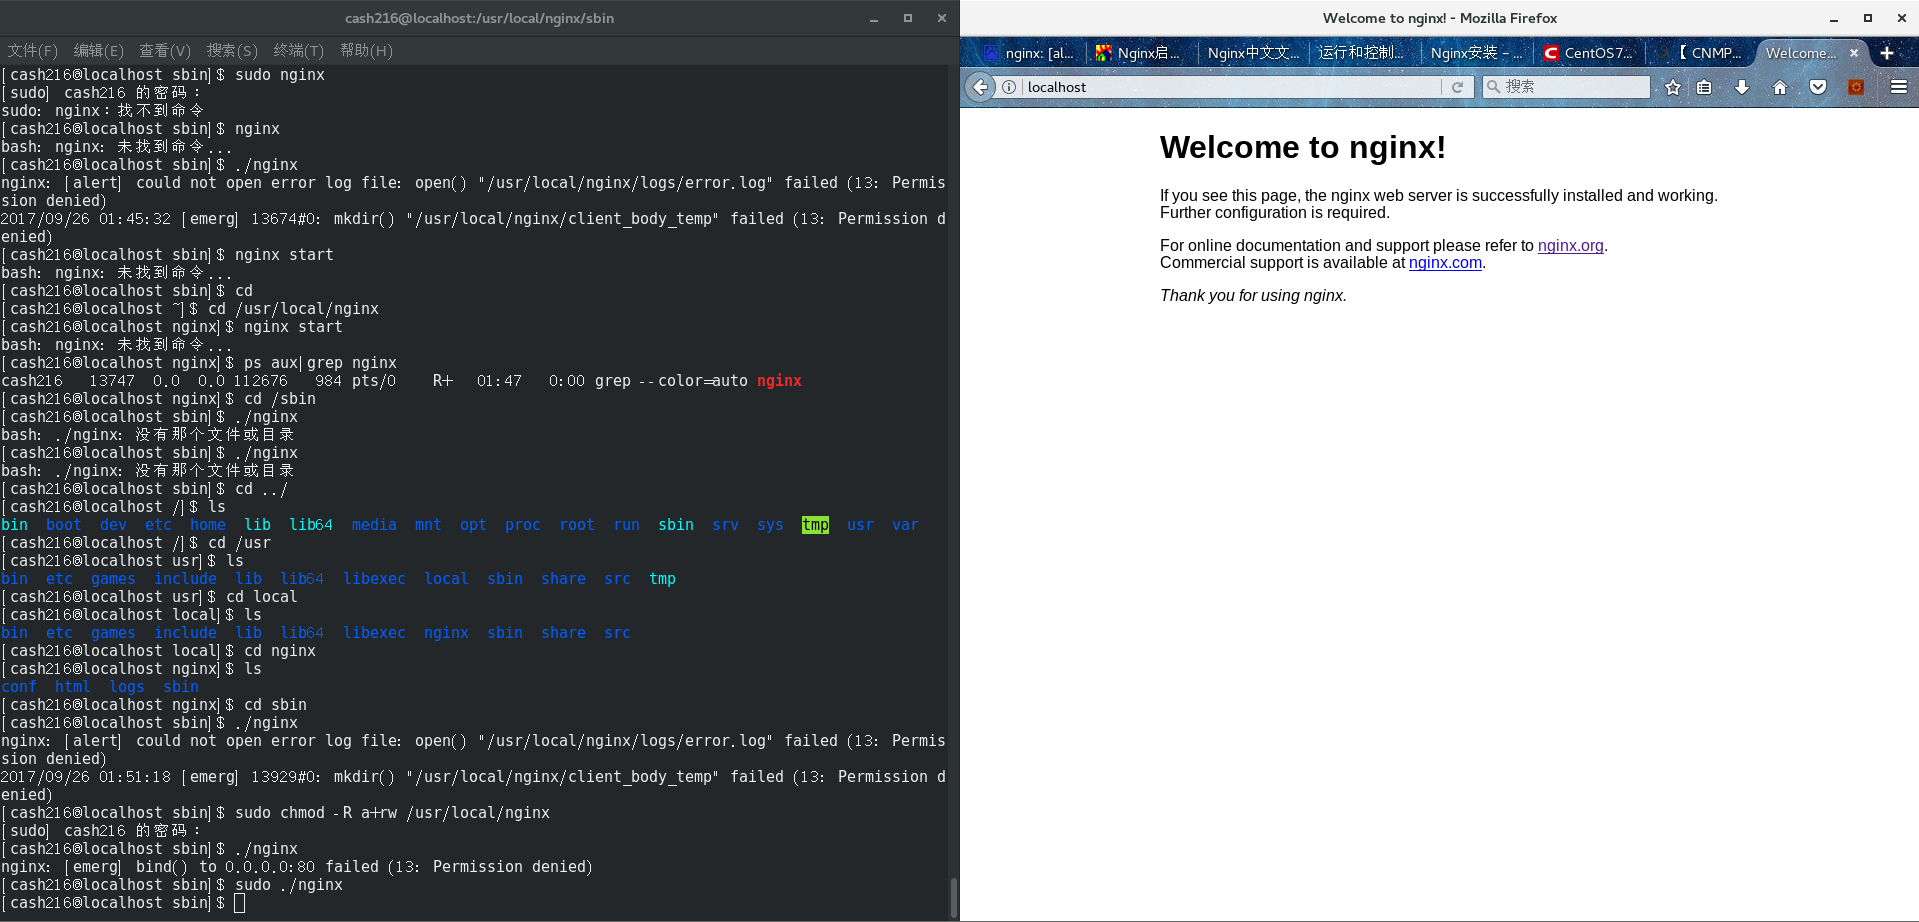
终于见到可爱的 Welcome 界面!
能运行的配置文件的样例(含 HTTPS 配置):
#user  nobody;
worker_processes  1;

#error_log  logs/error.log;
#error_log  logs/error.log  notice;
#error_log  logs/error.log  info;

#pid        logs/nginx.pid;


events {
    worker_connections  1024;
}


http {
    include       mime.types;
    default_type  application/octet-stream;

    #log_format  main  '$remote_addr - $remote_user [$time_local] "$request" '
    #                  '$status $body_bytes_sent "$http_referer" '
    #                  '"$http_user_agent" "$http_x_forwarded_for"';

    #access_log  logs/access.log  main;

    sendfile        on;
    #tcp_nopush     on;

    #keepalive_timeout  0;
    keepalive_timeout  65;

    #gzip  on;

    server {
        listen       80;
        server_name  localhost;

        charset utf-8,gbk;

        #access_log  logs/host.access.log  main;

        location / {
            root   html;
            index  index.html index.htm;
        }

        #error_page  404              /404.html;

        # redirect server error pages to the static page /50x.html
        #
        error_page   500 502 503 504  /50x.html;
        location = /50x.html {
            root   html;
        }

        # proxy the PHP scripts to Apache listening on 127.0.0.1:80
        #
        #location ~ .php$ {
        #    proxy_pass   http://127.0.0.1;
        #}

        # pass the PHP scripts to FastCGI server listening on 127.0.0.1:9000
        #
        #location ~ .php$ {
        #    root           html;
        #    fastcgi_pass   127.0.0.1:9000;
        #    fastcgi_index  index.php;
        #    fastcgi_param  SCRIPT_FILENAME  /scripts$fastcgi_script_name;
        #    include        fastcgi_params;
        #}

        # deny access to .htaccess files, if Apache's document root
        # concurs with nginx's one
        #
        #location ~ /.ht {
        #    deny  all;
        #}
    }


    # another virtual host using mix of IP-, name-, and port-based configuration
    #
    #server {
    #    listen       8000;
    #    listen       somename:8080;
    #    server_name  somename  alias  another.alias;

    #    location / {
    #        root   html;
    #        index  index.html index.htm;
    #    }
    #}


    # HTTPS server
    #
    #server {
    #    listen       443 ssl;
    #    server_name  localhost;

    #    ssl_certificate      cert.pem;
    #    ssl_certificate_key  cert.key;

    #    ssl_session_cache    shared:SSL:1m;
    #    ssl_session_timeout  5m;

    #    ssl_ciphers  HIGH:!aNULL:!MD5;
    #    ssl_prefer_server_ciphers  on;

    #    location / {
    #        root   html;
    #        index  index.html index.htm;
    #    }
    #}

    # config https site
    #
    server {
    listen        443 ssl;
    server_name   abc.com www.abc.com;
    root          html;

    ssl  on;
    ssl_certificate      ../cert/1.crt;
    ssl_certificate_key  ../cert/1.key;

    location ~ .php$ {
        root           html;
        fastcgi_pass   127.0.0.1:9000;
        fastcgi_index  index.php;
        fastcgi_param  SCRIPT_FILENAME  $document_root$fastcgi_script_name;
        include      fastcgi_params;
        fastcgi_param HTTPS on;
    }

    error_page  404 403   /40x.html;
    location = /40x.html {
        root html;
    }
    }
}
- 安装目录 /usr/local/nginx,目录下新建 cert 目录,存放两个ssl证书文件,配置文件存放在 /usr/local/nginx/conf
常用的命令:
- systemctl start/stop/restart nginx(.service)
- 从容停止 kill -quit nginx
- 命令方式启动 nginx:切换到目录下时使用 ./nignx,完整目录使用 /usr/local/nignx/sbin/nginx
- systemctl start firewalld.service 启动firewall,stop 为关闭,disable 为禁止开机启动
- curl http://localhost linux本地测试访问
- netstat -tpln 查看连接占用(比如80端口谁占着)
一些记录和链接:
- Nginx 中文:http://www.nginx.cn/doc
- 参考《Nginx 安装》:http://www.nginx.cn/install
- 参考《【CNMP系列】CentOS7.0下安装Nginx服务》:http://www.cnblogs.com/riverdubu/p/6426852.html
- 参考《CentOS7 安装 Nginx 1.12.1》:http://www.cnblogs.com/holddie/p/7554399.html
- 参考《CentOS7系统下用YUM安装Nginx详解》:https://yq.aliyun.com/ziliao/91819
- 参考《centos 6.9 编译安装 Nginx1.12.1》:http://www.mamicode.com/info-detail-1990967.html
- 参考《nginx 编译参数详解》:http://blog.sina.com.cn/s/blog_68c25adf01014037.html
- 哪天找不到 nginx 可以:whereis nginx
- yum安装nginx:http://www.linuxidc.com/Linux/2016-04/130117.htm
- 参考《Centos7 上 Nginx 的使用》:http://www.cnblogs.com/edward2013/p/5373818.html