一、效果预览:


功能描述:WSLNativeScanTool是在利用原生API的条件下封装的二维码扫描工具,支持二维码的扫描、识别图中二维码、生成自定义颜色和中心图标的二维码、监测环境亮度、打开闪光灯这些功能;WSLScanView是参照微信封装的一个扫一扫界面,支持线条颜色、大小、动画图片、矩形扫描框样式的自定义;这个示例本身就是仿照微信的扫一扫功能实现的。
二、实现
主要代码如下:
- 初始化扫描识别对象
- (AVCaptureSession *)session{

    if (_session == nil){
        //获取摄像设备
        AVCaptureDevice *device = [AVCaptureDevice defaultDeviceWithMediaType:AVMediaTypeVideo];
        //创建输入流
        AVCaptureDeviceInput *input = [AVCaptureDeviceInput deviceInputWithDevice:device error:nil];
        if (!input){
            return nil;
        }

        //创建二维码扫描输出流
        AVCaptureMetadataOutput *output = [[AVCaptureMetadataOutput alloc] init];
        //设置代理 在主线程里刷新
        [output setMetadataObjectsDelegate:self queue:dispatch_get_main_queue()];
        //设置采集扫描区域的比例 默认全屏是(0,0,1,1)
        //rectOfInterest 填写的是一个比例,输出流视图preview.frame为 x , y, w, h, 要设置的矩形快的scanFrame 为 x1, y1, w1, h1. 那么rectOfInterest 应该设置为 CGRectMake(y1/y, x1/x, h1/h, w1/w)。
        CGFloat x = CGRectGetMinX(self.scanFrame)/ CGRectGetWidth(self.preview.frame);
        CGFloat y = CGRectGetMinY(self.scanFrame)/ CGRectGetHeight(self.preview.frame);
        CGFloat width = CGRectGetWidth(self.scanFrame)/ CGRectGetWidth(self.preview.frame);
        CGFloat height = CGRectGetHeight(self.scanFrame)/ CGRectGetHeight(self.preview.frame);
        output.rectOfInterest = CGRectMake(y, x, height, width);

        // 创建环境光感输出流
        AVCaptureVideoDataOutput *lightOutput = [[AVCaptureVideoDataOutput alloc] init];
        [lightOutput setSampleBufferDelegate:self queue:dispatch_get_main_queue()];

        _session = [[AVCaptureSession alloc] init];
        //高质量采集率
        [_session setSessionPreset:AVCaptureSessionPresetHigh];
        [_session addInput:input];
        [_session addOutput:output];
        [_session addOutput:lightOutput];

        //设置扫码支持的编码格式(这里设置条形码和二维码兼容)
        output.metadataObjectTypes = @[AVMetadataObjectTypeQRCode,
                                       AVMetadataObjectTypeEAN13Code,
                                       AVMetadataObjectTypeEAN8Code,
                                       AVMetadataObjectTypeCode128Code];
    }

    return _session;
}
- 扫描出结果的代理方法
#pragma mark -- AVCaptureMetadataOutputObjectsDelegate
//扫描完成后执行
-(void)captureOutput:(AVCaptureOutput *)captureOutput didOutputMetadataObjects:(NSArray *)metadataObjects fromConnection:(AVCaptureConnection *)connection{

    if (metadataObjects.count > 0){
        AVMetadataMachineReadableCodeObject *metadataObject = [metadataObjects firstObject];
        // 扫描完成后的字符
        //        NSLog(@"扫描出 %@",metadataObject.stringValue);
        if(self.scanFinishedBlock != nil){
            self.scanFinishedBlock(metadataObject.stringValue);
        }
    }
}
#pragma mark- AVCaptureVideoDataOutputSampleBufferDelegate的方法
//扫描过程中执行,主要用来判断环境的黑暗程度
- (void)captureOutput:(AVCaptureOutput *)captureOutput didOutputSampleBuffer:(CMSampleBufferRef)sampleBuffer fromConnection:(AVCaptureConnection *)connection{

    if (self.monitorLightBlock == nil) {
        return;
    }

    CFDictionaryRef metadataDict = CMCopyDictionaryOfAttachments(NULL,sampleBuffer, kCMAttachmentMode_ShouldPropagate);
    NSDictionary *metadata = [[NSMutableDictionary alloc] initWithDictionary:(__bridge NSDictionary*)metadataDict];
    CFRelease(metadataDict);
    NSDictionary *exifMetadata = [[metadata objectForKey:(NSString *)kCGImagePropertyExifDictionary] mutableCopy];
    float brightnessValue = [[exifMetadata objectForKey:(NSString *)kCGImagePropertyExifBrightnessValue] floatValue];

    //    NSLog(@"环境光感 : %f",brightnessValue);

    // 根据brightnessValue的值来判断是否需要打开和关闭闪光灯
    AVCaptureDevice *device = [AVCaptureDevice defaultDeviceWithMediaType:AVMediaTypeVideo];
    BOOL result = [device hasTorch];// 判断设备是否有闪光灯
    if ((brightnessValue < 0) && result) {
        // 环境太暗,可以打开闪光灯了
    }else if((brightnessValue > 0) && result){
        // 环境亮度可以
    }
    if (self.monitorLightBlock != nil) {
        self.monitorLightBlock(brightnessValue);
    }

}
三、用法
- 实例化WSLNativeScanTool工具类和WSLScanView界面类;用法很简单,头文件里注释的也挺详细的。
//输出流视图
    UIView *preview  = [[UIView alloc] initWithFrame:CGRectMake(0, 0, self.view.frame.size.width, self.view.frame.size.height - 0)];
    [self.view addSubview:preview];
    __weak typeof(self) weakSelf = self;
    //构建扫描样式视图
    _scanView = [[WSLScanView alloc] initWithFrame:CGRectMake(0, 0, self.view.frame.size.width, self.view.frame.size.height - 0)];
    _scanView.scanRetangleRect = CGRectMake(60, 120, (self.view.frame.size.width - 2 * 60),  (self.view.frame.size.width - 2 * 60));
    _scanView.colorAngle = [UIColor greenColor];
    _scanView.photoframeAngleW = 20;
    _scanView.photoframeAngleH = 20;
    _scanView.photoframeLineW = 2;
    _scanView.isNeedShowRetangle = YES;
    _scanView.colorRetangleLine = [UIColor whiteColor];
    _scanView.notRecoginitonArea = [UIColor colorWithRed:0 green:0 blue:0 alpha:0.5];
    _scanView.animationImage = [UIImage imageNamed:@"scanLine"];
    _scanView.myQRCodeBlock = ^{
     [WSLNativeScanTool createQRCodeImageWithString:@"https://www.jianshu.com/u/e15d1f644bea" andSize:CGSizeMake(250, 250) andBackColor:[UIColor whiteColor] andFrontColor:[UIColor orangeColor] andCenterImage:[UIImage imageNamed:@"piao"]];
        createQRCodeController.qrString = @"https://www.jianshu.com/u/e15d1f644bea";
    };
    _scanView.flashSwitchBlock = ^(BOOL open) {
        [weakSelf.scanTool openFlashSwitch:open];
    };
    [self.view addSubview:_scanView];
    //初始化扫描工具
    _scanTool = [[WSLNativeScanTool alloc] initWithPreview:preview andScanFrame:_scanView.scanRetangleRect];
    _scanTool.scanFinishedBlock = ^(NSString *scanString) {
        NSLog(@"扫描结果 %@",scanString);
        [weakSelf.scanTool sessionStopRunning];
        [weakSelf.scanTool openFlashSwitch:NO];
    };
    _scanTool.monitorLightBlock = ^(float brightness) {
        NSLog(@"环境光感 : %f",brightness);
        if (brightness < 0) {
            // 环境太暗,显示闪光灯开关按钮
            [weakSelf.scanView showFlashSwitch:YES];
        }else if(brightness > 0){
            // 环境亮度可以,且闪光灯处于关闭状态时,隐藏闪光灯开关
            if(!weakSelf.scanTool.flashOpen){
                [weakSelf.scanView showFlashSwitch:NO];
            }
        }
    };
    [_scanTool sessionStartRunning];
    [_scanView startScanAnimation];
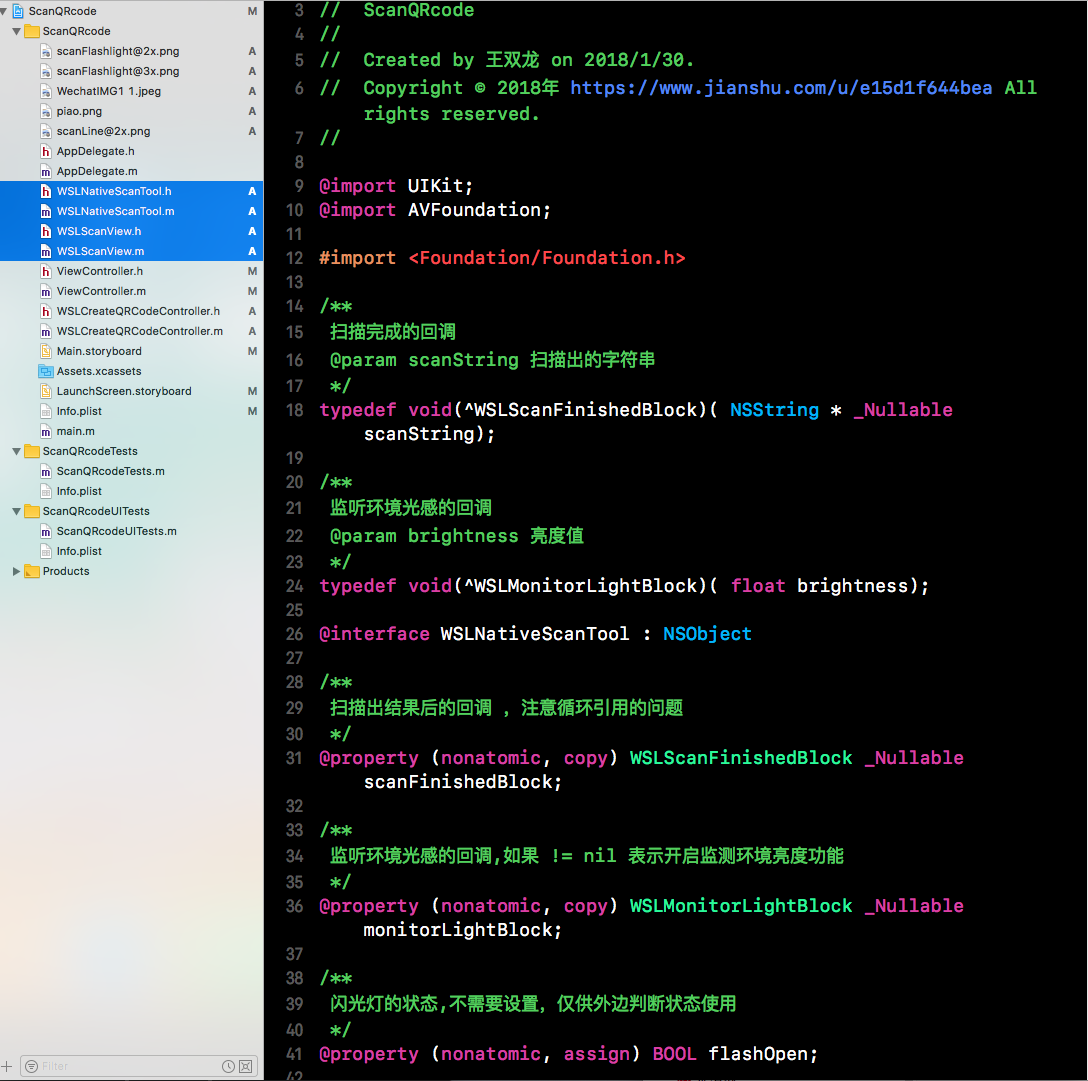
四、项目结构
五、其他补充
暂没
iOS 原生二维码扫描和生成
注:本文著作权归作者,由demo大师代发,拒绝转载,转载需要作者授权