一、 部署环境介绍
- 软件需求
1) CentOS 6.5 64bit
2) Ceph 0.80.6
- 网络拓扑介绍
1) Controller Node 由Console节点组成,安装VSM控制平台
2) Storage Node由node1、node2、node3三台主机组成,安装VSM-agent
二、 部署准备
-
网络规划
1) Management Network:VSM控制节点对其他节点的管理网络,本例为10.1.35.0/24
2) Ceph Public Network:ceph-client <---> ceph-mon 以及ceph-client <---> ceph-osd之间的通信网络,本例为192.1.35.0/24
3) Ceph Cluster Network:ceph-osd <---> ceph-mon以及ceph-osd<---> ceph-osd之间的通信网络,本例为192.2.35.0/24 -
SSH免密钥
建立console与node1、node2、node3之间的ssh免密码访问,先使用root用户先ssh-keygen,然后ssh-copy-id拷贝密钥 -
三、 安装包编译
-
下载倚赖库
替代version为你指定的版本,wget https://github.com/01org/vsm-dependencies/archive/<version>.zip -
安装依赖库
unzip <version>.zipcd <version>/repoyum localinstall -y *.rpm -
下载源码
wget https://github.com/01org/virtual-storage-manager/archive/<version>.zip-
构建VSM RPM
cd $source_code_path./buildrpm
编译完成将在 $source_code_path/vsmrepo下生成相应的RPM
-
-
四、 Controller Node部署过程
-
软件包安装
cd vsmrepo
yum localinstall -y *.rpm
-
配置
-
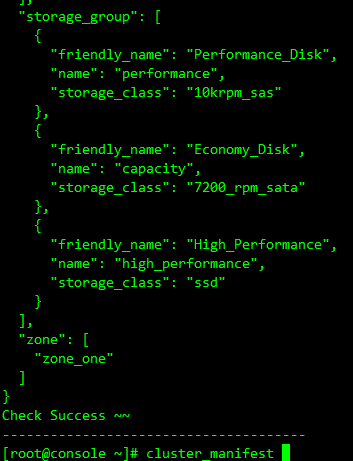
检查配置
运行cluster_manifest,检查配置文件是否报错
- 安装vsm-controller
确认配置文件无误后执行vsm-controller进行安装 - 新建agent-token
安装完成后,执行agent-token命令
[root@console]# agent-token
9291376733ec4662929eadcf9eda3b44-e38aeba41c884fc88321ac84028792e4
保留生成的token字符串
9291376733ec4662929eadcf9eda3b44-e38aeba41c884fc88321ac84028792e4 -
-
五、 Storage node节点配置过程
-
软件包安装(注意安装依赖包)
cd vsmrepo
yum localinstall -y *.rpm
2)执行replace-str命令配置contoller与agent之间的认证token
<!-- lang: shell -->
replace-str 9291376733ec4662929eadcf9eda3b44-e38aeba41c884fc88321ac84028792e4
3)使用parted分区命令,根据实际情况将本地磁盘分区,做好osd的初始化准备
<!-- lang: shell -->
parted /dev/sdb -- mklabel gpt
<!-- lang: shell -->
parted -a optimal /dev/sdb -- mkpart 1MB 2048MB  #用于journel
<!-- lang: shell -->
parted -a optimal /dev/sdb -- mkpart 2049MB 100% #用于data
4)转换建立好的磁盘分区为disk_by_path格式
ls -al /dev/disk/by-path/* | grep disk-path| awk '{print $9,$11}'
比如:<!-- lang: shell --> ls -al /dev/disk/by-path/* | grep sdb | awk '{print $9,$11}'/dev/disk/by-path/pci-0000:00:0c.0-virtio-pci-virtio3 ../../sdb
记录/dev/disk/by-path/pci-0000:00:0c.0-virtio-pci-virtio3
将生成的disk_by_path写入/etc/manifest/server.manifest,注意根据物理磁盘设备的实际情况放入对应的分组同时注意格式
-
检查配置
执行命令server_manifest检查配置文件server_manifest
-
启动agent服务
vsm-node
-
-
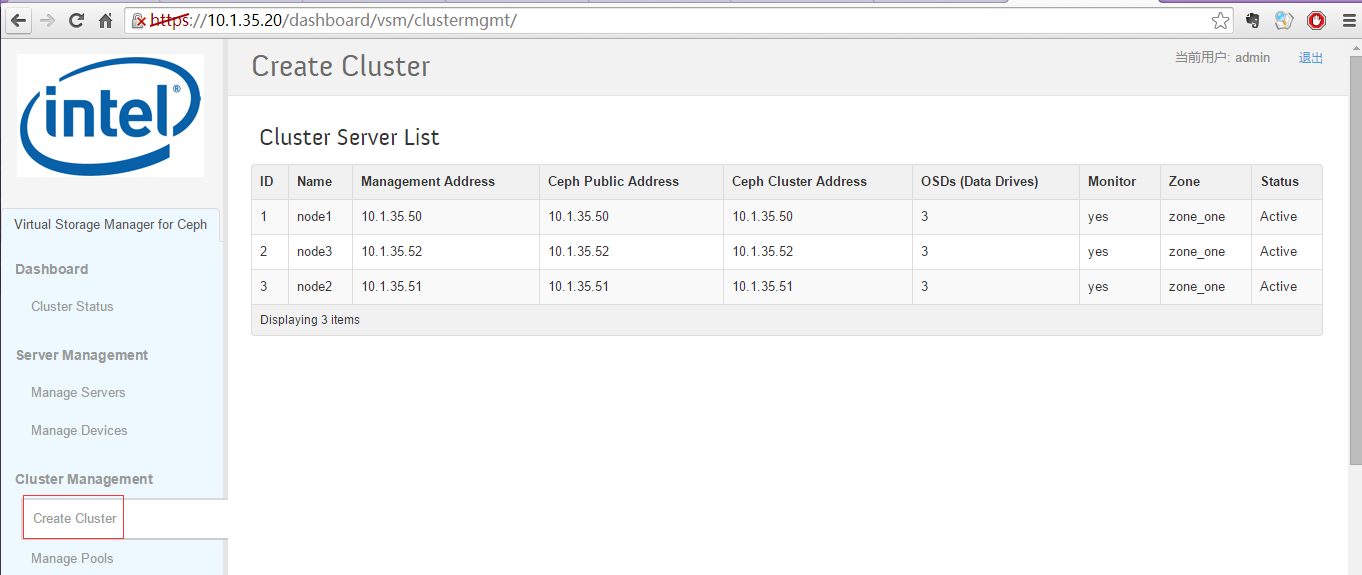
六、 VSM平台登录与配置
- 平台登录
访问https://10.1.35.20/dashboard/vsm/
登录帐号admin,密码在controller node上执行一下命令获取
cat /etc/vsmdeploy/deployrc |grep ADMIN_PASSWORD
- 平台登录


