1、ActiveMQ Artemis官网下载
https://activemq.apache.org/components/artemis/download/
当前版本2.20.0,不支持JDK8,JDK8需要下载版本2.19.0的,本人下载的是2.19.0
https://activemq.apache.org/components/artemis/download/past_releases
2、上传安装压缩包apache-artemis-2.19.0-bin.tar.gz到服务器/opt目录上
3、解压
cd /opt
tar -zxvf apache-artemis-2.19.0-bin.tar.gz
4、创建Broker实例
cd apache-artemis-2.19.0/bin
./artemis create mybroker
输出:
Creating ActiveMQ Artemis instance at: /opt/apache-artemis-2.19.0/bin/mybroker
之后会提示输入默认用户名、密码、是否允许匿名登录
--user:
Please provide the default username:
admin

--password: is mandatory with this configuration:
Please provide the default password:

--allow-anonymous | --require-login:
Allow anonymous access?, valid values are Y,N,True,False
N
输入之后,输出:
Auto tuning journal ...
done! Your system can make 62.5 writes per millisecond, your journal-buffer-timeout will be 16000

You can now start the broker by executing:

"/opt/apache-artemis-2.19.0/bin/mybroker/bin/artemis" run

Or you can run the broker in the background using:

"/opt/apache-artemis-2.19.0/bin/mybroker/bin/artemis-service" start
执行下面命令启动Artemis
"/opt/apache-artemis-2.19.0/bin/mybroker/bin/artemis-service" start
5、修改Artemis配置
(1)修改 vim mybroker/etc/jolokia-access.xml
找到下面一行
<allow-origin>*://localhost*</allow-origin>
在它的下面添加一行访问权限设置,例如
<allow-origin>*://172.16.21.3*</allow-origin>
(2)修改 vim mybroker/etc/bootstrap.xml
找到下面一行
<web bind="http://localhost:8161" path="web">
把里面的localhost修改为服务器IP
<web bind="http://172.16.21.3:8161" path="web">
(3)重启Artemis
"/opt/apache-artemis-2.19.0/bin/mybroker/bin/artemis-service" restart
(4)检查防火墙指是允开启端口8161和61616,没开启则开启
firewall-cmd --query-port=8161/tcp
firewall-cmd --zone=public --add-port=8161/tcp --permanent

firewall-cmd --query-port=61616/tcp
firewall-cmd --zone=public --add-port=61616/tcp --permanent

firewall-cmd --reload
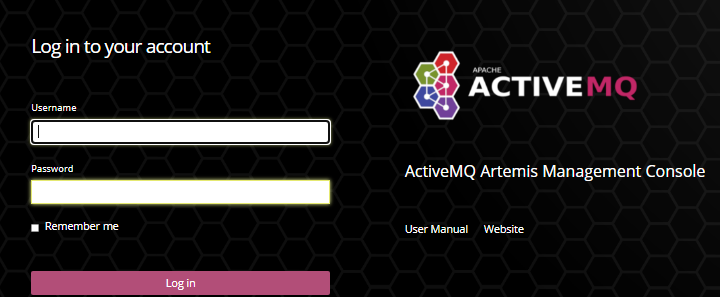
6、登录控制台
http://172.16.21.3:8161/console/login
用户名及密码为上面创建Broker实例时的用户名及密码