Spring Boot 入门
一、前言
Spring Boot是由Pivotal团队提供的全新框架,其设计目的是用来简化新Spring应用的初始搭建以及开发过程。该框架使用了特定的方式来进行配置,从而使开发人员不再需要定义样板化的配置。通过这种方式,Spring Boot致力于在蓬勃发展的快速应用开发领域(rapid application development)成为领导者。本文介绍用idea搭建springboot
二、环境搭建
idea搭建springboot步骤如下:
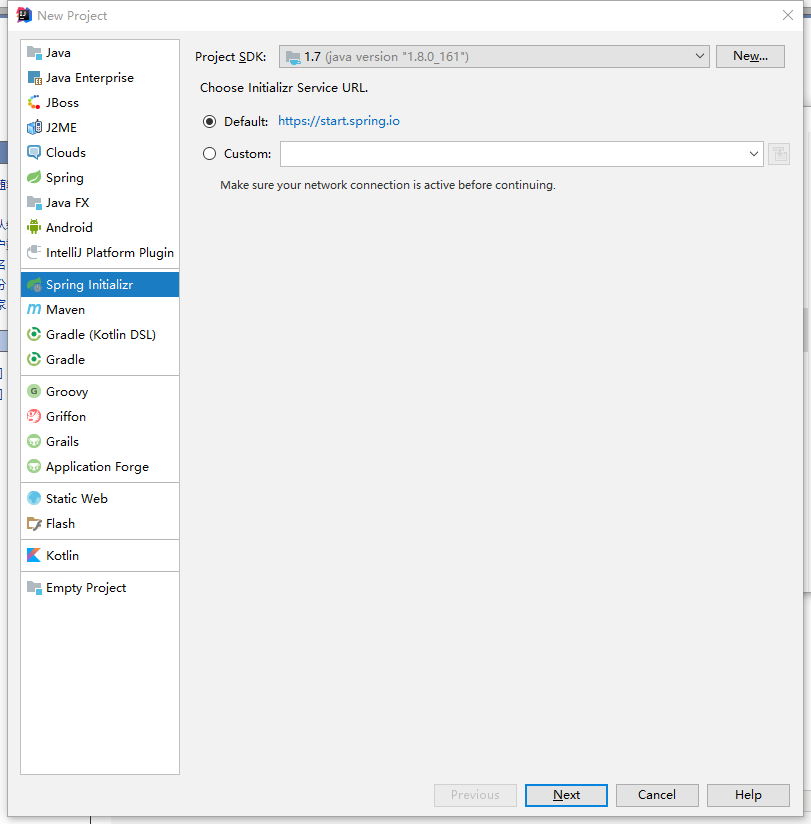
1.打开IDEA,创建新项目,选择Spring Initializr
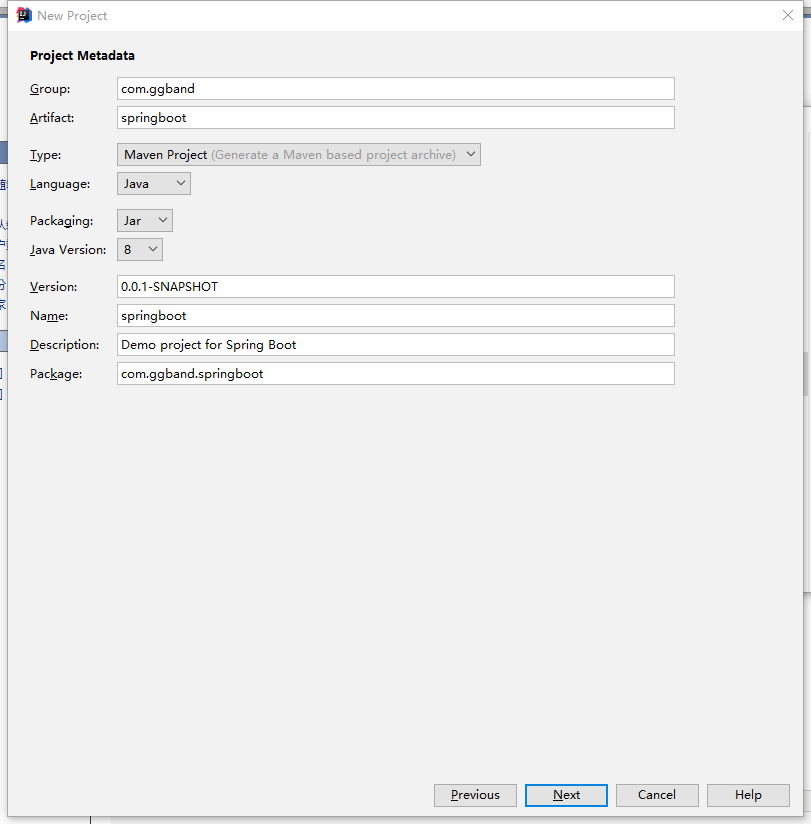
2.输入Artifact
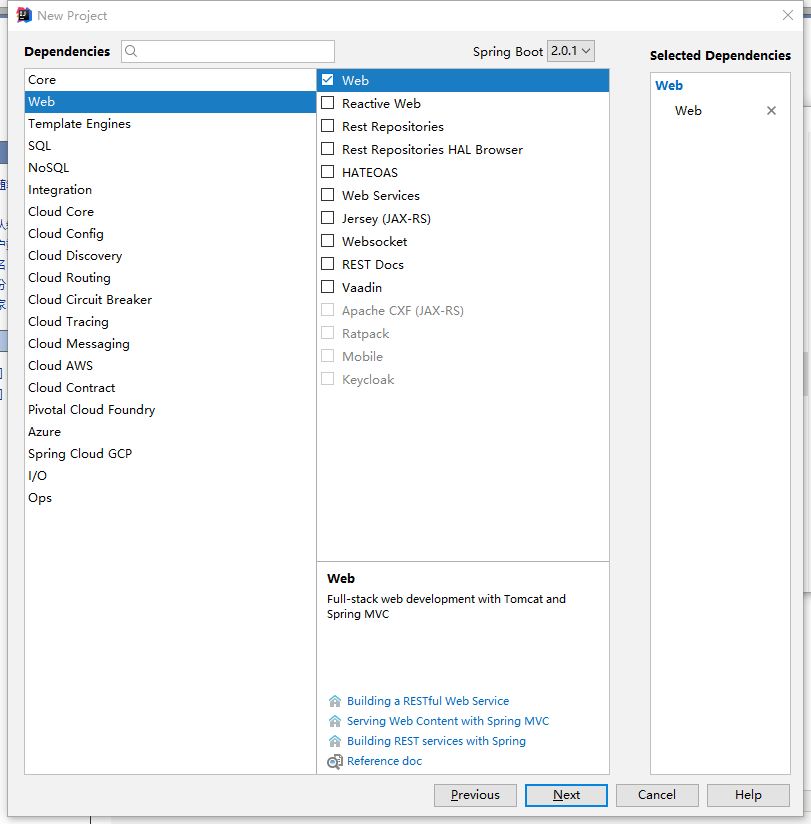
3.勾选Web
4.点击finish完成
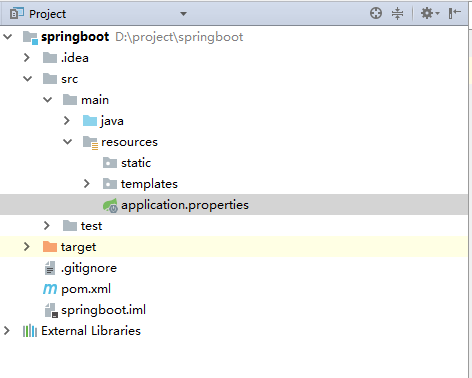
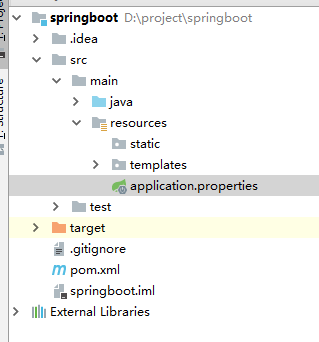
5.进入项目,可以将mvn、mvnw、mvnw.删除得到如下项目目录结构
2.1 添加依赖
在 pom.xml 文件中添加如下依赖:
<?xml version="1.0" encoding="UTF-8"?>
<project xmlns="http://maven.apache.org/POM/4.0.0" xmlns:xsi="http://www.w3.org/2001/XMLSchema-instance"
    xsi:schemaLocation="http://maven.apache.org/POM/4.0.0 http://maven.apache.org/xsd/maven-4.0.0.xsd">
    <modelVersion>4.0.0</modelVersion>

    <groupId>com.example</groupId>
    <artifactId>springbootdemo</artifactId>
    <version>0.0.1-SNAPSHOT</version>
    <packaging>jar</packaging>

    <name>springbootdemo</name>
    <description>Demo project for Spring Boot</description>

    <!--起步依赖-->
    <parent>
        <groupId>org.springframework.boot</groupId>
        <artifactId>spring-boot-starter-parent</artifactId>
        <version>1.5.2.RELEASE</version>
        <relativePath/> <!-- lookup parent from repository -->
    </parent>

    <properties>
        <project.build.sourceEncoding>UTF-8</project.build.sourceEncoding>
        <project.reporting.outputEncoding>UTF-8</project.reporting.outputEncoding>
        <java.version>1.8</java.version>
    </properties>

    <dependencies>
        <!--开发web项目相关依赖-->
        <dependency>
            <groupId>org.springframework.boot</groupId>
            <artifactId>spring-boot-starter-web</artifactId>
        </dependency>
        <!--springboot单元测试-->
        <dependency>
            <groupId>org.springframework.boot</groupId>
            <artifactId>spring-boot-starter-test</artifactId>
            <scope>test</scope>
        </dependency>
    </dependencies>

    <!--maven构建-->
    <build>
        <plugins>
            <plugin>
                <groupId>org.springframework.boot</groupId>
                <artifactId>spring-boot-maven-plugin</artifactId>
            </plugin>
        </plugins>
    </build>


</project>
2.2 目录和配置文件含义
application.properties:用于配置项目运行所需的配置数据。
static:用于存放静态资源,如:css、js、图片等。
templates:用于存放模板文件。
目录结构如下:
2.3 启动类
7.程序自动生成的SpringbootdemoApplication,会有一个@SpringBootApplication的注解,这个注解用来标明这个类是程序的入口,如下:
package com.ggband;

import org.springframework.boot.SpringApplication;
import org.springframework.boot.autoconfigure.SpringBootApplication;

/**
 该注解指定项目为springboot,由此类当作程序入口
 自动装配 web 依赖的环境

 **/

@SpringBootApplication
public class SpringbootApplication {

    public static void main(String[] args) {
        SpringApplication.run(SpringbootApplication.class, args);
    }
}
@SpringBootApplication开启了Spring的组件扫描和springboot的自动配置功能,相当于将以下三个注解组合在了一起
(1)@Configuration:表名该类使用基于Java的配置,将此类作为配置类
(2)@ComponentScan:启用注解扫描
(3)@EnableAutoConfiguration:开启springboot的自动配置功能
2.4 案例演示
创建 com.ggband.web包,在该包下创建一个 Controller 类,如下:
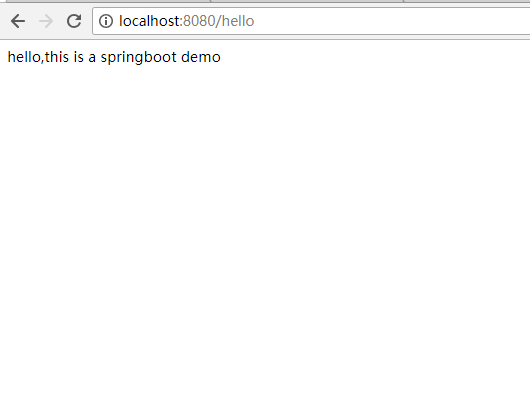
package com.ggband.web;


import org.springframework.web.bind.annotation.RequestMapping;
import org.springframework.web.bind.annotation.RestController;

@RestController
public class WelcomeController {

    @RequestMapping("/hello")
    public String hello() {
        return "hello,this is a springboot demo";
    }
}
在 SpringbootApplication 文件中右键 Run as -> Java Application。当看到 “Tomcat started on port(s): 8080 (http)” 字样说明启动成功。
打开浏览器访问 http://localhost:8080/hello,结果如下:
三、多环境切换
application.properties 是 springboot 在运行中所需要的配置信息。
当我们在开发阶段,使用自己的机器开发,测试的时候需要用的测试服务器测试,上线时使用正式环境的服务器。
这三种环境需要的配置信息都不一样,当我们切换环境运行项目时,需要手动的修改多出配置信息,非常容易出错。
为了解决上述问题,springboot 提供多环境配置的机制,让开发者非常容易的根据需求而切换不同的配置环境。
在 src/main/resources 目录下创建三个配置文件:
application-dev.properties:用于开发环境
application-test.properties:用于测试环境
application-prod.properties:用于生产环境
我们可以在这个三个配置文件中设置不同的信息,application.properties 配置公共的信息。
在 application.properties 中配置:
spring.profiles.active=dev表示激活 application-dev.properties 文件配置, springboot 会加载使用 application.properties 和 application-dev.properties 配置文件的信息。
同理,可将 spring.profiles.active 的值修改成 test 或 prod 达到切换环境的目的。
四、配置日志
4.1 配置 logback(官方推荐使用)
4.1.1 配置日志文件
spring boot 默认会加载 classpath:logback-spring.xml 或者 classpath:logback-spring.groovy。
如需要自定义文件名称,在 application.properties 中配置 logging.config 选项即可。
在 src/main/resources 下创建 logback-spring.xml 文件,内容如下:
<?xml version="1.0" encoding="UTF-8"?>
<configuration>
    <!-- 文件输出格式 -->
    <property name="PATTERN" value="%-12(%d{yyyy-MM-dd HH:mm:ss.SSS}) |-%-5level [%thread] %c [%L] -| %msg%n" />
    <!-- test文件路径 -->
    <property name="TEST_FILE_PATH" value="d:/test.log" />
    <!-- pro文件路径 -->
    <property name="PRO_FILE_PATH" value="/opt/test/log" />

    <!-- 开发环境 -->
    <springProfile name="dev">
        <appender name="CONSOLE" class="ch.qos.logback.core.ConsoleAppender">
            <encoder>
                <pattern>${PATTERN}</pattern>
            </encoder>
        </appender>
        <logger name="com.light.springboot" level="debug" />
        <root level="info">
            <appender-ref ref="CONSOLE" />
        </root>
    </springProfile>

    <!-- 测试环境 -->
    <springProfile name="test">
        <!-- 每天产生一个文件 -->
        <appender name="TEST-FILE" class="ch.qos.logback.core.rolling.RollingFileAppender">
            <!-- 文件路径 -->
            <file>${TEST_FILE_PATH}</file>
            <rollingPolicy class="ch.qos.logback.core.rolling.TimeBasedRollingPolicy">
                <!-- 文件名称 -->
                <fileNamePattern>${TEST_FILE_PATH}/info.%d{yyyy-MM-dd}.log</fileNamePattern>
                <!-- 文件最大保存历史数量 -->
                <MaxHistory>100</MaxHistory>
            </rollingPolicy>
            <layout class="ch.qos.logback.classic.PatternLayout">
                <pattern>${PATTERN}</pattern>
            </layout>
        </appender>
        <root level="info">
            <appender-ref ref="TEST-FILE" />
        </root>
    </springProfile>

    <!-- 生产环境 -->
    <springProfile name="prod">
        <appender name="PROD_FILE" class="ch.qos.logback.core.rolling.RollingFileAppender">
            <file>${PRO_FILE_PATH}</file>
            <rollingPolicy class="ch.qos.logback.core.rolling.TimeBasedRollingPolicy">
                <fileNamePattern>${PRO_FILE_PATH}/warn.%d{yyyy-MM-dd}.log</fileNamePattern>
                <MaxHistory>100</MaxHistory>
            </rollingPolicy>
            <layout class="ch.qos.logback.classic.PatternLayout">
                <pattern>${PATTERN}</pattern>
            </layout>
        </appender>
        <root level="warn">
            <appender-ref ref="PROD_FILE" />
        </root>
    </springProfile>
</configuration>
其中,springProfile 标签的 name 属性对应 application.properties 中的 spring.profiles.active 的配置。
即 spring.profiles.active 的值可以看作是日志配置文件中对应的 springProfile 是否生效的开关。
4.2 配置 log4j2
4.2.1 添加依赖
<dependency>
    <groupId>org.springframework.boot</groupId>
    <artifactId>spring-boot-starter-log4j2</artifactId>
</dependency>
4.2.2 配置日志文件
spring boot 默认会加载 classpath:log4j2.xml 或者 classpath:log4j2-spring.xml。
如需要自定义文件名称,在 application.properties 中配置 logging.config 选项即可。
log4j2.xml 文件内容如下:
<?xml version="1.0" encoding="utf-8"?>
<configuration>
    <properties>
        <!-- 文件输出格式 -->
        <property name="PATTERN">%d{yyyy-MM-dd HH:mm:ss.SSS} |-%-5level [%thread] %c [%L] -| %msg%n</property>
    </properties>
    <appenders>
        <Console name="CONSOLE" target="system_out">
            <PatternLayout pattern="${PATTERN}" />
        </Console>
    </appenders>
    <loggers>
        <logger name="com.light.springboot" level="debug" />
        <root level="info">
            <appenderref ref="CONSOLE" />
        </root>
    </loggers>
</configuration>
log4j2 不能像 logback 那样在一个文件中设置多个环境的配置数据,只能命名 3 个不同名的日志文件,分别在 application-dev,application-test 和 application-prod 中配置 logging.config 选项。
除了在日志配置文件中设置参数之外,还可以在 application-*.properties 中设置,日志相关的配置:
logging.config                    # 日志配置文件路径,如 classpath:logback-spring.xml
logging.exception-conversion-word # 记录异常时使用的转换词
logging.file                      # 记录日志的文件名称,如:test.log
logging.level.*                   # 日志映射,如:logging.level.root=WARN,logging.level.org.springframework.web=DEBUG
logging.path                      # 记录日志的文件路径,如:d:/
logging.pattern.console           # 向控制台输出的日志格式,只支持默认的 logback 设置。
logging.pattern.file              # 向记录日志文件输出的日志格式,只支持默认的 logback 设置。
logging.pattern.level             # 用于呈现日志级别的格式,只支持默认的 logback 设置。
logging.register-shutdown-hook    # 初始化时为日志系统注册一个关闭钩子
五、配置freemarker模板引擎
5.1 添加freemarker依赖
 <!-- 添加freemarker资源 -->
        <dependency>
            <groupId>org.springframework.boot</groupId>
            <artifactId>spring-boot-starter-freemarker</artifactId>
        </dependency>
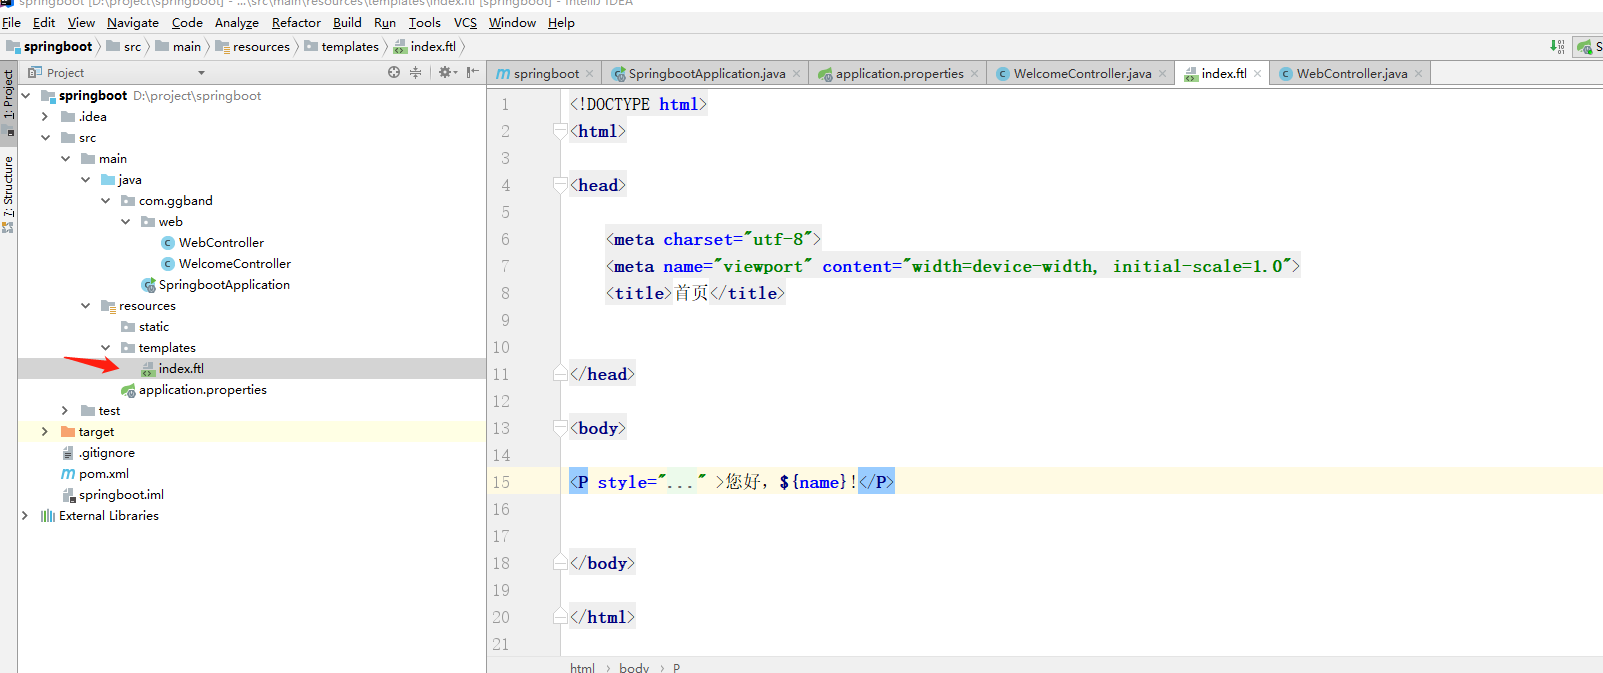
5.2 在templates创建index.ftl模板文件
5.2 创建Controller文件
import org.springframework.stereotype.Controller;
import org.springframework.web.bind.annotation.RequestMapping;
import org.springframework.web.servlet.ModelAndView;

@Controller
public class WebController {

    @RequestMapping("/index")
    public ModelAndView index(ModelAndView modelAndView) {
        modelAndView.addObject("name","世界");
        modelAndView.setViewName("index");
        return modelAndView;
    }
}
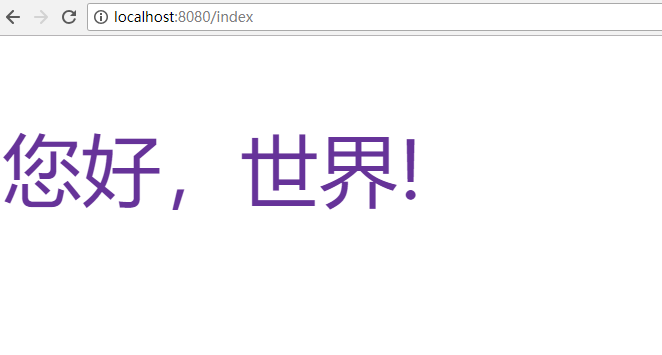
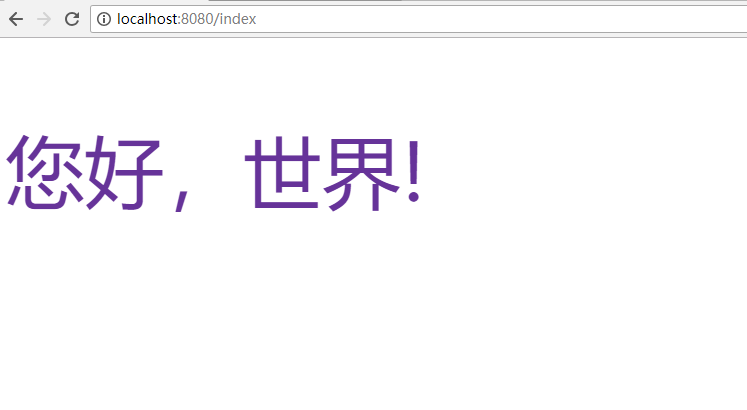
5.3 测试运行http://localhost:8080/index
5.4 spring boot freemarker常用配置
模板文件默认在项目classpath:/templates/下,开发者也可以自己自动定义配置:
在application.properties添加自定义配置:
# freemarker config
spring.freemarker.allow-request-override=false
spring.freemarker.allow-session-override=false
spring.freemarker.cache=false
spring.freemarker.charset=UTF-8
spring.freemarker.check-template-location=true
spring.freemarker.content-type=text/html
spring.freemarker.enabled=true
spring.freemarker.expose-request-attributes=false
spring.freemarker.expose-session-attributes=false
spring.freemarker.expose-spring-macro-helpers=true
spring.freemarker.prefer-file-system-access=true
spring.freemarker.suffix=.ftl
#设定ftl文件路径
spring.freemarker.template-loader-path=classpath:/templates/
spring.freemarker.settings.template_update_delay=0
spring.freemarker.settings.default_encoding=UTF-8
spring.freemarker.settings.classic_compatible=true
spring.freemarker.settings.date_format=yyyy-MM-dd
spring.freemarker.settings.time_format=HH:mm:ss
spring.freemarker.settings.datetime_format=yyyy-MM-dd HH:mm:ss
spring.freemarker.order=1
六、打包运行
打包的形式有两种:jar 和 war。
6.1 打包成可执行的 jar 包
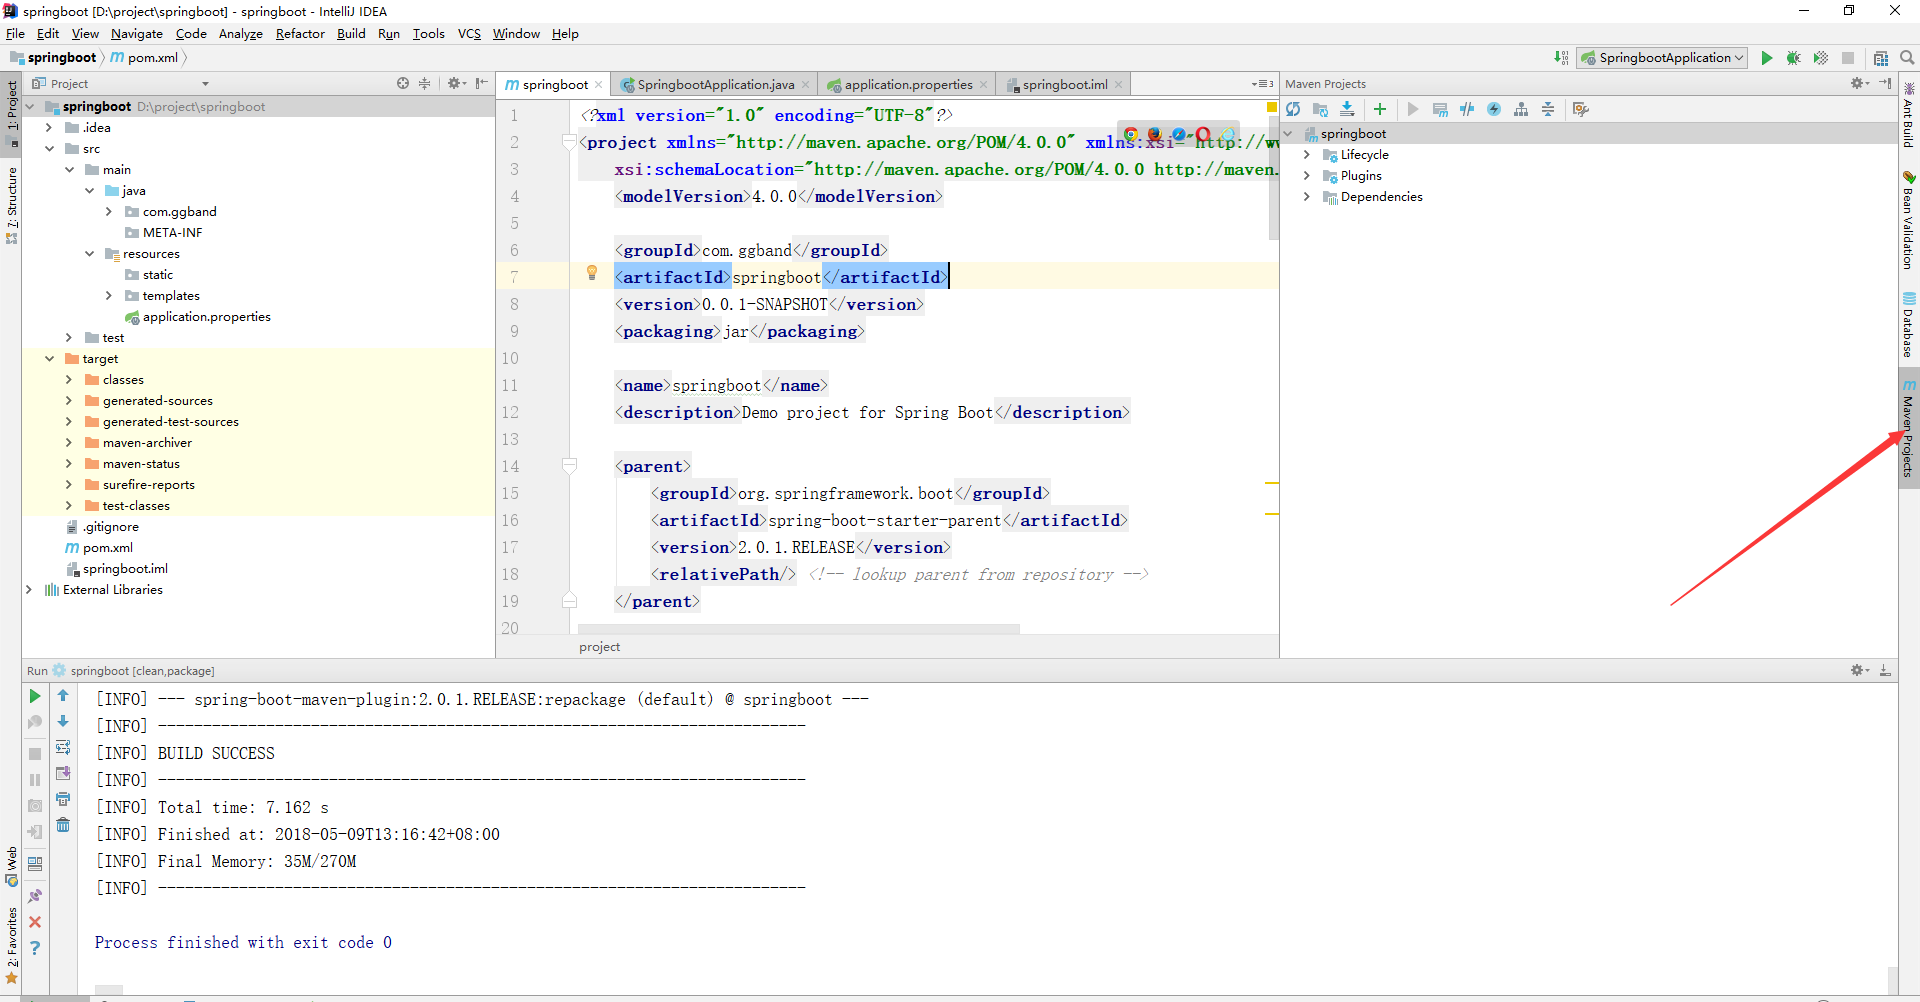
默认情况下,通过 maven 执行 package 命令后,会生成 jar 包,且该 jar 包会内置了 tomcat 容器,因此我们可以通过 java -jar 就可以运行项目,如下图:
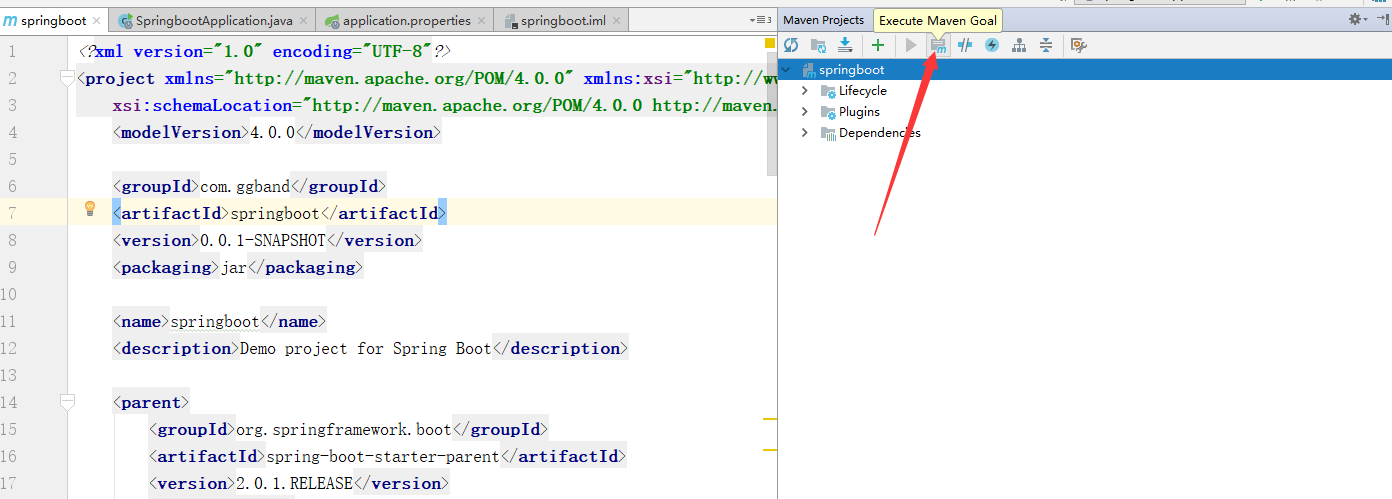
点击maven projects
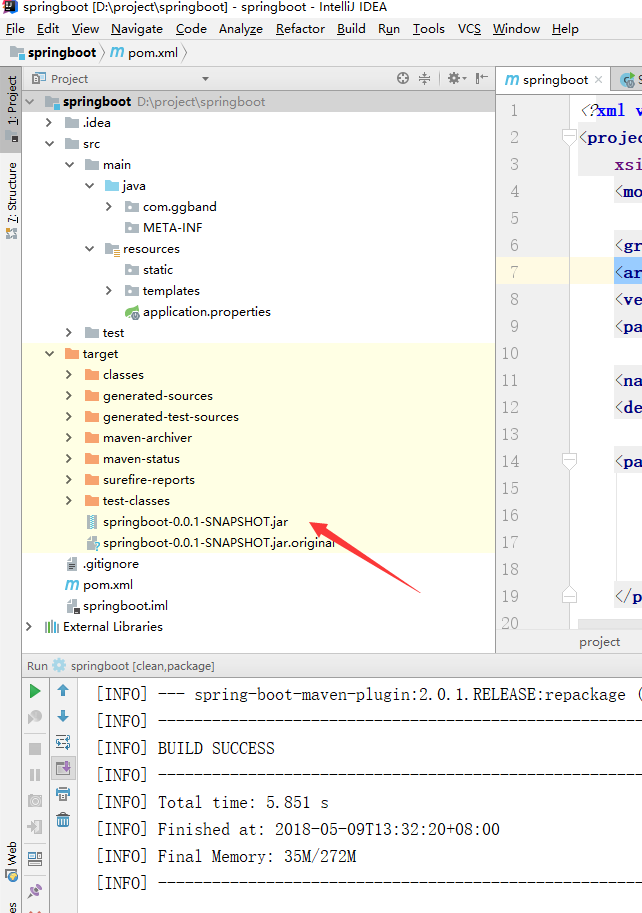
执行maven 命令,将在target 目录生成 jar包

运行jar 文件(这里通过cmd):
java -jar XXX.jar &
关闭控制台让程序挂起:
nohup java -jar **.jar &

部署成功:
6.2 打包成部署的 war 包
让 SpringbootApplication 类继承 SpringBootServletInitializer 并重写 configure 方法,如下:
@SpringBootApplication
public class SpringbootApplication extends SpringBootServletInitializer {

    @Override
    protected SpringApplicationBuilder configure(SpringApplicationBuilder application) {
        return application.sources(SpringbootApplication.class);
    }

    public static void main(String[] args) {
        SpringApplication.run(SpringbootApplication.class, args);
    }
}
修改 pom.xml 文件,将 jar 改成 war,如下:
<packaging>war</packaging>
打包成功后,将 war 包部署到 tomcat 容器中运行即可。
Entity Framework Feature CTP 5系列文章
MonoDroid相关资源
MSDN杂志上的Windows Phone相关文章
微软学Android Market推出 Web Windows Phone Marketplace
使用 Visual Studio Agent 2010 进行负载压力测试的安装指南
MonoMac 1.0正式发布
Shawn Wildermuth的《Architecting WP7 》系列文章
使用.NET Mobile API即51Degrees.mobi检测UserAgent
MongoDB 客户端 MongoVue
- 最新文章
-
ASP.NET MVC通过OAuth调用Google API获取用户信息
[ASP.NET MVC]让Html.RenderAction支持Lamda表达式
HttpClient + ASP.NET Web API, WCF之外的另一个选择
用NuGet.Server管好自家的包包
KeyValue Coding(KVC),KeyValue Observing(KVO)和Cocoa Bindings for MonoMac
[腾讯社区开放平台]介绍开放授权协议OAuth
Cocoa编程学习笔记之MVC
Windows远程桌面连接Mac OS X
REST In WCF4.0
开源Mono框架将C#编程带到iPhone、Android和Wii
- 热门文章
-
用LogParser对IIS 日志进行分析
2011 ASP.NET/IIS MVP
微软网站提供的8本英文原版书电子版
使用API Key验证WCF Data Service
自定义Appfabric Cache 配置提供程序
微软发布 Windows Server 2008 R2 with Service Pack 1 180天 评估版
大规模实时数据处理openPDC
使用Topshelf 5步创建Windows 服务
Windows主机管理系统Websitepanel
Windows Server 2008 R2 Server Core 的 Microsoft .NET Framework 4安装程序