在 .net core 中使用 swagger 生成接口文档跟在 asp.net 中使用方式一样,但把 swagger 添加到项目中不在生成SwaggerConfig.cs 文件 ,需自己配置。
项目引入Swagger
我这里安装的是VS2017, 当然 VS Code也是可以的。 Nuget安装Swagger的命令是:
Install-Package Swashbuckle.AspNetCore -Pre
注意:Nuget包管理添加时一定要注意选择的时候 选择 Swashbuckle.AspNetCore 默认的 Swashbuckle 不支持 asp.net core
基于asp.net core 的中间件机制, Swagger也需要加入到中间件服务的列表中, 这样才可以启用Swagger。在 Startup.cs 中的 ConfigureServices 跟 Configure 方法添加 Swagger 代码如下:
public void ConfigureServices(IServiceCollection services)
        {
            services.AddMvc();
            //添加Swagger.
            services.AddSwaggerGen(c =>
            {
                c.SwaggerDoc("v1", new Info { Title = "DemoAPI", Version = "v1" });
            });
        }

        // This method gets called by the runtime. Use this method to configure the HTTP request pipeline.
        public void Configure(IApplicationBuilder app, IHostingEnvironment env)
        {
            if (env.IsDevelopment())
            {
                app.UseDeveloperExceptionPage();
            }

            app.UseMvc();
            //配置Swagger
            app.UseSwagger();
            app.UseSwaggerUI(c =>
            {
                c.SwaggerEndpoint("/swagger/v1/swagger.json", "DemoAPI V1");
            });
        }
修改Web API项目首页重定向
根据需要,找到项目 Properties下的 launchSettings.json 文件,比如修改IIS Express节点下的launchUrl,将其改为下图中的值,这样启动时就重定向到指定的地址
  "profiles": {
    "IIS Express": {
      "commandName": "IISExpress",
      "launchBrowser": true,
      "launchUrl": "swagger",
      "environmentVariables": {
        "ASPNETCORE_ENVIRONMENT": "Development"
      }
    },
配置 Swagger UI
安装好 Swagger 之后,在需要生成 API 文档的项目当中勾选 XML documentation file. (这个的主要功能是将注释方法使干什么的 参数的限制显示出来)

之后我们需要在 StartUp 当中配置 Swagger 相关的设置。
        public void ConfigureServices(IServiceCollection services)
        {
            services.AddMvc().SetCompatibilityVersion(CompatibilityVersion.Version_2_1);

            services.AddSwaggerGen(options =>
            {
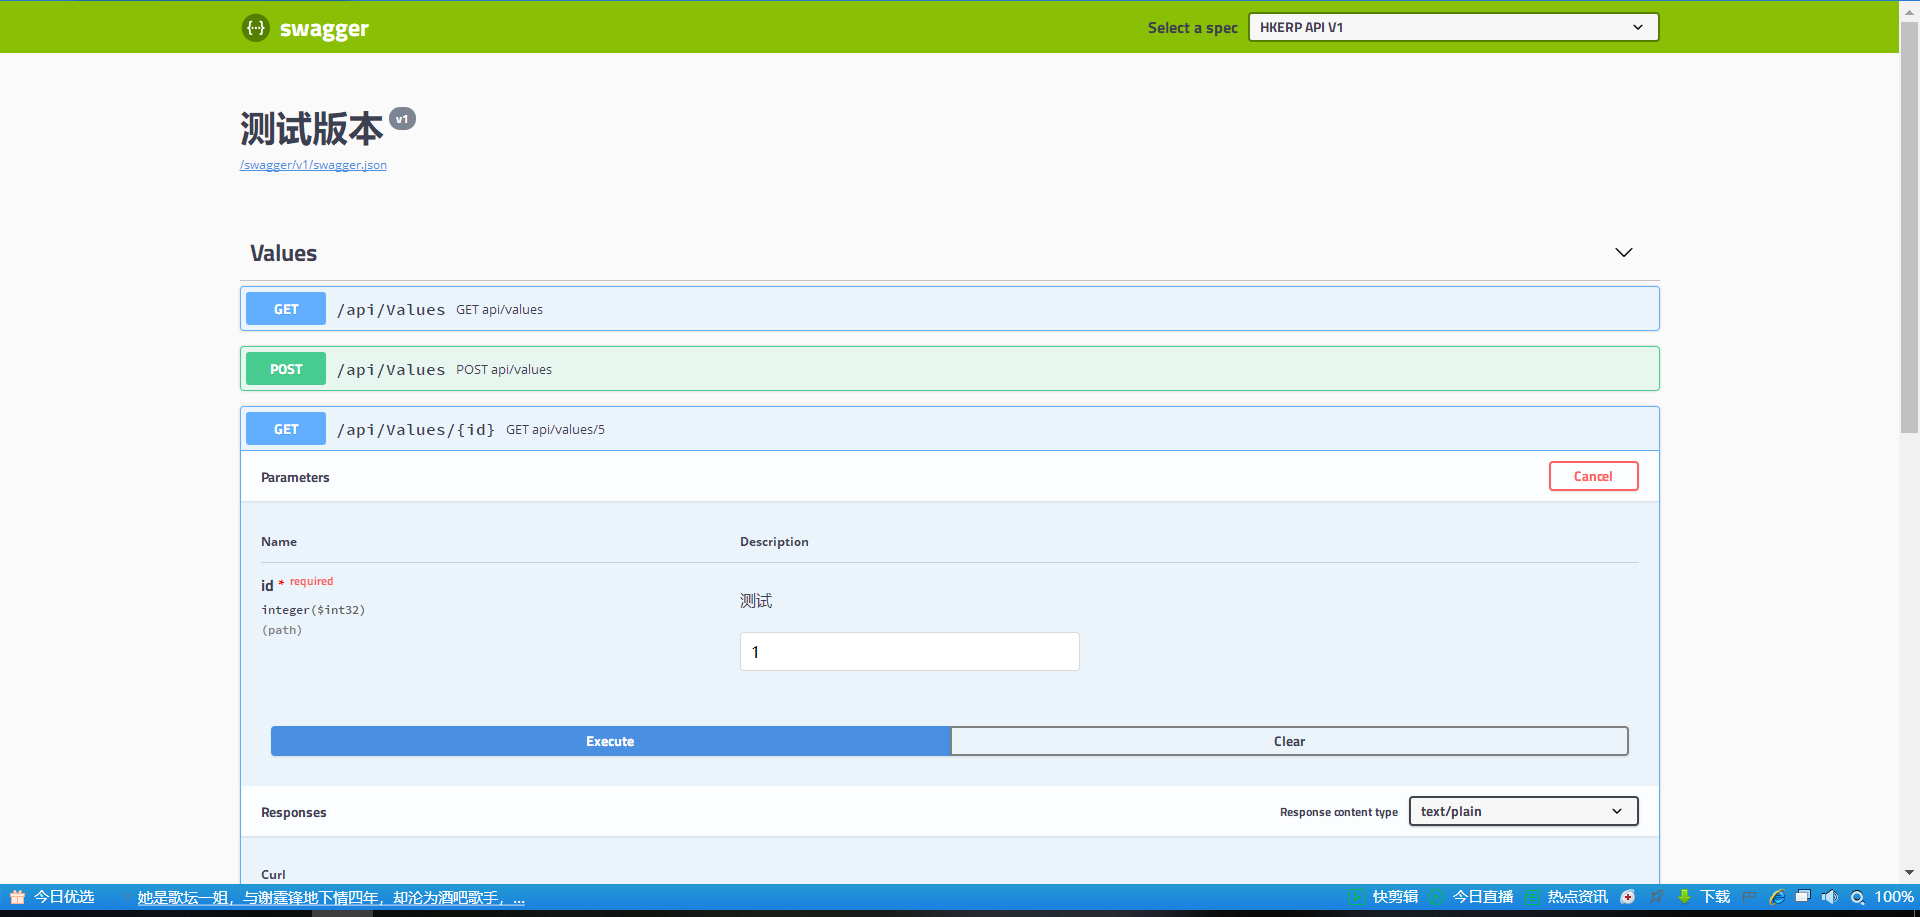
                options.SwaggerDoc("v1", new Info() { Title = "测试版本", Version = "v1" });

                options.CustomSchemaIds(type => type.FullName); // 解决相同类名会报错的问题

                options.IncludeXmlComments(Path.Combine(Directory.GetCurrentDirectory(), "Centa.Data.SwaggerTest.XML")); // 标注要使用的 XML 文档
            });
        }
编写完成之后我们运行项目,访问 swagger 的页面就会显示成功了:
