Junit Test
1.在eclipse中新建一个功能为hello world 的项目,命名为“han_ven72”
2.根据教程将JUnit4单元测试包引入了这个项目

3.分别新建一个helloworld类和test类,分别命名为“ven”和“venTest”
p.s 按照正常顺序起个名字一直点就好。。
4.分别向“ven”和“venTest”中编写代码
ven:
public class ven
{
    public String sayHello(){
        return "Hello han_ven72";
    }
    public static void main(String args[])
    {
        ven v = new ven();
        System.out.println(v.sayHello());
    }

}
venTest:
 1 import junit.framework.TestCase;
 2
 3 public class venTest extends TestCase {
 4     public venTest(String name){
 5         super(name);
 6     }
 7     public static void main(String args[]){
 8         junit.textui.TestRunner.run(venTest.class);
 9     }
10     public void testsayHello(){
11         ven v=new ven();
12         assertEquals("Hello han_ven72", v.sayHello());
13     }
14 }
5.将venTest Run As JUnit Test
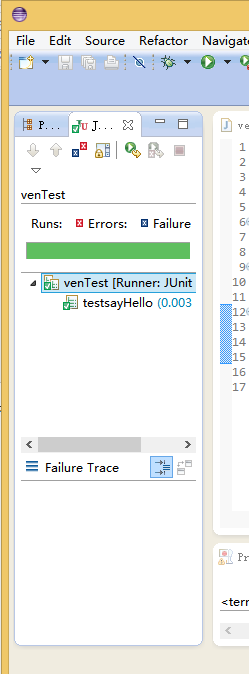
Maven Test
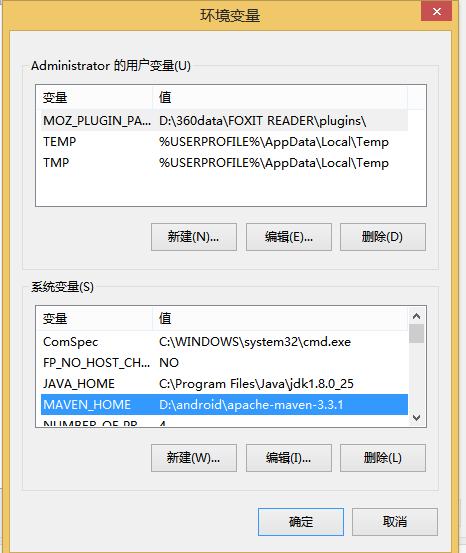
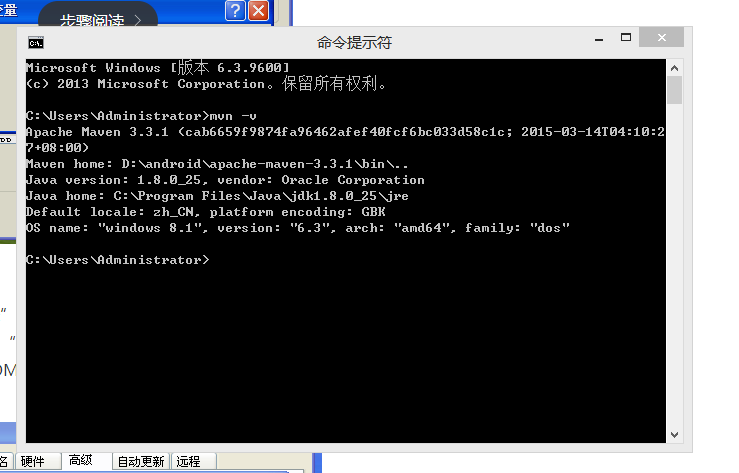
1.根据教程下载安装maven
2.配环境
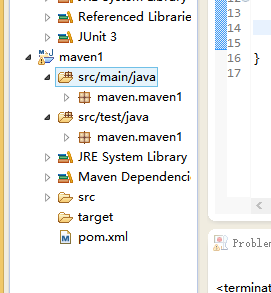
3.在eclipse中新建 Maven 项目
4.分别在“App”,"AppTest"中编写代码
App:
 1 package maven.maven1;
 2
 3 /**
 4  * Hello world!
 5  *
 6  */
 7 public class App
 8 {
 9     public String sayHello(){
10         return "Hello han_ven72";
11     }
12     public static void main( String[] args )
13     {
14         App v = new App();
15         System.out.println(v.sayHello());
16     }
17 }
AppTest:
 1 package maven.maven1;
 2
 3 import junit.framework.Test;
 4 import junit.framework.TestCase;
 5 import junit.framework.TestSuite;
 6
 7 /**
 8  * Unit test for simple App.
 9  */
10 public class AppTest
11     extends TestCase
12 {
13     /**
14      * Create the test case
15      *
16      * @param testName name of the test case
17      */
18     public AppTest( String testName )
19     {
20         super( testName );
21     }
22
23     /**
24      * @return the suite of tests being tested
25      */
26     public static Test suite()
27     {
28         return new TestSuite( AppTest.class );
29     }
30
31     /**
32      * Rigourous Test :-)
33      */
34     public void testApp()
35     {
36         assertTrue( true );
37     }
38
39     public void testsayHello(){
40         App n = new App();
41         String result = n.sayHello();
42         assertEquals("Hello han_ven72",result);
43     }
44 }
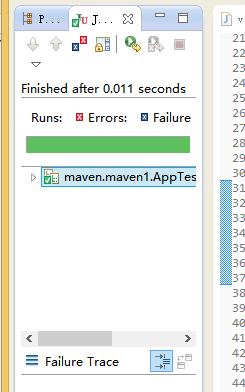
5.将Maven Run As JUnit Test
以上步骤即在教程和大神的帮助下完成的Junit Test AND Maven Test