1.安装electron
npm install electron -g //全局
2.建立主线程 main.js


// Modules to control application life and create native browser window
const { app, BrowserWindow, globalShortcut } = require('electron')

// Keep a global reference of the window object, if you don't, the window will
// be closed automatically when the JavaScript object is garbage collected.
let mainWindow

function createWindow() {
    // Create the browser window.
    mainWindow = new BrowserWindow({
         800,
        height: 600,
        webPreferences: {
            nodeIntegration: true
        }
    })

    //注册F12打开调试工具,但是F12可能冲突不起作用,自定义alt+c
    globalShortcut.register('Alt+c', () => {
        if (mainWindow != null) {
            mainWindow.openDevTools();
        }
    })

    mainWindow.setProgressBar(0.5)//设置进度条
    // 设置背景色
    mainWindow.setBackgroundColor('#FF0')

    // and load the index.html of the app.
    mainWindow.loadURL(`file://${__dirname}/index.html`)
    mainWindow.webContents.openDevTools()//开启调试窗口
    // 弹出列表
    app.setUserTasks([
        {
            program: process.execPath,
            arguments: '--new-window',
            iconPath: process.execPath,
            iconIndex: 0,
            title: 'new Window',
            description: 'create a new window'
        }
    ])

    //闪烁框
    mainWindow.once('focus', () => mainWindow.flashFrame(false));
    mainWindow.flashFrame(true)

    //任务栏图标叠加

    // mainWindow.setOverlayIcon('path/to/overlay.png', 'Description for overlay')


    // Open the DevTools.
    // mainWindow.webContents.openDevTools()

    // Emitted when the window is closed.
    mainWindow.on('closed', function () {
        // Dereference the window object, usually you would store windows
        // in an array if your app supports multi windows, this is the time
        // when you should delete the corresponding element.
        mainWindow = null
    })
}

/**
 * 支持chrome命令开关
 * 在ready生效之前
 */
app.commandLine.appendSwitch('remote-debugging-port', '8315')
app.commandLine.appendSwitch('host-rules', 'MAP*127.0.0.1')

// This method will be called when Electron has finished
// initialization and is ready to create browser windows.
// Some APIs can only be used after this event occurs.
app.on('ready', createWindow)

// Quit when all windows are closed.
app.on('window-all-closed', function () {
    // On macOS it is common for applications and their menu bar
    // to stay active until the user quits explicitly with Cmd + Q
    if (process.platform !== 'darwin') app.quit()
})

app.on('activate', function () {
    // On macOS it's common to re-create a window in the app when the
    // dock icon is clicked and there are no other windows open.
    if (mainWindow === null) createWindow()
})

// In this file you can include the rest of your app's specific main process
// code. You can also put them in separate files and require them here.
3.新建package.json
{
    "name": "demo",
    "productName": "test-app",
    "author": "作者",
    "version": "1.0.4",
    "main": "main.js",
    "description": "项目描述",
    "scripts": {
        "pack": "electron-builder --dir",
        "dist": "electron-builder"
    },
    "build": {
        "electronVersion": "1.8.4",
        "win": {
            "requestedExecutionLevel": "highestAvailable",
            "target": [
                {
                    "target": "nsis",
                    "arch": [
                        "x64"
                    ]
                }
            ]
        },
        "appId": "demo",
        "artifactName": "demo-${version}-${arch}.${ext}",
        "nsis": {
            "artifactName": "demo-${version}-${arch}.${ext}"
        },
        "extraResources": [
            {
                "from": "./static/xxxx/",
                "to": "app-server",
                "filter": [
                    "**/*"
                ]
            }
        ],
        "publish": [
            {
                "provider": "generic",
                "url": "http://xxxxx/download/"
            }
        ]
    },
    "dependencies": {
        "core-js": "^2.4.1",
        "electron-packager": "^12.1.0",
        "electron-updater": "^4.0.6"
    },
    "devDependencies": {
        "electron-builder": "^20.39.0",
        "electron-debug": "^2.2.0",
        "electron-devtools-installer": "^2.2.4"
    }
}
3.electron+vue
@vue-cli3.X下 新建vue.config.js,配置 ,publicPath:‘./’,必须添加 '.'
将vue项目yarn build打包后,在dist文件下 新建package.json以及main.js文件,然后npm install初始化,再运行 electron . 就可以运行electron项目,运用electron builder打包项目
module.exports = {
    // 基本路径
    publicPath: './',
    // 输出文件目录
    outputDir: 'dist',
    // eslint-loader 是否在保存的时候检查
    lintOnSave: true,
    // webpack配置
    // see https://github.com/vuejs/vue-cli/blob/dev/docs/webpack.md
    chainWebpack: () => { },
    configureWebpack: () => { },
    // 生产环境是否生成 sourceMap 文件
    productionSourceMap: true,
    // css相关配置
    css: {
        // 是否使用css分离插件 ExtractTextPlugin
        extract: true,
        // 开启 CSS source maps?
        sourceMap: false,
        // css预设器配置项
        loaderOptions: {},
        // 启用 CSS modules for all css / pre-processor files.
        modules: false
    },
    // use thread-loader for babel & TS in production build
    // enabled by default if the machine has more than 1 cores
    parallel: require('os').cpus().length > 1,
    // PWA 插件相关配置
    // see https://github.com/vuejs/vue-cli/tree/dev/packages/%40vue/cli-plugin-pwa
    pwa: {},
    // webpack-dev-server 相关配置
    devServer: {
        open: process.platform === 'darwin',
        host: '0.0.0.0',
        port: 3366,
        https: false,
        hotOnly: false,
        proxy: null, // 设置代理
        before: app => { }
    },
    // 第三方插件配置
    pluginOptions: {
        // ...
    }
}
4.打包 运用electron-builder,必须install在dev下;
npm install electron-builder --save-dev
5.electron 注册全局快捷键
注册打开调试工具,因为F12可能冲突,显示无效,可自定义补充的快捷键组合
const {globalShortcut}  = require('electron')

globalShortcut.register('Alt+c', () => {
        if (mainWindow != null) {
            mainWindow.openDevTools();
        }
    })
6.修改electron打包图标
在package,json下的build下写入
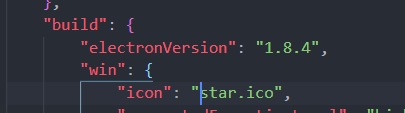
注意:icon大小为256*256的ico格式的文件;然后electron-builder后图标就改变了;
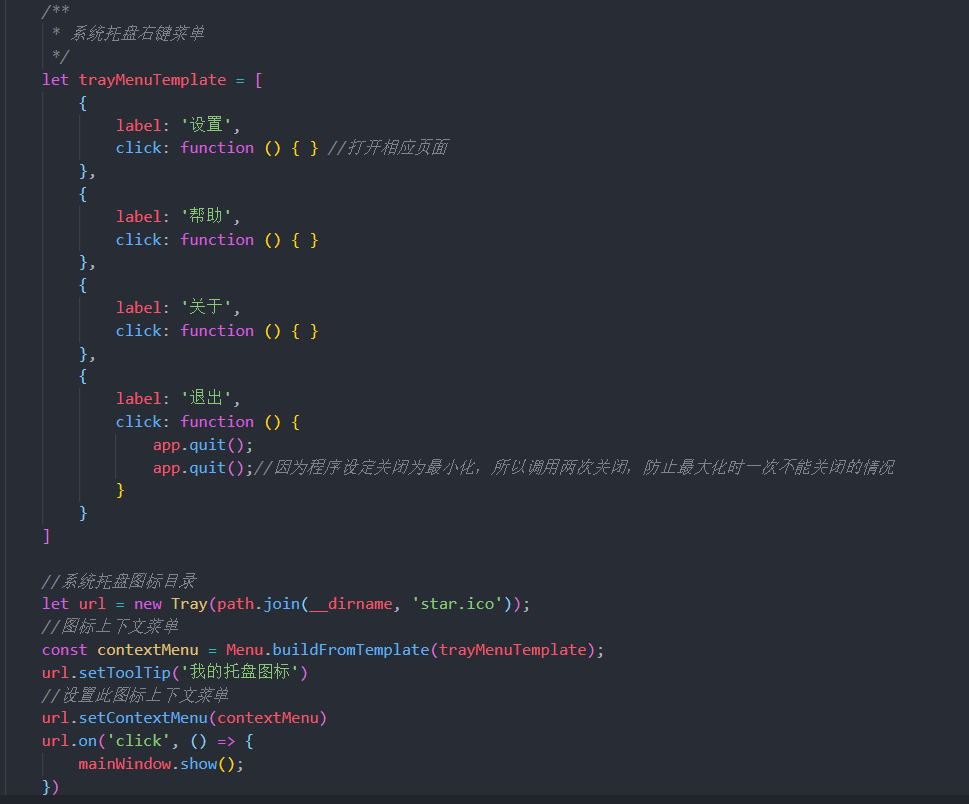
7.修改electron托盘图标
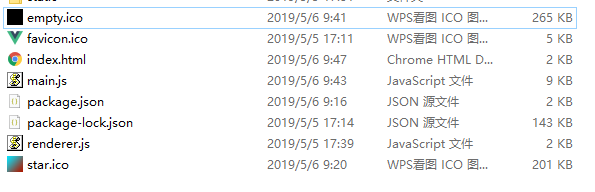
8.主进程与渲染进程通信,托盘图标闪烁,(新建一个透明的256*256的图片)
*main.js
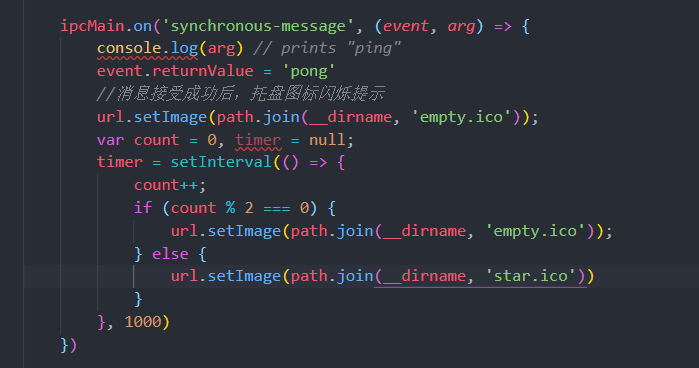
renderer.js(同步)

点击图标后,窗口显示。闪烁停止,timer设置为全局变量
