2018-2019-2 20175311 实验四《Android开发基础》实验报告
实验要求
- 参考Android开发简易教程
- 完成云班课中的检查点,也可以先完成实验报告,直接提交。注意不能只有截图,要有知识点,原理,遇到的问题和解决过程等说明。
- 实验报告中一个检查点要有多张截图。发表实验报告博客,标题“学期(如2018-2019-2) 学号(如20175300) 实验四《Android开发基础》实验报告”
实验步骤
实验一
- 参考http://www.cnblogs.com/rocedu/p/6371315.html#SECANDROID,安装 Android Stuidio
- 完成Hello World, 要求修改res目录中的内容,Hello World后要显示自己的学号,自己学号前后一名同学的学号,提交代码运行截图和码云Git链接,截图没有学号要扣分
- 学习Android Stuidio调试应用程序
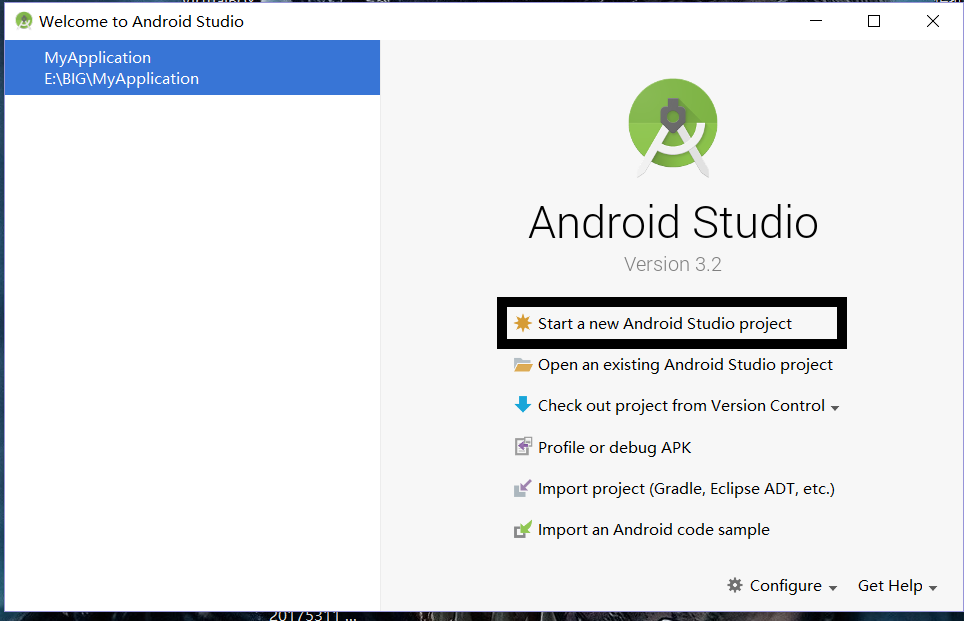
下载AndroidStudio软件并按照博客的要求进行安装。
点开图一中的新建项目即可新建。
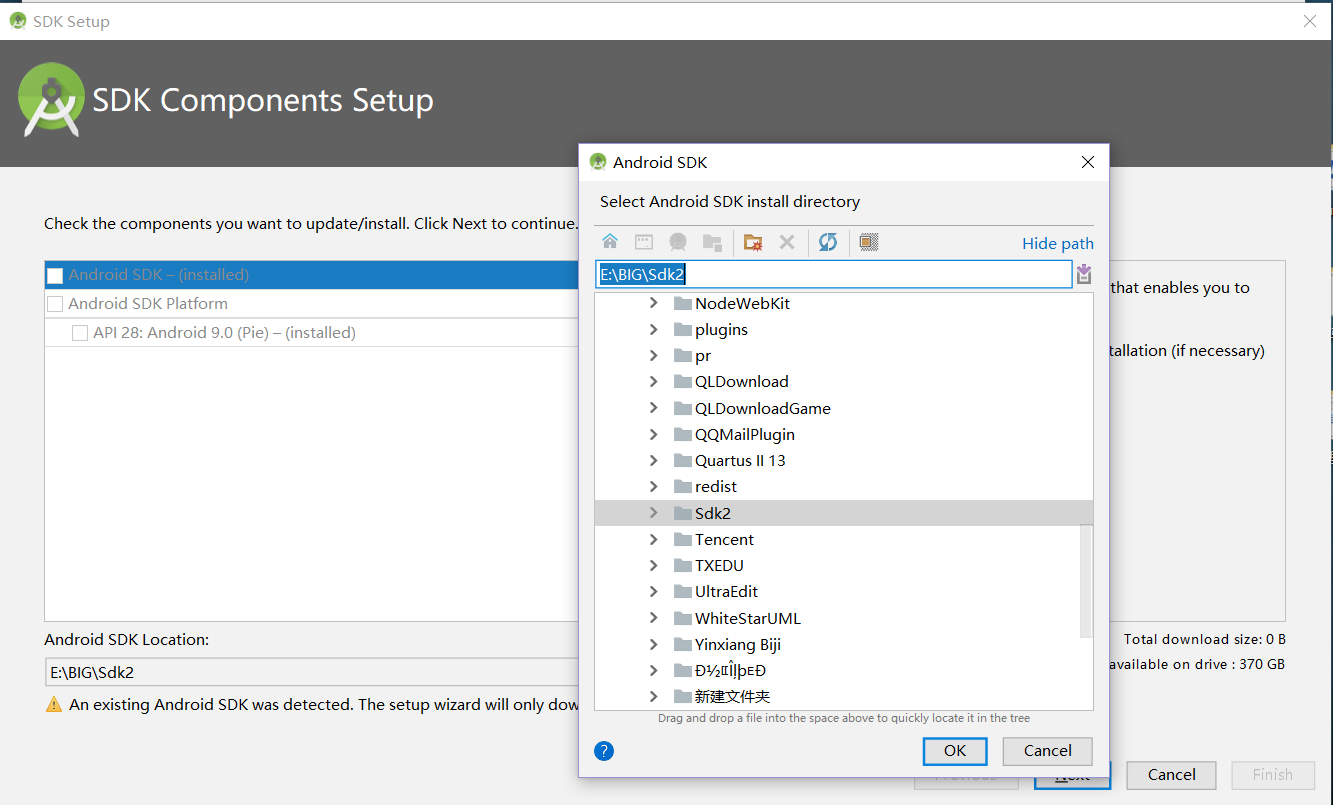
有几点需要注意的地方,我们需要记住SDK的安装路径。我是装在E盘下的BIG文件夹的sdk2。

安装后出现了gradle文件找不到的情况

我们找到gradle-wrapper.properties文件并打开。
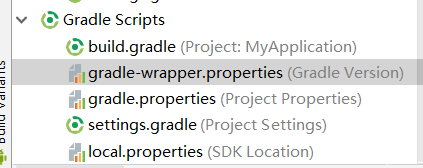
得到的就是这张图片,我们将上面的网址进行复制,在Google中下载gradle-4.6-all.zip,重新安装在gradle文件夹中,重启AndroidStudio即可恢复。


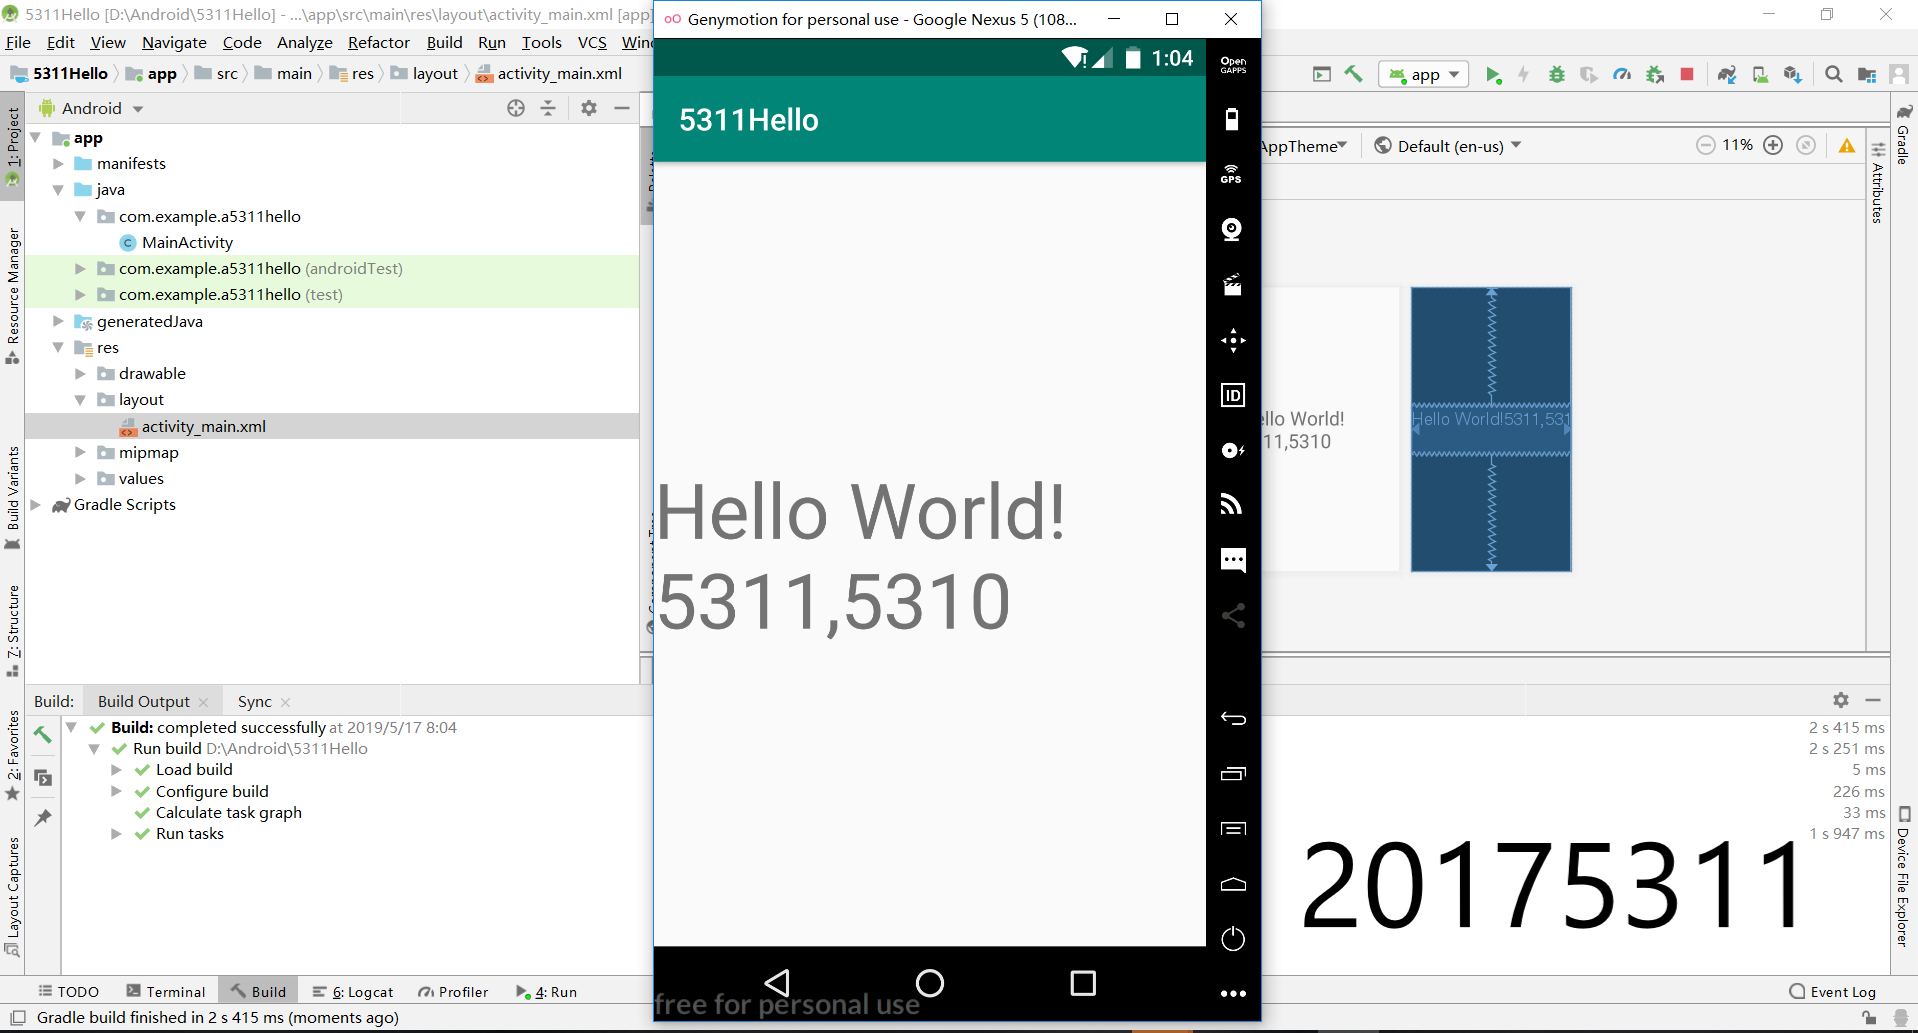
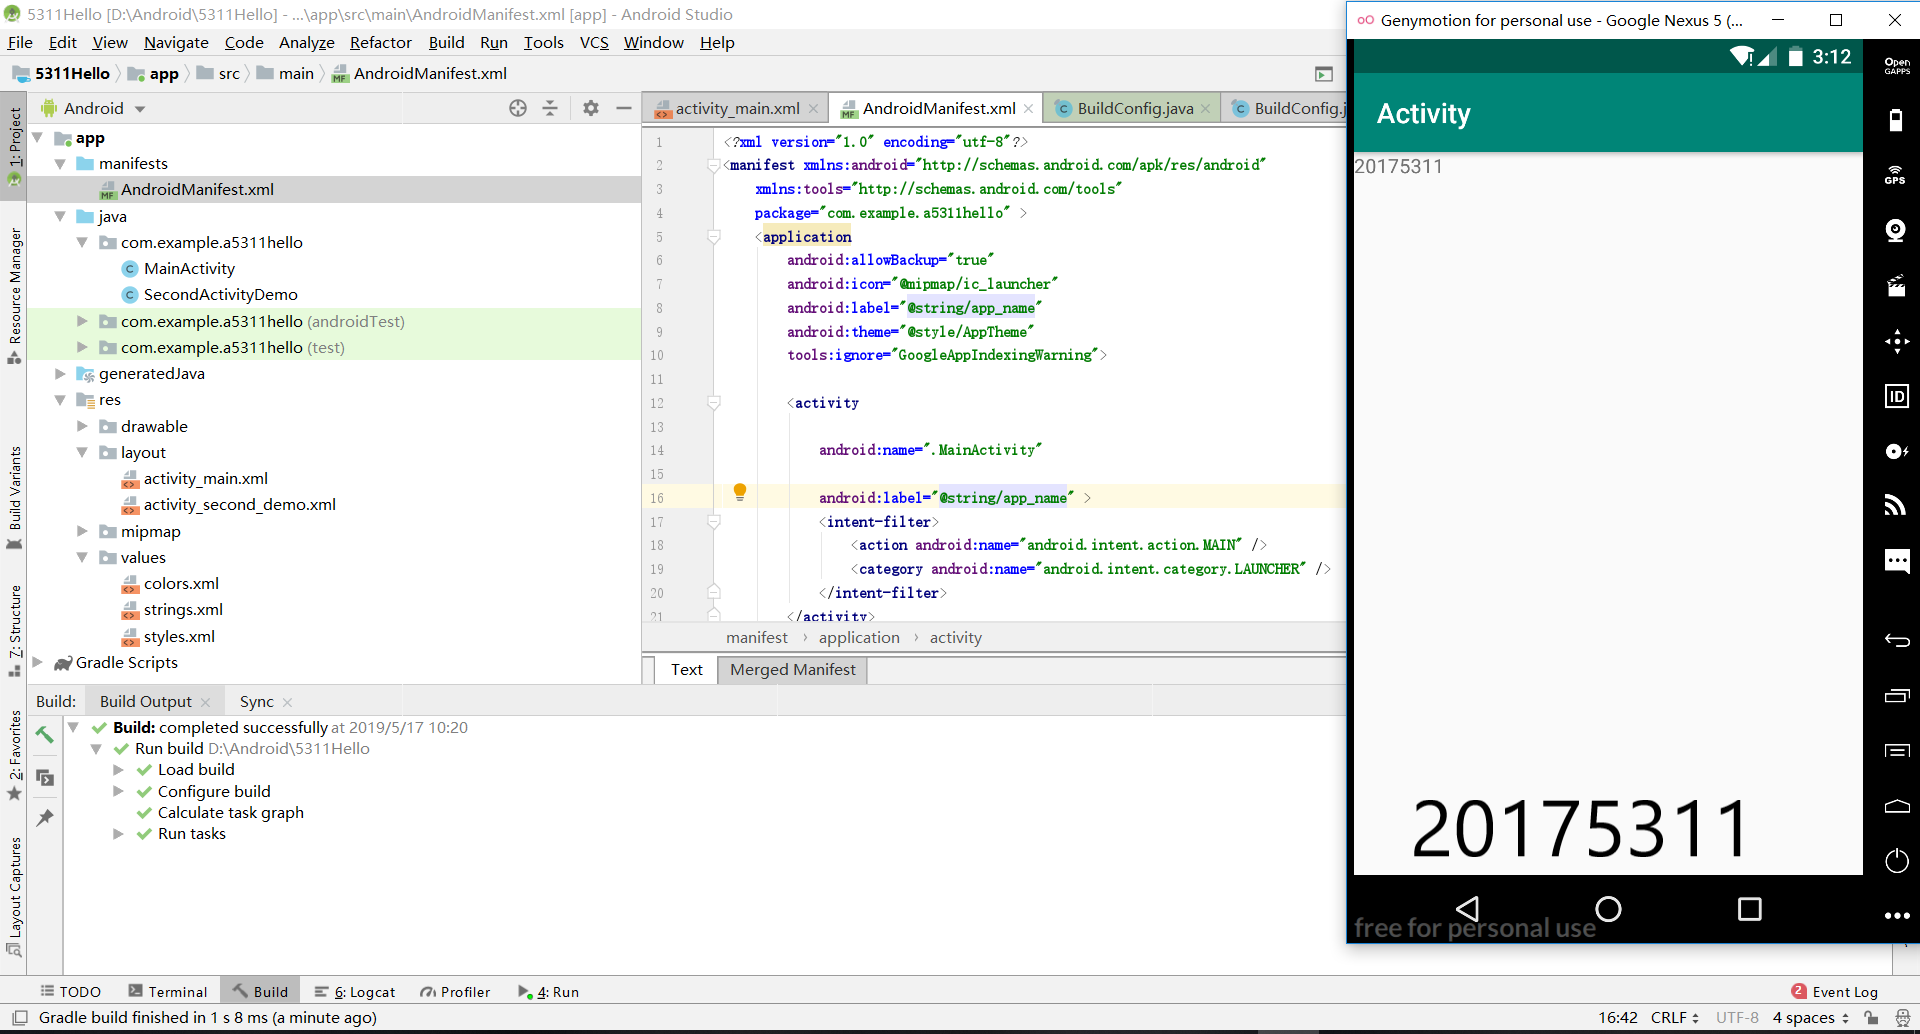
- 将布局文件activity_main.xml中text的android:text="Hello World!"改为android:text="Hello World! 20175310 20175311 20175312
实验代码如下
<?xml version="1.0" encoding="utf-8"?> <android.support.constraint.ConstraintLayout xmlns:android="http://schemas.android.com/apk/res/android" xmlns:app="http://schemas.android.com/apk/res-auto" xmlns:tools="http://schemas.android.com/tools" android:layout_width="match_parent" android:layout_height="match_parent" tools:context=".MainActivity"> <TextView android:layout_width="wrap_content" android:layout_height="wrap_content" android:text="Hello World!20175204 20175205 20175206" app:layout_constraintBottom_toBottomOf="parent" app:layout_constraintLeft_toLeftOf="parent" app:layout_constraintRight_toRightOf="parent" app:layout_constraintTop_toTopOf="parent" /> </android.support.constraint.ConstraintLayout>
运行结果
实验二
Activity测试: 参考《Java和Android开发学习指南(第二版)(EPUBIT,Java for Android 2nd)》第二十五章:
- 构建项目,运行教材相关代码
- 创建 ThirdActivity, 在ThirdActivity中显示自己的学号,修改代码让MainActivity启动ThirdActivity
- 提交代码运行截图和码云Git链接,截图要有学号水印,否则会扣分
在activity_main.xml中代码如下
<?xml version="1.0" encoding="utf-8"?> <android.support.constraint.ConstraintLayout xmlns:android="http://schemas.android.com/apk/res/android" xmlns:app="http://schemas.android.com/apk/res-auto" xmlns:tools="http://schemas.android.com/tools" android:layout_width="match_parent" android:layout_height="match_parent" tools:context=".MainActivity"> <Button android:id="@+id/button1" android:layout_width="fill_parent" android:layout_height="wrap_content" android:text="启动另一个activity" tools:ignore="MissingConstraints" /> <TextView android:layout_width="wrap_content" android:layout_height="wrap_content" android:layout_marginEnd="80dp" android:layout_marginRight="80dp" android:text="Hello!20175105 20175120" app:layout_constraintBottom_toBottomOf="parent" app:layout_constraintEnd_toEndOf="parent" app:layout_constraintLeft_toLeftOf="parent" app:layout_constraintRight_toRightOf="parent" app:layout_constraintTop_toTopOf="parent" tools:text="Hello World!20175311 20175312" /> </android.support.constraint.ConstraintLayout>
在MainActivity.class中具体代码如下
package com.example.helloworld; import android.app.Activity; import android.content.Intent; import android.os.Bundle; import android.view.View; import android.view.View.OnClickListener; import android.widget.Button; public class MainActivity extends Activity { private Button button1; @Override protected void onCreate(Bundle savedInstanceState) { super.onCreate(savedInstanceState); setContentView(R.layout.activity_main); button1 = (Button) findViewById(R.id.button1); button1.setOnClickListener(new OnClickListener() { @Override public void onClick(View v) { Intent intent = new Intent( MainActivity.this, SecondActivityDemo.class); // 创建一个Intent对象 startActivity(intent); } }) ;} }
实验结果

实验三
UI测试: 参考《Java和Android开发学习指南(第二版)(EPUBIT,Java for Android 2nd)》第二十六章:
- 构建项目,运行教材相关代码
- 修改代码让Toast消息中显示自己的学号信息
- 提交代码运行截图和码云Git链接,截图要有学号水印,否则会扣分
具体代码如下
package com.example.helloworld; import android.app.Activity; import android.content.Intent; import android.os.Bundle; import android.view.View; import android.view.View.OnClickListener; import android.widget.Button; import android.widget.Toast; public class MainActivity extends Activity { private Button button1; @Override protected void onCreate(Bundle savedInstanceState) { super.onCreate(savedInstanceState); setContentView(R.layout.activity_main); Toast.makeText(MainActivity.this, "20175105!", Toast.LENGTH_SHORT).show(); button1 = (Button) findViewById(R.id.button1); button1.setOnClickListener(new OnClickListener() { @Override public void onClick(View v) { Intent intent = new Intent( MainActivity.this, SecondActivityDemo.class); // 创建一个Intent对象 startActivity(intent); } }) ;} }
实验截图

实验四
布局测试: 参考《Java和Android开发学习指南(第二版)(EPUBIT,Java for Android 2nd)》第二十七章:
- 构建项目,运行教材相关代码
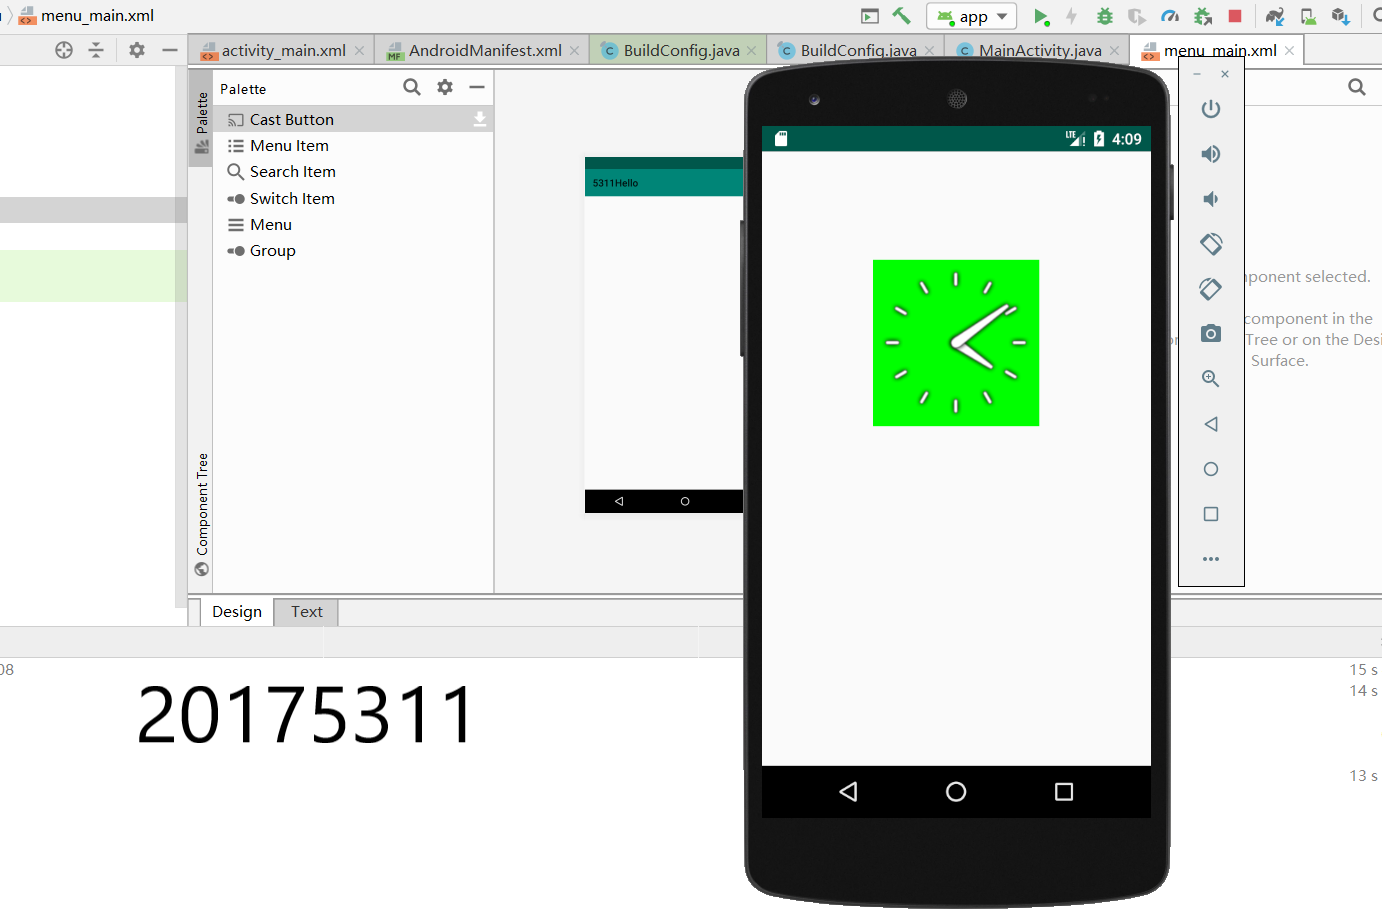
- 修改布局让P290页的界面与教材不同
- 提交代码运行截图和码云Git链接,截图要有学号水印,否则会扣分
实验截图

实验五
事件处理测试: 参考《Java和Android开发学习指南(第二版)(EPUBIT,Java for Android 2nd)》第二十八章:
- 构建项目,运行教材相关代码
- 提交代码运行截图和码云Git链接,截图要有学号水印,否则会扣分
实验截图
实验要求
本次实验我学习到了许多东西,AndroidStudio居然可以模拟一个虚拟手机的用途,功能实在强大。为了装这个软件,我也因此花了不少心血。希望之后的实验能够越来越好。