一 前期准备
1.1 依赖准备
编译安装需要依赖的包,如gcc等:
yum -y install gcc gcc-c++ make glibc kernel-devel kernel-headers autoconf automake libtool glib2-devel libxml2 libxml2-devel libxslt-devel libtool-ltdl-devel wget asciidoc libuuid-devel bzip2 bzip2-devel e2fsprogs-devel net-snmp
1.2 环境准备
防火墙及SELinux关闭;
时钟同步,ntp配置;
相关主机名配置,如下所示:
  1 # hostnamectl set-hostname  master1.yewu.com
  2 # hostnamectl set-hostname  master2.yewu.com	#分别配置主机名
  3 # /etc/hosts
  4 127.0.0.1 localhost.localdomain localhost
  5 #public ip						#业务host解析
  6 192.168.88.100 master1.yewu.com master1
  7 192.168.88.101 master2.yewu.com master2
  8
  9 #private ip						#Heartbeat心跳解析
 10 192.168.77.100 master1-private.ha.com master1-private
 11 192.168.77.101 master2-private.ha.com master2-private
提示:内网环境为了方便解析,在所有节点分别对业务和用于检测心跳的地址添加解析。
1 [root@master1 ~]# ifconfig |grep eth[0-9] -A1 #确认相应IP地址
配置互免秘钥:(建议项)
  1 [root@master1 ~]# ssh-keygen -t rsa -f ~/.ssh/id_rsa -P ''
  2 [root@master1 ~]# ssh-copy-id -i ./.ssh/id_rsa.pub root@192.168.88.101
  3 [root@master2 ~]# ssh-keygen -t rsa -f ~/.ssh/id_rsa -P ''
  4 [root@master2 ~]# ssh-copy-id -i ./.ssh/id_rsa.pub root@192.168.88.100
二 正式安装Heartbeat
2.1 下载相应包
所有相关包见:http://linux-ha.org/wiki/Download
  1 [root@master1 ~]# wget http://hg.linux-ha.org/glue/archive/0a7add1d9996.tar.bz2
  2 [root@master1 ~]# wget http://hg.linux-ha.org/heartbeat-STABLE_3_0/archive/958e11be8686.tar.bz2
  3 [root@master1 ~]# wget https://github.com/ClusterLabs/resource-agents/archive/v3.9.6.tar.gz
提示:master2节点参考以上操作即可。
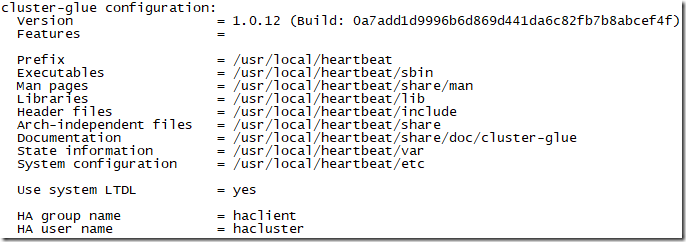
2.2 安装cluster-glue
  1 [root@master1 ~]# groupadd haclient
  2 [root@master1 ~]# useradd -g haclient hacluster
  3 [root@master1 ~]# tar xf 0a7add1d9996.tar.bz2
  4 [root@master1 ~]# mv Reusable-Cluster-Components-glue--0a7add1d9996/ cluster_glue
  5 [root@master1 ~]# cd cluster_glue/
  6 [root@master1 cluster_glue]# ./autogen.sh
  7 [root@master1 cluster_glue]# ./configure --prefix=/usr/local/heartbeat --with-daemon-user=hacluster --with-daemon-group=haclient --enable-fatal-warnings=no LIBS='/lib64/libuuid.so.1'
1 [root@master1 cluster_glue]# make && make install
提示:heartbeat依赖于cluster-glue,因此必须先安装cluster-glue;master2节点参考以上操作即可。
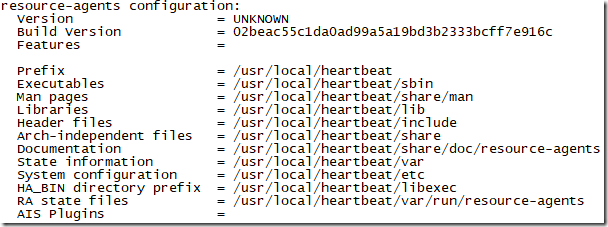
2.3 安装Resource Agents
  1 [root@master1 ~]# tar xf v3.9.6.tar.gz
  2 [root@master1 ~]# cd resource-agents-3.9.6/
  3 [root@master1 resource-agents-3.9.6]# ./autogen.sh
  4 [root@master1 resource-agents-3.9.6]# ./configure --prefix=/usr/local/heartbeat --with-daemon-user=hacluster --with-daemon-group=haclient --enable-fatal-warnings=no LIBS='/lib64/libuuid.so.1'
1 [root@master1 resource-agents-3.9.6]# make && make install
提示:master2节点参考以上操作即可;
若提示configure: error: C compiler cannot create executables或类似Cluster Glue等so文件未找到,可通过以下方式解决:
  1 ln -s  /usr/local/heartbeat/lib/* /lib/
  2 ln -s  /usr/local/heartbeat/lib/* /lib64/	#将生成的动态库,添加快捷方式到/lib下
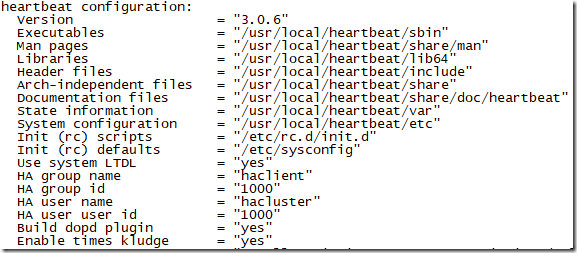
2.4 安装Heartbeat
  1 [root@master1 ~]# tar xf 958e11be8686.tar.bz2
  2 [root@master1 ~]# export CFLAGS="$CFLAGS -I/usr/local/heartbeat/include -L/usr/local/heartbeat/lib"
  3 [root@master1 ~]# cd Heartbeat-3-0-958e11be8686/
  4 [root@master1 Heartbeat-3-0-958e11be8686]# ./bootstrap
  5 [root@master1 Heartbeat-3-0-958e11be8686]# ./configure --prefix=/usr/local/heartbeat --with-daemon-user=hacluster --with-daemon-group=haclient --enable-fatal-warnings=no LIBS='/lib64/libuuid.so.1'
1 [root@master1 Heartbeat-3-0-958e11be8686]# make && make install
提示:master2节点参考以上操作即可;
若提示configure: error: in `/root/Heartbeat-3-0-958e11be8686',可通过以下方式解决,然后再次configure即可。:
export CFLAGS="$CFLAGS -I/usr/local/heartbeat/include -L/usr/local/heartbeat/lib"
make
提示:若提示glue_config.h:105:1: error: “HA_HBCONF_DIR” redefined,是由于glue和heartbeat的版本不兼容引起,可通过以下方式解决:
删除或注释掉/usr/local/heartbeat/include/heartbeat/glue_config.h的最后一行
错误2: gmake[1]: *** [strlcpy.lo] Error 1
解决:将 /usr/local/heartbeat/include/heartbeat/glue_config.h的105行 #define HA_HBCONF_DIR "/usr/local/heartbeat/etc/ha.d" 删除或注释掉
2.5 Heartbeat优化
  1 [root@master1 ~]# cp /root/Heartbeat-3-0-958e11be8686/doc/{ha.cf,haresources,authkeys}
  2 /usr/local/heartbeat/etc/ha.d/			#复制相关配置文件
  3 [root@master1 ~]# chmod 600 /usr/local/heartbeat/etc/ha.d/authkeys
  4 [root@master1 ~]# mkdir -pv /usr/local/heartbeat/usr/lib/ocf/lib/heartbeat/
  5 [root@master1 ~]# cp /usr/lib/ocf/lib/heartbeat/ocf-*
  6 /usr/local/heartbeat/usr/lib/ocf/lib/heartbeat/
  7 [root@master1 ~]# ln -svf /usr/local/heartbeat/lib64/heartbeat/plugins/RAExec/*
  8 /usr/local/heartbeat/lib/heartbeat/plugins/RAExec/
  9 [root@master1 ~]# ln -svf /usr/local/heartbeat/lib64/heartbeat/plugins/*
 10 /usr/local/heartbeat/lib/heartbeat/plugins/
 11 [root@master1 ~]# chkconfig --add heartbeat		#CentOS7可省略
 12 [root@master1 ~]# systemctl enable heartbeat.service
 13 [root@master1 ~]# systemctl start heartbeat.service
提示:master2节点参考以上操作即可。
三 配置Heartbeat
3.1 安装httpd服务
  1 [root@master1 ~]# yum -y install httpd
  2 [root@master1 ~]# systemctl stop httpd
  3 [root@master1 ~]# systemctl disable httpd		#master2也需要安装
  4 [root@master1 ~]# echo "master1.yewu.com" >>/var/www/html/index.html
  5 [root@master2 ~]# echo "master2.yewu.com" >>/var/www/html/index.html
提示:关闭httpd启动及自启动,从而使httpd基于Heartbeat资源形式唤醒。
3.2 配置authkeys
  1 [root@master1 ~]# vi /usr/local/heartbeat/etc/ha.d/authkeys
  2 auth 3
  3 3 md5 Yes!
3.3 配置Heartbeat
  1 [root@master1 ~]# vi /usr/local/heartbeat/etc/ha.d/ha.cf
  2 logfile /var/log/ha-log		#记录Heartbeat其他相关日志信息
  3 logfacility     local0		#设置heartbeat的日志,这里用的是系统日志
  4 keepalive 2				#设定心跳(监测)时间间隔为2秒
  5 deadtime 15				#宣告死亡时间
  6 warntime 10				#心跳延时时间
  7 initdead 60				#初始化时间
  8 udpport 694				#用于通信的UDP端口
  9 bcast   eth1			#接受广播心跳的网卡接口
 10 ucast eth1 192.168.77.101		#置对方机器心跳检测的IP
 11 auto_failback off			#关闭自动切回恢复正常的主节点
 12 node master1.yewu.com		#集群节点的名称,必须匹配uname -n的结果。
 13 node master2.yewu.com
 14 ping 192.168.88.1
 15 respawn hacluster /usr/local/heartbeat/libexec/heartbeat/ipfail
注意: 主机和备机之间进行心跳检测,当备机无法检测到主机的心跳,则开启vip;
如果主机和备机都没有挂掉,由于通信问题导致相互无法连接,则会出现裂脑,即主备都对外声明了vip,导致数据出现故障 ,因此建议主机和备机间应该采用专门只是用于检测心跳的网卡(网络),其他数据(业务)网络应该独立于此心跳网络。
3.4 配置haresources
  1 [root@master1 ~]# ll /usr/local/heartbeat/etc/ha.d/resource.d/	#查看现有资源类型
  2 [root@master1 ~]# vi /usr/local/heartbeat/etc/ha.d/haresources
  3 master1.yewu.com IPaddr::192.168.88.88/24/eth0 apache
  4 [root@master1 ~]# scp /usr/local/heartbeat/etc/ha.d/{ha.cf,haresources,authkeys} 192.168.88.101:/usr/local/heartbeat/etc/ha.d/		#将所有配置复制至master2节点
  5 [root@master2 ~]# vi /usr/local/heartbeat/etc/ha.d/ha.cf
  6 ucast eth1 192.168.77.100		#置对方机器心跳检测的IP
四 验证Heartbeat
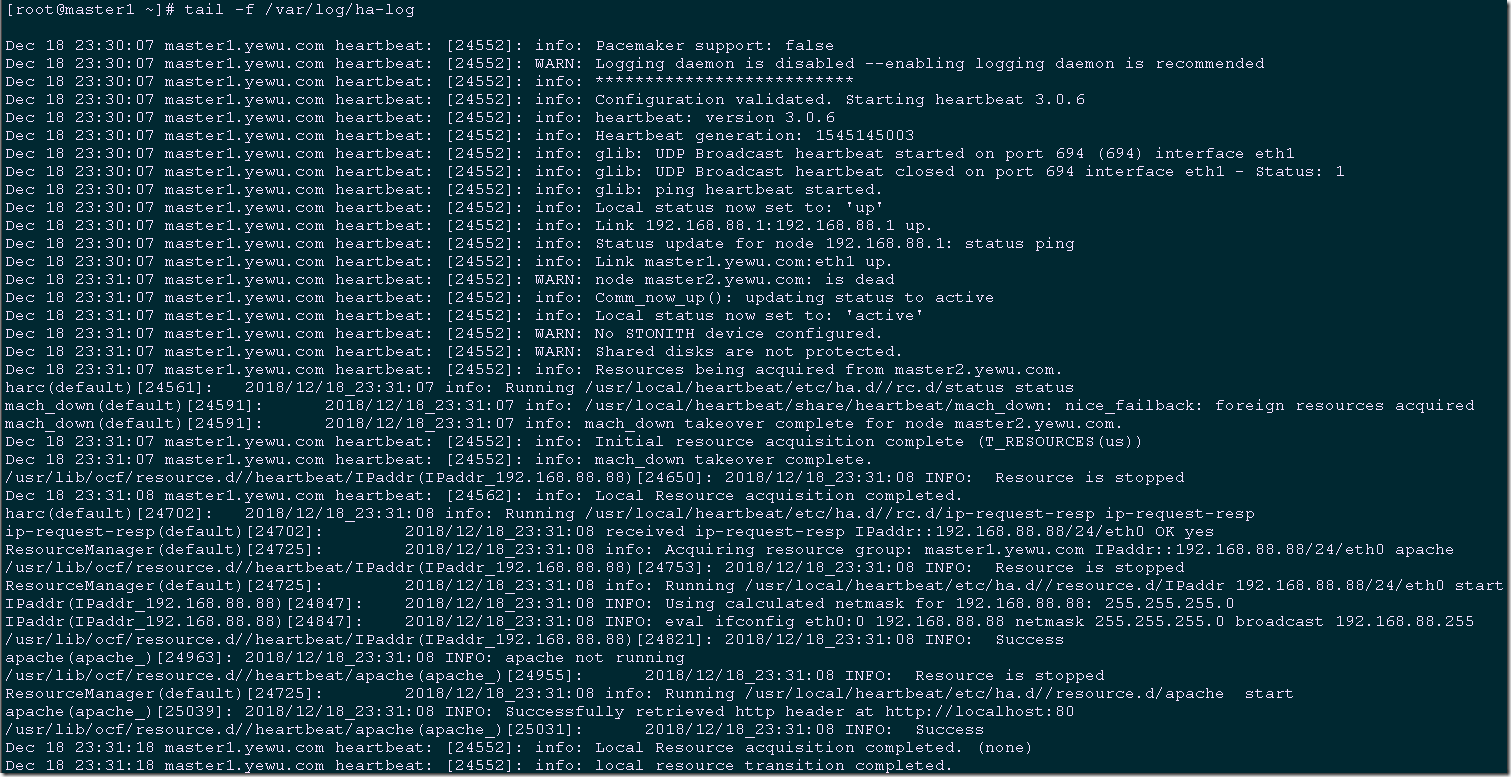
4.1 master1单节点启动验证
  1 [root@master1 ~]# systemctl start heartbeat.service
  2 [root@master1 ~]# tail -f /var/log/ha-log		#验证日志
[root@master1 ~]# ifconfig #查看活的的vip
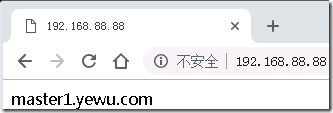
浏览器访问:http://192.168.88.88/
4.2 master2启动并验证
  1 [root@master2 ~]# systemctl start heartbeat.service
  2 [root@master1 ~]# tail -f /var/log/ha-log	#观察master2节点启动后的master1日志
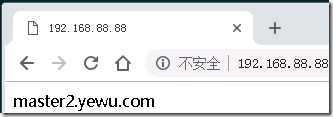
浏览器访问:http://192.168.88.88/
  1 [root@master1 ~]# shutdownr			#模拟master1节点宕机
  2 [root@master2 ~]# ifconfig			#master2节点会自动接管vip
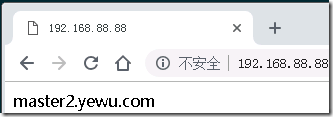
浏览器访问:http://192.168.88.88/ #相关vip已经飘移至mster2
提示:由于配置了auto_failback off,在master1节点恢复后资源依旧会保留至master2节点;
对于集群上节点之间的切换实质上是资源的接管,通常包括VIP分配回收,磁盘卸载挂载,以及服务的启停等;
对于备用节点,其相应的共享磁盘状态为不可读写,服务处于停止状态;
Heartbeat现有项目已拆分,建议使用pacemaker+corosync,可参考RH436相关文档。

