文章出处:https://medium.com/@maiccaejfeng/grafana-%E5%AF%A6%E4%BD%9C-google-oauth2-%E8%BA%AB%E4%BB%BD%E8%AA%8D%E8%AD%89-32bd8e20cc84
使用 Google 的身份認證,就可以用指定的 Google 帳號登入 Grafana!
本篇的目標是,使用者可以用公司發的 Google 帳號(例如 xxx@cyber00rn.org)登入 Grafana 系統,但是別的 Google 帳號(例如自己的 xxx@gmail.com)卻不能登入,以此達到管理者限制可存取 Grafana 系統之使用者、使用者也可以用較為方便的方式登入 Grafana 系統的效果。
一開始嘗試的時候並沒有成功,所以把一些 debug 的過程也記錄了下來,覺得這些 debug 的方法也是很珍貴的學習過程。在最後總結的地方有最後真正可以 work 的設定喔!
來嘗試 Google OAuth2 Authentication
Google OAuth2 Authentication
To enable the Google OAuth2 you must register your application with Google. Google will generate a client ID and secret…
grafana.com
步驟一:去 Google 申請 Client ID 跟 Client Secret
- 到 Google APIs Credentials 頁面,按 Create Credentials 按鈕,從下拉式選單中選擇 OAuth Client ID 這個選項。
- 然後系統頁面出現 “To create an OAuth client ID, you must first set a product name on the consent screen”。按 Configure consent screen 按鈕。
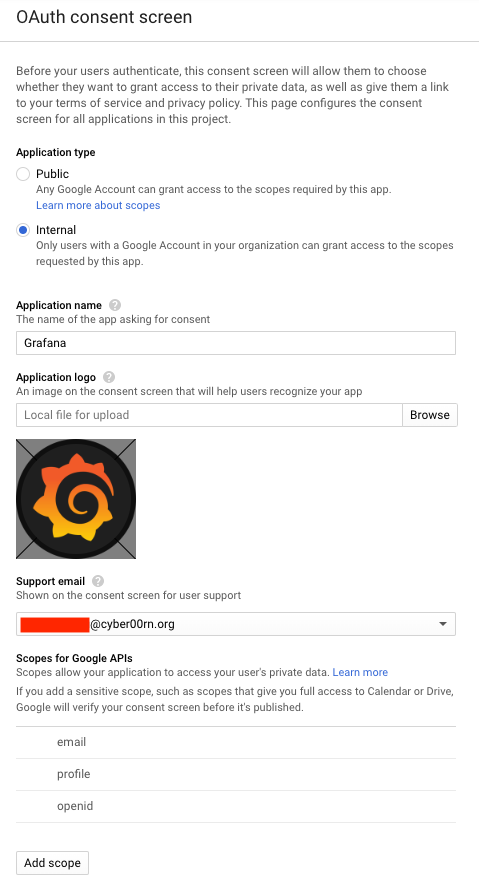
- 到 OAuth consent screen 頁面,Application type 本次選擇 Internal,
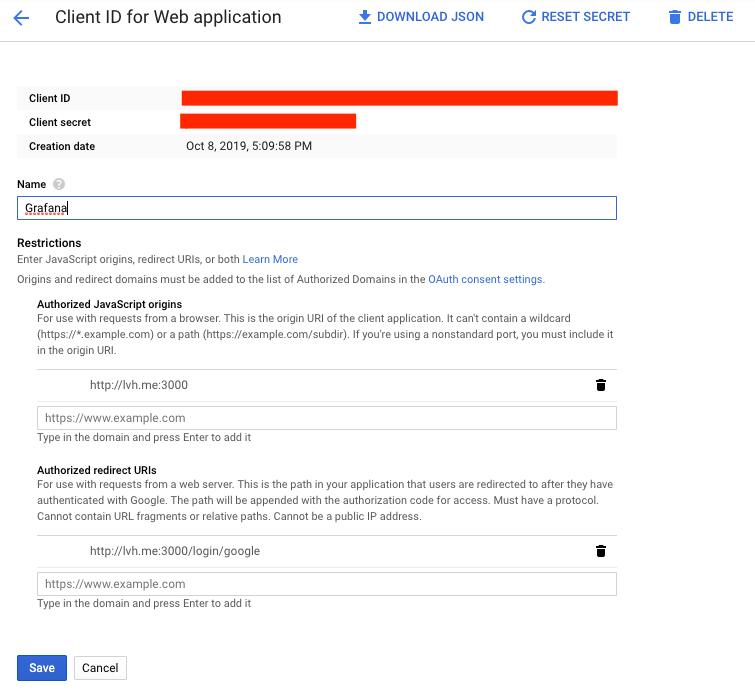
Application name 填 Grafana,Application logo 選擇一張圖片,Support email 有預設的 gmail 信箱,Scopes for Google APIs 使用預設的 email、profile、openid,Authorized domains 填 lvh.me (which always points to 127.0.0.1),Application Homepage link 填 http://lvh.me:3000/,Application Privacy Policy link 先隨便填 http://lvh.me:3000/admin/settings 看看,按下 Save 按鈕。 - 回到 Create OAuth client ID 頁面,Application type 選 Web application,Name 填 Grafana,Authorized JavaScript origins 填 http://lvh.me:3000,Authorized redirect URIs 填 http://lvh.me:3000/login/google,按 Create 按鈕。
- 從 OAuth Client 視窗中,複製 Client ID 跟 Client Secret。

步驟二:Enable Google OAuth in Grafana
- 找到 Grafana configuration file,在我的電腦裡的路徑是 /usr/local/etc/grafana/grafana.ini
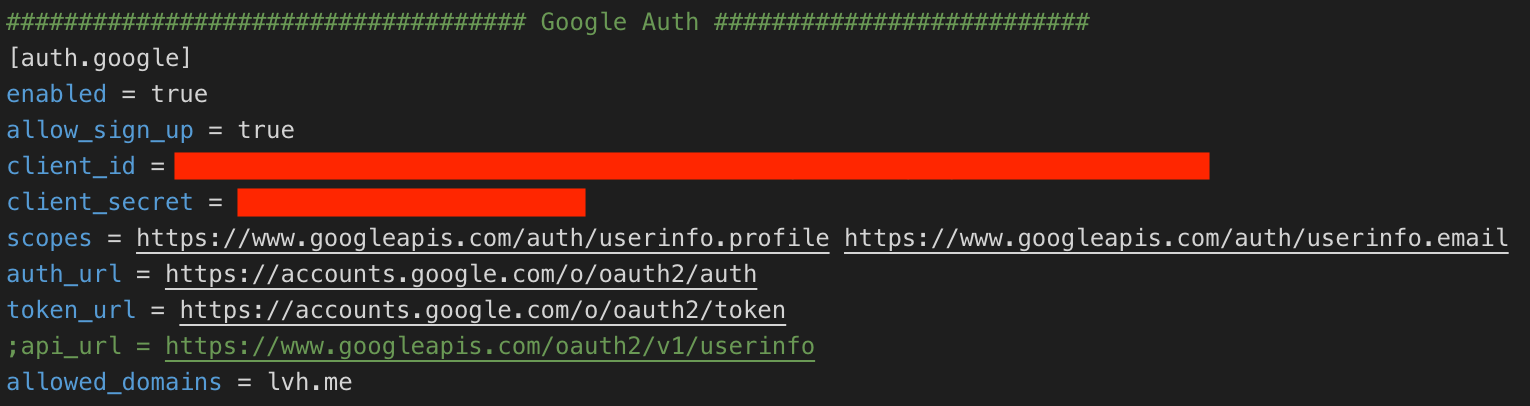
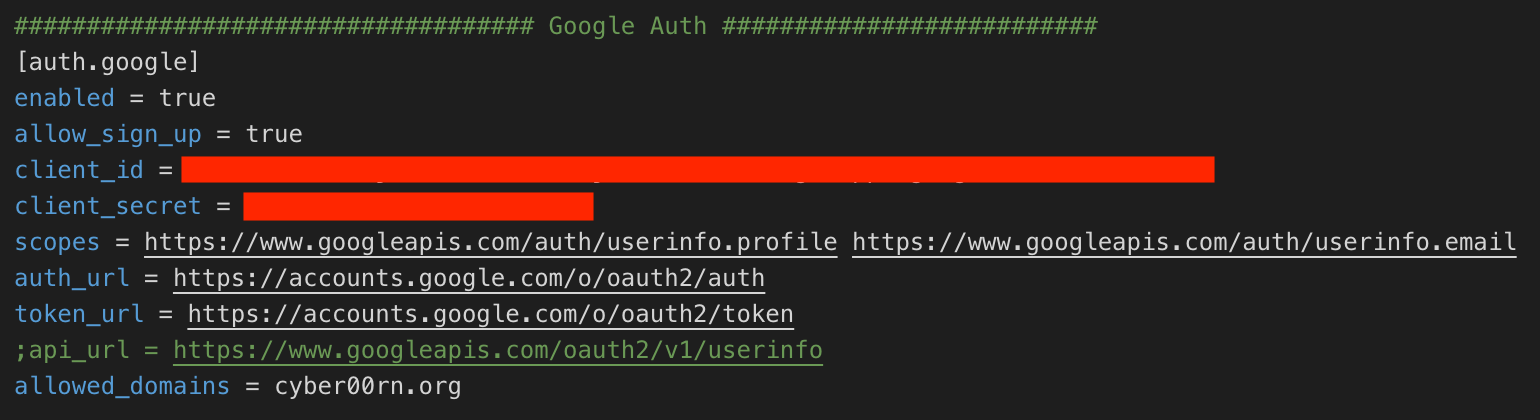
- 在 Grafana configuration file 中找到 Google Auth 的部分:

3. 把 Google Auth 的部分改成以下,填入 Client ID 跟 Client Secret,然後存檔:
4. Restart Grafana。在 Terminal 輸入指令 $ brew services restart grafana,結果出現錯誤:
Error: You have not agreed to the Xcode license. Please resolve this by running:
sudo xcodebuild -license accept
執行 $ sudo xcodebuild -license accept 指令之後,再次執行 $ brew services restart grafana 就成功了:

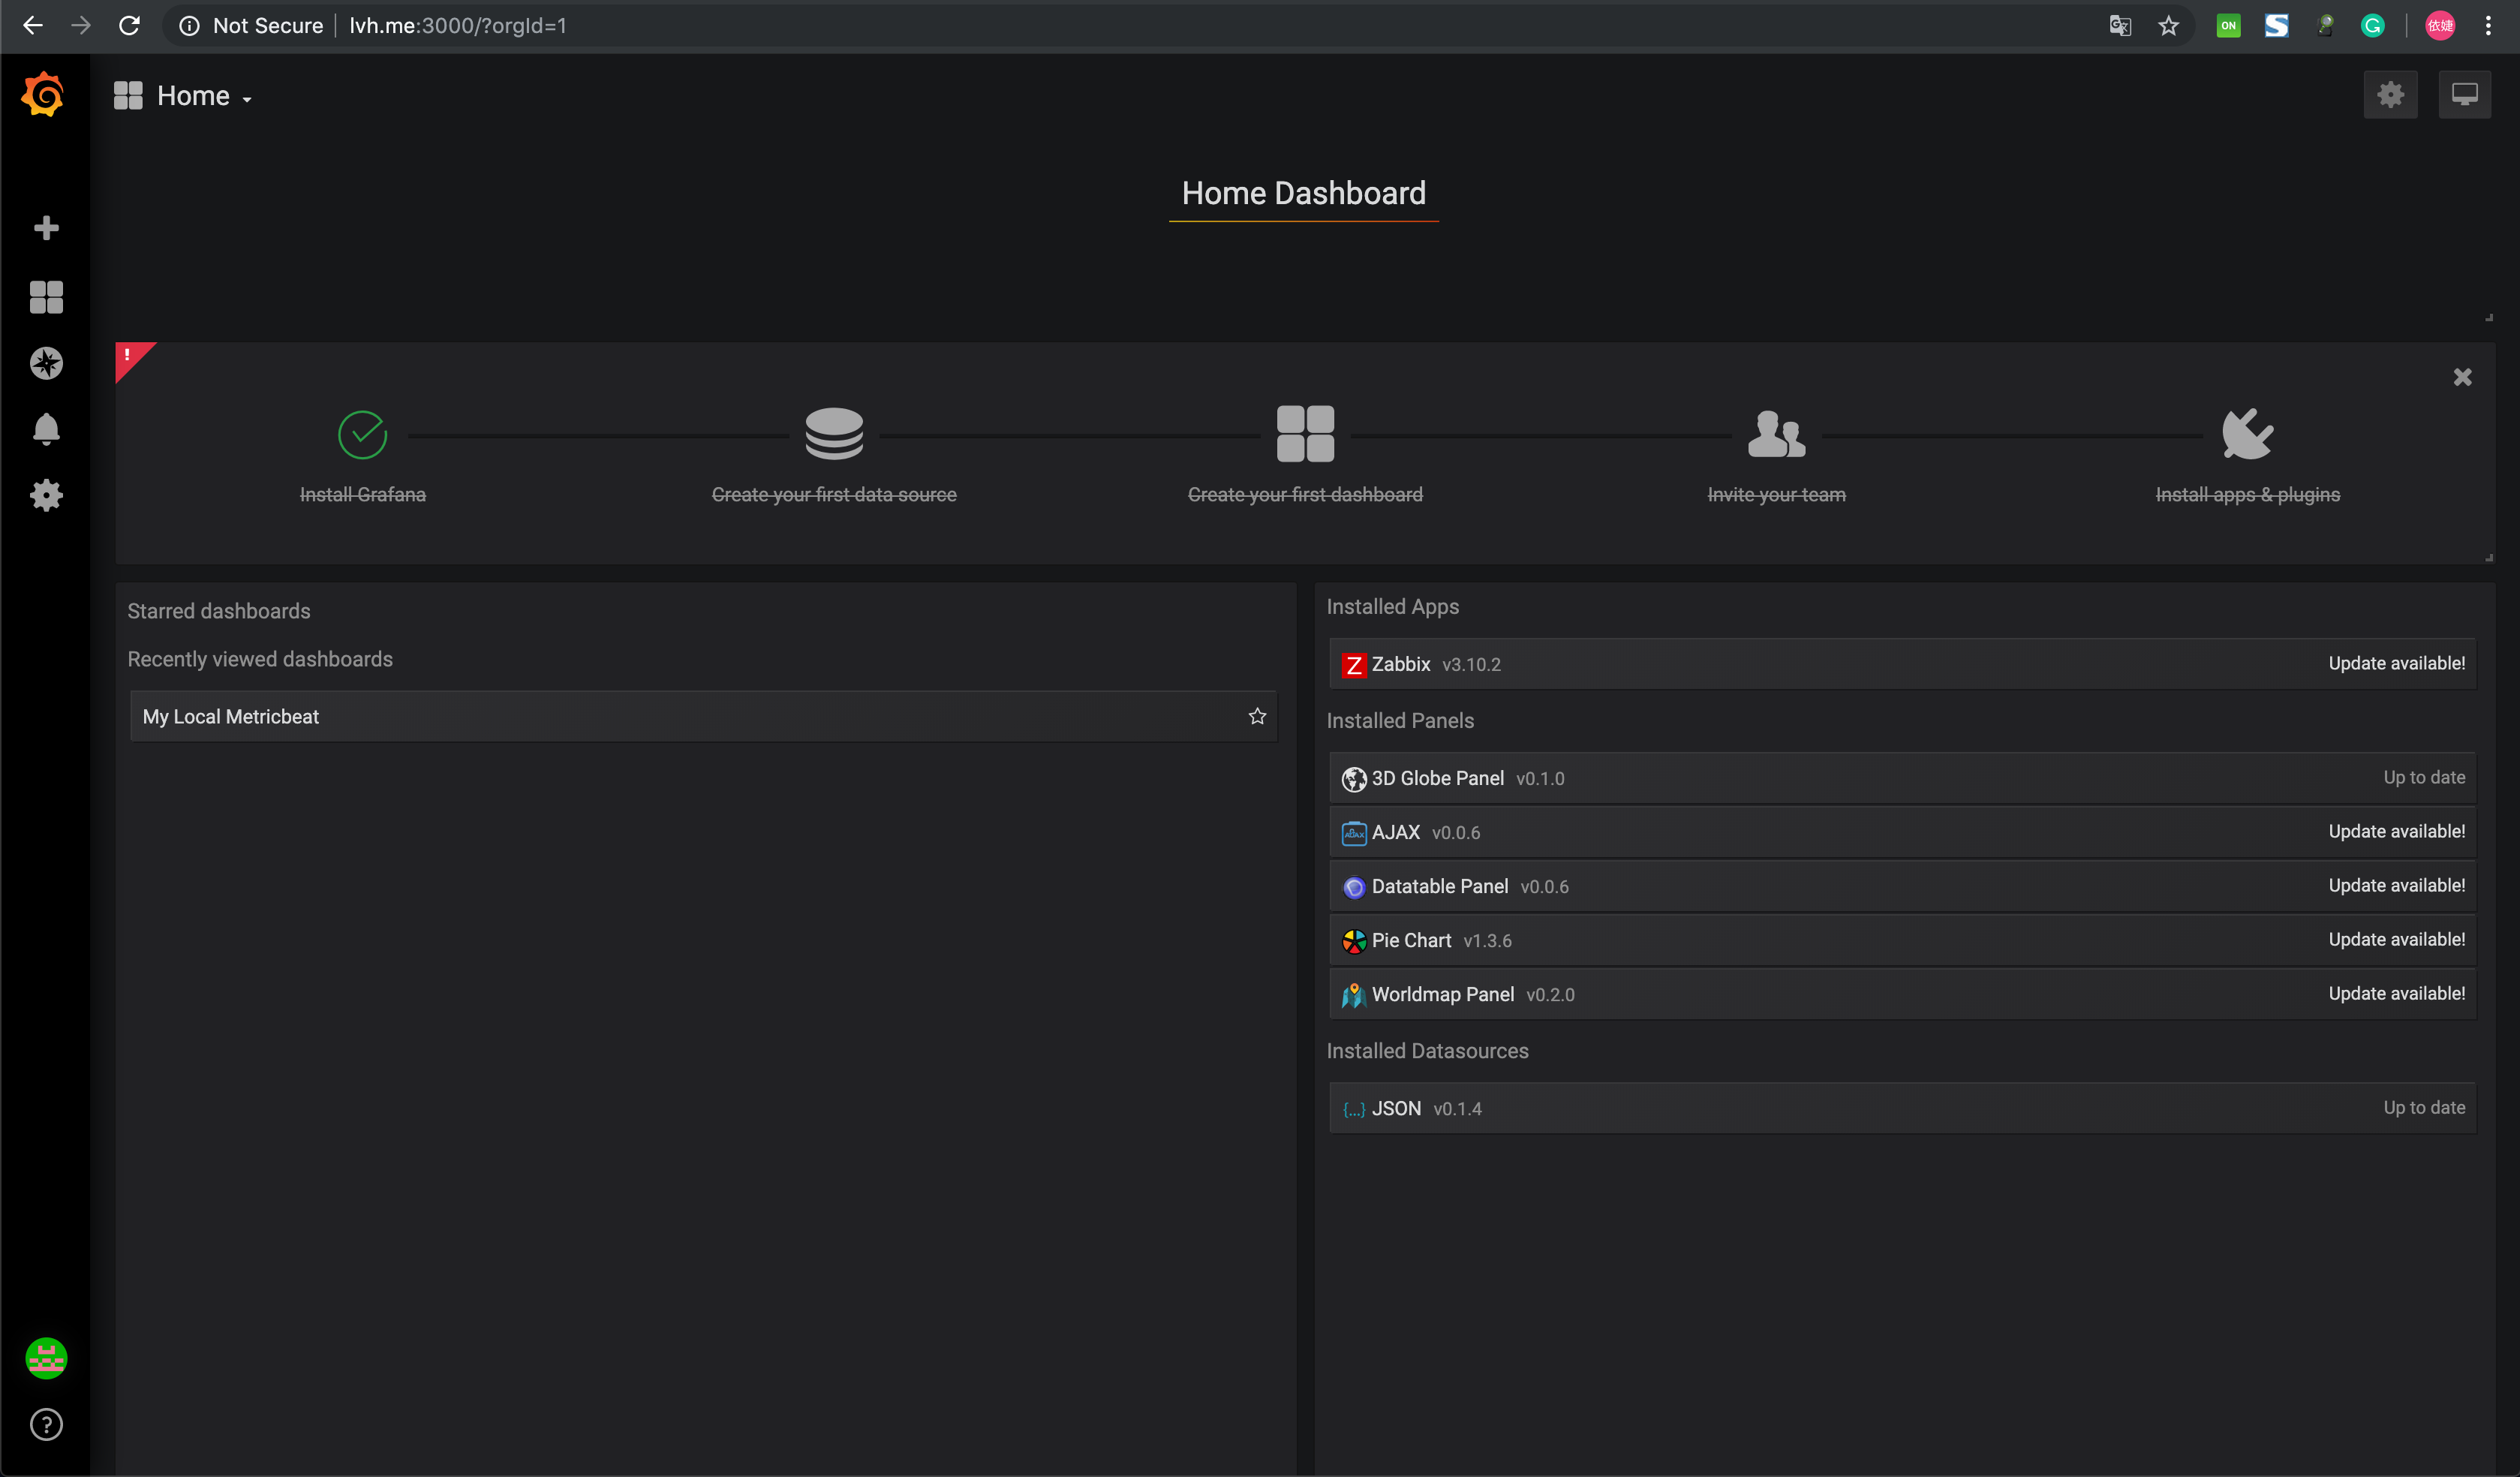
5. 在瀏覽器打開 http://lvh.me:3000/login,登入畫面多了 Google:

點 Sign in with Google 之後出現錯誤:
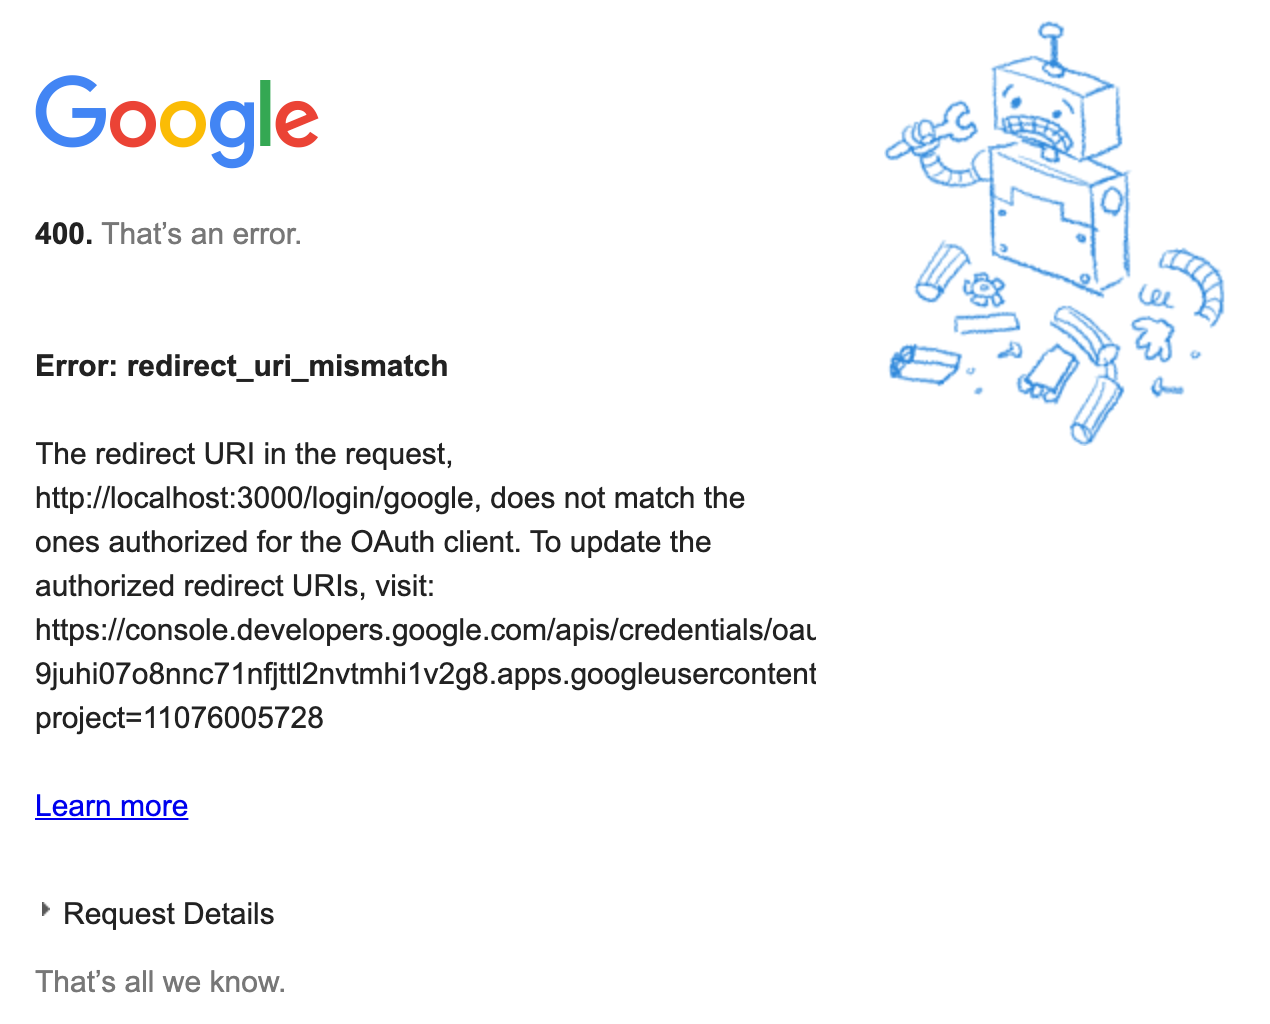
説 Authorized redirect URIs 錯了。回到連結中的 Client ID for Web application 頁面,將 Authorized redirect URIs 改成 http://localhost:3000/login/google 之後按 Save 按鈕。再 restart Grafana ($ brew services restart grafana)、重新整理 login 頁面、按下 Sign in with Google 按鈕就可以了:

選擇當初登記的 cyber00rn 帳號,又出現錯誤:

在 grafana.ini 檔中設定 root_url 看看:
root_url = http://localhost:3000
沒有用。
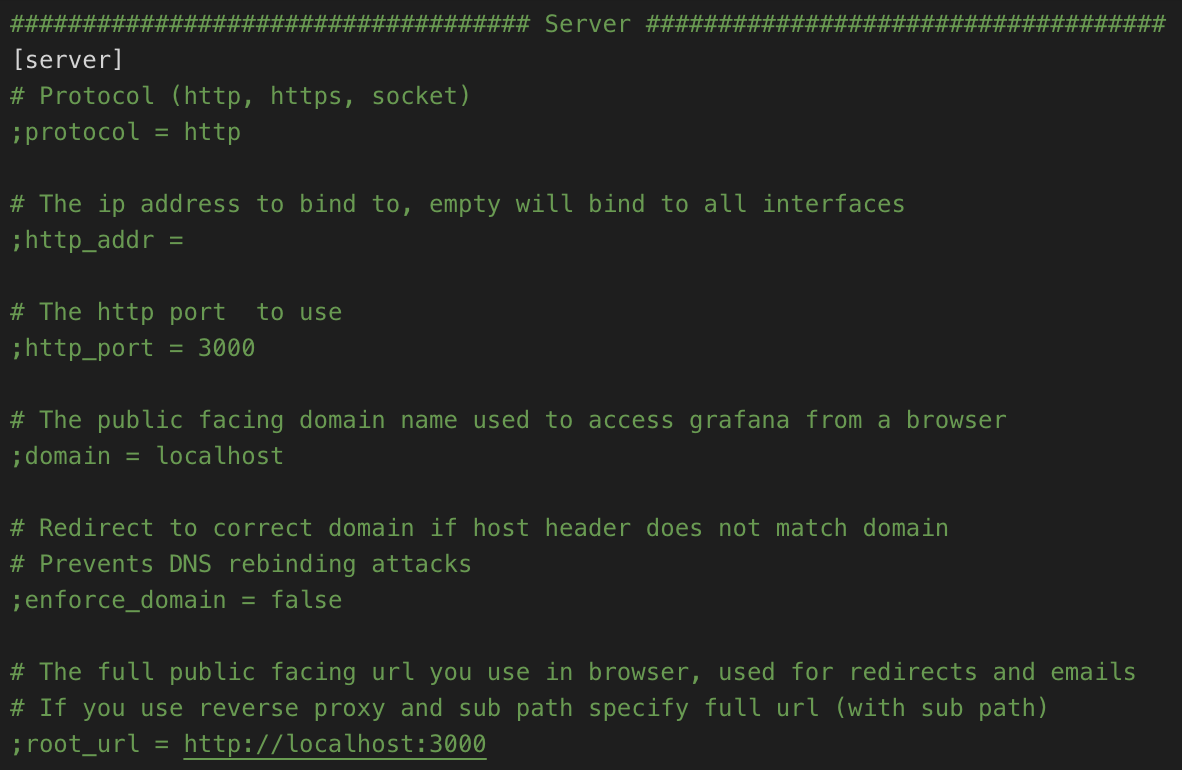
在 grafana.ini 檔中修改設定 Server 的地方看看。原本是:
改成:
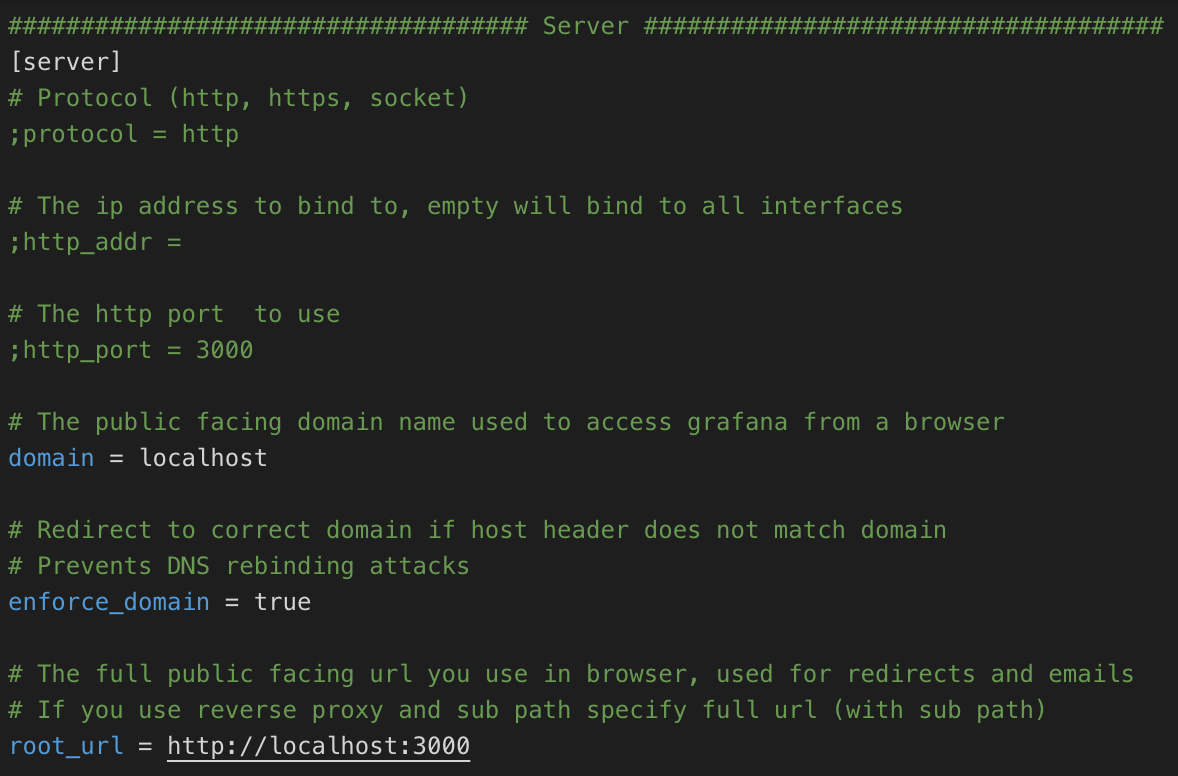
存檔後重啟 Grafana,login 流程換成出現以下錯誤:
換把設定 Server 的地方改成下面這樣看看:

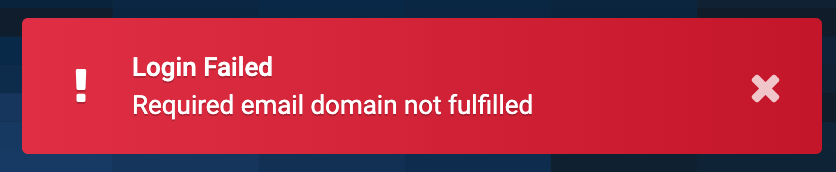
再度到 http://lvh.me:3000/login 頁面,又出現以下錯誤:

再度到連結中的 Client ID for Web application 頁面,將 Authorized redirect URIs 改成 http://lvh.me:3000/login/google 之後按 Save 按鈕。再 restart Grafana ($ brew services restart grafana)、重新整理 login 頁面 (http://lvh.me:3000/login)、按下 Sign in with Google 按鈕,還是出現 Required email domain not fulfilled 錯誤訊息。
把 grafana.ini 中的 Google Auth 部分,allowed_domains 修改看看:
allowed_domains = cyber00rn.org
然後就成功登入了!!!!!

空空如也的畫面,表示該帳號的權限是 Viewer of A Org.。用 admin 帳號登入,把新帳號權限提升至 Admin of A Org.,即可看到 A Org. 中的東西:
總結:最後真正可以 work 的設定
整體來說,需要設定以下四個地方:
一、
Google APIs > Credentials > OAuth 2.0 client IDs > Client ID for Web application 頁面
二、
Google APIs >OAuth consent screen

三、
grafana.ini 檔案的 [server] 部分

四、
grafana.ini 檔案的 [auth.google] 部分
好!結束!!