需求:实时监控集群日志(hadoop、spark、kafka等)
思路:利用filebeat收集每个服务器中的日志并发送到统一logstash中,通过logstash输出到其它地方。由于集群可能有成百上千个节点,需使用ansible统一安装filebeat。
1、安装logstash
官方下载地址:https://www.elastic.co/cn/downloads/logstash
这里使用的是logstash-7.14.1-linux-x86_64.tar.gz
使用tar -xzvf logstash-7.14.1-linux-x86_64.tar.gz解压
mv logstash-7.14.1-linux-x86_64 logstash 重命名
进入logstash目录,编写配置文件logstash-log.conf,文件名随意(程序启动时需指定)
vi conf/logstash-log.conf
input {
  beats {
    port => 5044
  }
}

output {
  file {
    path => "/collect/%{[host][name]}.%{+yyyy.MM.dd.HH}"
  }
}

#测试时可以注释掉上面的output,开启下面的output,这会将日志直接输出,便于观察
#output {
#  stdout {
#    codec => rubydebug
#  }
#}
启动logstash:./bin/logstash -f conf/logstash-log.conf &
2、安装filebeat(不使用ansible)
官方下载地址:https://www.elastic.co/cn/downloads/beats/filebeat
这里使用的是filebeat-7.14.1-linux-x86_64.tar.gz
使用tar -xzvf filebeat-7.14.1-linux-x86_64.tar.gz解压
mv filebeat-7.14.1-linux-x86_64 filebeat 重命名
进入filebeat目录,将filebeat.yml备份一下,cp filebeat.yml filebeat.yml.bk
echo "" > filebeat.yml
vi filebeat.yml
filebeat.inputs:
- type: log
  enabled: true
  paths:  #配置多个日志路径
    - /etc/hadoop/logs/*.log
  tail_files: true  #从日志最新尾部开始读取

output.logstash:
  hosts: ["127.0.0.2:5044"]
启动filebeat:./filebeat -e -c filebeat.yml &
此时logstash所在服务器会逐渐有日志出现(使用stdout需保持logstash启动时的当前通道)
3、批量安装filebeat(使用ansible)
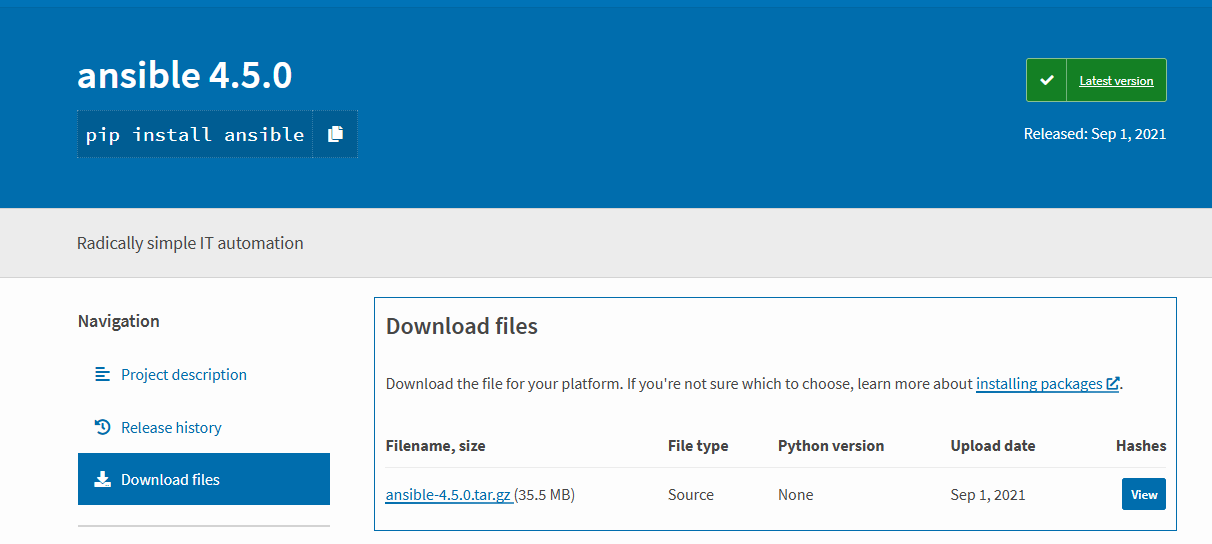
首先安装ansible,压缩包下载地址:https://pypi.org/project/ansible

这里使用的是ansible-4.5.0.tar.gz
使用tar -xzvf ansible-4.5.0.tar.gz解压
mv ansible-4.5.0 ansible 重命名
进入ansible目录
执行python setup.py install
使用ansible --version查看安装是否成功
进入/etc/ansible的配置目录
vi hosts,添加如下节点
[filebeat]
127.0.0.3
127.0.0.4
编写site.xml文件,vi filebeat-site.yml(名称随意,位置随意,程序启动时需指定)
- hosts: filebeat
  tasks:
   - name: Copy Package
     copy: src=/etc/filebeat-7.14.1-linux-x86_64.tar.gz dest=/etc/filebeat-7.14.1-linux-x86_64.tar.gz
   - name: Tar Package
     shell: cd /etc/;tar -zxvf filebeat-7.14.1-linux-x86_64.tar.gz
   - name: Rename Directory
     shell: mv /etc/filebeat-7.14.1-linux-x86_64 /etc/filebeat
   - name: Copy Profile
     copy: src=/filebeat.yml dest=/etc/filebeat/filebeat.yml
   - name: Start Service
     shell: nohup /etc/filebeat/filebeat -e -c /etc/filebeat/filebeat.yml >/dev/null 2>&1 &
其中filebeat-7.14.1-linux-x86_64.tar.gz和filebeat.yml需在ansible所在服务器中准备好,filebeat.yml内容和上文中单独部署filebeat时一致。
hosts: filebeat指定是hosts文件中配置的[filebeat]分组,hosts: all则是指hosts中所有节点
执行ansible-playbook /filebeat-site.yml命令开始批量部署
部署完成后,再次查看logstash的结果。