前言
最近购买了一个javakfz域名,想搭建一个自己的网站,还有就是每次更换服务器都需要安装nginx,俗话说得好好记性不如烂笔头,还是把安装过程记录下来吧,下次安装跟着教程走就是了,也希望能够帮助到有需要的朋友。
- 第一步:我们需要准备一台服务器。
我是用的腾讯云的云服务器最便宜的那种,嘿嘿嘿,然后我装的linux系统占用资源少,这样我能最大化的利用服务器资源。
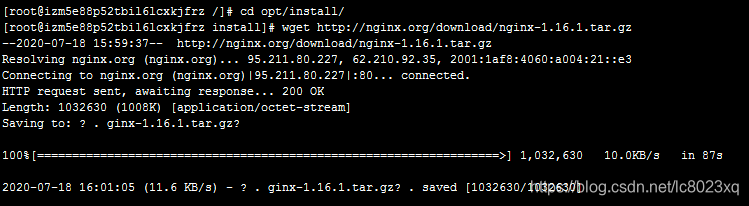
- 第二步:下载nginx,下载地址:http://nginx.org/download/nginx-1.16.1.tar.gz可下载好用ftp上传到服务器,我是用命令直接在服务器上下载。
[root@izm5e88p52tbil6lcxkjfrz /]# cd opt/install/
[root@izm5e88p52tbil6lcxkjfrz install]# wget http://nginx.org/download/nginx-1.16.1.tar.gz
- 第三步:下载完成,解压压缩包。
[root@izm5e88p52tbil6lcxkjfrz install]# tar zxvf nginx-1.16.1.tar.gz

- 第四步:进入安装包目录
[root@izm5e88p52tbil6lcxkjfrz install]# cd nginx-1.16.1
- 第五步:编译安装(如果在这一步报错,请看我另外一篇博文:https://blog.csdn.net/lc8023xq/article/details/107624447)
如果需要配置SSL证书那么请加上SSL模块:./configure --prefix=/usr/local/nginx --with-http_stub_status_module --with-http_ssl_module
[root@izm5e88p52tbil6lcxkjfrz nginx-1.16.1]# ./configure --prefix=/usr/local/nginx
[root@izm5e88p52tbil6lcxkjfrz nginx-1.16.1]# make
[root@izm5e88p52tbil6lcxkjfrz nginx-1.16.1]# make install
- 第六步:查看nginx版本,显示版本号说明安装成功。
[root@izm5e88p52tbil6lcxkjfrz nginx-1.16.1]# /usr/local/nginx/sbin/nginx -v

- 第七步:更改nginx.conf配置文件
[root@izm5e88p52tbil6lcxkjfrz nginx-1.16.1]# vim /usr/local/nginx/conf/nginx.conf
我这边就更改了静态文件目录,其他都没动,看自己需要改吧。
#user  nobody;
worker_processes  1;

#error_log  logs/error.log;
#error_log  logs/error.log  notice;
#error_log  logs/error.log  info;

#pid        logs/nginx.pid;


events {
    worker_connections  1024;
}


http {
    include       mime.types;
    default_type  application/octet-stream;

    #log_format  main  '$remote_addr - $remote_user [$time_local] "$request" '
    #                  '$status $body_bytes_sent "$http_referer" '
    #                  '"$http_user_agent" "$http_x_forwarded_for"';

    #access_log  logs/access.log  main;

    sendfile        on;
    #tcp_nopush     on;

    #keepalive_timeout  0;
    keepalive_timeout  65;

    #gzip  on;

    server {
        listen       80;
        server_name  localhost;

        #charset koi8-r;

        #access_log  logs/host.access.log  main;

        location / {
            root   /opt/install/html;
            index  index.html index.htm;
        }

        #error_page  404              /404.html;

        # redirect server error pages to the static page /50x.html
        #
        error_page   500 502 503 504  /50x.html;
        location = /50x.html {
            root   html;
        }

        # proxy the PHP scripts to Apache listening on 127.0.0.1:80
        #
        #location ~ .php$ {
        #    proxy_pass   http://127.0.0.1;
        #}

        # pass the PHP scripts to FastCGI server listening on 127.0.0.1:9000
        #
        #location ~ .php$ {
        #    root           html;
        #    fastcgi_pass   127.0.0.1:9000;
        #    fastcgi_index  index.php;
        #    fastcgi_param  SCRIPT_FILENAME  /scripts$fastcgi_script_name;
        #    include        fastcgi_params;
        #}

        # deny access to .htaccess files, if Apache's document root
        # concurs with nginx's one
        #
        #location ~ /.ht {
        #    deny  all;
        #}
    }


    # another virtual host using mix of IP-, name-, and port-based configuration
    #
    #server {
    #    listen       8000;
    #    listen       somename:8080;
    #    server_name  somename  alias  another.alias;

    #    location / {
    #        root   html;
    #        index  index.html index.htm;
    #    }
    #}


    # HTTPS server
    #
    #server {
    #    listen       443 ssl;
    #    server_name  localhost;

    #    ssl_certificate      cert.pem;
    #    ssl_certificate_key  cert.key;

    #    ssl_session_cache    shared:SSL:1m;
    #    ssl_session_timeout  5m;

    #    ssl_ciphers  HIGH:!aNULL:!MD5;
    #    ssl_prefer_server_ciphers  on;

    #    location / {
    #        root   html;
    #        index  index.html index.htm;
    #    }
    #}

}
- 第八步:检查nginx.conf配置是否正确
[root@izm5e88p52tbil6lcxkjfrz nginx-1.16.1]# /usr/local/nginx/sbin/nginx
安装成功:
nginx: the configuration file /usr/local/nginx/conf/nginx.conf syntax is ok
nginx: configuration file /usr/local/nginx/conf/nginx.conf test is successful

- 第九步:启动nginx
/usr/local/nginx/sbin/nginx
查看nginx进程 ps -ef|grep nginx

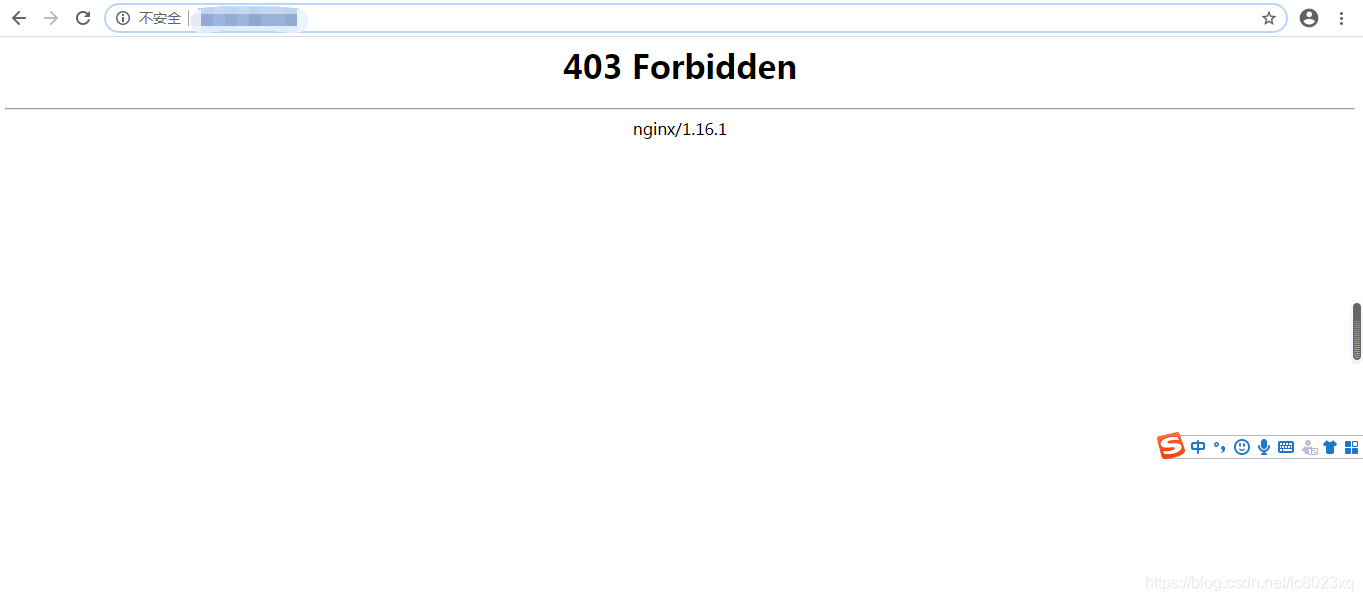
- 第十步:打开浏览器输入IP,成功访问nginx代理,完美结束。
nginx其他命令:
/usr/local/nginx/sbin/nginx -s reload # 重新载入配置文件
/usr/local/nginx/sbin/nginx -s reopen # 重启 Nginx
/usr/local/nginx/sbin/nginx -s stop # 停止 Nginx