iOS 绘图
关于下面的绘制图形都是在
drawRect方法中,所以我们需要建立一个类叫CustonView,继承于UIView,然后实现drawRect方法。
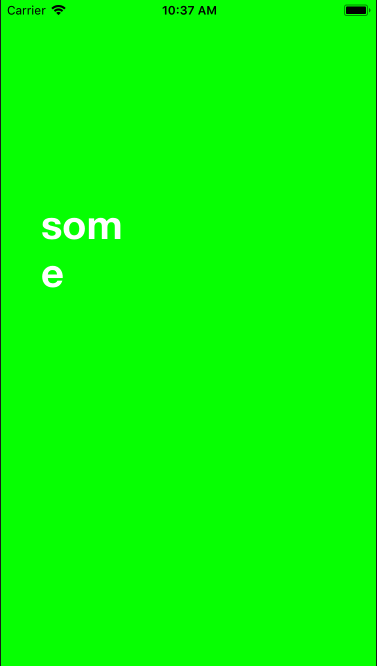
绘制一个字符串
UIFont *helveticacabold = [UIFont fontWithName:@"HelveticaNeue-Bold" size:40.f];
    NSString *string = @"some String";
    NSDictionary *attibute = @{NSForegroundColorAttributeName:[UIColor whiteColor],NSFontAttributeName:helveticacabold};
    [string drawAtPoint:CGPointMake(40, 200) withAttributes:attibute];

将字符串画在一个矩形中
//画在一个矩形
    UIFont *helveticacabold = [UIFont fontWithName:@"HelveticaNeue-Bold" size:40.f];
    NSString *string = @"some String";
    NSDictionary *attibute = @{NSForegroundColorAttributeName:[UIColor whiteColor],NSFontAttributeName:helveticacabold};
    [string drawInRect:CGRectMake(40, 200, 100, 100) withAttributes:attibute];
获取color的分量信息
 UIColor *steelBlueColor = [UIColor colorWithRed:0.3f green:0.4f blue:0.6f alpha:1.0f];

    CGColorRef colorRef = steelBlueColor.CGColor;
    const CGFloat *components = CGColorGetComponents(colorRef);
    NSUInteger compentsCount = CGColorGetNumberOfComponents(colorRef);

    NSUInteger count = 0;
    for (count = 0; count < compentsCount; count++) {
        NSLog(@"compenent %lu = %.02f",count+1,components[count]);
    }
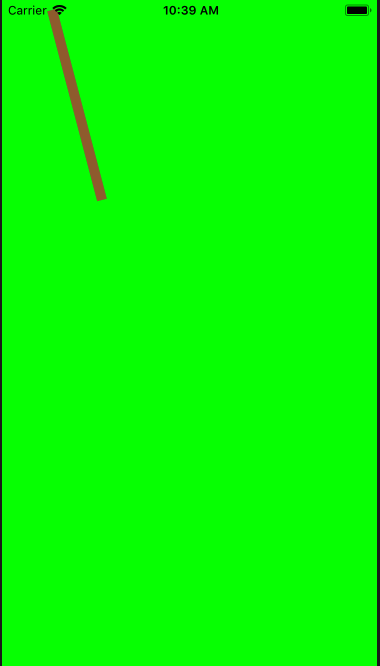
绘制线段
// 1. 为图形上下文选择一个颜色
    [[UIColor brownColor] set];
    // 2. 获取图形上下文的句柄
    CGContextRef currentContext = UIGraphicsGetCurrentContext();
    // 3. 设置线条的宽度 第一个参数是当前图形上下文 , 第二个是线条的宽度
    CGContextSetLineWidth(currentContext, 10.0f);
    // 4. 设置线条的起点
    CGContextMoveToPoint(currentContext, 50.0f, 10.0f);
    // 5. 设置终点
    // 线
    CGContextAddLineToPoint(currentContext, 100.0f, 200.0f);
    // 矩形
//    CGContextAddRect(currentContext, CGRectMake(50, 50, 100, 100));
    // 6. 绘制上下文
    CGContextStrokePath(currentContext);
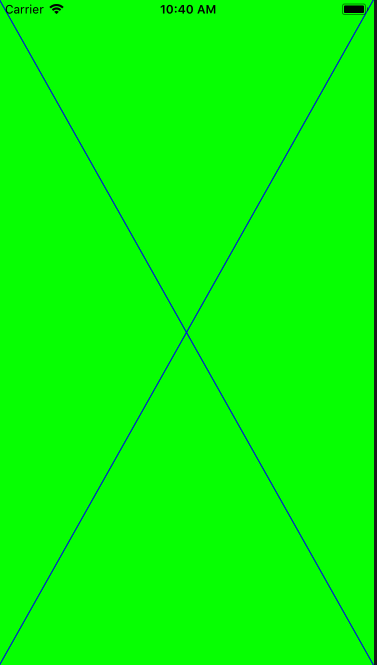
绘制一个X
// 1. 创建一个可变的句柄
    CGMutablePathRef path = CGPathCreateMutable();
    // 2. 充满屏幕
    CGRect screenBounds = [UIScreen mainScreen].bounds;
    // 3. 开始top-left
    CGPathMoveToPoint(path, NULL, screenBounds.origin.x, screenBounds.origin.y);
    CGPathAddLineToPoint(path, NULL, screenBounds.size.width, screenBounds.size.height);
    // 4. 开始另一条线,top-right
    CGPathMoveToPoint(path, NULL, screenBounds.size.width, screenBounds.origin.y);
    // 5. 画线,form top-right to bottom-left
    CGPathAddLineToPoint(path, NULL, screenBounds.origin.x, screenBounds.size.height);
    // 6. 获取图形上下文
    CGContextRef currentRef = UIGraphicsGetCurrentContext();
    CGContextAddPath(currentRef, path);
    [[UIColor blueColor] setStroke];
    CGContextDrawPath(currentRef, kCGPathStroke);
    CGPathRelease(path);
绘制矩形
CGMutablePathRef path = CGPathCreateMutable();
    CGRect rectangle = CGRectMake(10.0f, 10.0f, 200.0f, 300.0f);
    CGPathAddRect(path, NULL, rectangle);
    CGContextRef currentContext = UIGraphicsGetCurrentContext();
    CGContextAddPath(currentContext, path);
    //充满矩形的颜色
    [[UIColor yellowColor] setFill];
    //画线的颜色
    [[UIColor brownColor] setStroke];
    CGContextSetLineWidth(currentContext, 10.0f);
    CGContextDrawPath(currentContext, kCGPathFillStroke);
    CGPathRelease(path);

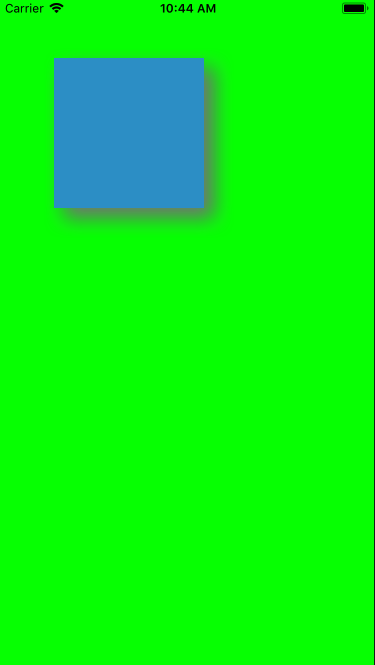
为形状添加阴影
// 1. 获取图形上下文
    CGContextRef currentContext = UIGraphicsGetCurrentContext();
//     避免第二个矩形会被应用,需要保存上下文
    CGContextSaveGState(currentContext);
//     2. 设置阴影 参数: 1.图形上下文 2. 偏移量-偏移量相对于将要应用阴影的形状的右边和底部。x偏移量越大,阴影更向形状的右边延伸,y偏移量越大,阴影更向形状的底部延伸。 3. 应用到阴影的模糊值,·
    CGContextSetShadowWithColor(currentContext, CGSizeMake(10.0f, 10.0f), 20.0f, [UIColor grayColor].CGColor);
    CGMutablePathRef path = CGPathCreateMutable();
    CGRect firstRect = CGRectMake(55.0f, 60.0f, 150.0f, 150.0f);
    CGPathAddRect(path, NULL, firstRect);
    CGContextAddPath(currentContext, path);
    [[UIColor colorWithRed:0.20f green:0.60f blue:0.80f alpha:1.0f] setFill];
    CGContextDrawPath(currentContext, kCGPathFill);
    CGPathRelease(path);
//    回到之前上下文的状态   避免第二个矩形会被应用,
    CGContextRestoreGState(currentContext);
创建和绘制渐变
// 1. 创建色彩空间
    CGContextRef currentContext = UIGraphicsGetCurrentContext();
//    CGContextSaveGState(currentContext);
    CGColorSpaceRef colorSpace = CGColorSpaceCreateDeviceRGB();
    UIColor *startColor = [UIColor orangeColor];
    CGFloat *startColorComponents = (CGFloat *)CGColorGetComponents([startColor CGColor]);
    UIColor *endColor = [UIColor blueColor];
    CGFloat *endColorComponents = (CGFloat *)CGColorGetComponents([endColor CGColor]);
    // 2. 获取开始颜色和终点颜色的分量之后,我们将他们放入一个扁平数组传递到CGGradientCreateWithColorComonents函数
    CGFloat colorComponents[8] = {
        startColorComponents[0],
        startColorComponents[1],
        startColorComponents[2],
        startColorComponents[3],
        //终点颜色分量
        endColorComponents[0],
        endColorComponents[1],
        endColorComponents[2],
        endColorComponents[3],
    };
    // 3. 因为我们在数组中只有两个颜色,所以我们首先需要指定的是渐变最开始的位置0。0f,接着指定他结束的位置1.0f,
    CGFloat colorIndices[2] = {
        0.0f, /*
               color 0
               */
        1.0f, /*
               color 1
               */
    };
    // 4. 调用CGGradientCreateWithColorComonents函数
    CGGradientRef gradient = CGGradientCreateWithColorComponents(colorSpace, (CGFloat *)colorComponents, (CGFloat*)colorIndices, 2);
    // 5. 释放色彩空间
    CGColorSpaceRelease(colorSpace);
    // 6. 绘制线性渐变
    CGRect screenBounds = [UIScreen mainScreen].bounds;
    CGPoint startPoint, endPoint;
    startPoint = CGPointMake(120,260);
    endPoint = CGPointMake(200.0f,220);
    // kCGGradientDrawsAfterEndLocation 扩展整个渐变到渐变的终点之后的所有点 kCGGradientDrawsBeforeStartLocation 扩展整个渐变到渐变的起点之前的所有点
    //  0 不扩展
    CGContextDrawLinearGradient(currentContext, gradient, startPoint, endPoint, 0);
    CGGradientRelease(gradient);
