参考网站
Angular 中文官网:https://angular.cn/
参考代码:https://ng.ant.design/#/components/dropdown
npm install -g @angular/cli -> npm install -> ng build -> 普通angular工程:ng server
npm install -g @angular/cli -> npm install -> ng build -> 增加跨域配置工程启动: npm start
一、安装软件
1、安装nodejs 和 angularjs/cli
https://nodejs.org/en/
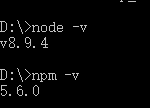
安装 nodejs
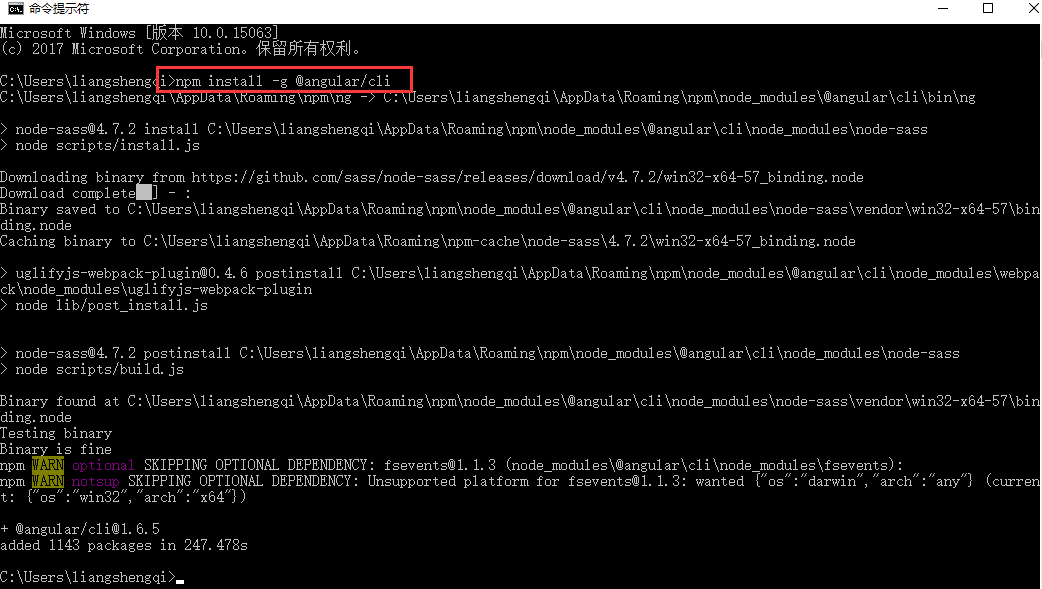
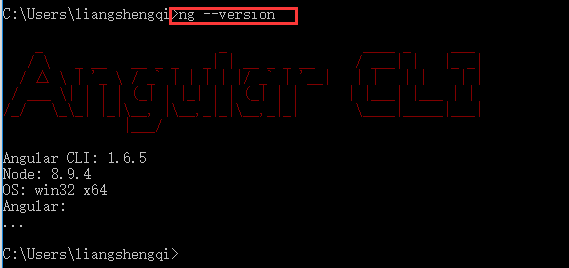
安装 angularjs/cli: npm install -g @angular/cli
执行 npm install
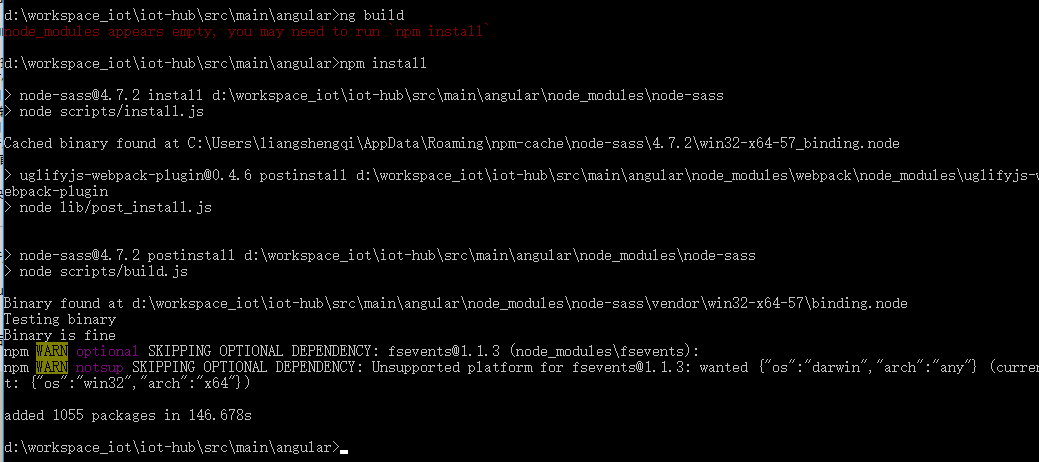
执行 ng build,编译前台代码输出到 spring boot 资源目录

2、安装augury
在google网上应用商店添加插件augury ,用来调试前端代码

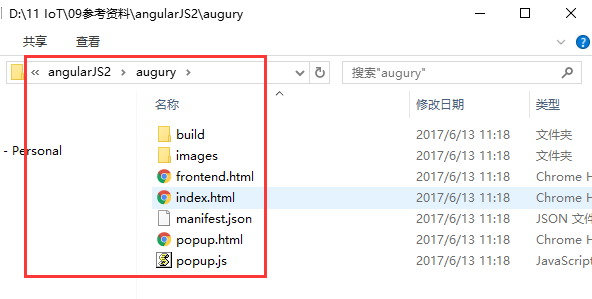
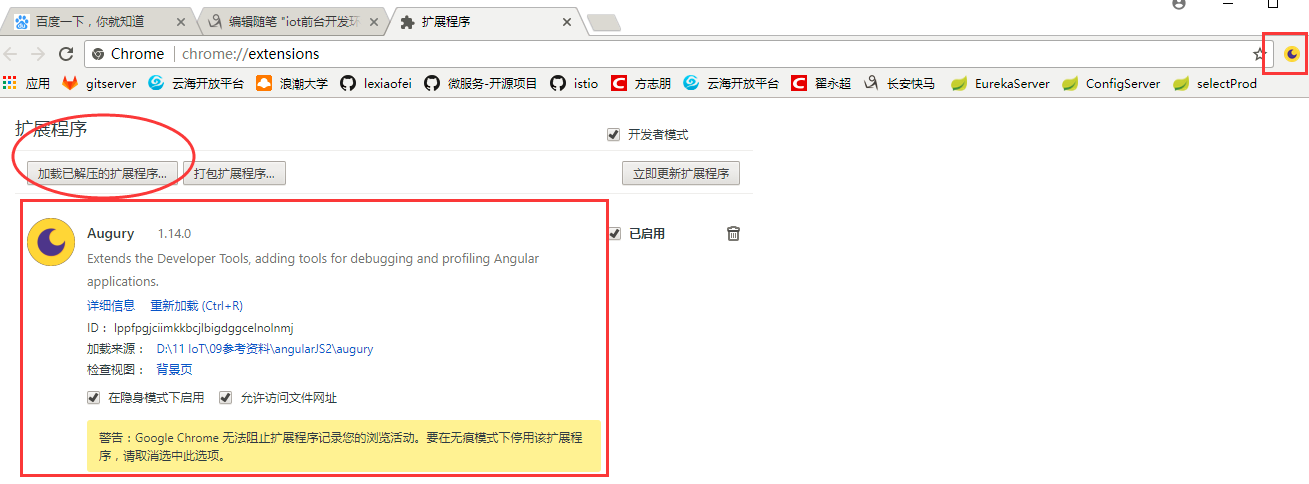
3、新建普通的 angular 项目 - ng new hello
通过命令 ng new hello 生成一个新项目以及应用的骨架代码
通过命令 ng server 启动项目,默认端口4200。

二、Spring boot 和 angular 集成
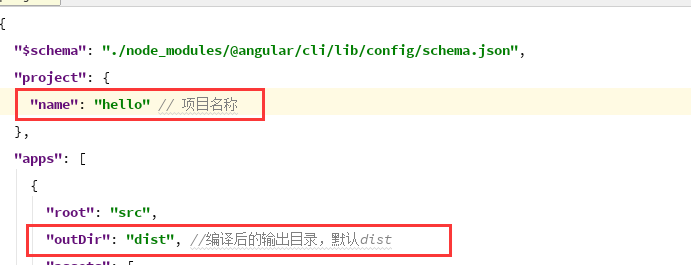
Spring boot 需要修改的地方在angular-cli.json中:
1、在springboot项目中新建/复制 angular 项目
方法一: 在src 目录下通过命令添加angular项目 : ng new angular
方法二: 将之前创建好的项目copy进来
设置angular项目的输出目录为springboot的资源目录
修改angular-cli.json 配置文件的name 和 outDir
该项目下name为 iot_hub
outDir 为../resources/static(静态资源路径,系统可以直接访问且路径下的所有文件均可被直接读取)
编译angular项目,产生输出到springboot资源目录
npm install
ng server --proxy-conf proxy.conf

ng build

2、启动工程
1、启动Spring boot
2、启动前端angular工程调试:npm start
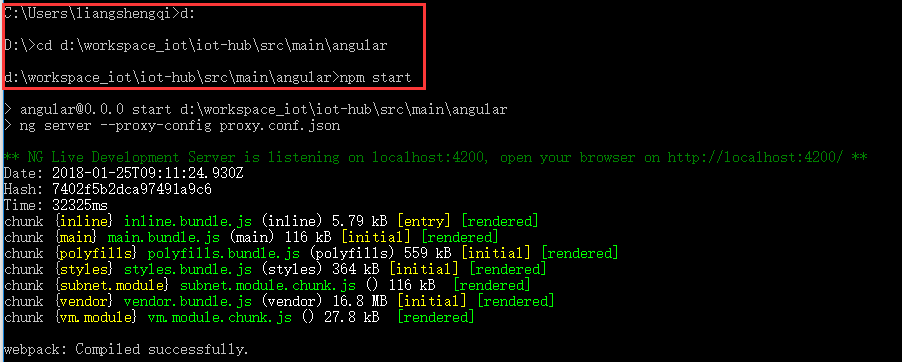
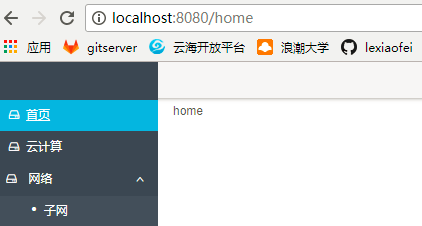
3、访问服务
http://localhost:8080
http://localhost:4200
三、附录 - 常见问题
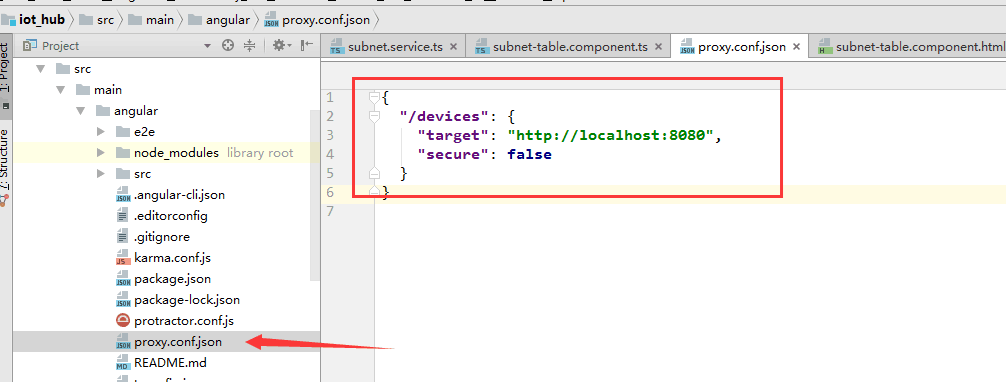
1、解决跨域问题
加一个这样的文件
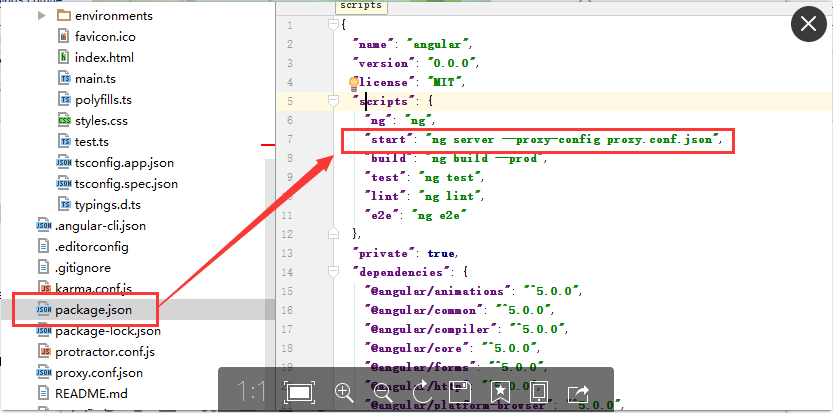
同时修改package.json中的start
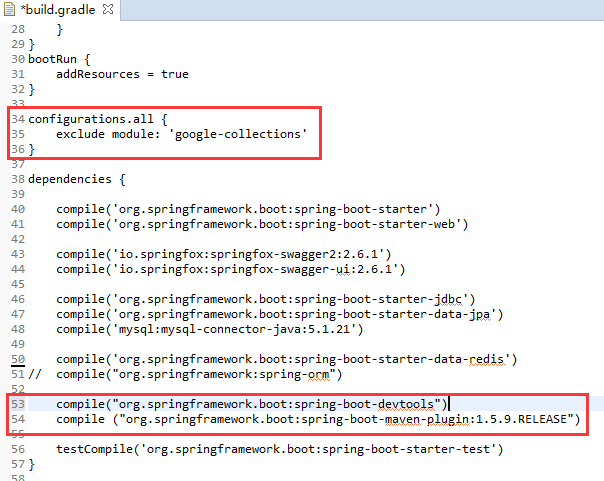
2、热部署调试工程
 、
、
buildscript {
ext {
springBootVersion = '1.5.9.RELEASE'
}
repositories {
maven {
url "http://repo.iop.inspur.com:8081/nexus/content/groups/public"
}
}
dependencies {
classpath("org.springframework.boot:spring-boot-gradle-plugin:${springBootVersion}")
}
}
apply plugin: 'java'
apply plugin: 'idea'
apply plugin: 'eclipse'
apply plugin: 'org.springframework.boot'
group = 'com.inspur.iot'
version = '0.0.1-SNAPSHOT'
sourceCompatibility = 1.8
repositories {
maven {
url "http://repo.iop.inspur.com:8081/nexus/content/groups/public"
}
}
bootRun {
addResources = true
}
configurations.all {
exclude module: 'google-collections'
}
dependencies {
compile('org.springframework.boot:spring-boot-starter')
compile('org.springframework.boot:spring-boot-starter-web')
compile('io.springfox:springfox-swagger2:2.6.1')
compile('io.springfox:springfox-swagger-ui:2.6.1')
compile('org.springframework.boot:spring-boot-starter-jdbc')
compile('org.springframework.boot:spring-boot-starter-data-jpa')
compile('mysql:mysql-connector-java:5.1.21')
compile('org.springframework.boot:spring-boot-starter-data-redis')
// compile("org.springframework:spring-orm")
compile("org.springframework.boot:spring-boot-devtools")
compile ("org.springframework.boot:spring-boot-maven-plugin:1.5.9.RELEASE")
testCompile('org.springframework.boot:spring-boot-starter-test')
}
