大趋势下,目前很多的项目都采用了前后端分离的方式进行开发,最近我接触到的项目大多数都是采用了前后端分离的方式进行开发。既然摆脱了js和html的干扰,更优化的展示接口内容和调用是后端更多需要关注的事情。(非常重要的一点,如果你想简单上手直接使用文章中的项目框架模型,可以直接拉取项目代码:github:https://github.com/licunzhi/dream_on_sakura_rain/tree/master/springboot_swagger_demo)
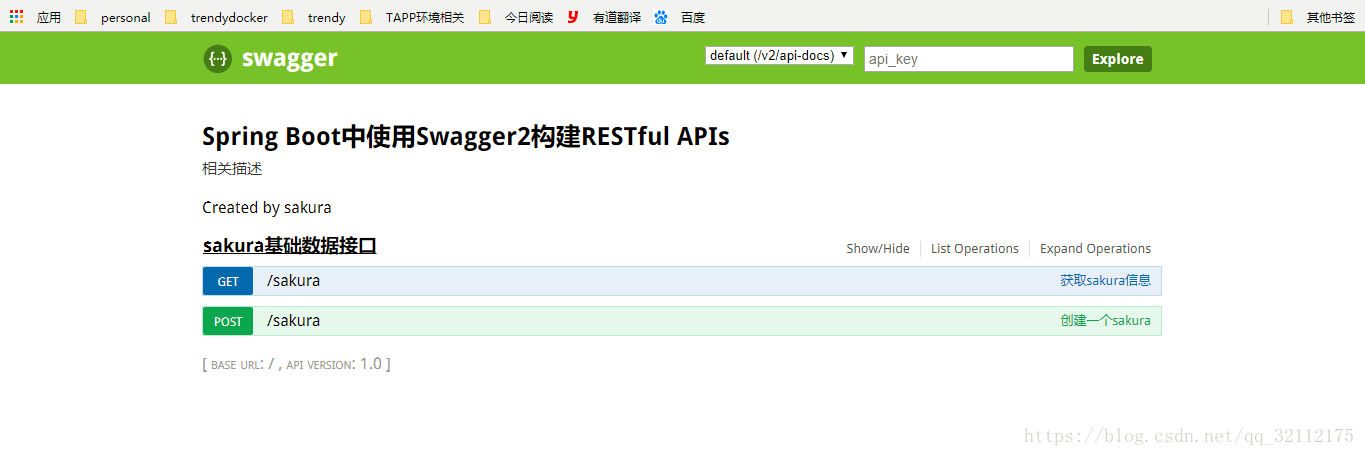
这里介绍使用swagger作为接口文档展示的配置和使用,最终的效果将会是
![]()
首先,需要搭建基础的springboot项目。
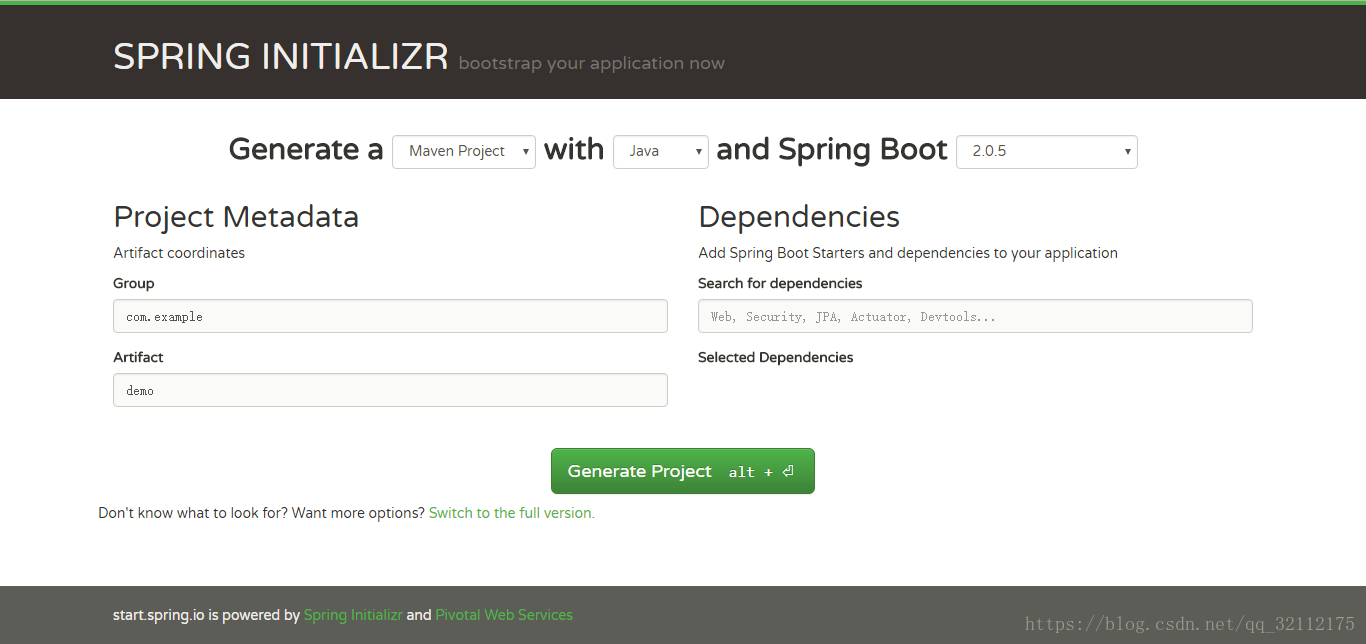
这里推荐大家可以使用 springboot官方推荐模板快速生成工具,地址为:https://start.spring.io/
页面的效果是这样的
![]()
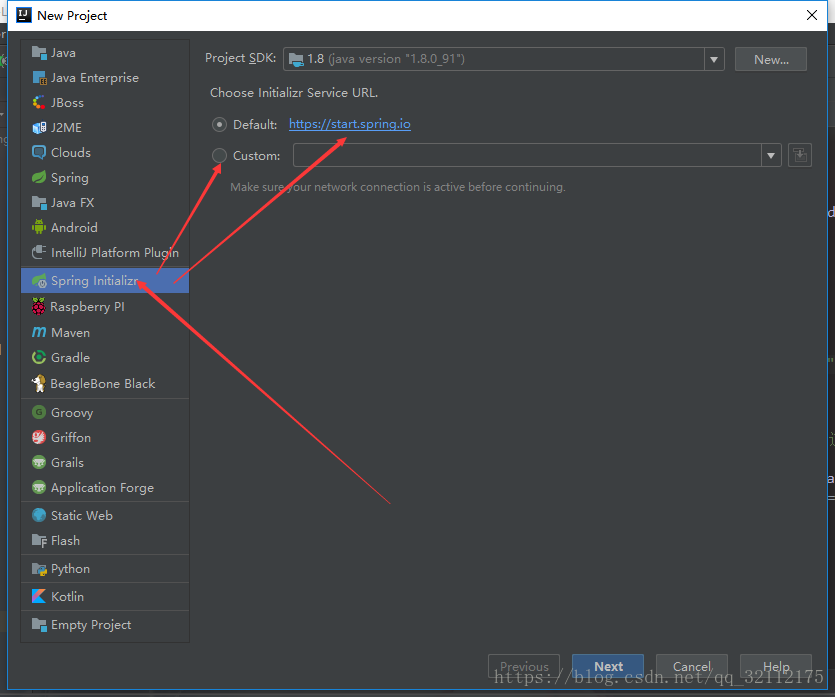
除了上面的方法支持创建简易的springboot项目的配置模板,实际上在开发工具中也有对这种方法的支持。
开发中使用idea也可以进行相关的操作,其中引用的地址可以是上面的地址,也可以是自己定义的,效果展示是下面的图片
![]()
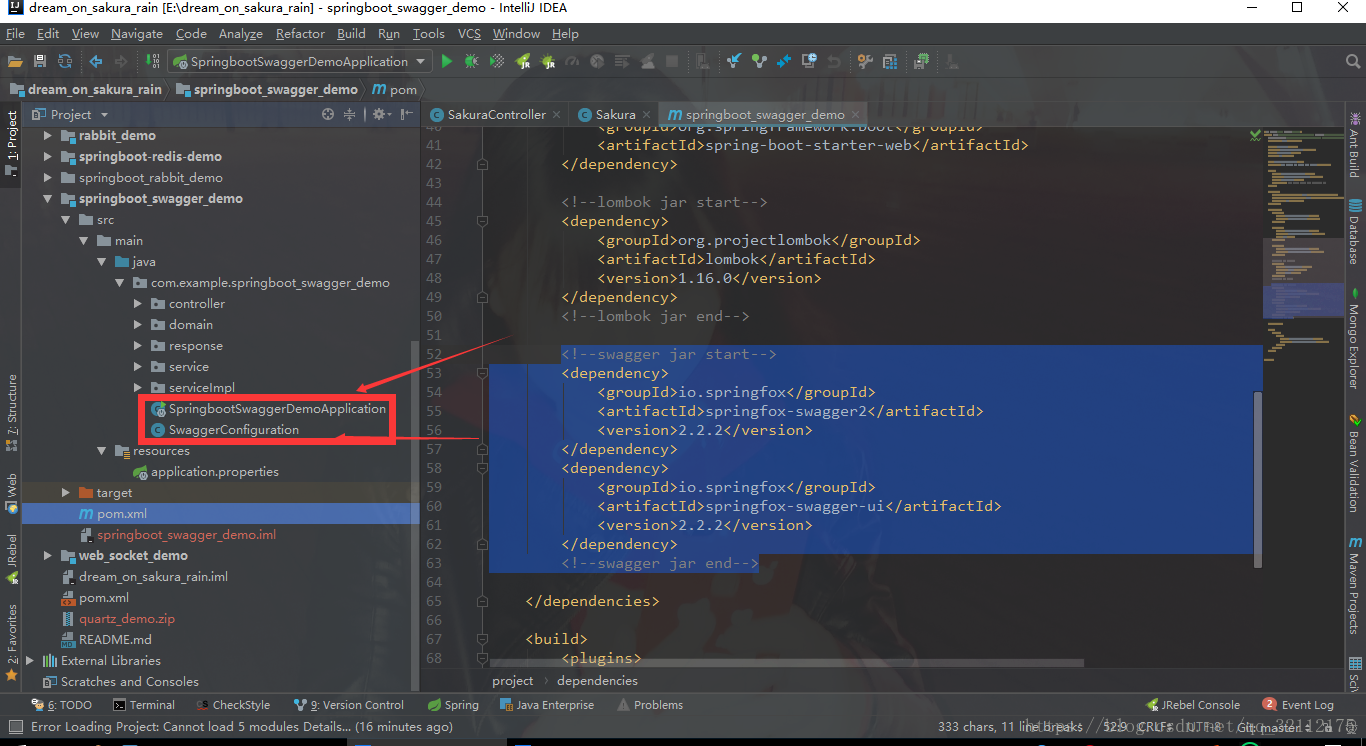
你需要引入包文件
<!--swagger jar start-->
		<dependency>
			<groupId>io.springfox</groupId>
			<artifactId>springfox-swagger2</artifactId>
			<version>2.2.2</version>
		</dependency>
		<dependency>
			<groupId>io.springfox</groupId>
			<artifactId>springfox-swagger-ui</artifactId>
			<version>2.2.2</version>
		</dependency>
		<!--swagger jar end-->
启动类统计编写配置方法,效果图大概是这样的
![]()
配置代码
package com.example.springboot_swagger_demo;

import org.springframework.context.annotation.Bean;
import org.springframework.context.annotation.Configuration;
import springfox.documentation.builders.ApiInfoBuilder;
import springfox.documentation.builders.PathSelectors;
import springfox.documentation.builders.RequestHandlerSelectors;
import springfox.documentation.service.ApiInfo;
import springfox.documentation.spi.DocumentationType;
import springfox.documentation.spring.web.plugins.Docket;
import springfox.documentation.swagger2.annotations.EnableSwagger2;

@Configuration
@EnableSwagger2
public class SwaggerConfiguration {

    @Bean
    public Docket createRestApi() {
        return new Docket(DocumentationType.SWAGGER_2).apiInfo(apiInfo()).select()
                        .apis(RequestHandlerSelectors.basePackage("com.example.springboot_swagger_demo.controller"))
                        .paths(PathSelectors.any()).build();
    }

    private ApiInfo apiInfo() {
        return new ApiInfoBuilder().title("Spring Boot中使用Swagger2构建RESTful APIs")
                        .description("相关描述")
                        .termsOfServiceUrl("http:......").contact("sakura").version("1.0").build();
    }

}
编写控制层的代码(这里面我已经吧经常会用到的注解都写上了,没有考虑到代码的规范性问题,只是为了给大家展示一下注解的含义相关用法)
package com.example.springboot_swagger_demo.controller;


import com.example.springboot_swagger_demo.domain.Sakura;
import com.example.springboot_swagger_demo.response.ResponseData;
import io.swagger.annotations.Api;
import io.swagger.annotations.ApiImplicitParam;
import io.swagger.annotations.ApiImplicitParams;
import io.swagger.annotations.ApiOperation;
import io.swagger.annotations.ApiResponse;
import io.swagger.annotations.ApiResponses;
import org.springframework.web.bind.annotation.GetMapping;
import org.springframework.web.bind.annotation.PostMapping;
import org.springframework.web.bind.annotation.PutMapping;
import org.springframework.web.bind.annotation.RequestBody;
import org.springframework.web.bind.annotation.RequestMapping;
import org.springframework.web.bind.annotation.RestController;
import springfox.documentation.annotations.ApiIgnore;

import java.util.HashMap;
import java.util.Map;
import java.util.stream.Collectors;

@RestController
@RequestMapping("/sakura")
@Api(value = "sakura基础数据接口", tags = "接口标识") //这里可以不设置,默认的展示效果是该类的名称SakuraController
public class SakuraController {

    static Map<String, Sakura> sakuras = new HashMap<>();

    @ApiOperation(value = "创建一个sakura", notes = "对接口的功能备注解释")//接口功能解释
    @ApiImplicitParams( {// 多个参数的提示的展示方式,也可以单独只使用一个@ApiImplicitParam
                    //@ApiImplicitParam(name = "id", value = "用户ID", dataType = "Long", paramType = "path"),//点进注解,会有paramType的其它选项和用法解释
                    @ApiImplicitParam(name = "sakura", value = "sakura实体类", required = true, dataType = "Sakura")//参数解释
    })
    @ApiResponses(value = {// 多个返回的提示的展示方式,也可以单独只使用一个@ApiImplicitParam
                    @ApiResponse(code = 401, message = "未未授权"), @ApiResponse(code = 500, message = "server error"),
                    @ApiResponse(code = 200, message = "success", response = ResponseData.class)})
    @PostMapping
    public Object addRequest(@RequestBody Sakura sakura) {
        sakuras.put(sakura.getId(), sakura);
        return "success";
    }

    @ApiOperation(value = "获取sakura信息", notes = "返回sakura所有信息")
    @GetMapping
    public Object getRequest() {
        return sakuras.entrySet().stream().map(entry -> entry.getValue()).collect(Collectors.toList());
    }


    @ApiIgnore//注解标识不展示在swagger界面上
    @PutMapping
    public String putRequest() {
        return "response put result message";
    }
}
那么究竟有多少注解需要我们去探究,实际上没有多少,大概。。。。。就这么多吧
![]()

具体的含义和使用的详情要不然就是网上有了很多的解释,要不然就是点进注解之后英文解释的已经非常详细了,我这里面就不做解释了。
以上项目只是个人的简单总结和使用,不足之处大神勿喷。
欢迎访问交流群:589780530
博主交流:2718272293
邮箱:2718272293@qq.com licunzhi2@gmail.com
github: https://github.com/licunzhi