接着上一篇的国外最火的电商网站magento2:系列(二)nginx、php环境的适配 说:
重中之重,这个步骤坑了楼主好久好久。
六:安装和配置magento2
有几种方法可以下载Magento软件,包括:
-
获取Composer元数据包
-
下载源码包
-
用git安装
对于此示例,我这里为了图方便,直接去官网下载的源码包:
切换到Web服务器docroot目录或已配置为虚拟主机docroot的目录。对于此示例,我们使用的是centos7默认值/usr/share/nginx/html。
这些说明假设您正在使用CentOS默认位置用于nginx虚拟主机(例如/etc/nginx/conf.d)和默认docroot(例如/usr/share/nginx/html),但是,您可以更改这些位置以适合您的环境。
1.为Magento站点创建一个新的虚拟主机:
vim /etc/nginx/conf.d/magento.conf
2.添加以下配置:
 upstream fastcgi_backend {
     server  unix:/run/php-fpm/php-fpm.sock;
 }

 server {

     listen 80;
     server_name www.magento-dev.com;
     set $MAGE_ROOT /usr/share/nginx/html/magento2;
     include /usr/share/nginx/html/magento2/nginx.conf.sample;
 }
替换www.magento-dev.com为您的域名或者ip。
注意:该include指令必须是只指向magento安装目录中的nginx.conf.sample。
3.验证语法是否正确:
nginx -t
4.重启nginx:
systemctl restart nginx
5.在安装Magento软件之前,请为Web服务器组设置读写权限。这是必要的,以便安装向导和命令行可以将文件写入Magento文件系统。
find var generated vendor pub/static pub/media app/etc -type f -exec chmod g+w {} +
 find var generated vendor pub/static pub/media app/etc -type d -exec chmod g+ws {} +
 chmod u+x bin/magento
6.步骤一部一部来,不出错的情况下,访问地址,你将会看到正确的安装界面了
七:调试错误
加入上面的这些步骤都对,你还是不能访问界面的话,请进行一下操作:
请注意这些很重要很重要!!!
1.检查你的CentOS 7查看防火墙状态: firewall-cmd --state
2.CentOS 7查看SELinux状态并关闭 : /usr/sbin/sestatus -v
3.检查你的防火墙是否允许80端口的访问、、
4.最好关闭的的SELinux,这会影响到magento2的访问
5.打开php会话session的权限
6.打开文件的权限:sudo chmod -R 777 var pub
7.打开php缓存代码的权限:sudo chmod -R 777 generated
8.打开app权限:sudo chmod -R 777 app
然后继续访问:可以去查看nginx的错误日志:(/var/log/nginx/error.log)
假如出现下面错误:下载Magento 2并尝试设置但获取空白页面。
当我检查nginx日志文件时,我在日志下面找到了。
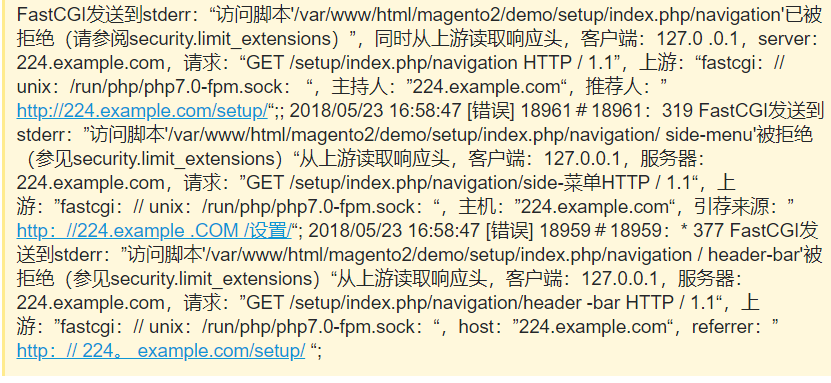
这是默认Magento nginx.conf.sample文件需要替换啦。
这是原来的:
location ~* ^/setup($|/) {
    root $MAGE_ROOT;
    location ~ ^/setup/index.php {
        fastcgi_pass   fastcgi_backend;

        fastcgi_param  PHP_FLAG  "session.auto_start=off
 suhosin.session.cryptua=off";
        fastcgi_param  PHP_VALUE "memory_limit=768M
 max_execution_time=600";
        fastcgi_read_timeout 600s;
        fastcgi_connect_timeout 600s;

        fastcgi_index  index.php;
        fastcgi_param  SCRIPT_FILENAME  $document_root$fastcgi_script_name;
        include        fastcgi_params;
    }

    location ~ ^/setup/(?!pub/). {
        deny all;
    }

    location ~ ^/setup/pub/ {
        add_header X-Frame-Options "SAMEORIGIN";
    }
}
你需要把上面的替换成下面的:
location /setup {
root $MAGE_ROOT;
location ~ ^/setup/index.php {
### This fixes the problem:
fastcgi_split_path_info ^(.+?.php)(/.*)$;
################################
fastcgi_pass fastcgi_backend;
fastcgi_index index.php;
fastcgi_param SCRIPT_FILENAME $document_root$fastcgi_script_name;
include fastcgi_params;
}
location ~ ^/setup/(?!pub/). {
deny all;
}
location ~ ^/setup/pub/ {
add_header X-Frame-Options "SAMEORIGIN";
}
}
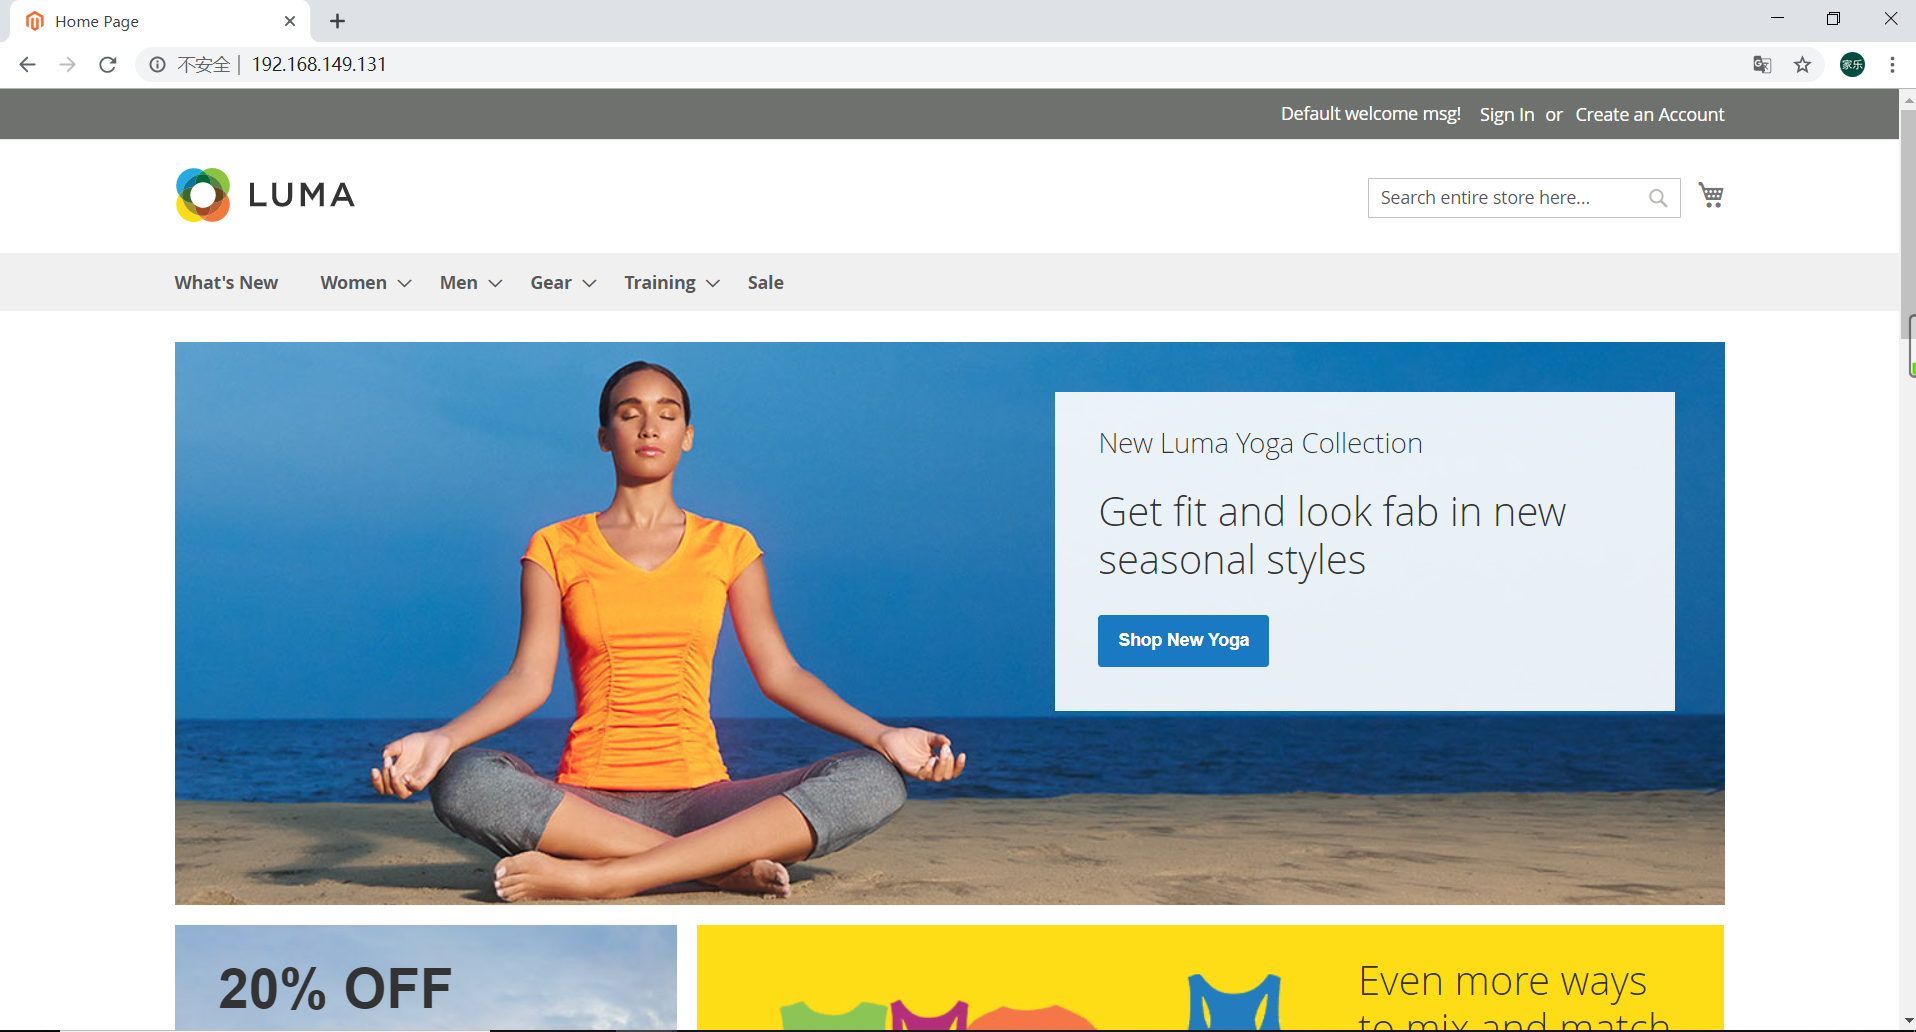
接下来,你再次访问的时候,就是见证奇迹的时候啦!!
给大家一波装好的图片:
从这以后,基本的magento2就算配置完成啦。希望大家能从我这里学到一点东西。接来下的话,我会把一些magento2需要用到的命令,和一些常见的错误陆陆续的续展现出来。。