第一步安装Java
yum -y install java-1.8.0
安装完成查看版本
java -version

然后开始下载相关软件包 https://www.elastic.co/cn/downloads/
由于yum安装找不到命令 ,继而放弃选用浏览器下载上传到服务的方法

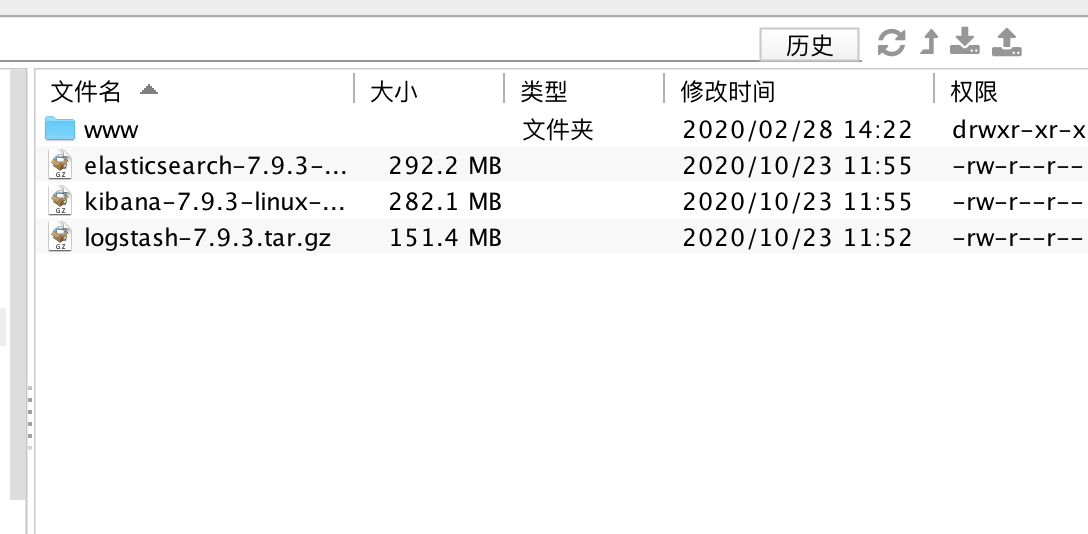
把下载的包上传到服务器 (因为我用finalshell 可视化工具,继而没有使用命令行)

useradd elk 创建一个elk用户
ln -s /home/elk/logstash-7.9.3/ /home/elk/logstash
[root@iz2zegckpmdcwq0flbvicpz data]# chown -R elk:elk /home/elk/
[root@iz2zegckpmdcwq0flbvicpz data]# su - elk
安装 logstash

发现找不到命令继续
[elk@iz2zegckpmdcwq0flbvicpz logstash]$ bin/logstash -e 'input{stdin{}}output{stdout{codec=>rubydebug}}'
果然没有配置环境变量的原因
那就配置下吧 先切换为root账户
su root
Password: 输入你远程的密码
[root@iz2zegckpmdcwq0flbvicpz logstash]# echo "export PATH=$PATH:/home/elk/logstash-7.9.3/bin" > /etc/profile.d/logstash.sh
[root@iz2zegckpmdcwq0flbvicpz logstash]# . /etc/profile
[root@iz2zegckpmdcwq0flbvicpz logstash]# su elk
[elk@iz2zegckpmdcwq0flbvicpz logstash]$ logstash -e 'input{stdin{}}output{stdout{codec=>rubydebug}}'

貌似成功了 继续往下
客户端安装Filebeat:
useradd elk
tar zxf filebeat-7.9.3-linux-x86_64.tar.gz
cp -r filebeat-7.9.3-linux-x86_64 /home/elk/filebeat-7.9.3
ln -s /home/elk/filebeat-7.9.3 /home/elk/filebeat
chown -R elk:elk /home/elk/filebeat-7.9.3
su root
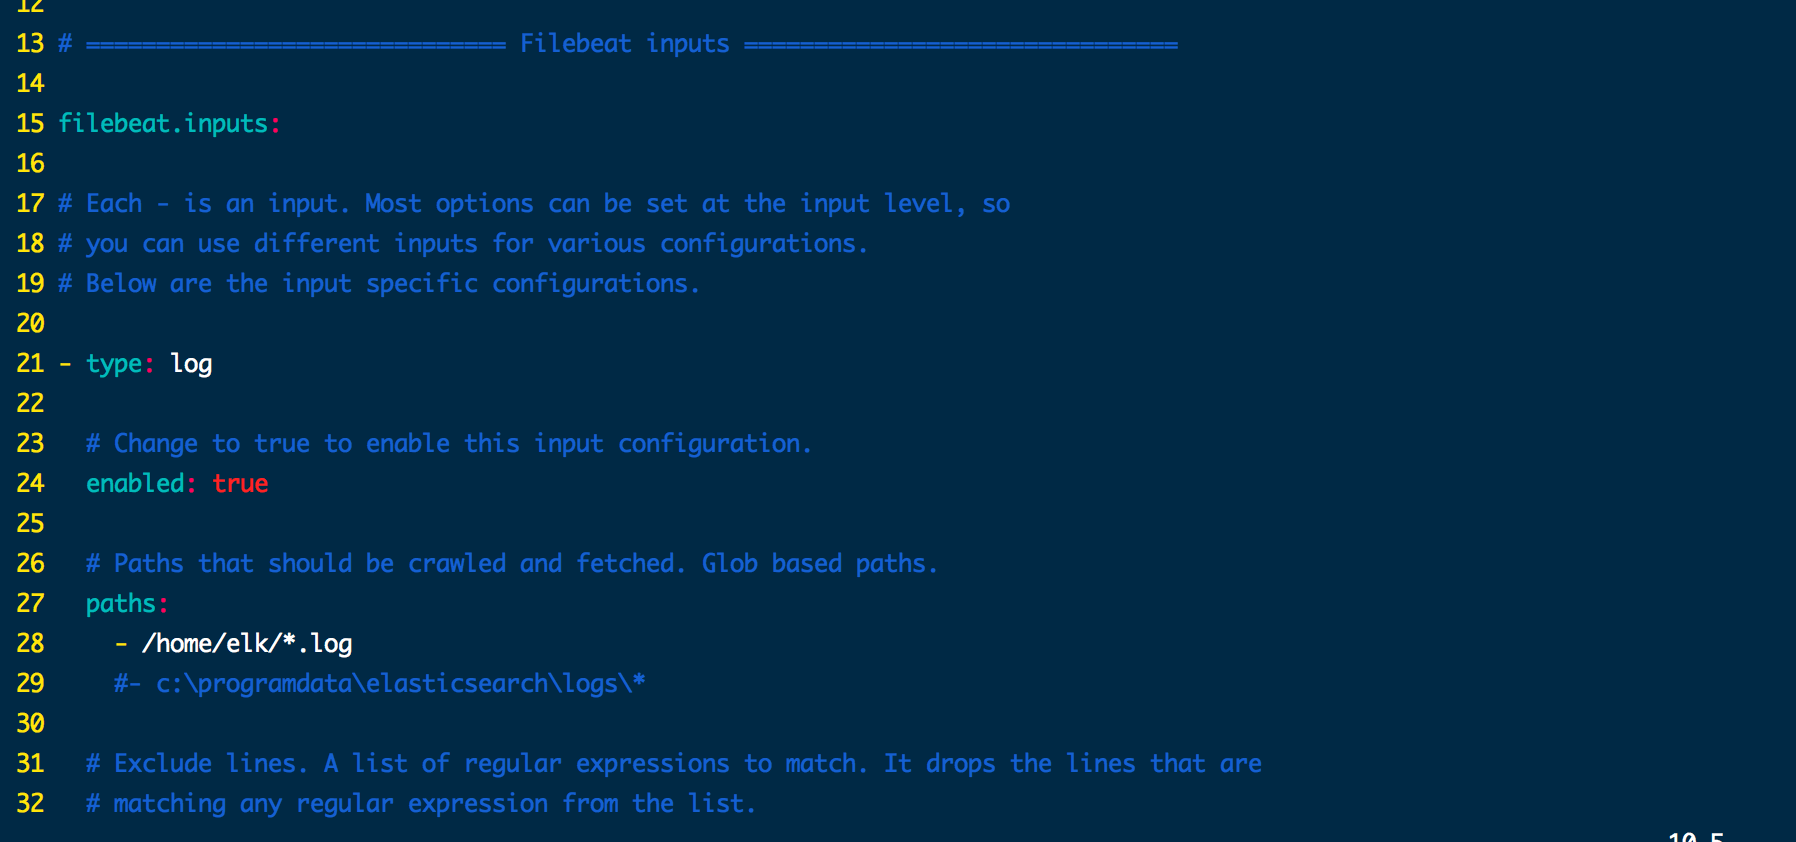
编辑 /home/elk/filebeat/filebeat.yml 文件

# ============================== Filebeat inputs ===============================
14
15 filebeat.inputs:
16
17 # Each - is an input. Most options can be set at the input level, so
18 # you can use different inputs for various configurations.
19 # Below are the input specific configurations.
20
21 - type: log
22
23 # Change to true to enable this input configuration.
24 enabled: true
25
26 # Paths that should be crawled and fetched. Glob based paths.
27 paths:
28 - /home/elk/*.log
29 #- c:programdataelasticsearchlogs*
30
/home/elk/filebeat/filebeat -e -c /home/elk/filebeat/filebeat.yml -d "publish"

又完成了一个 哈哈
安装 elasticsearch
[root@iz2zegckpmdcwq0flbvicpz data]# tar zxf elasticsearch-7.9.3-linux-x86_64.tar.gz
[root@iz2zegckpmdcwq0flbvicpz data]# cp -r elasticsearch-7.9.3 /home/elk/elasticsearch-7.9.3
[root@iz2zegckpmdcwq0flbvicpz data]# ln -s /home/elk/elasticsearch-7.9.3/ /home/elk/elasticsearch
chown -R elk:elk /home/elk/elasticsearch-7.9.3/
启动 elasticsearch
/home/elk/elasticsearch/bin/elasticsearch
/home/elk/elasticsearch/bin/elasticsearch -d
查看是不是真的启动了
netstat -tnlp | grep java

启动成功下一步