1.在pubspec.yaml引入插件
barcode_scan: ^3.0.0
2.在main/AndroidManifest.xml中添加相机权限,即红字部分内容。
<manifest xmlns:android="http://schemas.android.com/apk/res/android"
    package="com.example.flutter_ask_answer_game">
    <!-- io.flutter.app.FlutterApplication is an android.app.Application that
         calls FlutterMain.startInitialization(this); in its onCreate method.
         In most cases you can leave this as-is, but you if you want to provide
         additional functionality it is fine to subclass or reimplement
         FlutterApplication and put your custom class here. -->
    <application
        android:name="io.flutter.app.FlutterApplication"
        android:label="知识竞赛"
        android:icon="@mipmap/ic_launcher">
        <activity
            android:name=".MainActivity"
            android:launchMode="singleTop"
            android:theme="@style/LaunchTheme"
            android:configChanges="orientation|keyboardHidden|keyboard|screenSize|smallestScreenSize|locale|layoutDirection|fontScale|screenLayout|density|uiMode"
            android:hardwareAccelerated="true"
            android:windowSoftInputMode="adjustResize">
            <!-- Specifies an Android theme to apply to this Activity as soon as
                 the Android process has started. This theme is visible to the user
                 while the Flutter UI initializes. After that, this theme continues
                 to determine the Window background behind the Flutter UI. -->
            <meta-data
              android:name="io.flutter.embedding.android.NormalTheme"
              android:resource="@style/NormalTheme"
              />
            <!-- Displays an Android View that continues showing the launch screen
                 Drawable until Flutter paints its first frame, then this splash
                 screen fades out. A splash screen is useful to avoid any visual
                 gap between the end of Android's launch screen and the painting of
                 Flutter's first frame. -->
            <meta-data
              android:name="io.flutter.embedding.android.SplashScreenDrawable"
              android:resource="@drawable/launch_background"
              />
            <intent-filter>
                <action android:name="android.intent.action.MAIN"/>
                <category android:name="android.intent.category.LAUNCHER"/>
            </intent-filter>
        </activity>
        <!-- Don't delete the meta-data below.
             This is used by the Flutter tool to generate GeneratedPluginRegistrant.java -->
        <meta-data
            android:name="flutterEmbedding"
            android:value="2" />
    </application>
    <uses-permission android:name="android.permission.INTERNET"/>
    <uses-permission android:name="android.permission.CAMERA"/>
</manifest>
3.修改app/build.gradle,需要把minSdkVersion的版本修改为18。
defaultConfig {
    // TODO: Specify your own unique Application ID (https://developer.android.com/studio/build/application-id.html).
    applicationId "com.example.flutter_ask_answer_game"
    minSdkVersion 18
    targetSdkVersion 28
    versionCode flutterVersionCode.toInteger()
    versionName flutterVersionName
}
4.新增scan.dart,代码如下:
import 'package:barcode_scan/barcode_scan.dart';
import 'package:flutter/material.dart';

class BarCodeScanPage extends StatefulWidget {
  BarCodeScanPage({Key key}) : super(key: key);

  @override
  _BarCodeScanPageState createState() => _BarCodeScanPageState();
}

class _BarCodeScanPageState extends State<BarCodeScanPage> {

  String content = '';

  scan() async {
    var options = ScanOptions();

    ScanResult result = await BarcodeScanner.scan(options: options);
    print(result.rawContent);
    setState(() {
      content = result.rawContent;
    });
  }

  @override
  Widget build(BuildContext context) {
    return Scaffold(
      appBar: AppBar(
        title: Text('扫一扫'),
        actions: <Widget>[
          IconButton(
            icon: Icon(Icons.camera_alt),
            onPressed: () {
              scan();
            },
          ),
        ],
      ),
      body: Center(
        child: Text('识别二维码结果:$content'),
      ),
    );
  }
}
5.在上个页面调用scan函数,跳转过去即可。
void scan(){
  Navigator.of(context).push(MaterialPageRoute(builder: (_) => BarCodeScanPage()));
}
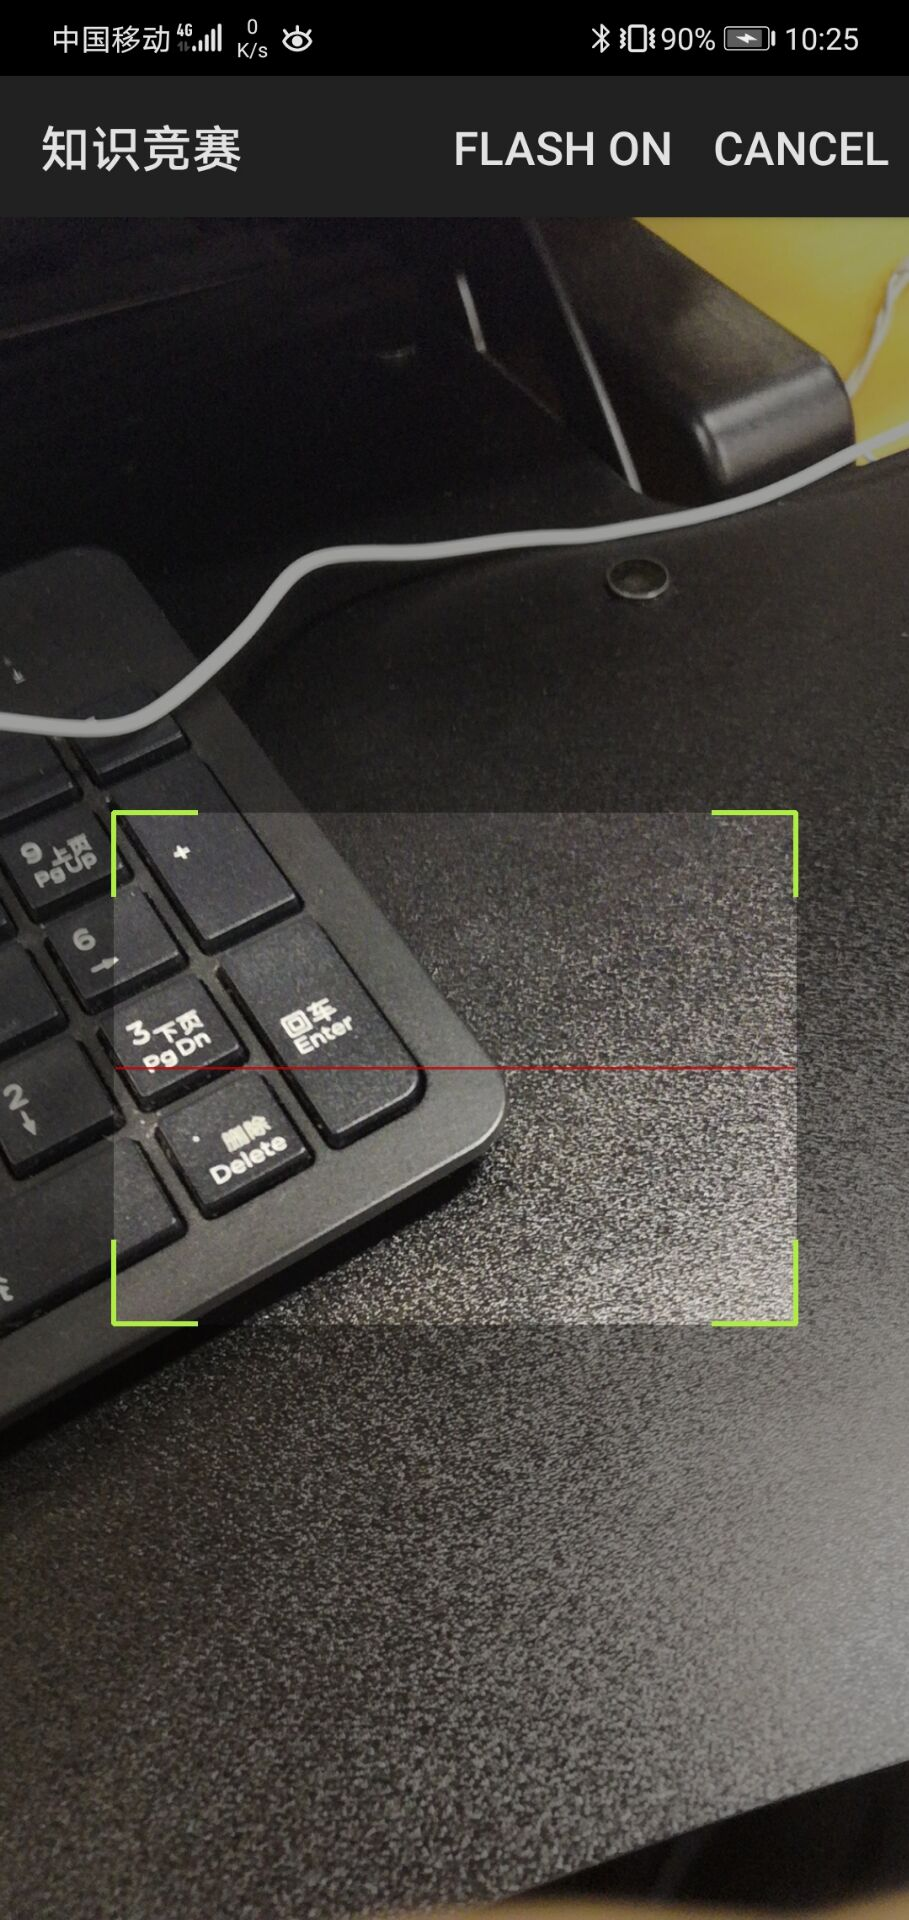
最终效果如下:

ps:若要在iphone上运行,需要在info.plist中增加以下内容
<key>NSCameraUsageDescription</key>
<string>Camera permission is required for barcode scanning.</string>