1. 安装Gitlab依赖包
yum install curl openssh-server openssh-clients postfix cronie polucyroreutils-python -y
2. 添加官方源
curl https://packages.gitlab.com/install/repositories/gitlab/gitlab-ce/script.rpm.sh| sudo bash
3. 安装Gitlab
yum install gitlab-ce -y
cd /opt/gitlab/etc/
4. 配置gitklab
cp gitlab.rb.template gitlab.rb
vim /opt/gitlab/etc/gitlab.rb
external_url 'http://10.4.7.100' #本机IP
5. 初始化Gitlab
gitlab-ctl reconfigure
6. 启动Gitlab服务
gitlab-ctl start
gitlab-ctl restart
gitlab-ctl status
7. 登录 IP --> 设置密码 --> 修改中文界面

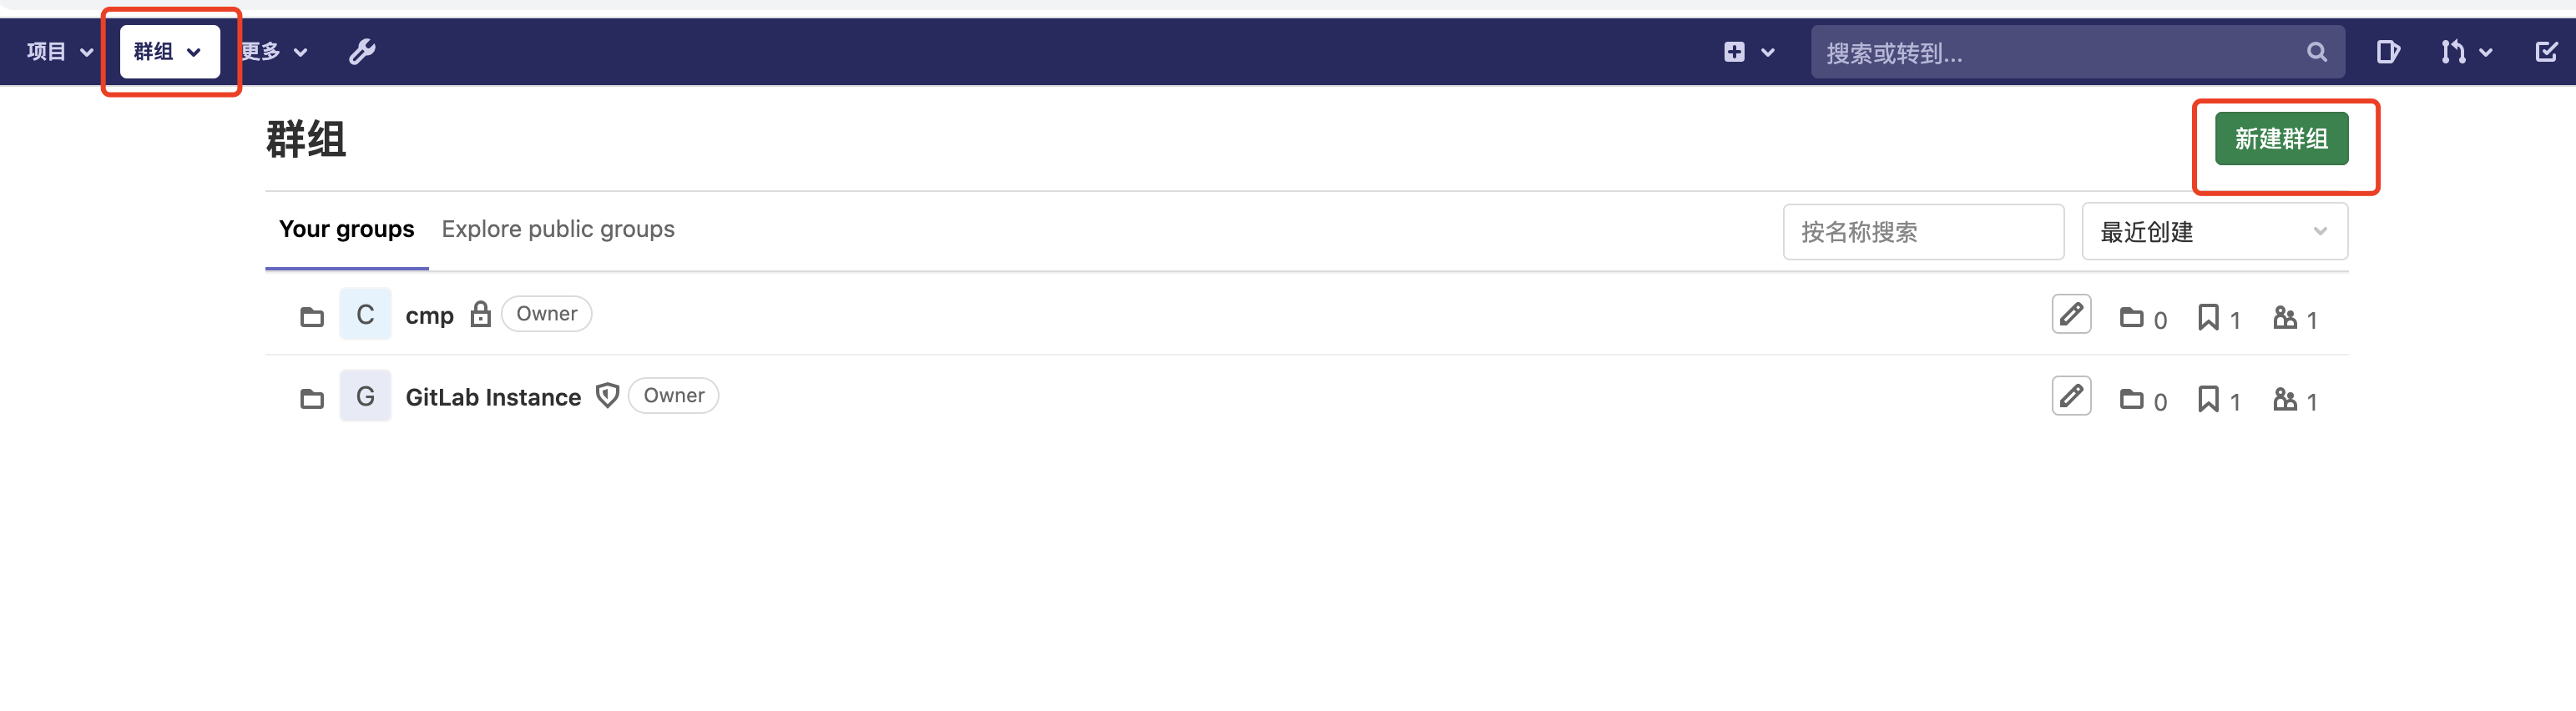
8.新建群组
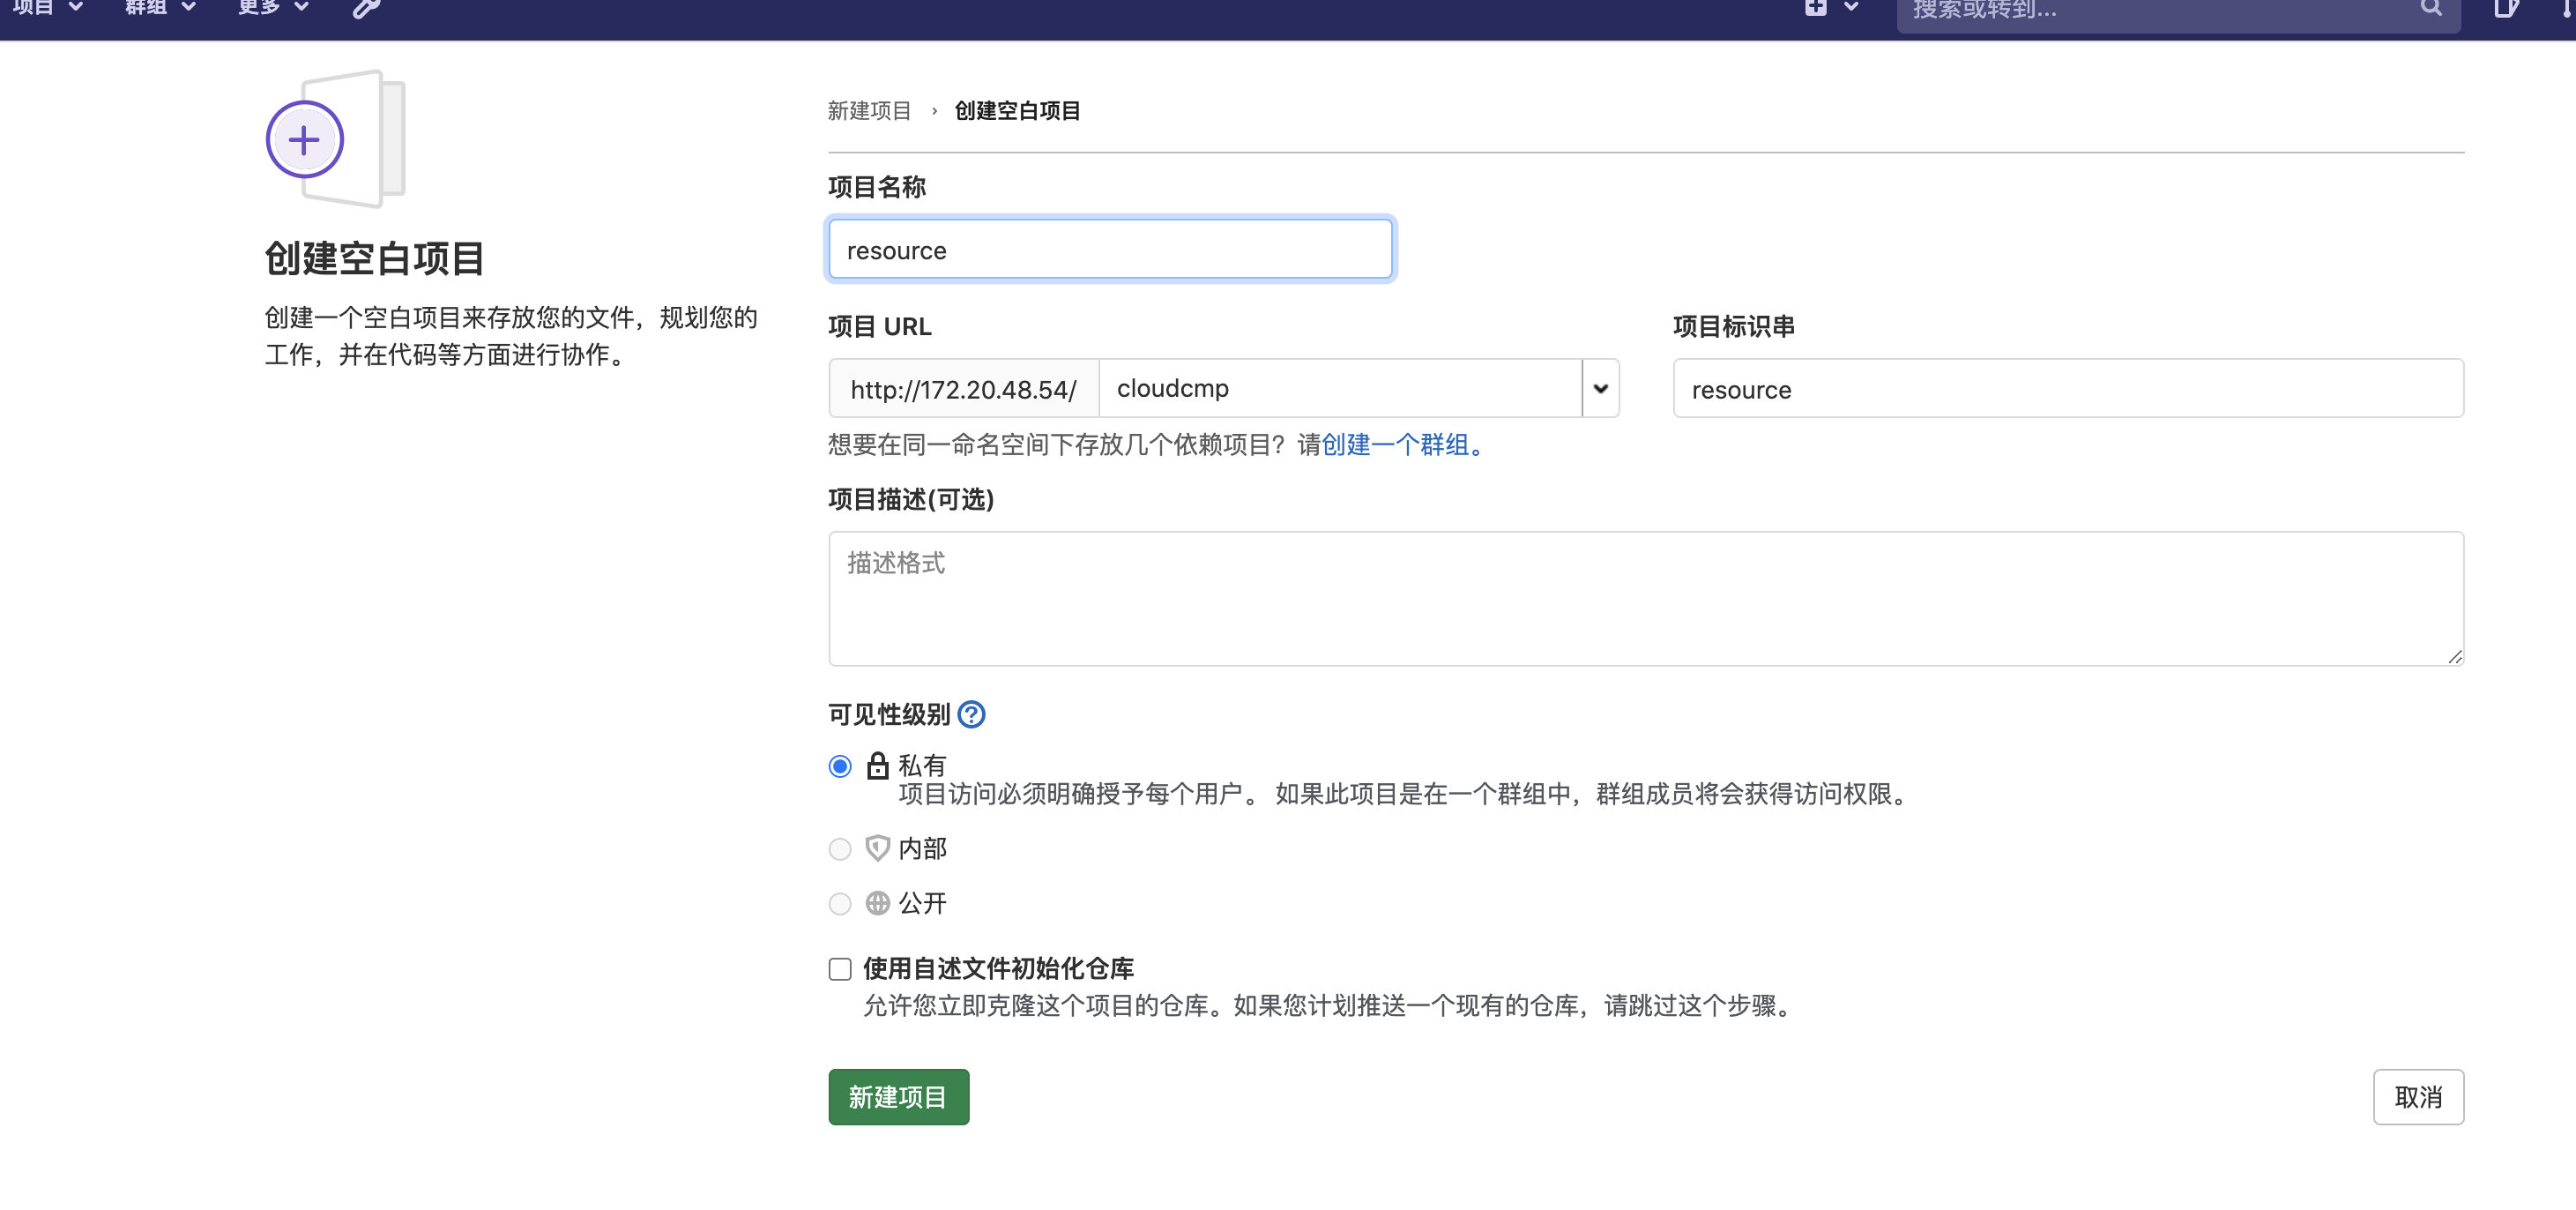
9.新建项目

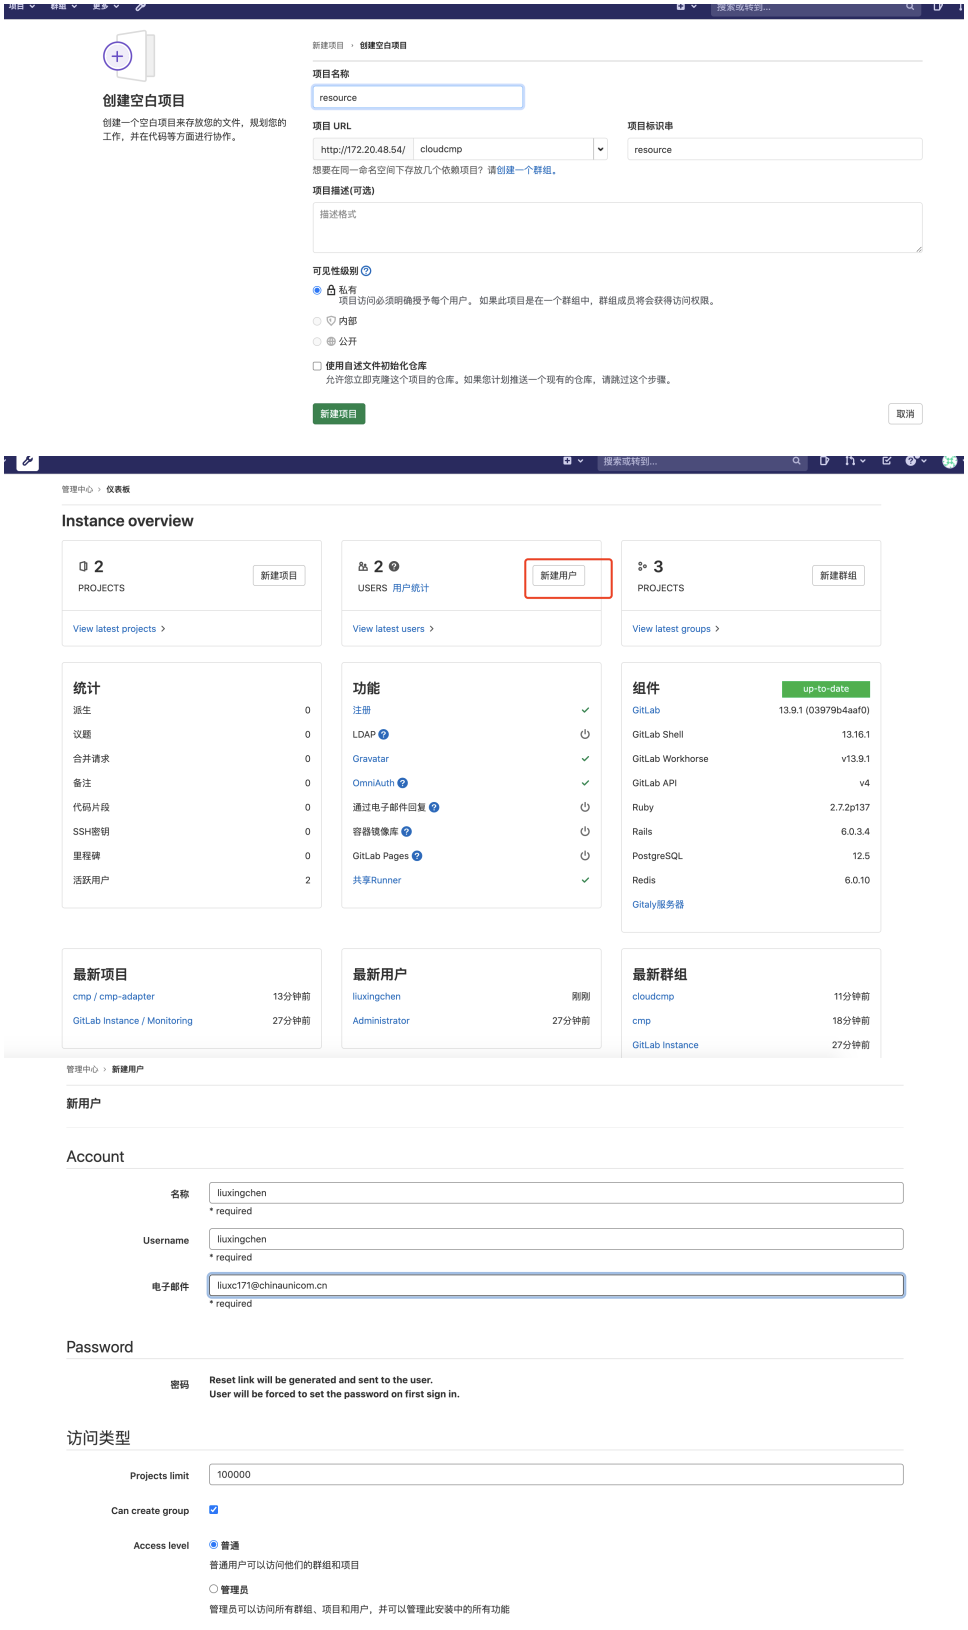
10.添加用户
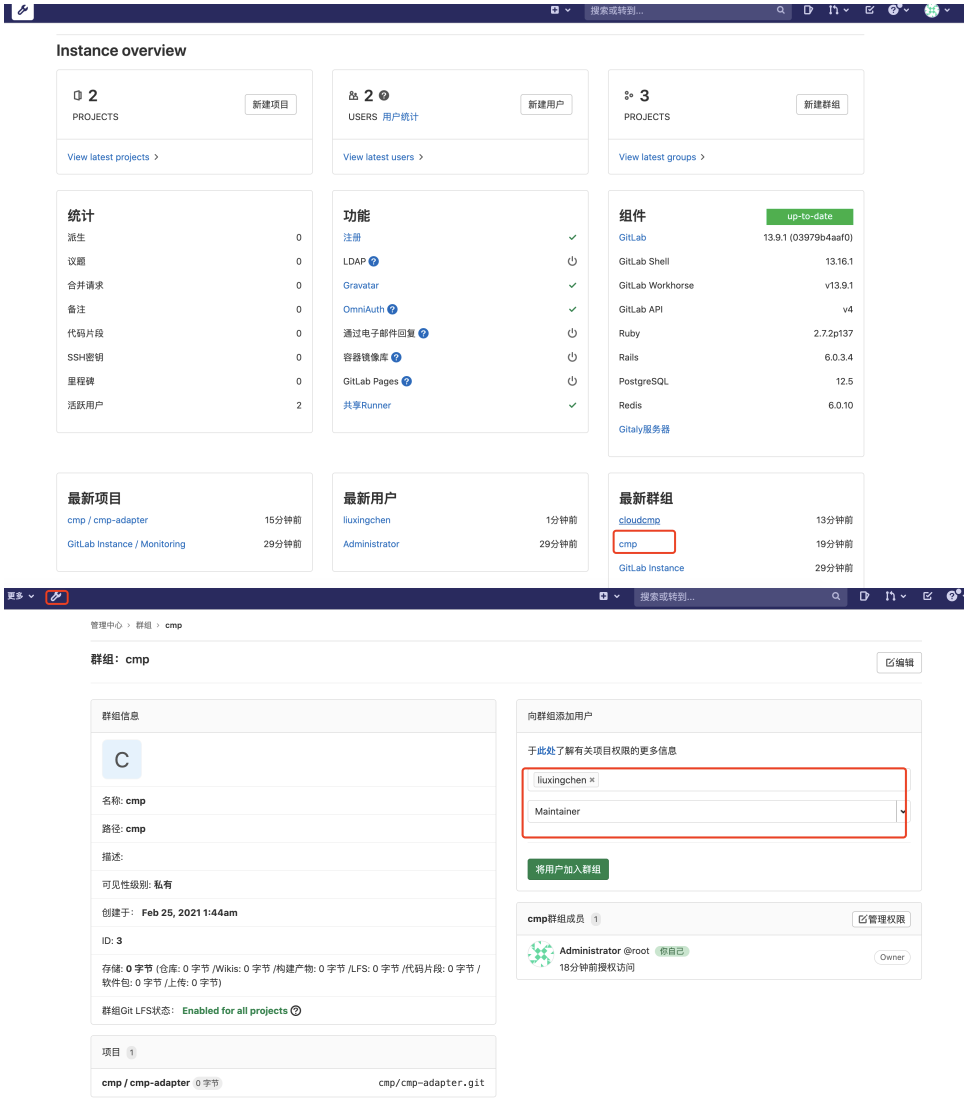
11 将用户添加到组
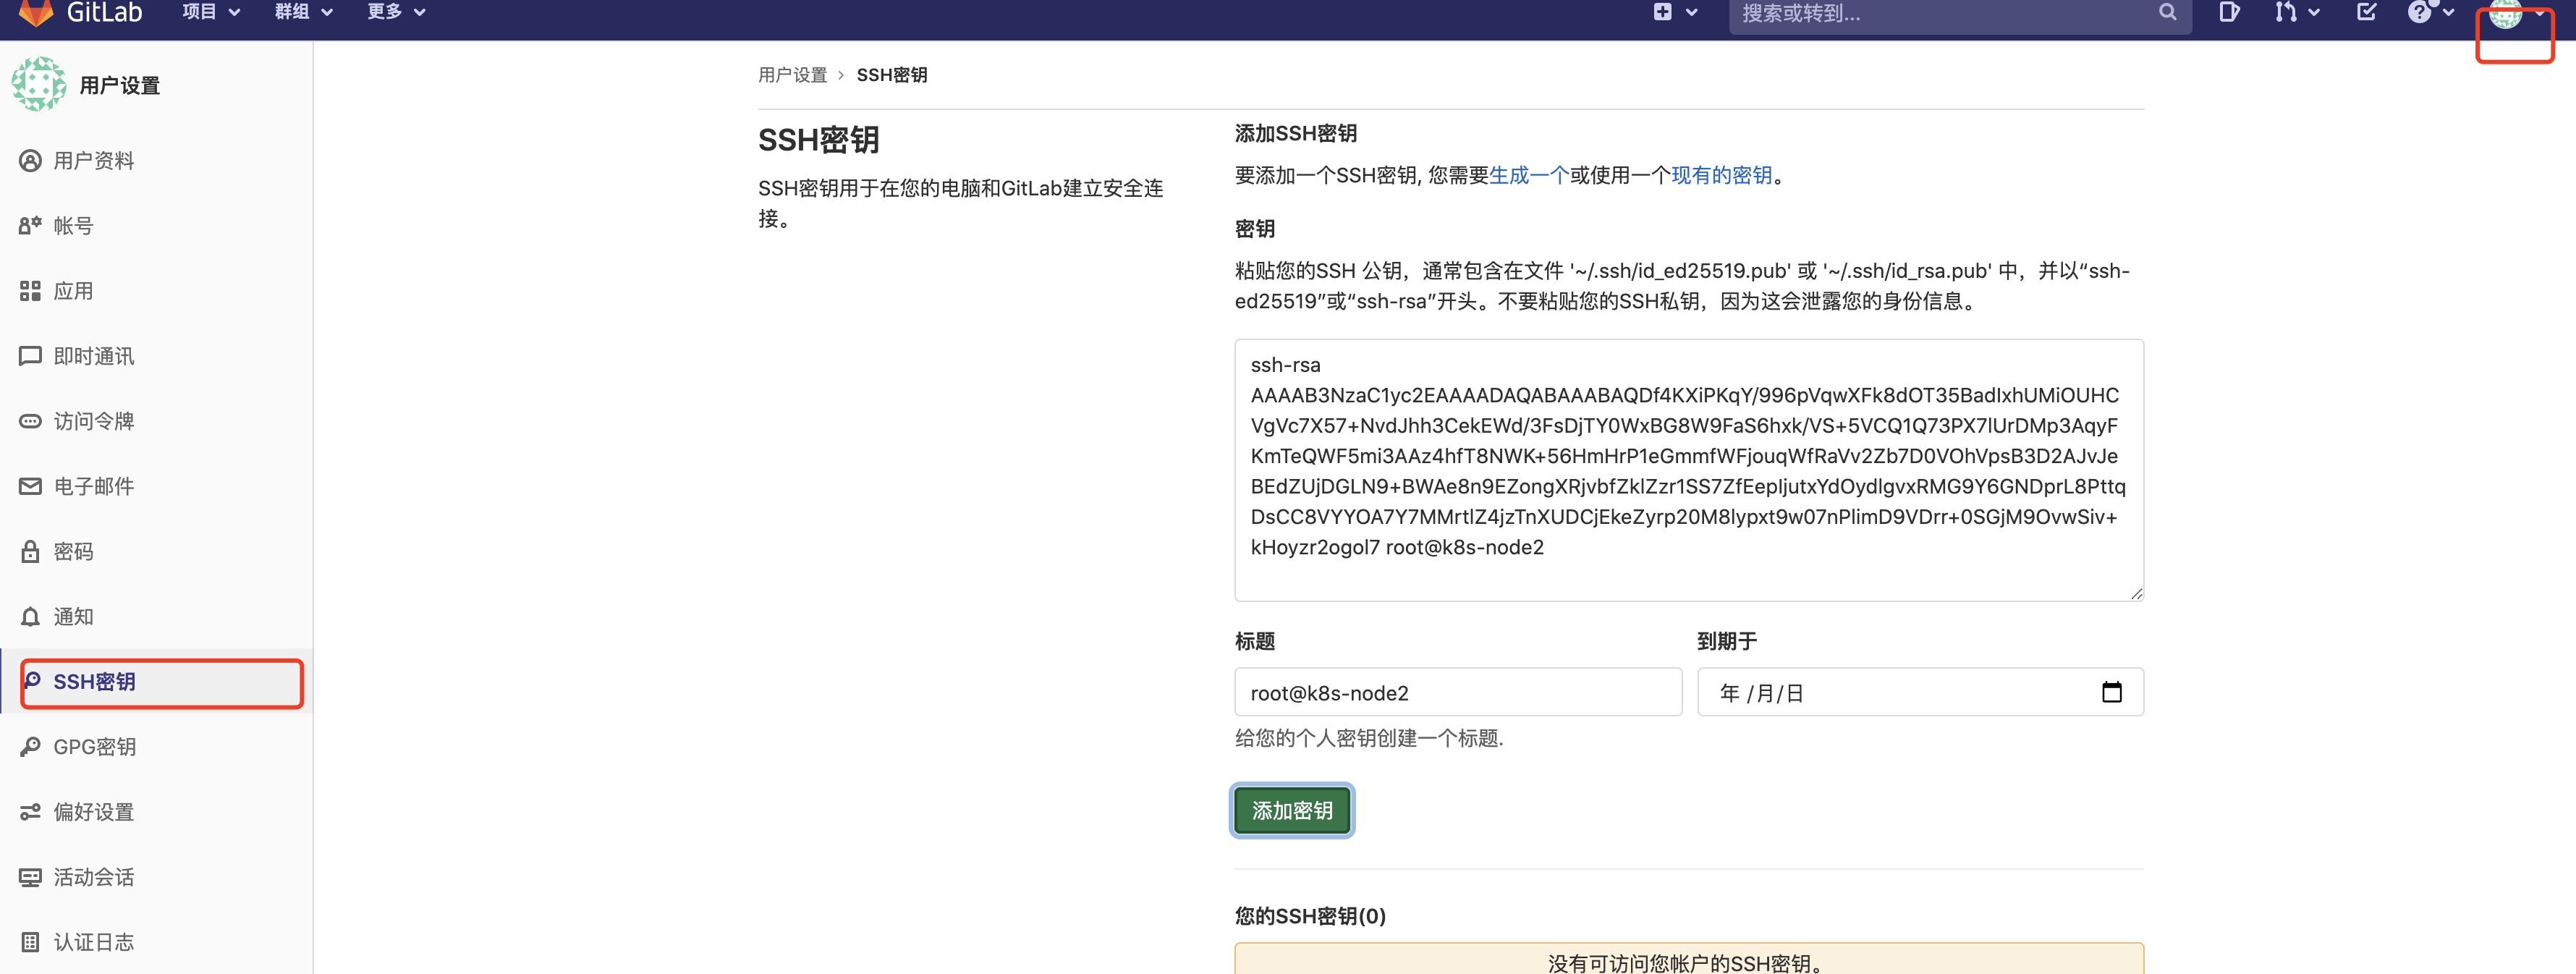
12.添加ssh-key
13 去掉用户注册功能

14.gitlab的备份与恢复
1. 修改配置文件
vim gitlab.rb
gitlab_rails['manage_backup_path'] = true
gitlab_rails['backup_path'] = "/var/opt/gitlab/backups"
# 设置好后重启 gitlab-ctl restart 或者gitlab-ctl reconfigure
2. 执行命令进行备份
/opt/gitlab/bin/gitlab-rake gitlab:backup:create
[root@k8s-node2 ~]# cd /var/opt/gitlab/backups/
[root@k8s-node2 backups]# ls
1614222462_2021_02_25_13.9.1_gitlab_backup.tar
3. 添加crontab定时备份
crontab -e
* * 2 * * /opt/gitlab/bin/gitlab-rake gitlab:backup:create
4. 设置备份保留时长
vim gitlab.rb
gitlab_rails['backup_keep_time'] = 604800
gitlab-ctl restart
5. 恢复备份-恢复前先停掉数据连接服务
gitlab-ctl stop unicore
gitlab-ctl stop sidekip
[root@k8s-node2 ~]# cd /var/opt/gitlab/backups/
[root@k8s-node2 backups]# ls
1614222462_2021_02_25_13.9.1_gitlab_backup.tar
gitlab-rake gitlab:backup:restore BACKUP=1614222462_2021_02_25_13.9.1
[root@git-server backups]# gitlab-ctl start unicore
[root@git-server backups]# gitlab-ctl start sidekip
[root@git-server backups]# gitlab-ctl restart