在实际生产环境中通过命令行的形式去进行集群的管理是一件很繁琐并且容易出现错误的事情,所以就引入了云平台的概念。
什么是云平台
Redis 云平台是指通过 BS 等架构实现对 Redis 的管理和监控。本文介绍的云平台是 -- CacheCloud。
CacheCloud 简介
CacheCloud 提供一个 Redis 云管理平台:实现多种类型 (Redis Standalone、Redis Sentinel、Redis Cluster)自动部署、解决 Redis 实例碎片化现象、提供完善统计、监控、运维功能、减少运维成本和误操作,提高机器的利用率,提供灵活的伸缩性,提供方便的接入客户端。
CacheCloud 功能
- 监控统计: 提供了机器、应用、实例下各个维度数据的监控和统计界面。
- 一键开启: Redis Standalone、Redis Sentinel、Redis Cluster三种类型的应用,无需手动配置初始化。
- Failover: 支持哨兵,集群的高可用模式。
- 伸缩: 提供完善的垂直和水平在线伸缩功能。
- 完善运维: 提供自动运维和简化运维操作功能,避免纯手工运维出错。
- 方便的客户端 方便快捷的客户端接入。
- 元数据管理: 提供机器、应用、实例、用户信息管理。
- 流程化: 提供申请,运维,伸缩,修改等完善的处理流程
- 一键导入: 一键导入已经存在Redis
CacheCloud 提供的价值
- 规模化自动运维: 降低运维成本,降低人为操作出错率。
- 自由伸缩: 提供灵活的伸缩性,应用扩容/收缩成本降低,机器资源得到重复利用。
- 团队提升,开源贡献:提升云产品开发设计经验,自己作为开发者和使用者。
CacheCloud 环境需求
- JDK 7+
- Maven 3
- MySQL 5.5
- Redis 3
CacheCloud 部署
1)前往 官网 下载二进制安装

- 解压文件并进入目录
[root@VM_0_15_centos opt]# tar -vxf cachecloud-bin-1.2.tar.gz
cachecloud-web/
cachecloud-web/cachecloud.sql
cachecloud-web/stop.sh
cachecloud-web/jdbc.properties
cachecloud-web/start.sh
cachecloud-web/logs/
cachecloud-web/cachecloud-open-web-1.0-SNAPSHOT.war
[root@VM_0_15_centos opt]# cd cachecloud-web/
- cachecloud-open-web-1.0-SNAPSHOT.war: cachecloud war包
- cachecloud.sql: 数据库schema,默认数据名为cache_cloud,可以自行修改
- jdbc.properties:jdbc数据库配置,自行配置
- start.sh:启动脚本
- stop.sh: 停止脚本
- logs:存放日志的目录
- 在
mysql中将cachecloud.sql导入
[root@VM_0_15_centos cachecloud-web]# mysql -uroot -h 127.0.0.1 -p
mysql> source /opt/cachecloud-web/cachecloud.sql
- 修改
jdbc.properties文件,根据自己的数据库信息进行配置
[root@VM_0_15_centos cachecloud-web]# vim jdbc.properties

cachecloud.db.url = jdbc:mysql://127.0.0.1:3306/cache_cloud
cachecloud.db.user = user
cachecloud.db.password = password
cachecloud.maxPoolSize = 20
jdbc.driver = com.mysql.jdbc.Driver
jdbc.validationQuery = select 1 from dual
- 修改内存配置
[root@VM_0_15_centos cachecloud-web]# vim start.sh
默认是 4G,但是我的服务器只有1G 囧。所以需要修改,如果你的服务器配置够的话可以跳过。
-server -Xmx4g -Xms4g
修改为:
-server -Xmx1g -Xms1g
- 启动项目
[root@VM_0_15_centos cachecloud-web]# sh start.sh
7)浏览器访问 http://服务器 ip 地址:8585
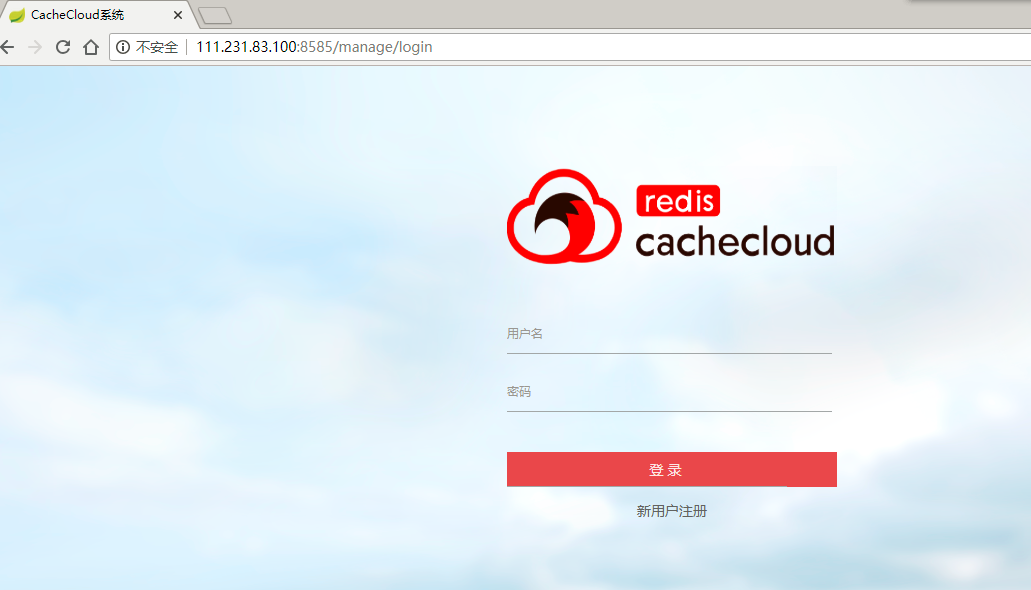
默认账号信息如下:
用户名:admin
密  码:admin
机器部署
1)前往 github 下载 cachecloud-init.sh 初始化文件并上传服务器,或者在服务器新建文件,内容如下:
#!/bin/bash

############################################################################
# @desc:
#	- 1. create user;
#	- 2. create default directories and authorize;
#	- 3. @usage: sh cachecloud-init.sh [username]
# @author: leifu
# @time:
###########################################################################

set -o nounset
set -o errexit

readonly redisDir="/opt/cachecloud/redis"
readonly redisTarGz="redis-3.0.7.tar.gz"


# check if the user exists
checkExist() {
	local num=`cat /etc/passwd | grep -w $1 | wc -l`

	#cat /etc/passwd | grep -q "$1"
	if [[ $num == 1 ]]; then
		echo "user $1 exists, overwrite user and *init all data*: [y/n]?"
		read replace
		if [[ ${replace} == "y" ]]; then
			echo "delete existed user: $1."
			userdel -r "$1"
			createUser "$1"
			init "$1"
			return 0
		fi
	else
		createUser "$1"
		init "$1"
	fi
	return 0
}


# create the user
createUser() {
	# create a user
	useradd -m -d /home/$1 -s /bin/bash $1

	# give the user a password
	passwd $1

	# add the user to sudoers
	#	echo "$1	ALL=(ALL)   ALL" >> /etc/sudoers

	#  Maximum number of days between password change
	chage -M 9999 $1
	echo "OK: create user: $1 done"

}

# create defautl dirs and authorize
init() {
	# create working dirs and a tmp dir
	mkdir -p /opt/cachecloud/data
	mkdir -p /opt/cachecloud/conf
	mkdir -p /opt/cachecloud/logs
	mkdir -p /opt/cachecloud/redis
	mkdir -p /tmp/cachecloud

	# change owner
	chown -R $1:$1 /opt/cachecloud
	chown -R $1:$1 /tmp/cachecloud
	echo "OK: init: $1 done"
}


# install redis
installRedis() {
	#which redis-server
	#if [[ $? == 0 ]]; then
	#	echo "WARN: redis is already installed, exit."
	#	return
	#fi

	yum install -y gcc
	mkdir -p ${redisDir} && cd ${redisDir}
	wget http://download.redis.io/releases/${redisTarGz} && mv ${redisTarGz} redis.tar.gz && tar zxvf redis.tar.gz --strip-component=1
	make && make install
	if [[ $? == 0 ]]; then
		echo "OK: redis is installed, exit."
		chown -R $1:$1 ${redisDir}
		export PATH=$PATH:${redisDir}/src
		return
	fi
	echo "ERROR: redis is NOT installed, exit."
}

username=$1
checkExist "${username}"
installRedis "${username}"
- 初始化 sh 账号
[root@VM_0_15_centos cachecloud-web]# sh cachecloud-init.sh cachecloud
cachecloud-init.sh: line 1: c:: command not found
Changing password for user cachecloud.
New password:
BAD PASSWORD: The password is shorter than 7 characters
Retype new password:
passwd: all authentication tokens updated successfully.
OK: create user: MarkLogZhu done
OK: init: MarkLogZhu done
Loaded plugins: fastestmirror, langpacks
Determining fastest mirrors
cachecloud 是新建的 sh 账号,你可以选择自己的,之后需要输入密码。
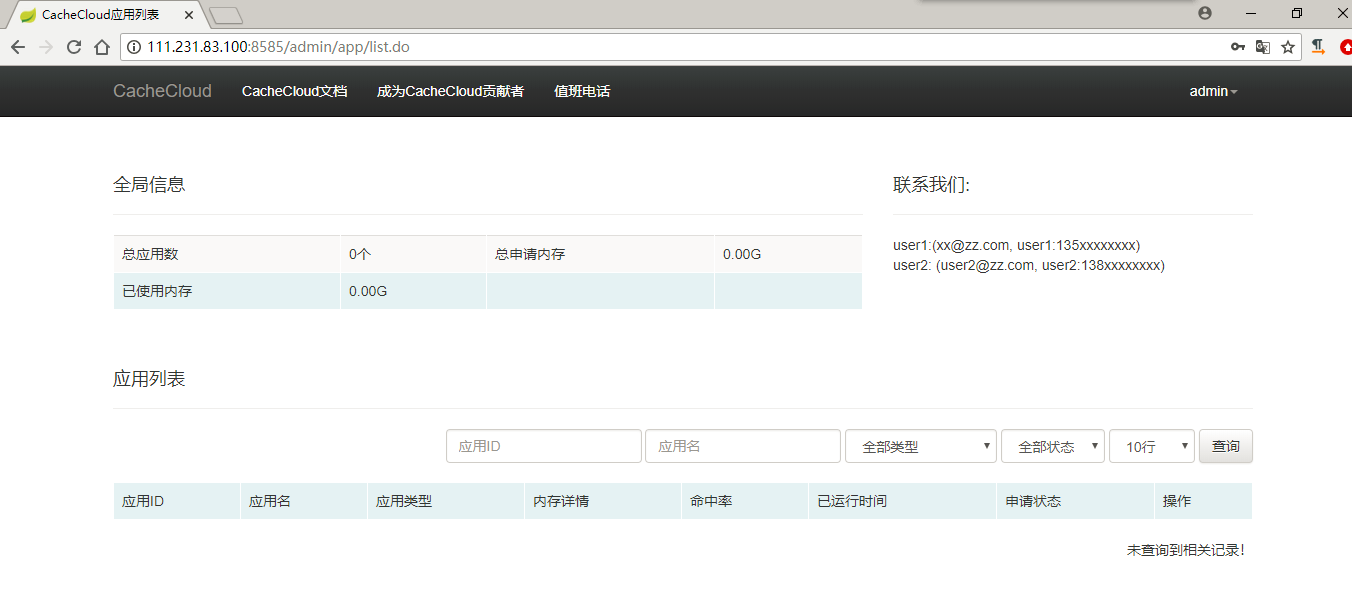
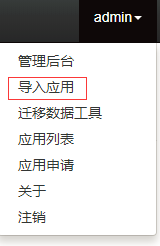
3)返回刚刚的网页,右上角点击账号进入后台管理
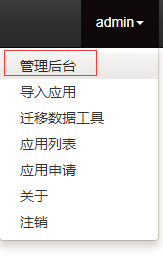
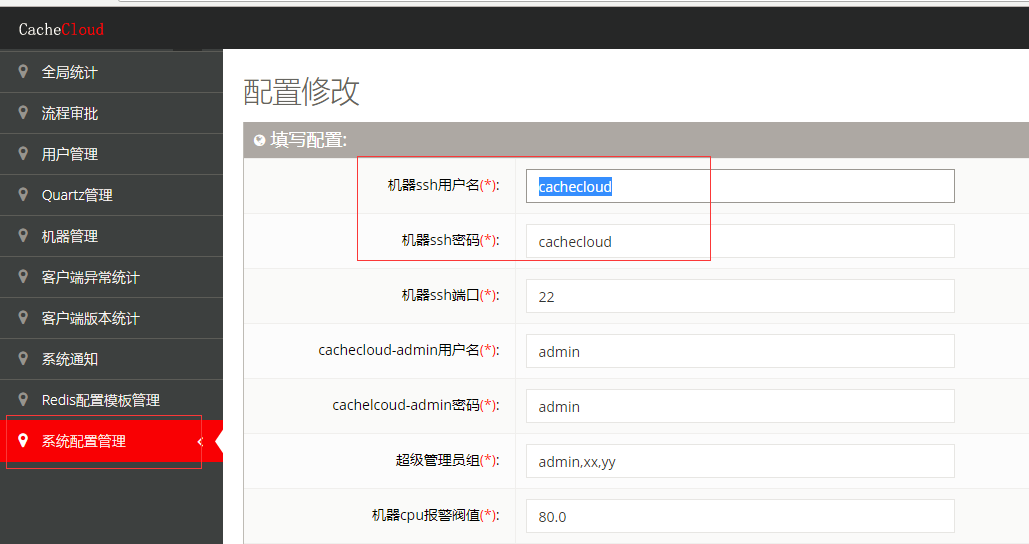
4)修改 sh 账号信息
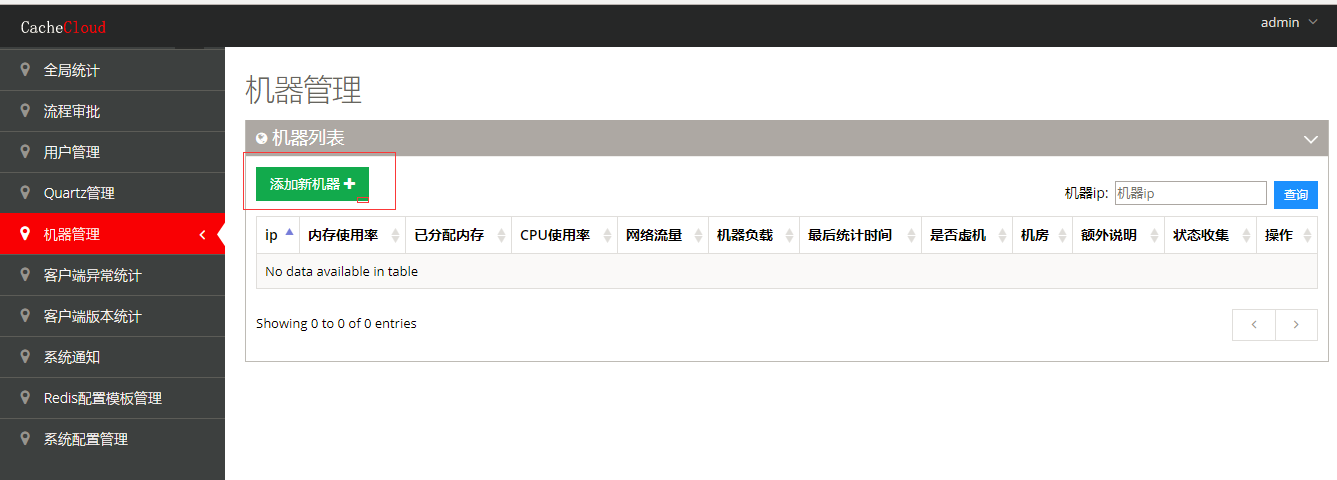
- 增加机器
进入机器管理界面:
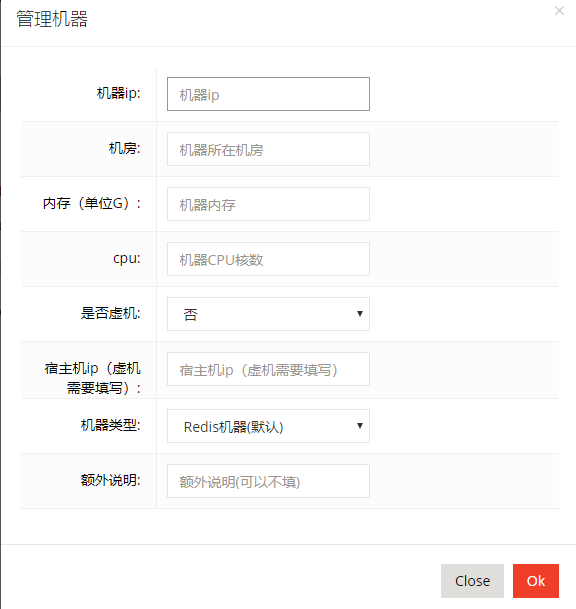
填写机器信息:
正在加载信息中:
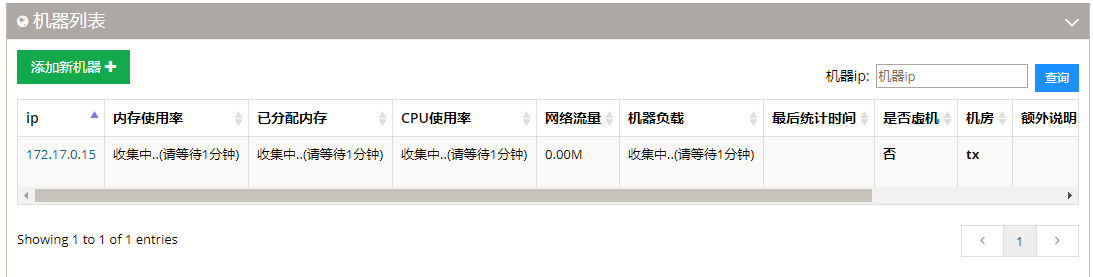
加载信息成功:

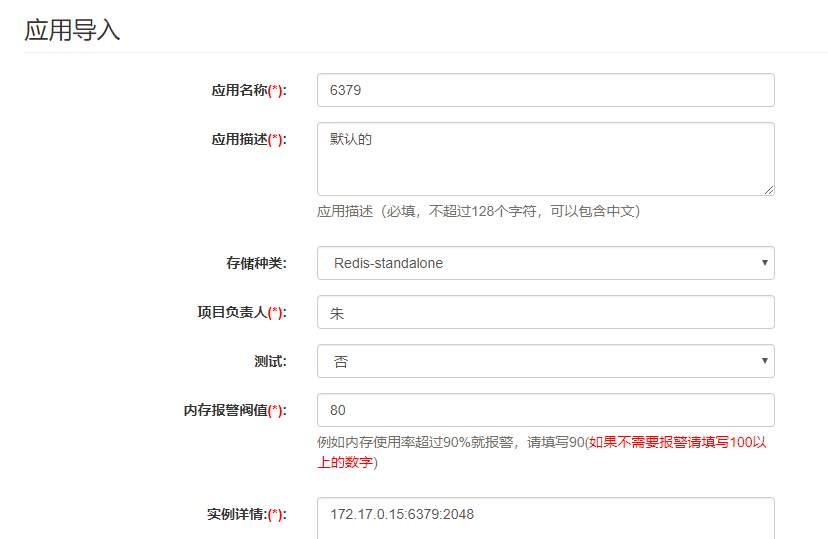
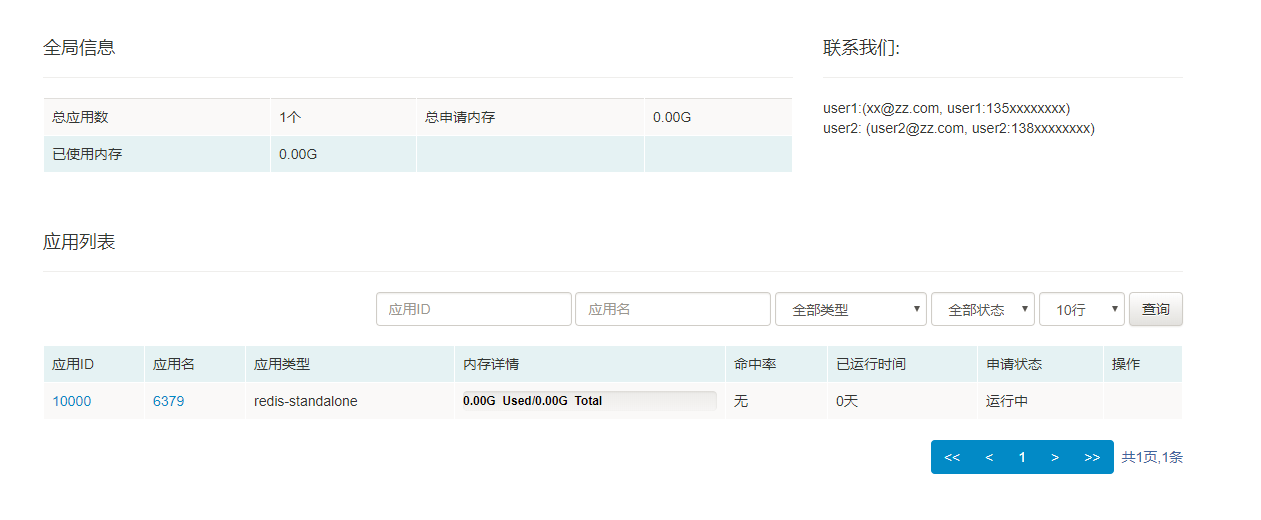
应用导入
这里的应用实际上就是 Redis。
1)在前台页面选择应用导入
- 填入信息,待格式检查通过后,点击开始导入