基于我的上篇随笔:https://www.cnblogs.com/mykcode/p/11910329.html
第一步:创建一个服务(我这创建的是认证服务)项目,在服务项目中引入包 Swashbuckle.AspNetCore,版本4.0.1
第二步:Startup>ConfigureServices引入如下代码

services.AddSwaggerGen(options =>
            {
                options.SwaggerDoc("jwtservice", new Info { Title = "认证服务", Version = "v1" });
                var basePath = PlatformServices.Default.Application.ApplicationBasePath;
                var xmlPath = Path.Combine(basePath, "BTHG.IdentityService.xml");
                options.IncludeXmlComments(xmlPath);

                options.CustomSchemaIds(schema => schema.FullName);
            });
第三步:Startup>Configure引入如下代码

app.UseMvc(routes =>
            {

                routes.MapRoute(
                    name: "default",
                    template: "{controller=Home}/{action=Index}/{id?}");
            }).UseSwagger(c =>
            {
                c.PreSerializeFilters.Add((swaggerDoc, httpReq) => swaggerDoc.BasePath = "/jwtservice");
                c.RouteTemplate = "doc/{documentName}/swagger.json";
            }).UseSwaggerUI(options =>
                {
                    options.SwaggerEndpoint("/doc/jwtservice/swagger.json", "jwtservice");
                });
如上很重要的一个配置就是
c.PreSerializeFilters.Add((swaggerDoc, httpReq) => swaggerDoc.BasePath = "/jwtservice");这段代码,它表示在路由的根增加一个jwtservice的路径,用于ocelot配置服务的时候所增加的前缀
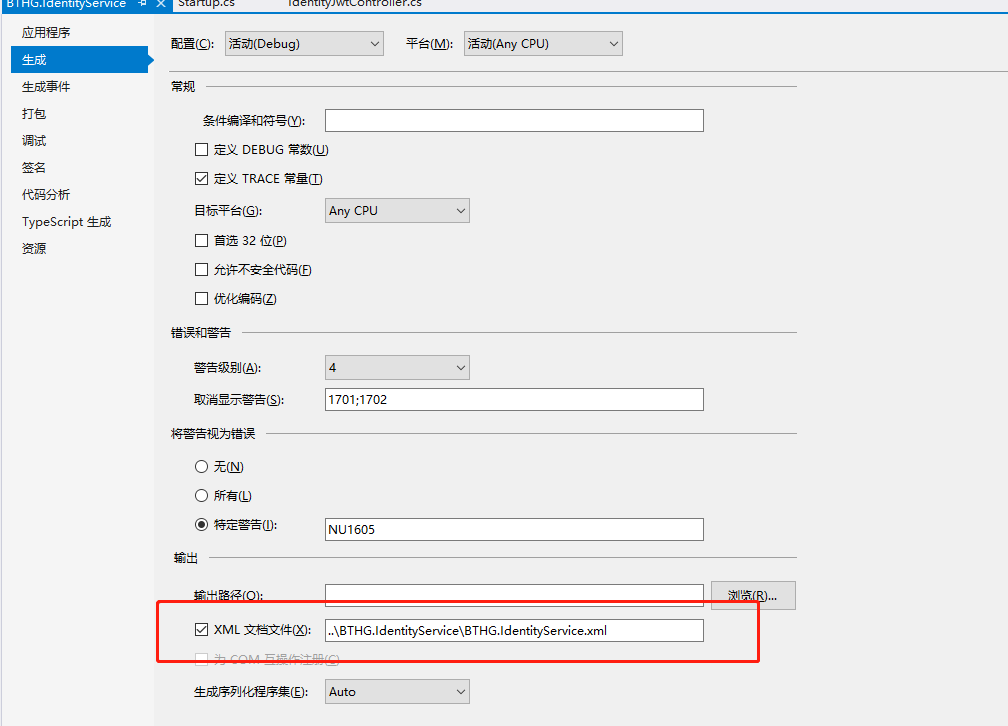
服务端很重要的需要在vs上这样设置,需要生成xml

第四步:网关层面的配置,同样需要引入nuget包 Swashbuckle.AspNetCore,版本4.0.1
Startup>ConfigureServices引入如下代码

services.AddSwaggerGen(options =>
            {
                options.SwaggerDoc("ApiGateway", new Info
                {
                    Title = "网关服务",
                    Version = "v1"
                });
            });
Startup>Configure引入如下代码

var apis = new List<string> {"jwtservice" };

            app.UseRouting()
            .UseSwagger()
            .UseSwaggerUI(options =>
            {
                apis.ForEach(m =>
                {
                    options.SwaggerEndpoint($"/doc/{m}/swagger.json", m);
                });
            });
第五步:数据库上配置路由只需要看箭头制定的配置,另外两个是其它的服务

