介绍
Janus 是由 Meetecho 开发的 WebRTC 服务器。因此,除了实现与浏览器建立 WebRTC 媒体通信、与其交换 JSON 消息以及在浏览器和服务器端应用程序逻辑之间中继 RTP/RTCP 和消息的方法之外,它本身不提供任何功能。任何特定的功能和应用程序都由服务器端插件提供,浏览器可以通过 Janus 联系以利用它们提供的功能。此类插件的示例可以是应用程序的实现,例如回声测试、会议桥、媒体记录器、SIP 网关等。
部署
我使用了一个 docker hub 镜像 来部署 janus 的后台,部署方法可参考 https://janus.conf.meetecho.com/docs/deploy,再搭配一个 nginx 来做后台 API 的转发,docker-compose 配置如下:
version: '2.1'
services:
  janus-gateway:
    image: 'canyan/janus-gateway'
    container_name: janus_gateway
    command: ["/usr/local/bin/janus", "-F", "/usr/local/etc/janus"]
    volumes:
      - "./etc/janus/janus.jcfg:/usr/local/etc/janus/janus.jcfg"
    #   - "./etc/janus/janus.eventhandler.sampleevh.jcfg:/usr/local/etc/janus/janus.eventhandler.sampleevh.jcfg"
    restart: always
    network_mode: 'host'
  janus_nginx:
    image: nginx:alpine
    container_name: janus_nginx
    restart: always
    network_mode: 'host'
    volumes:
        - ./conf.d/:/etc/nginx/conf.d
        - ./html:/dist
有一点需要注意,如果 janus 安装在 nat 转换后的内网需要 trun 来帮助客户端和服务端打洞,部署复杂,而且失败率很高,因此将 janus 的服务部署为与主机共享网络的 host 模式,当然前提是你要有一台有公网 ip 的服务器。
虽然部署在公网,但是还是需要一个 stun 服务,在 janus.jcfg 配置中需要取消 stun 的注释:
stun_server = "stun.voip.eutelia.it"
stun_port = 3478
nginx 配置如下,里面我使用了对应域名的 https 证书:
server {
        listen       80;
        server_name  web_dist;

        location / {
            root   /dist;
            index  index.html index.htm;
        }
}

server {
        listen       80 default_server;
        listen       [::]:80 default_server;
        server_name  localhost;
        rewrite ^(.*)$  https://$host$1 permanent;
        root   /dist;
}

# api server
upstream api_server{
  server 127.0.0.1:8088;
}

map $http_upgrade $connection_upgrade {
    default upgrade;
    '' close;
}
upstream websocket {
        server 127.0.0.1:8188;
}

server {
    listen       443 ssl http2;
    listen       [::]:443 ssl http2;
    server_name  localhost;
    root         /dist;

    underscores_in_headers on;

    ssl_certificate "/etc/nginx/conf.d/ctxy.frhello.comert.pem";
    ssl_certificate_key "/etc/nginx/conf.d/txy.frhello.com.key";
    ssl_session_cache shared:SSL:1m;
    ssl_session_timeout  10m;
    ssl_ciphers HIGH:!aNULL:!MD5;
    ssl_prefer_server_ciphers on;
    # error_page 497 301 =307

    location / {
    }

    # 后台接口
    location /janus/ {
        proxy_pass http://api_server/janus/;
        proxy_set_header Host $host;
        proxy_set_header X-Real-IP $remote_addr;
        proxy_set_header X-Forwarded-Server $host;
    }

    # ws
    location /ws {
        proxy_pass http://websocket;
        proxy_http_version 1.1;
        proxy_set_header Upgrade $http_upgrade;
        proxy_set_header Connection $connection_upgrade;
    }
}
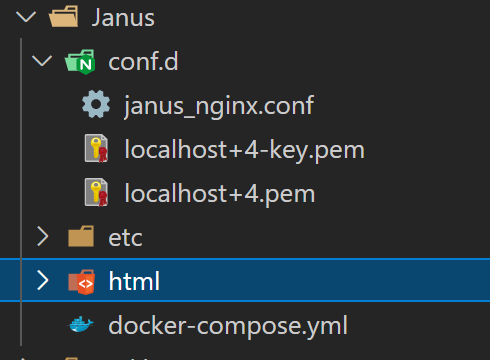
nginx 中的 web 前端使用的是官网 github 项目中的演示 html 文件夹,整理好整个工程的目录:
JavaScript API
在源代码下有一个 html 文件夹下有演示 demo,在每个页面对应的 js 文件下可以配置服务地址的 websocket 地址:server = "wss://" + window.location.hostname + "/ws";,然后在 nginx 中修改配置做为这个 web 服务的代理。
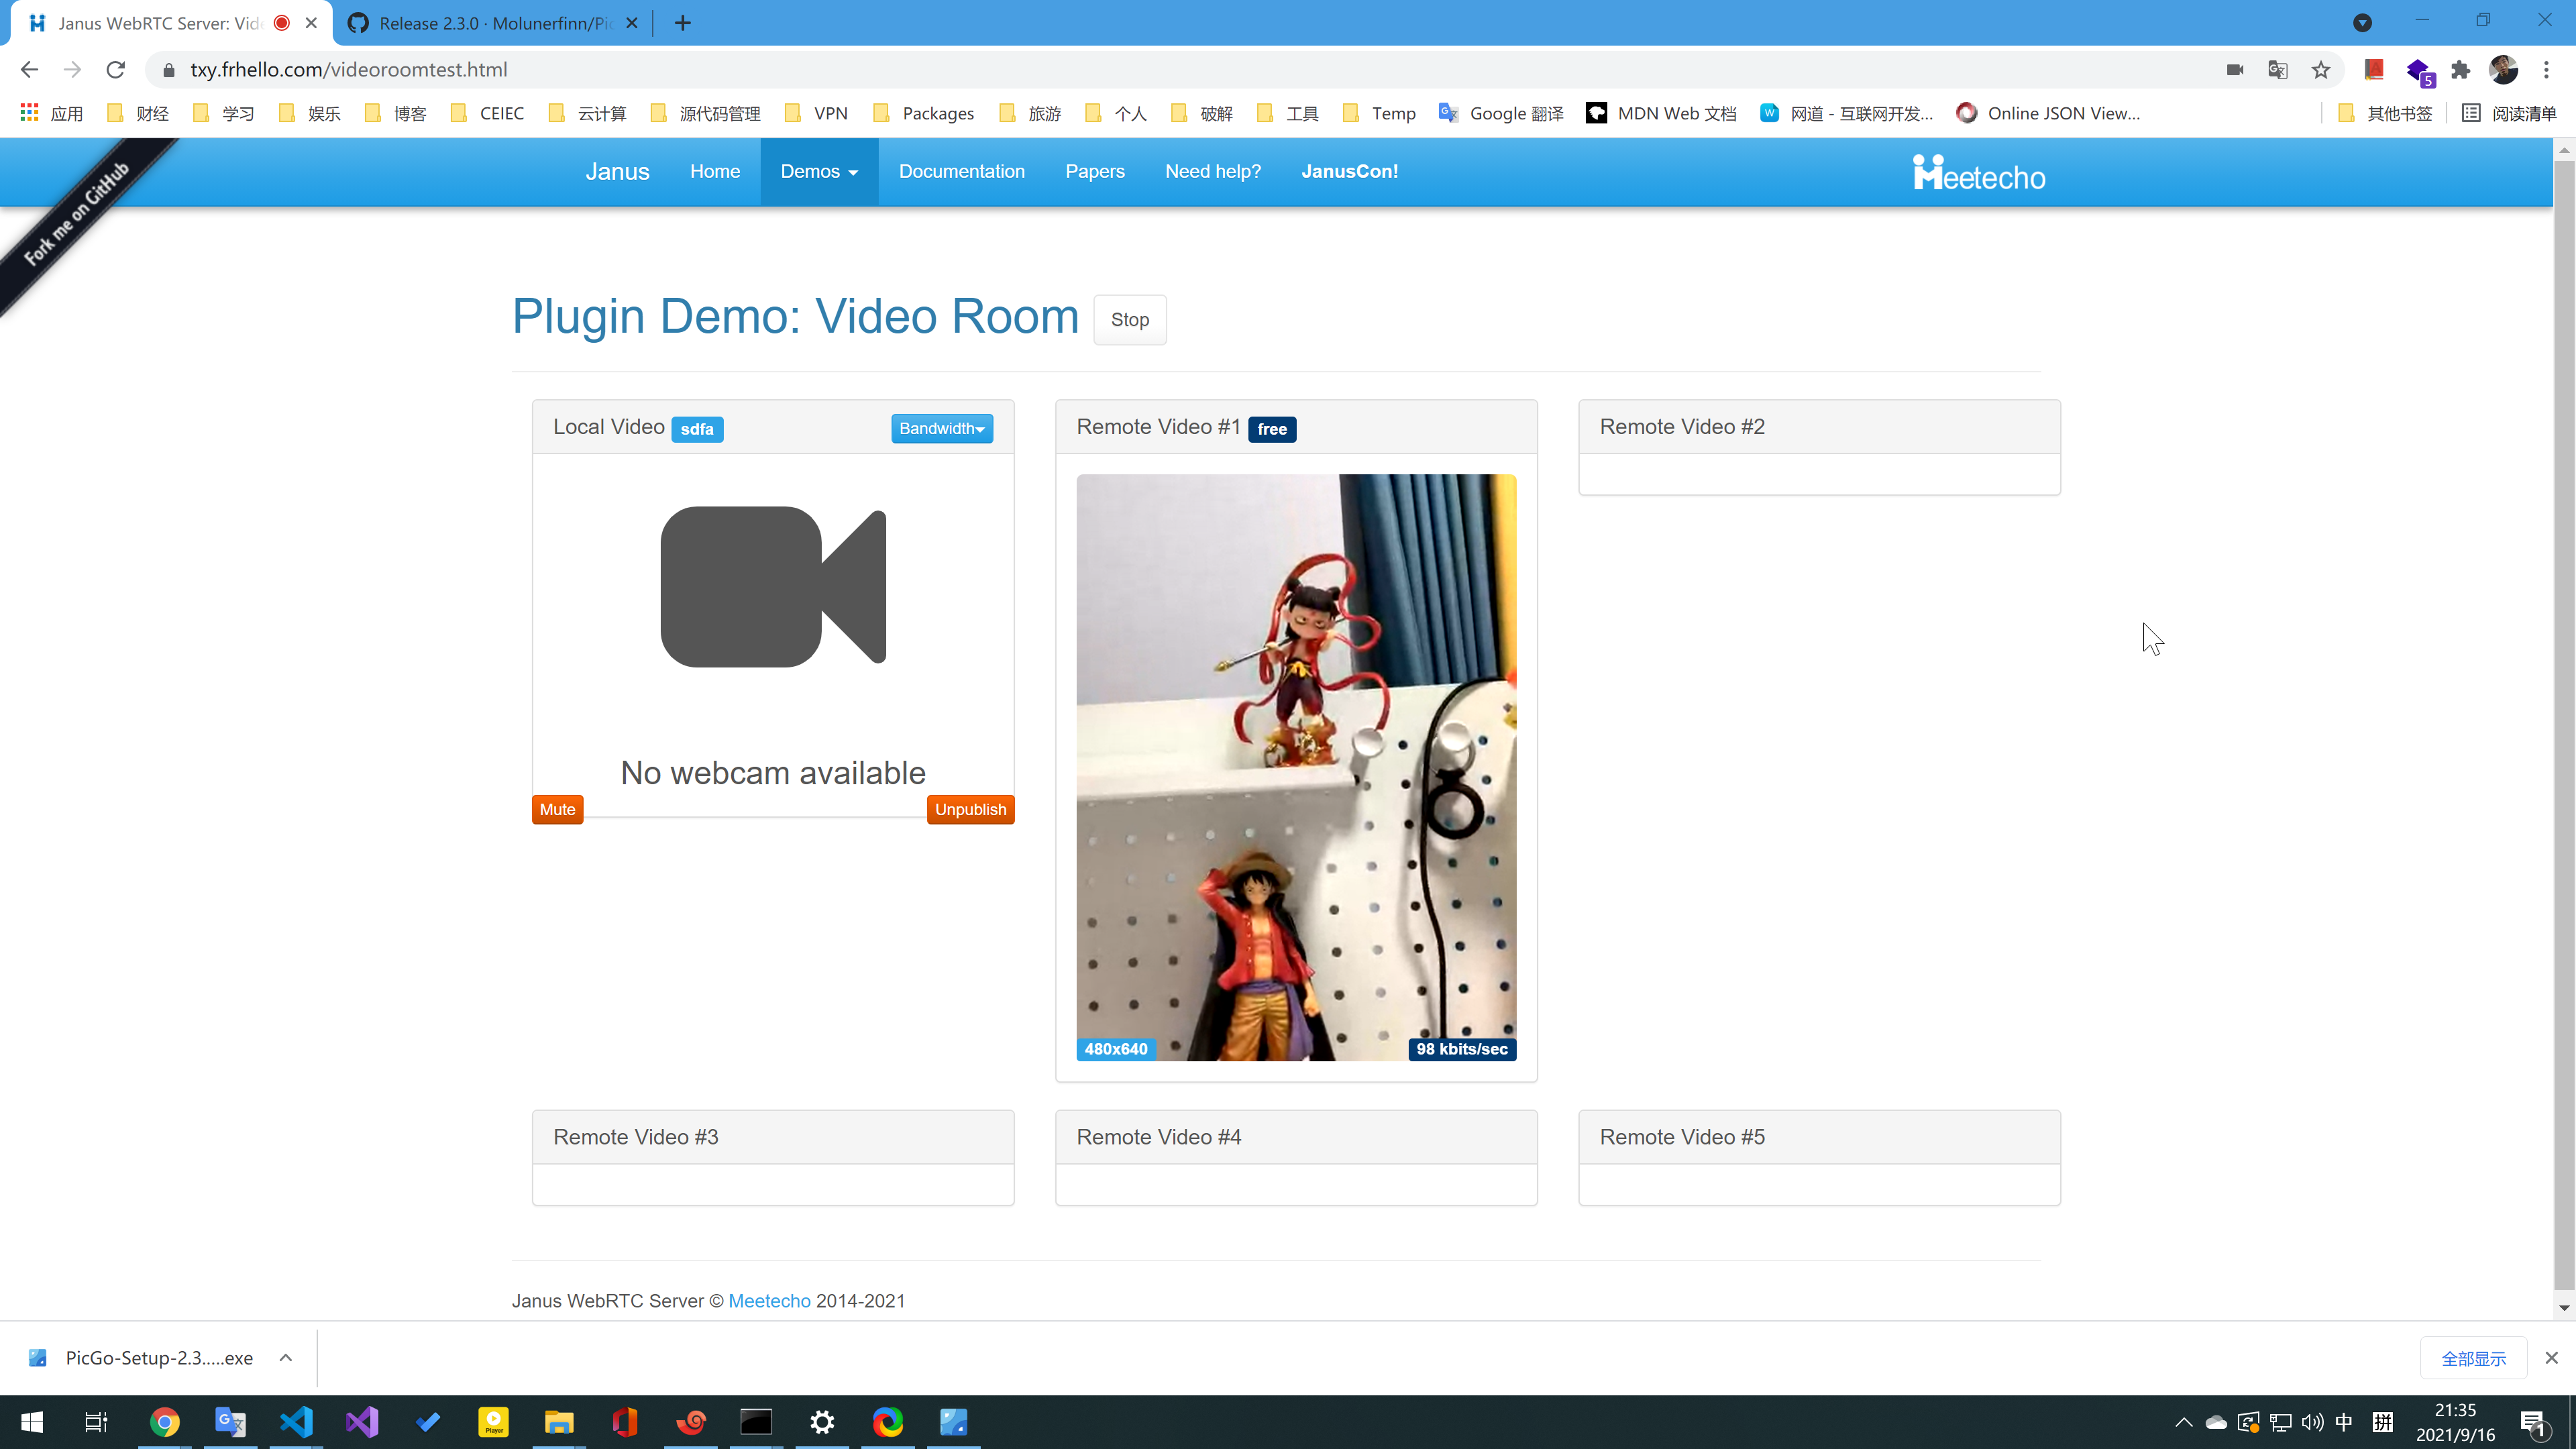
最后打开 Video Room 的效果:
