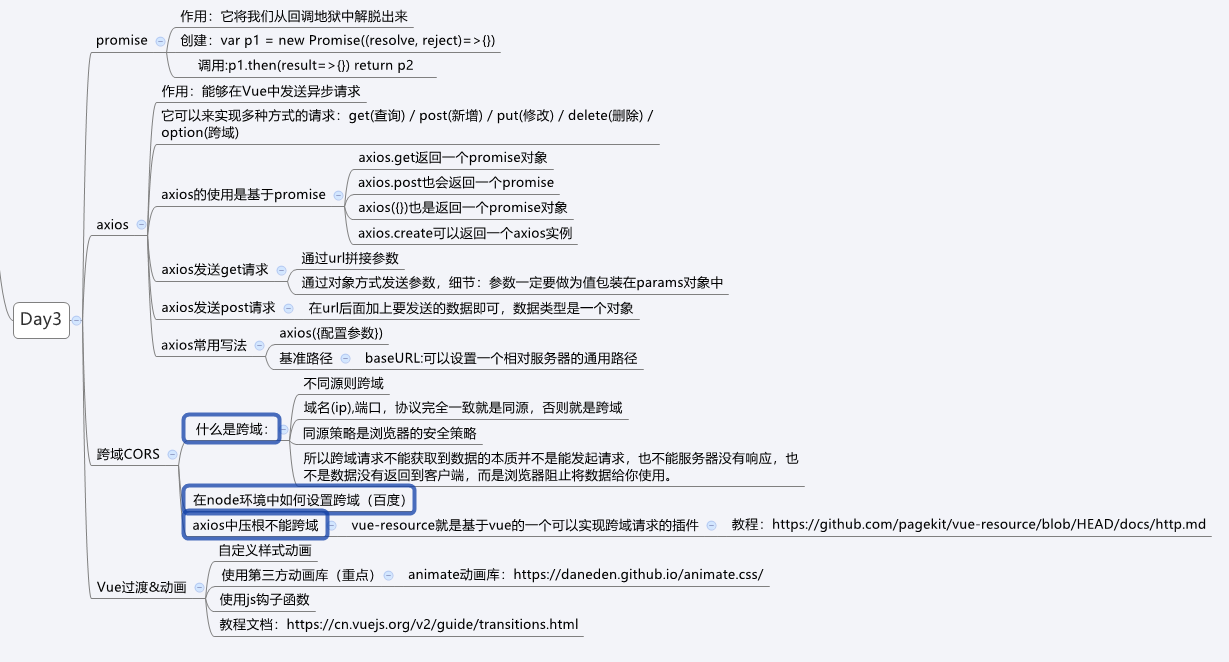
它将我们从回调地狱中解脱出来
创建和使用


var fs = require('fs')

// 创建promise
// reslove表示执行成功后调用的回调函数
// reject表示出现错误后调用的回调函数
var p1 = new Promise((reslove, reject) => {
  fs.readFile('a.txt', "utf-8", (err, data) => {
    if (err) {
      reject(err)
    } else {
      reslove(data)
    }
  })
})

var p2 = new Promise((reslove, reject) => {
  fs.readFile('b.txt', "utf-8", (err, data) => {
    if (err) {
      reject(err)
    } else {
      reslove(data)
    }
  })
})

var p3 = new Promise((reslove, reject) => {
  fs.readFile('c.txt', "utf-8", (err, data) => {
    if (err) {
      reject(err)
    } else {
      reslove(data)
    }
  })
})


// 通过.then和.catch执行,.then是成功后执行的操作,.catch是失败后执行的操作
p1.then(result=>{
  console.log(result)
  // promise提供链式编程的写法,如果在一个then中返回一个promise,那么下一个then就会来执行这儿返回的promise对象
  return p2
})

.then(result=>{
  console.log(result)
  return p3
})

.then(result=>{
  console.log(result)
  // return new Promise({})
})

.catch(err=>{
  console.log(err)
})
作用:它就是vue中发送异步请求的模块
它可以来实现多种方式的请求:get(查询) / post(新增) / put(修改) / delete(删除) / option(跨域)
axios的使用是基于promise
axios.get返回一个promise对象
axios.post也会返回一个promise
axios({})也是返回一个promise对象
axios.create可以返回一个axios实例
演示axios发起get请求
<!DOCTYPE html>
<html lang='en'>

<head>
  <meta charset='UTF-8'>
  <meta name='viewport' content='width=device-width, initial-scale=1.0'>
  <meta http-equiv='X-UA-Compatible' content='ie=edge'>
  <title>Document</title>
  <script src="./js/vue.js"></script>
  <script src="./js/axios.js"></script>
</head>

<body>
  <div id='app'>
    <button @click="del(3)">删除一条数据</button>
  </div>
  <script>
    var vm = new Vue({
      el: '#app',
      data: {},
      methods: {
        // 获取所有数据
        getAllData() {
          // 发送axios的get请求获取数据
          axios.get('http://127.0.0.1:3004/getCategories')
            .then(res => {
              // 成功之后的回调函数
              console.log(res)
            })
            .catch(err => {
              // 失败之后的回调函数
              console.log(err)
            })
        },
        // 删除数据功能
        del(id){
          // axios.get('http://127.0.0.1:3004/delCategoryById?id=' + id)   // get请求这里暂时使用url拼接参数方式发送数据
          axios.get('http://127.0.0.1:3004/delCategoryById',{
            params: {
              id    // id:id 可以简写为1个id,这是ES6的语法
            }
          })
          .then(res=>{
            // 成功后执行下面代码
            console.log(res)
          })
          .catch(err=>{
            // 失败后执行下面代码
            console.log(err)
          })
        }
      },
      mounted() {
        this.getAllData()
      }

    })
  </script>
</body>

</html>
axios.get("http://192.168.102.133:3004/delCategoryById?id=" + id)
    .then(res => {
    console.log(res)
    })
    .catch(err => {
    console.log(err)
    })
通过对象的方式来传递参数
细节:参数一定要做为值包装在params对象中
axios.get('http://192.168.102.133:3004/delCategoryById', {
    params: {
        id: id
    }
    })
    .then(res => {
    console.log(res)
    })
    .catch(err => {
    console.log(err)
    })
}
演示axios发起post请求
post一样会返回一个promise对象,所以可以.then和.catch
语法:axios.post('url',{参数})
<!DOCTYPE html>
<html lang='en'>

<head>
  <meta charset='UTF-8'>
  <meta name='viewport' content='width=device-width, initial-scale=1.0'>
  <meta http-equiv='X-UA-Compatible' content='ie=edge'>
  <title>Document</title>
  <script src="./js/vue.js"></script>
  <script src="./js/axios.js"></script>
</head>

<body>
  <div id='app'>
    slug: <input type="text" v-model="cateForm.slug"> <br>
    name: <input type="text" v-model="cateForm.name"> <br>
    <button @click="addCate">添加数据</button>
    <button @click="del(3)">删除一条数据</button>
  </div>
  <script>
    var vm = new Vue({
      el: '#app',
      data: {
        cateForm: {slug:'',name: ''}
      },
      methods: {
        // 获取所有数据
        getAllData() {
          // 发送axios的get请求获取数据
          axios.get('http://127.0.0.1:3004/getCategories')
            .then(res => {
              // 成功之后的回调函数
              console.log(res)
            })
            .catch(err => {
              // 失败之后的回调函数
              console.log(err)
            })
        },
        // 删除数据功能
        del(id){
          // axios.get('http://127.0.0.1:3004/delCategoryById?id=' + id)   // get请求这里暂时使用url拼接参数方式发送数据
          axios.get('http://127.0.0.1:3004/delCategoryById',{
            params: {
              id    // id:id 可以简写为1个id,这是ES6的语法
            }
          })
          .then(res=>{
            // 成功后执行下面代码
            console.log(res)
          })
          .catch(err=>{
            // 失败后执行下面代码
            console.log(err)
          })
        },
        // 新增分类数据
        addCate(){
          // 发送post请求,注意它的参数就是一个对象
          axios.post('http://127.0.0.1:3004/addCategories', this.cateForm)   // 这个地方为了方便发送数据就直接把双向绑定的数据写到一个对象数组里面,点击添加直接就发送数组给server
          .then(res=>{
            console.log(res)
          })
          .catch(err=>{
            console.log(err)
          })
        }
      },
      mounted() {
        this.getAllData()
      }

    })
  </script>
</body>

</html>
使用axios发起任意类型的请求
语法axios(配置对象)
这个方法也会返回一个promise
配置:
`url` 是用于请求的服务器 URL,这个是必需的
method:请求方式,如果没有设置,默认为get
`params` 是即将与请求一起发送的 URL 参数,意味着就是get方式时的参数
baseURL:可以设置一个相对服务器的通用路径,如我们的请求是<http://127.0.0.1:3004/getCategories>和<http://127.0.0.1:3004/delCategoryById>,你可以看到前面的http://127.0.0.1:3004一样,那么这就是通用路径,这个通用路径有一个专用词:**基准路径** axios.defaults.baseURL = '基准路径'
data:是非url参数,就是在请求体中传递的参数,如post
<!DOCTYPE html>
<html lang='en'>

<head>
  <meta charset='UTF-8'>
  <meta name='viewport' content='width=device-width, initial-scale=1.0'>
  <meta http-equiv='X-UA-Compatible' content='ie=edge'>
  <title>Document</title>
  <script src="./js/vue.js"></script>
  <script src="./js/axios.js"></script>
</head>

<body>
  <div id='app'>
    slug: <input type="text" v-model="cateForm.slug"> <br>
    name: <input type="text" v-model="cateForm.name"> <br>
    <button @click="addCate">添加数据</button>
    <button @click="delCateById">删除数据</button>
  </div>
  <script>
    var vm = new Vue({
      el: '#app',
      data: {
        cateForm: {slug:'',name: ''}
      },
      methods: {
        addCate(){
          axios({
            baseURL: 'http://127.0.0.1:3004',
            method: 'post',
            url: '/addCategories',
            data: this.cateForm
          })
          .then(res=>{
            console.log(res)
          })
          .catch(err=>{
            console.log(err)
          })
        },
        delCateById(){
          axios({
            baseURL: 'http://127.0.0.1:3004',
            url: '/delCategoryById',
            // 不用设置method默认就是get请求方式

            // 要发送的参数还是写成一个对象作为params属性的值
            params: {id:2}
          })
          .then(res=>{
            console.log(res)
          })
          .catch(err=>{
            console.log(err)
          })
        }
      },

      mounted() {
        // 获取数据
        axios({
          baseURL: 'http://127.0.0.1:3003/getCategories',
        })
        .then(res=>{
          console.log(res)
        })
        .catch(err=>{
          console.log(err)
        })
      }

    })
  </script>
</body>

</html>
什么是跨域:不同源则跨域
域名(ip),端口,协议完全一致就是同源,否则就是跨域
同源策略是浏览器的安全策略
所以跨域请求不能获取到数据的本质并不是能发起请求,也不能服务器没有响应,也不是数据没有返回到客户端,而是浏览器阻止将数据给你使用。
跨域请求错误的提示信息
Access to XMLHttpRequest at 'http://127.0.0.1:3004/getCategories' from origin 'http://127.0.0.1:5500' has been blocked by CORS policy: No 'Access-Control-Allow-Origin' header is present on the requested resource.
翻译:从一个源通过异步对象访问另外一个源被浏览器的cors机制阻止,因为你所请求的资源所返回的数据中没有设置指定的响应头
这个错错误信息其实告诉我一种跨域实现方式:在响应头中设置Access-Control-Allow-Origin,它就是用来设置这个服务器允许那些源进行访问
这种方式的设置只能在服务器设置:所以一般称为服务器端的CORS
在node环境中如何设置跨域:
// 添加服务器CORS跨域
// app.all:所有请求获取需要经过的中间件,*代表所有请求
app.all("*",function(req,res,next){
    //设置允许跨域的域名,*代表允许任意域名跨域
    res.header("Access-Control-Allow-Origin","*");
    //允许的header类型,服务器允许返回的响应头的设置,以后客户端发送请求的时候可以进行这个属性的配置
    res.header("Access-Control-Allow-Headers","content-type");
    //跨域允许的请求方式
    res.header("Access-Control-Allow-Methods","DELETE,PUT,POST,GET,OPTIONS");
    if (req.method.toLowerCase() == 'options')
        res.send(200);  //让options尝试请求快速结束
    else
        next()
})
axios中能否进行跨域?
axios中压根不能跨域
我们用什么方式来实现跨域?
找帮手:vue-resource就是基于vue的一个可以实现跨域请求的插件
getjsonp(){
    // jsonp能发起跨域请求
    this.$http.jsonp('http://127.0.0.1:3003/getlist')
        .then((res) => {
        console.log(res)
    },(err) => {
        console.log(err)
    })
}
相关文档:https://www.npmjs.com/package/vue-resource
<!DOCTYPE html>
<html lang='en'>

<head>
  <meta charset='UTF-8'>
  <meta name='viewport' content='width=device-width, initial-scale=1.0'>
  <meta http-equiv='X-UA-Compatible' content='ie=edge'>
  <title>Document</title>
  <style>
    /* 准备进入 */
    .move-enter {
      margin-left: 200px;
      opacity: 0;
    }
    /* 进入过程 */
    .move-enter-active{
      transition: all 1s;
    }
    /* 进入结束 */
    .move-enter-to{
      margin-left: 0;
      opacity: 1;
    }
    /* 准备离开 */
    .move-leave{
      margin-left: 0;
      opacity: 1;
    }
    /* 离开过程 */
    .move-leave-active{
      transition: all 1s;
    }
    /* 离开结束 */
    .move-leave-to{
      margin-left: 200px;
      opacity: 0;
    }
  </style>
  <script src="./js/vue.js"></script>
</head>

<body>
  <div id='app'>
    <button @click="isShow = !isShow">Toggle</button>
    <!-- 将p元素包含到transition标签中 -->
    <transition name="move">
      <p v-show="isShow">秀就完事了!</p>
    </transition>
  </div>
  <script>
    var vm = new Vue({
      el: '#app',
      data: {
        isShow: false
      }
    })
  </script>
</body>

</html>
使用css动画库(重点)
enter-class
**enter-active-class**
enter-to-class (2.1.8+)
leave-class
**leave-active-class**
leave-to-class (2.1.8+)
我们就只需要在指定的状态下指定你想使用的样式
<div id="app">
    <button @click='isShow = !isShow'>切换</button>
    <!-- 将p元素包含到transition标签中 -->
    <transition name='move'
      enter-active-class='animated rotateIn'
    leave-active-class='animated rotateOut'>
        <p v-show='isShow'>我有动画效果哦</p>
    </transition>
</div>
使用js钩子函数
有那些钩子函数需要了解
<transition
  v-on:before-enter="beforeEnter"
  v-on:enter="enter"
  v-on:after-enter="afterEnter"
  v-on:enter-cancelled="enterCancelled"

  v-on:before-leave="beforeLeave"
  v-on:leave="leave"
  v-on:after-leave="afterLeave"
  v-on:leave-cancelled="leaveCancelled"
>
每个钩子函数有触发时机
v-on:before-enter="beforeEnter" :v-enter
v-on:enter="enter" :v-enter-active
v-on:after-enter="afterEnter":v-enter-to
v-on:enter-cancelled="enterCancelled" :取消动画效果时触发
v-on:before-leave="beforeLeave":v-leave
v-on:leave="leave":v-leave-acative
v-on:after-leave="afterLeave":v-leave-to
v-on:leave-cancelled="leaveCancelled"
如何使用钩子函数实现动画效果
钩子函数在transition标签中添加
添加methods,在里面添加对应的钩子的实现
methods: {
    beforeEnter: function (el) {
        el.style.marginLeft='200px'
    },
        enter: function (el, done) {
            var distance = 200
            var timerId = setInterval(() => {
                distance --
                el.style.marginLeft = distance + 'px'
                if(distance == 0){
                    clearInterval(timerId)
                    done()
                }
            }, 10);
            // done()
        },
            afterEnter: function (el) {
                el.style.marginLeft='0px'
            },
                beforeLeave: function (el) {
                },
                    leave: function (el, done) {
                        done()
                    },
                        afterLeave: function (el) {
                        }
}
思维脑图