(1) 在树莓派中安装opencv库
参考教程:关于opencv的编译安装,可以参考Adrian Rosebrock的Raspbian Stretch: Install OpenCV 3 + Python on your Raspberry Pi。
- 安装依赖
pip3 install numpy Matplotlib

sudo apt-get install libjpeg-dev libtiff5-dev libjasper-dev libpng12-dev
sudo apt-get install libavcodec-dev libavformat-dev libswscale-dev libv4l-dev
sudo apt-get install libxvidcore-dev libx264-dev
sudo apt-get install libgtk2.0-dev libgtk-3-dev
sudo apt-get install libatlas-base-dev
sudo apt install libqt4-test
- 下载OpenCV源码
cd ~
wget -O opencv.zip https://github.com/Itseez/opencv/archive/4.1.2.zip
unzip opencv.zip
wget -O opencv_contrib.zip https://github.com/Itseez/opencv_contrib/archive/4.1.2.zip
unzip opencv_contrib.zip
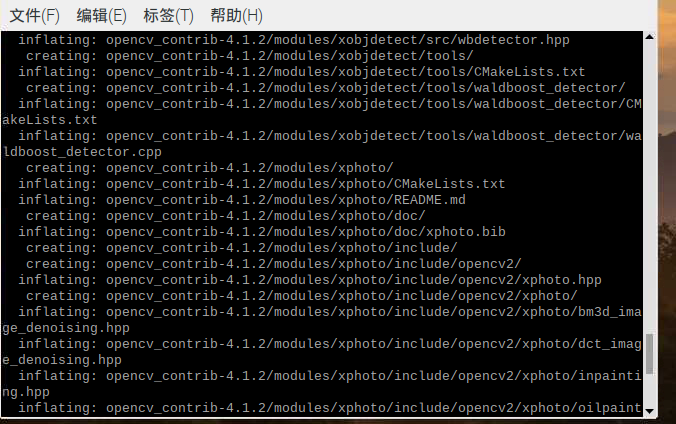
- 安装pip
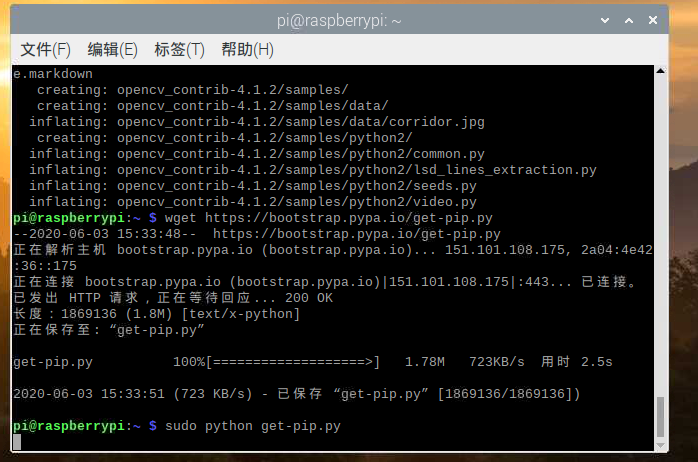
wget https://bootstrap.pypa.io/get-pip.py
sudo python get-pip.py
sudo python3 get-pip.py
- 安装Python虚拟机
sudo pip install virtualenv virtualenvwrapper
sudo rm -rf ~/.cache/pip
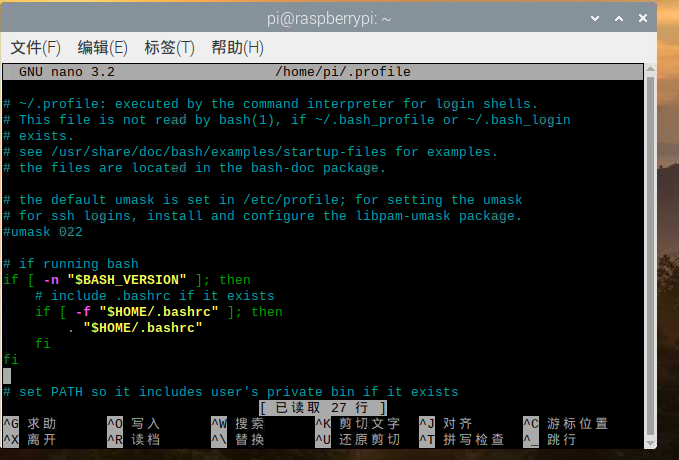
配置~/.profile
使用Python3安装虚拟机
mkvirtualenv cv -p python3
进入虚拟机
source ~/.profile && workon cv

安装numpy
pip install numpy
编译OpenCV
cd ~/opencv-4.1.2/
mkdir build
cd build
cmake -D CMAKE_BUILD_TYPE=RELEASE
    -D CMAKE_INSTALL_PREFIX=/usr/local
    -D INSTALL_PYTHON_EXAMPLES=ON
    -D OPENCV_EXTRA_MODULES_PATH=~/opencv_contrib-4.1.2/modules
    -D BUILD_EXAMPLES=ON ..
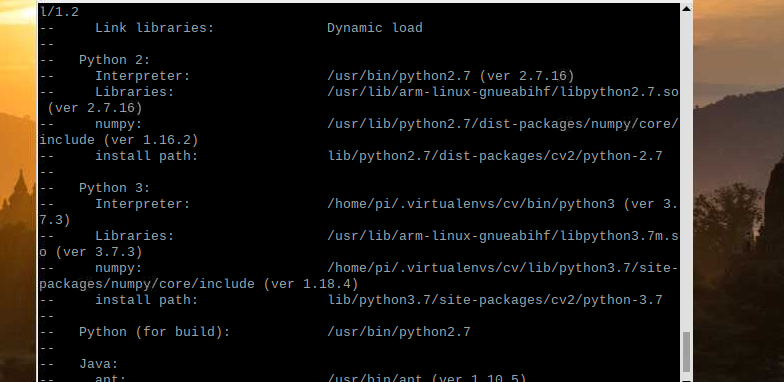
安装完成

验证安装

(2) 使用opencv和python控制树莓派的摄像头
参考教程:还是可以参考Adrian Rosebrock的Accessing the Raspberry Pi Camera with OpenCV and Python 跑通教程的示例代码(有可能要调整里面的参数)
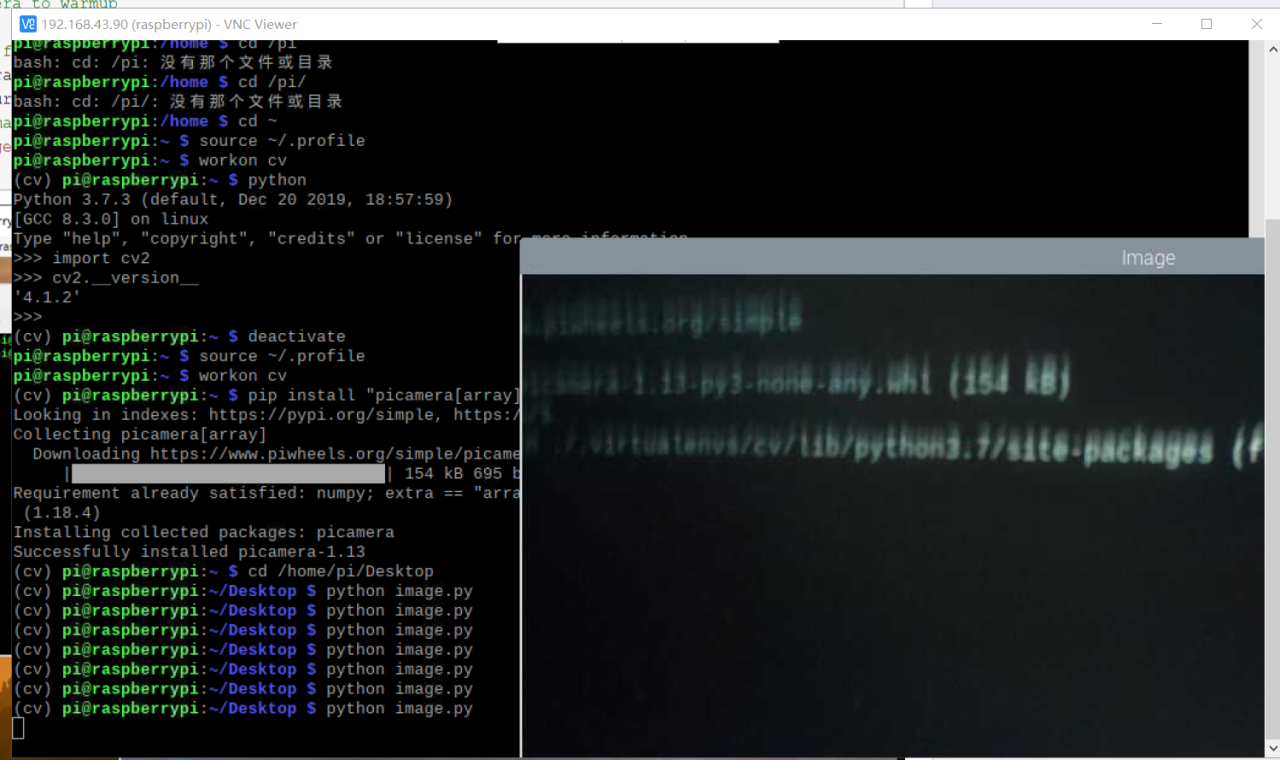
- 安装picamera
source ~/.profile
workon cv
pip install "picamera[array]"
- 使用python和opencv控制摄像头
# import the necessary packages
from picamera.array import PiRGBArray
from picamera import PiCamera
import time
import cv2
# initialize the camera and grab a reference to the raw camera capture
camera = PiCamera()
rawCapture = PiRGBArray(camera)
# allow the camera to warmup
time.sleep(1)
# grab an image from the camera
camera.capture(rawCapture, format="bgr")
image = rawCapture.array
# display the image on screen and wait for a keypress
cv2.imshow("Image", image)
cv2.waitKey(0)
(3) 利用树莓派的摄像头实现人脸识别
- 安装所需库
pip install dlib &&
pip install face_recognition &&
pip install numpy	#前面安装过就不用了

- 同目录下放置一张用于识别asika.jpg

- kobe.jpg

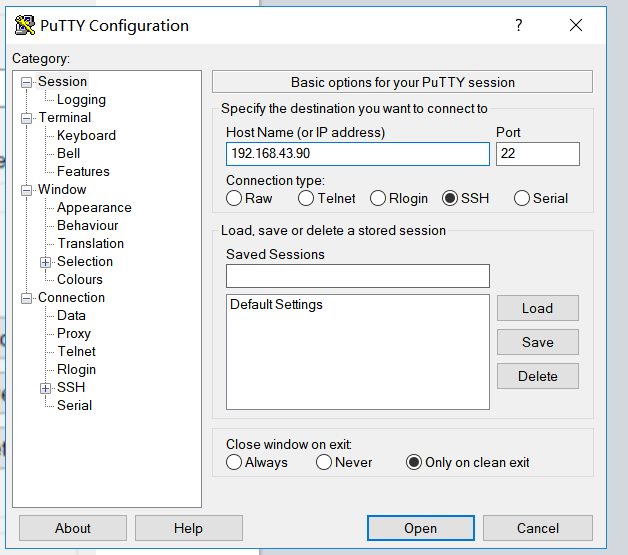
- 在Windows系统中安装Xming 和Putty安装好后,先打开Xming,然后打开Putty,开启树莓派的ssh配置中的X11,打开Putty后,把树莓派的IP地址填在下面这一栏里,端口用默认
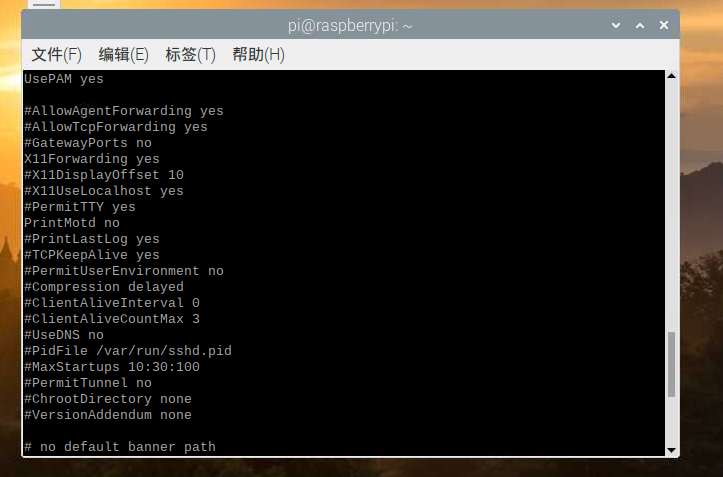
- 检测ssh配置文件中X11是否开启 cat /etc/ssh/sshd_config
- 在用Putty打开的窗口上编写run.sh(路径在树莓派中的docker1文件夹
xhost +	#允许来自任何主机的连接
docker run -it
    --rm
    -v ${PWD}/workdir:/myapp
    --net=host
    -v $HOME/.Xauthority:/root/.Xauthority
    -e DISPLAY=:10.0  	#此处填写上面查看到的变量值
    -e QT_X11_NO_MITSHM=1
    --device=/dev/vchiq
    --device=/dev/video0
    --name facerecgui2
    myopencv-test
    facerec_from_webcam_faster.py
(3) 利用树莓派的摄像头实现人脸识别
人脸识别有开源的python库face_recognition,这当中有很多示例代码
参考教程:[树莓派实现简单的人脸识别]()
要求:跑通[face_recognition]的示例代码[facerec_on_raspberry_pi.py]()以及[facerec_from_webcam_faster.py]()
示例代码
- facerec_on_raspberry_pi.py
import face_recognition
import picamera
import numpy as np

# Get a reference to the Raspberry Pi camera.
# If this fails, make sure you have a camera connected to the RPi and that you
# enabled your camera in raspi-config and rebooted first.
camera = picamera.PiCamera()
camera.resolution = (320, 240)
output = np.empty((240, 320, 3), dtype=np.uint8)

# Load a sample picture and learn how to recognize it.
print("Loading known face image(s)")
asika_image = face_recognition.load_image_file("asika.jpg")
asika_face_encoding = face_recognition.face_encodings(asika_image)[0]

# Initialize some variables
face_locations = []
face_encodings = []

while True:
    print("Capturing image.")
    # Grab a single frame of video from the RPi camera as a numpy array
    camera.capture(output, format="rgb")

    # Find all the faces and face encodings in the current frame of video
    face_locations = face_recognition.face_locations(output)
    print("Found {} faces in image.".format(len(face_locations)))
    face_encodings = face_recognition.face_encodings(output, face_locations)

    # Loop over each face found in the frame to see if it's someone we know.
    for face_encoding in face_encodings:
        # See if the face is a match for the known face(s)
        match = face_recognition.compare_faces([asika_face_encoding], face_encoding)
        name = "<Unknown Person>"

        if match[0]:
            name = "斋藤飞鸟"

        print("I see someone named {}!".format(name))

- facerec_from_webcam_faster.py
import face_recognition
import picamera
import numpy as np

# Get a reference to the Raspberry Pi camera.
# If this fails, make sure you have a camera connected to the RPi and that you
# enabled your camera in raspi-config and rebooted first.
camera = picamera.PiCamera()
camera.resolution = (320, 240)
output = np.empty((240, 320, 3), dtype=np.uint8)

# Load a sample picture and learn how to recognize it.
print("Loading known face image(s)")
asika_image = face_recognition.load_image_file("asika.jpg")
asika_face_encoding = face_recognition.face_encodings(asika_image)[0]
kobe_image = face_recognition.load_image_file("kobe.jpg")
kobe_face_encoding = face_recognition.face_encodings(kobe_image)[0]
# Initialize some variables
face_locations = []
face_encodings = []

while True:
    print("Capturing image.")
    # Grab a single frame of video from the RPi camera as a numpy array
    camera.capture(output, format="rgb")

    # Find all the faces and face encodings in the current frame of video
    face_locations = face_recognition.face_locations(output)
    print("Found {} faces in image.".format(len(face_locations)))
    face_encodings = face_recognition.face_encodings(output, face_locations)

    # Loop over each face found in the frame to see if it's someone we know.
    for face_encoding in face_encodings:
        # See if the face is a match for the known face(s)
        match_asika = face_recognition.compare_faces([asika_face_encoding], face_encoding)
        match_kobe = face_recognition.compare_faces([kobe_face_encoding], face_encoding)
        name = "<Unknown Person>"

        if match_asika[0]:
            name = "斋藤飞鸟"
        if match_kobe[0]:
            name = "科比"
        print("I see someone named {}!".format(name))

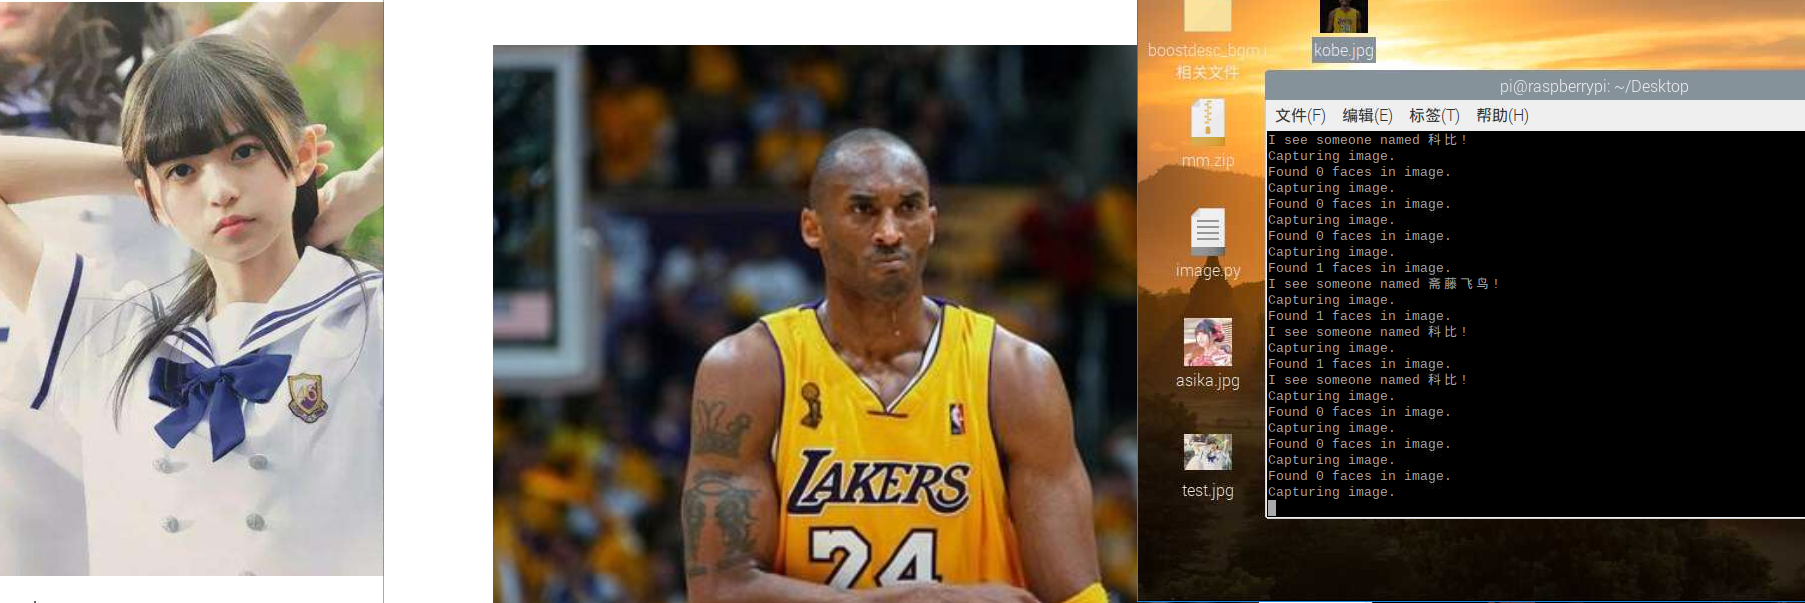
同框识别两个人
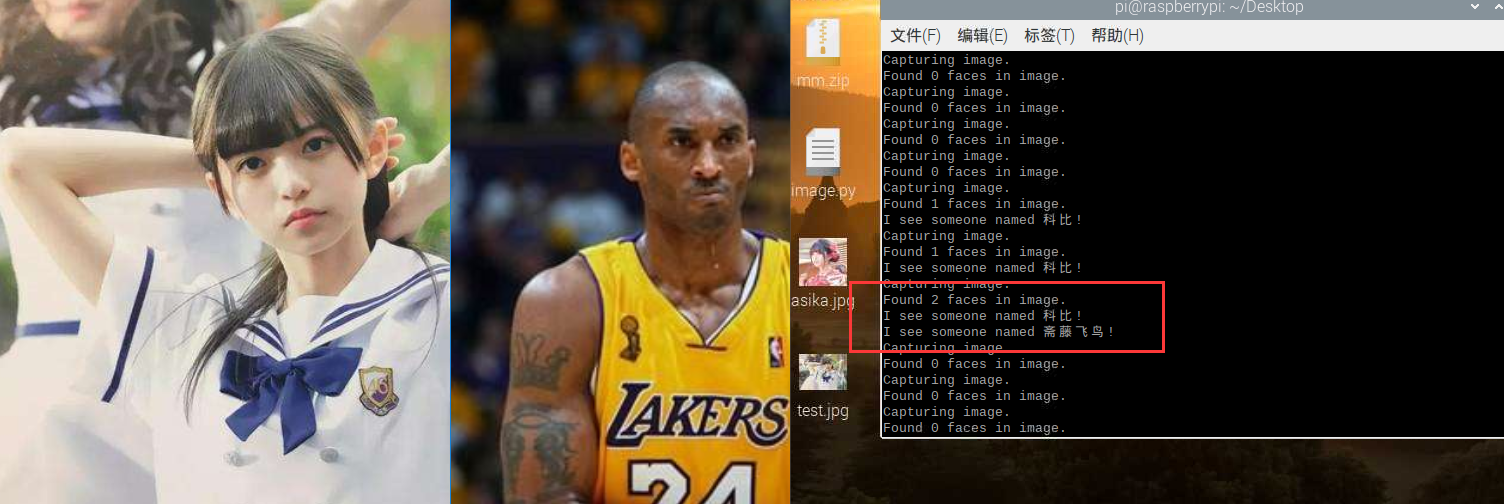
基于picamera的人脸识别
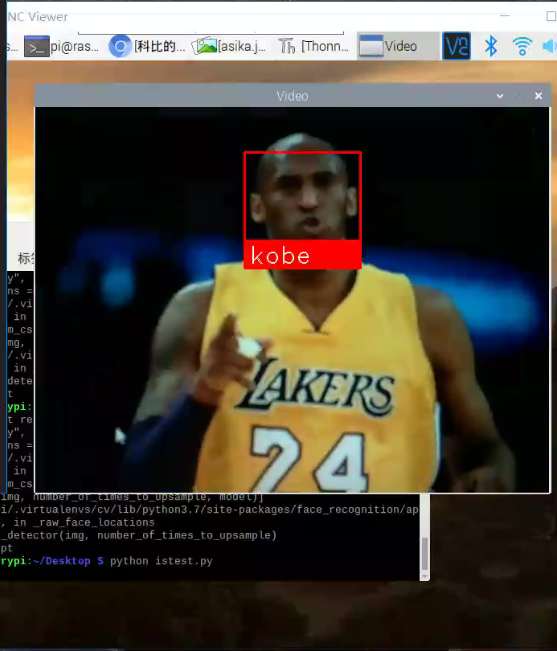
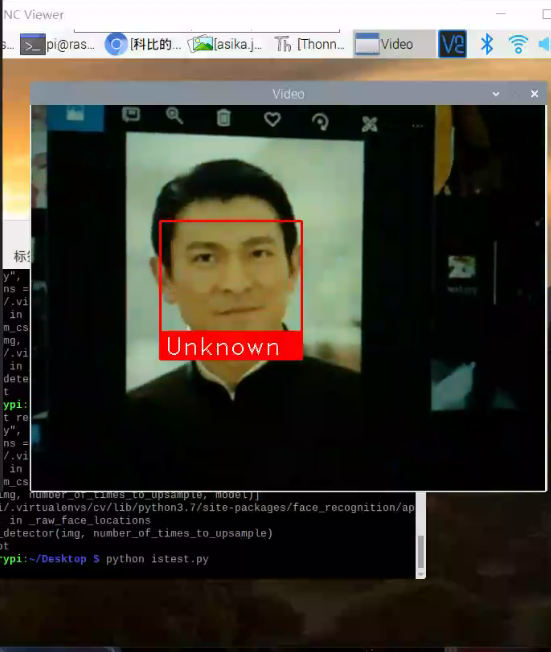
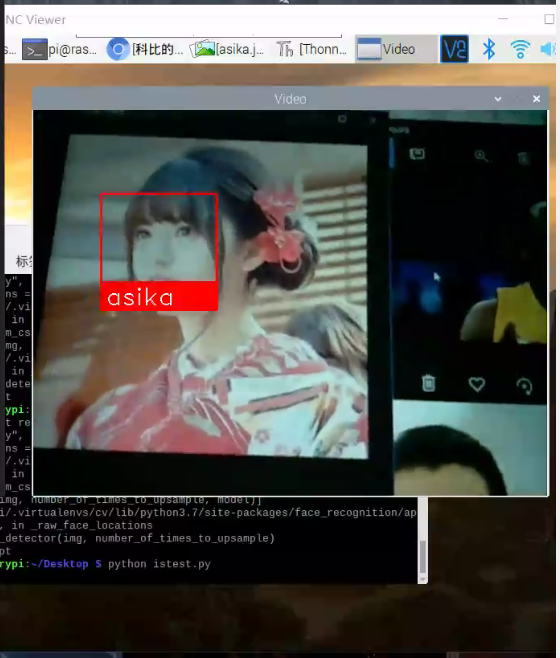

(4) 结合微服务的进阶任务
(1)使用微服务,部署opencv的docker容器(要能够支持arm),并在opencv的docker容器中跑通(3)的示例代码
#退出python虚拟机
deactivate
#脚本安装docker
sudo curl -sSL https://get.docker.com | sh
#填加用户到docker组
sudo usermod -aG docker pi
#重新登陆以用户组生效
exit && ssh pi@raspiberry
#验证docker版本
docker --version
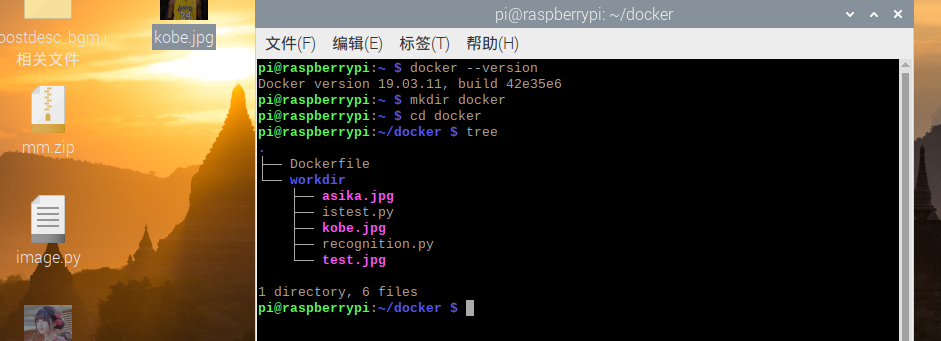
- 查看版本,创建对应目录
- 拉取arm可用的docker镜像
docker pull sixsq/opencv-python
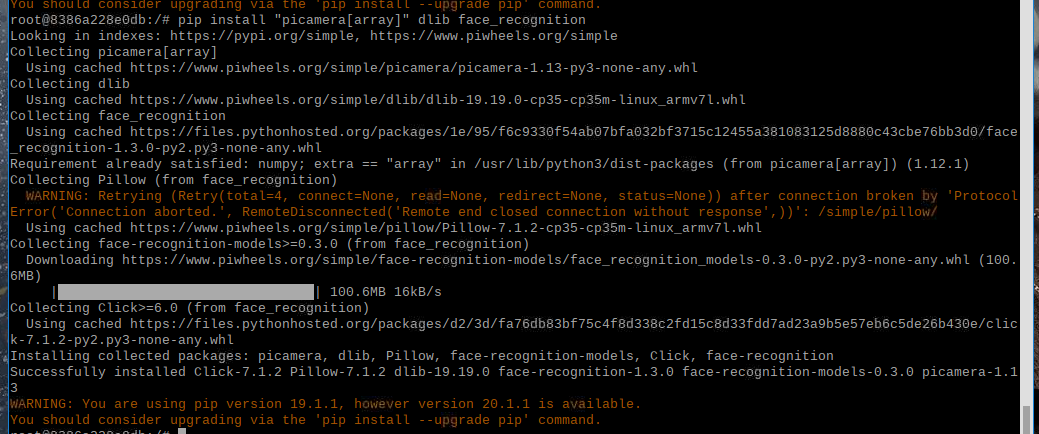
- 进入容器并安装所需库
docker run -it [imageid] /bin/bash
pip install "picamera[array]" dlib face_recognition
- comiit镜像
docker commit [containerid] my-opencv

- 自定义dockerfile
自定义镜像

Dockerfile

FROM my-opencv

MAINTAINER GROUP13

RUN mkdir /myapp

WORKDIR /myapp

ENTRYPOINT ["python3"]
生成镜像

docker build -t my-opencv-test .
运行脚本

docker run -it --rm --name my-running-py -v ${PWD}/workdir:/myapp --device=/dev/vchiq --device=/dev/video0 my-opencv-test isLeiJun.py #py文件在桌面上

遇到的问题
问题1:出现了脚本安装docker后Job for docker.service failed because the control process exited with error code;
docker的service没有启动成功
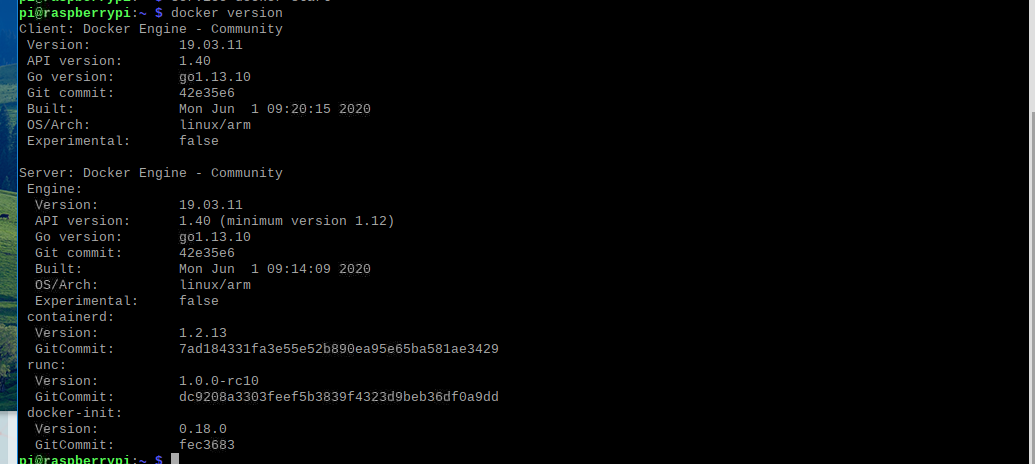
- 解决方式:(看这里)[https://www.cnblogs.com/jim-xu/p/11788726.html]
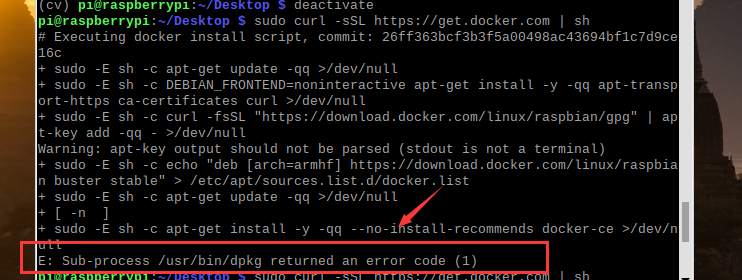
问题2:执行deactivate命令 遇到Sub-process /usr/bin/dpkg returned an error code 错误
问题3:

- 解决方式:设置错误,重新设置
小组成员名单
- 成员名单
031702506 钟璐英: 负责博客与查阅资料
031702537 吴俊杰:负责代码
031702538 陈观鸿:负责实时操作