如题,本身的CKEDITOR控件并没有开启上传图片的功能,

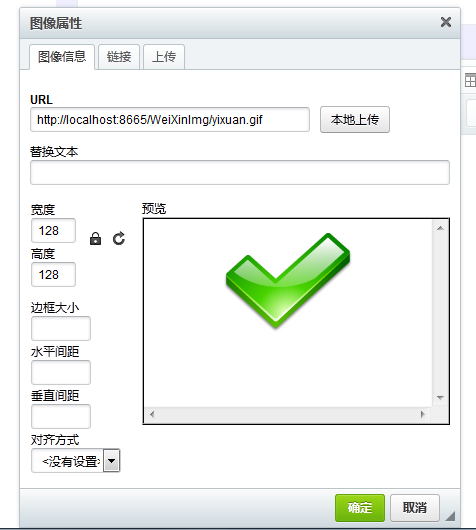
打开图像按钮,只有图像信息和高级两个table选项卡,版本不同,显示略有差异,我的实现是有两种方法都可以添加上传功能,
第一种方法使用CKEDITOR自身代码功能
“预览”中有一大堆鸟语,看得很不爽。可以使用1或2来进行清除。
1:可以打开ckeditor/plugins/image/dialogs/image.js文件,搜索“b.config.image_previewText”就能找到这段鸟语了,(b.config.image_previewText||'')单引号中的内容全删了,注意别删多了。
2:打开ckeditor/config.js文件, 在此函数内,添加
config.image_previewText = ''; //清空预览区域显示内容
打开ckeditor/plugins/image/dialogs/image.js文件,搜索“upload”可以找到这一段
id:'Upload',hidden:true
实际上上传功能被隐藏了,把上面的true改成false,如果你的显示是hidden:!0,直接改成0即可,就可以显示了,再打开编辑器,就能找到上传功能了。

设置上传到服务器按钮的事件URL,指定将上传的文件提交给那个URL进行处理,
打开ckeditor/config.js文件,在此函数内,添加
config.filebrowserImageUploadUrl = "../UploadweixinImgHandler.ashx";//设置提交上传图片按钮处理URL,我这里设置的提交给一个一般处理程序,这个是自己要创建的,我的是创建到根目录的,所以会有../,好了,下面开始编写UploadweixinImgHandler.ashx文件内的代码吧,如下:
public void ProcessRequest(HttpContext context)
{
String callback = context.Request.QueryString["CKEditorFuncNum"].ToString();
///'遍历File表单元素
HttpFileCollection files = HttpContext.Current.Request.Files;
for (int iFile = 0; iFile < files.Count; iFile++)
{
// ///'检查文件扩展名字
HttpPostedFile postedFile = files[iFile];
//HttpPostedFile postedFile = files[0];
string fileName; //, fileExtension
fileName = System.IO.Path.GetFileName(postedFile.FileName);
string fileContentType = postedFile.ContentType.ToString();
if (fileContentType == "image/bmp" || fileContentType == "image/gif" ||
fileContentType == "image/png" || fileContentType == "image/x-png" || fileContentType == "image/jpeg"
|| fileContentType == "image/pjpeg")
{
if (postedFile.ContentLength <= 2097152)
{
string filepath = postedFile.FileName; //得到的是文件的完整路径,包括文件名,如:C:Documents and SettingsAdministratorMy DocumentsMy Pictures20022775_m.jpg
//string filepath = FileUpload1.FileName; //得到上传的文件名20022775_m.jpg
string serverpath = context.Server.MapPath("~/WeiXinImg/") + fileName;//取得文件在服务器上保存的位置C:InetpubwwwrootWebSite1images20022775_m.jpg
postedFile.SaveAs(serverpath);//上传图片到服务器指定地址
string imageurl = "http://localhost:8665/WeiXinImg/"+fileName;//我是将测试时的本地地址+放置图像的文件夹+图片名称作为返回的URL
// 返回"图像"选项卡并显示图片
context.Response.Write("<script type="text/javascript">");
context.Response.Write("window.parent.CKEDITOR.tools.callFunction(" + callback
+ ",'" + imageurl + "','')");
context.Response.Write("</script>");
}
else
{
context.Response.Write("<script>alert('上传文件不能大于2M!')</script>");
}
}
else
{
context.Response.Write("<script>alert('只支持BMP、GIF、JPG、PNG格式的图片!')</script>");
}
}
}

好了,以上是使用CKEDITOR自身的上传功能,外加一个一般处理程序来完成上传功能。
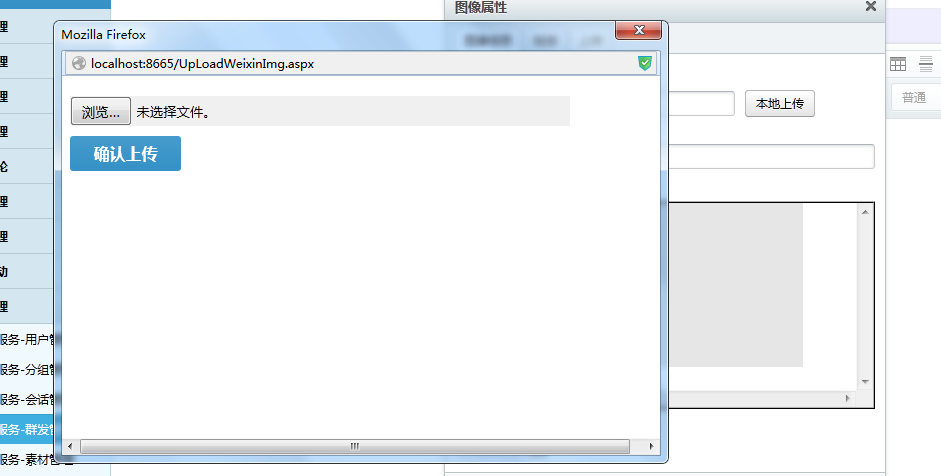
第二种设置上传功能方法:如果你已经有了自己的上传模板(我指的是一个单独的上传网页),
打开ckeditor/plugins/image/dialogs/image.js文件,搜索“urlMissing”可以找到这一段,在},之后添加如下代码:
{ type: 'button', id: 'myUpload', style:"margin-top:14px;", align: 'center', label: '本地上传', onClick: function () { var retFile = showModalDialog("../UpLoadWeixinImg.aspx", "", "dialogHeight:380;dialogWidth:600;"); if (retFile != null) { this.getDialog().setValueOf('info', 'txtUrl', retFile); } } },
showModalDialog("../UpLoadWeixinImg.aspx",指定转向URL的链接地址,上传模板,showModalDialog方法在IE和火狐下能正常运行,在谷歌浏览器下可能不兼容,反正我试了不行,听说用window.open可以代替,我没有去尝试,您可以去试下,
运行界面如下:

下面来看看UpLoadWeixinImg.aspx上传页面模板的代码如下:
/// <summary>
/// 上传图片
/// </summary>
/// <param name="sender"></param>
/// <param name="e"></param>
protected void LinkBtnFileUploadImg_Click(object sender, EventArgs e)
{
if (this.FileUploadImg.HasFile)
{
string fileContentType = FileUploadImg.PostedFile.ContentType;
if (fileContentType == "image/bmp" || fileContentType == "image/gif"||
fileContentType == "image/png"|| fileContentType == "image/x-png"|| fileContentType == "image/jpeg"
|| fileContentType == "image/pjpeg")
{
int fileSize = this.FileUploadImg.PostedFile.ContentLength;
if (fileSize <= 2097152)
{
string fileName = this.FileUploadImg.PostedFile.FileName; // 客户端文件路径
string imageurl = "http://localhost:8665/WeiXinImg/" + fileName;
string filepath = FileUploadImg.PostedFile.FileName; //得到的是文件的完整路径,包括文件名,如:C:Documents and SettingsAdministratorMy DocumentsMy Pictures20022775_m.jpg
//string filepath = FileUpload1.FileName; //得到上传的文件名20022775_m.jpg
string filename = filepath.Substring(filepath.LastIndexOf("\") + 1);//20022775_m.jpg
string serverpath = Server.MapPath("~/WeiXinImg/") + filename;//取得文件在服务器上保存的位置C:InetpubwwwrootWebSite1images20022775_m.jpg
this.FileUploadImg.PostedFile.SaveAs(serverpath);//将上传的文件另存为
//此处我调用的是前台客户端的js脚本
ClientScript.RegisterStartupScript(this.GetType(), "SayHello", "<script>SayHello('" + imageurl + "')</script>");
}
else
{
Response.Write("<script>alert('上传文件不能大于2M!')</script>");
}
}
else
{
Response.Write("<script>alert('只支持BMP、GIF、JPG、PNG格式的图片!')</script>");
}
}
else
{
Response.Write("<script>alert('请选择图片!')</script>");
}
}
SayHello脚本如下:
<script type="text/javascript">
function SayHello(imgPath) {
window.returnValue = imgPath; //上传后的图片链接
window.close();
}
</script>
最终实现如下图:

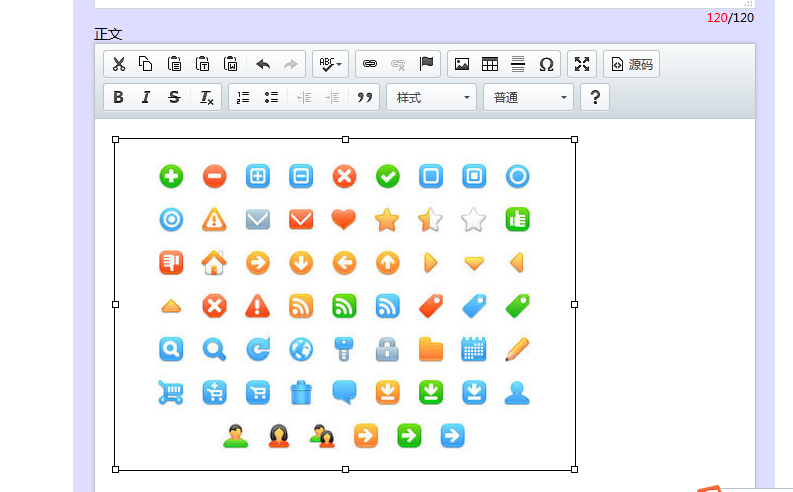
这两种方式实现方式一样,具体哪个好用可以根据需要选择,以上代码中,如有冗余的代码,请自行删除,我也是在网上七拼八凑一行一行代码测试出来的