上一节使用Django写的一个接口程序,这一节讲用IDEA配合Springboot创建web项目。一个是python,一个是java。
参考链接:http://www.uxys.com/html/JavaKfjs/20191008/840.html
一、使用IDEA创建Web项目
这个例子用的是IDEA的社区版,不过企业版更好用。
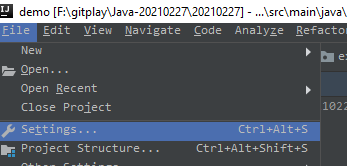
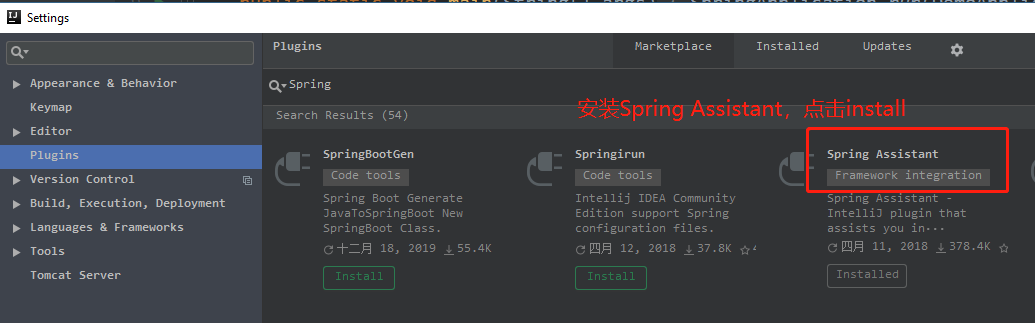
1. 首先安装spring插件,安装完成后会提示重启IDE,重启就行。
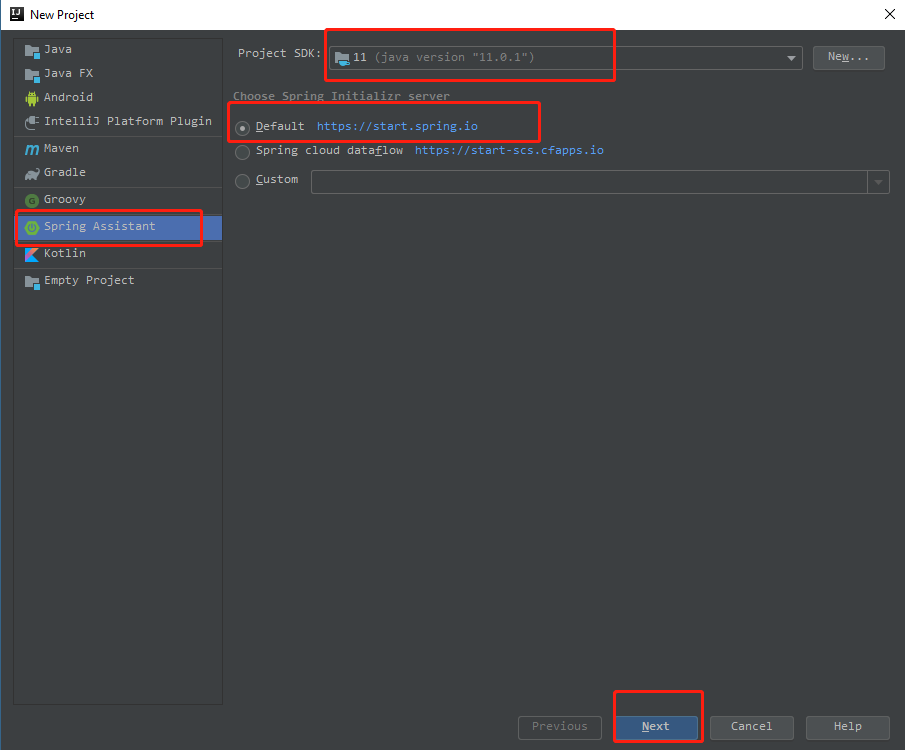
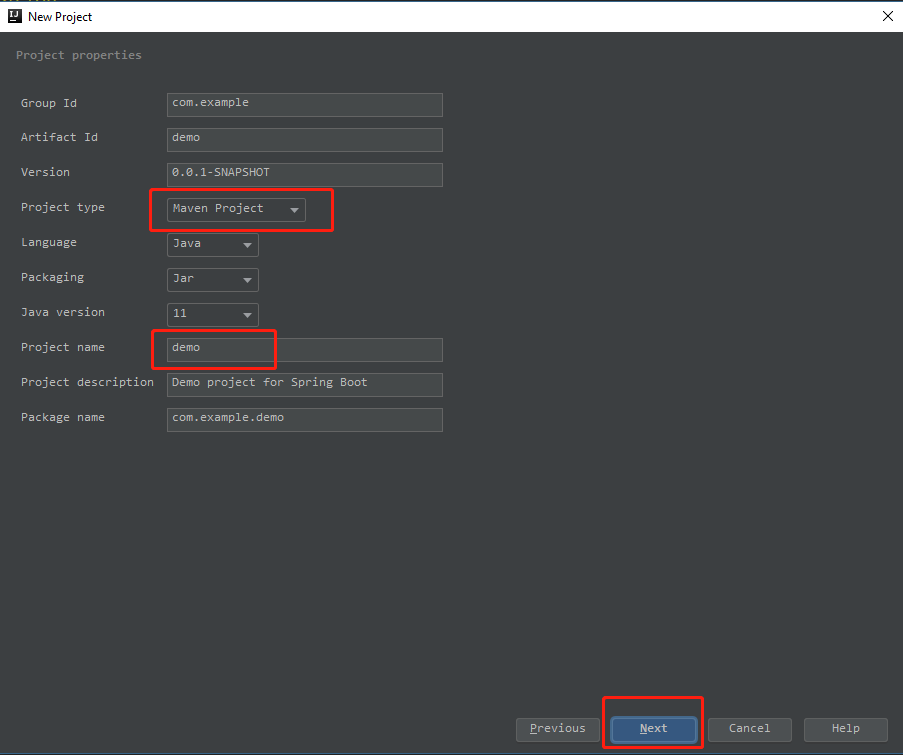
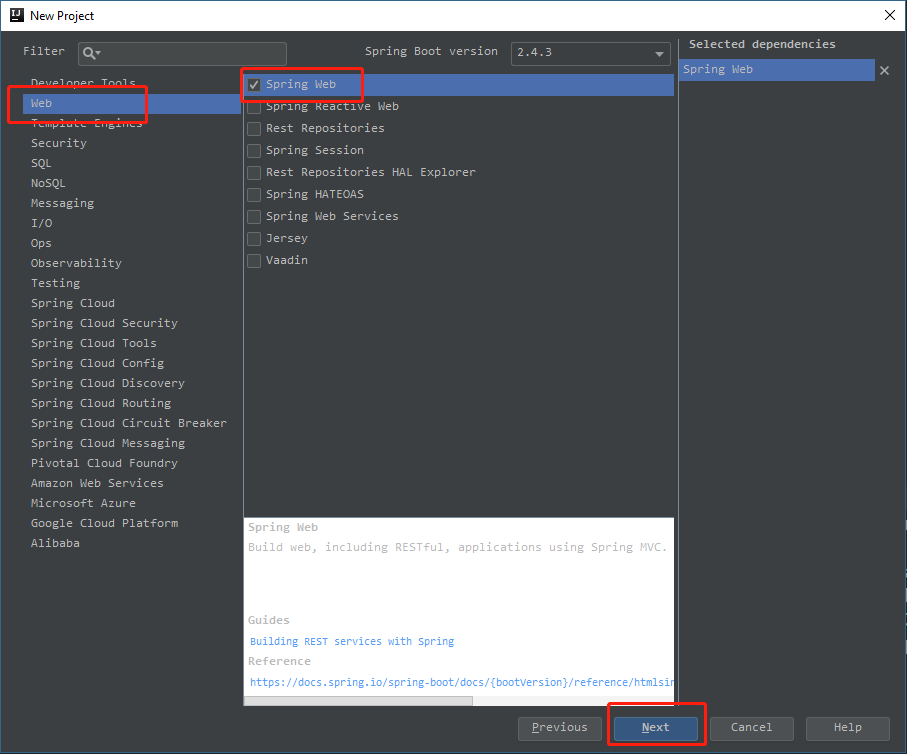
2. 创建web项目


3. 新建一个helloword.java


package com.example.demo;

import org.springframework.web.bind.annotation.RequestMapping;
import org.springframework.web.bind.annotation.RequestMethod;
import org.springframework.web.bind.annotation.ResponseBody;
import org.springframework.web.bind.annotation.RestController;

import java.util.ArrayList;
import java.util.HashMap;
import java.util.List;
import java.util.Map;

@RestController
public class helloword {
    @RequestMapping(value = "/hello", method = RequestMethod.GET)
    public String helloWorld () {
        return "Hello World !";
    }

    @RequestMapping(value = "users", method = RequestMethod.GET)
    public @ResponseBody Object users(){
        List<String> userList = new ArrayList<>();
        userList.add("tom");
        userList.add("marry");
        userList.add("jack");
        System.out.println("get request, users api");
        return userList;
    }

    @RequestMapping(value = "login", method = RequestMethod.POST)
    public @ResponseBody Object login(String name, String pwd){
        Map<String, Object> map = new HashMap<>();
        if("123".equals(pwd) && "jack".equals(name)){
            map.put("status", 0);
        }else{
            map.put("status", -1);
        }
        System.out.println("get request, login api");
        return map;
    }

    @RequestMapping(value = "info", method = RequestMethod.GET)
    public @ResponseBody Object info(String name){
        List<String> userList = new ArrayList<>();
        userList.add(name);
        userList.add(name.length() + "");
        System.out.println("get request, info api");
        return userList;
    }
}
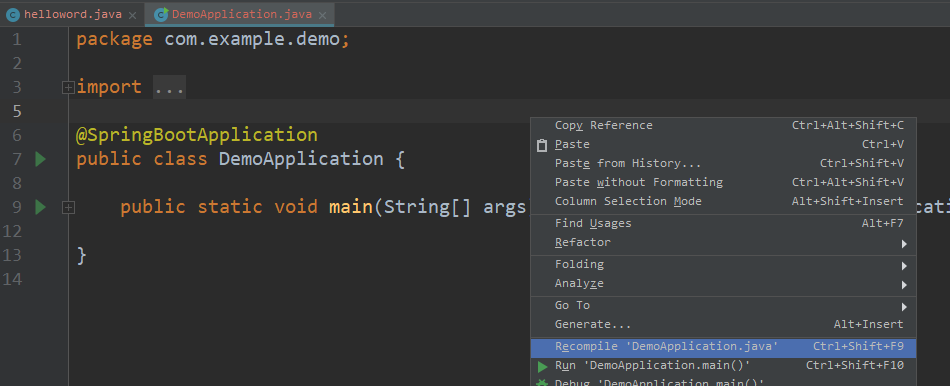
4. 运行DemoApplication
5. 在浏览器地址栏输入http://localhost:8080/hello,就可以看到页面显示Hello world!。
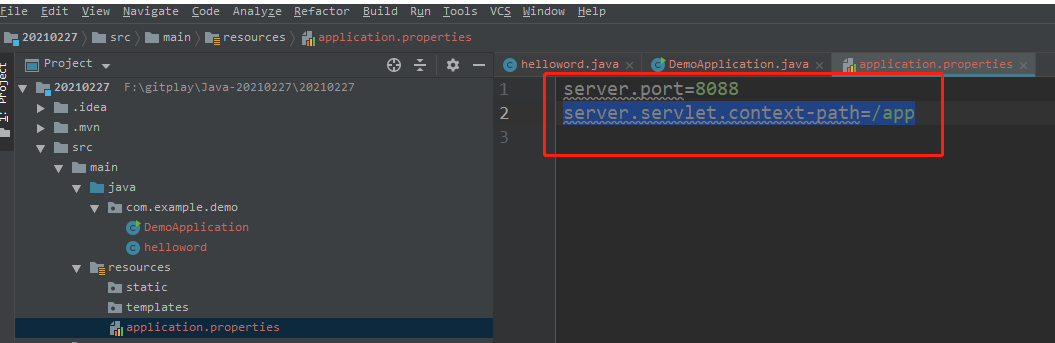
6. 如果出现8080端口冲突,可以修改端口号,在application.properties里面修改。
修改端口号:server.port=8088
修改上下文:server.servlet.context-path=/app
然后在运行DemoApplication,在浏览器地址栏输入http://127.0.0.1:8088/app/hello。
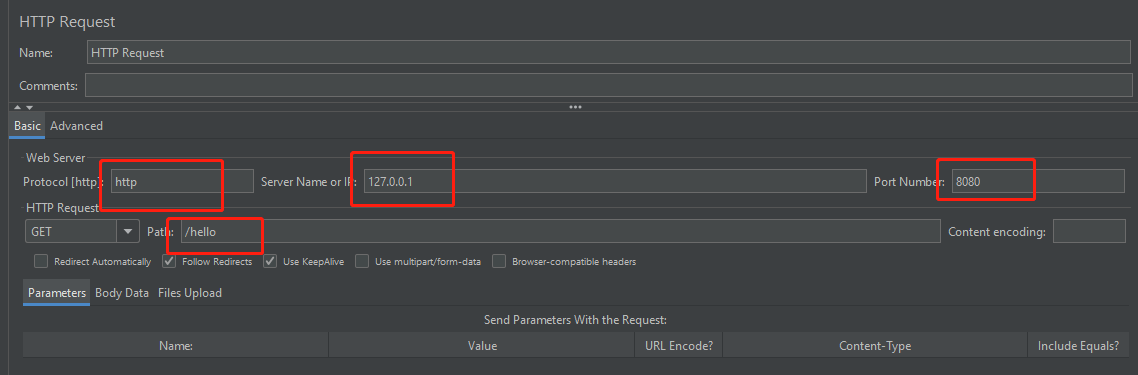
二、 Jmeter测试上述接口