导言:
本次实验,tomcat就直接使用录原生的主页,只是简单修改主页识别主机,nginx也是直接在欢迎页上面修改的,直接实现负载均衡。
主机1:192.168.100.156 nginx+tomcat
主机2:192.168.100.157 tomcat
安装启动tomcat
主机1
下载安装包
#打开下载目录
cd /home/download

#下载tar包
wget http://mirrors.hust.edu.cn/apache/tomcat/tomcat-8/v8.5.24/bin/apache-tomcat-8.5.24.tar.gz
Tomcat7官网下载地址:https://tomcat.apache.org/download-70.cgi
Tomcat8官网下载地址:https://tomcat.apache.org/download-80.cgi
配置目录
# 创建tomcat目录
sudo mkdir /usr/tomcat

#解压到指定目录
sudo tar -zvxf apache-tomcat-8.5.24.tar.gz -C /usr/tomcat

#改名目录名为tomcat8
mv /usr/tomcat/apache-tomcat-8.5.24 /usr/tomcat/tomcat8
修改默认主页
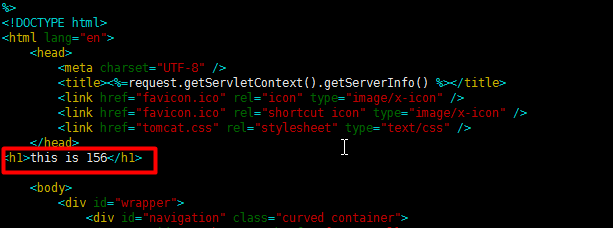
在<head>与<body>之间插入一行
<h1>this is 156</h1>
vim /usr/tomcat/tomcat8/webapps/ROOT/index.jsp

%>
<!DOCTYPE html>
<html lang="en">
    <head>
        <meta charset="UTF-8" />
        <title><%=request.getServletContext().getServerInfo() %></title>
        <link href="favicon.ico" rel="icon" type="image/x-icon" />
        <link href="favicon.ico" rel="shortcut icon" type="image/x-icon" />
        <link href="tomcat.css" rel="stylesheet" type="text/css" />
    </head>
<h1>this is 156</h1>

    <body>
启动tomcat
#启动
cd /usr/tomcat/tomcat8/bin && sh startup.sh
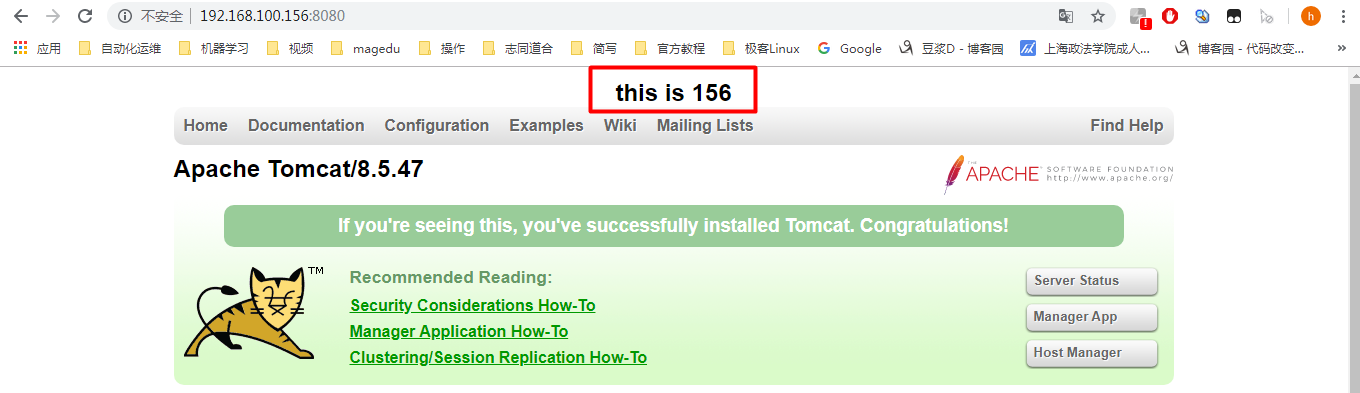
访问测试(测试环境注意关闭防火墙)
192.168.100.156:8080
主机2配置与主机一样

配置nginx
配置nginx的yum源
rpm -Uvh http://nginx.org/packages/centos/7/noarch/RPMS/nginx-release-centos-7-0.el7.ngx.noarch.rpm
安装nginx
yum install nginx -y
启动
systemctl start nginx
配置负载均衡
 1 vim /etc/nginx/conf.d/default.conf
 2
 3 配置好的文件如下 即增加了5-8行内容,21行内容
 4
 5 upstream tomcat {
 6                 server 192.168.100.156:8080;
 7                 server 192.168.100.157:8080;
 8                  }
 9
10
11 server {
12     listen       80;
13     server_name  localhost;
14
15     #charset koi8-r;
16     #access_log  /var/log/nginx/host.access.log  main;
17
18     location / {
19         root   /usr/share/nginx/html;
20         index  index.html index.htm;
21         proxy_pass http://tomcat;
22     }
23
24     #error_page  404              /404.html;
25
26     # redirect server error pages to the static page /50x.html
27     #
28     error_page   500 502 503 504  /50x.html;
29     location = /50x.html {
30         root   /usr/share/nginx/html;
31     }
32
33     # proxy the PHP scripts to Apache listening on 127.0.0.1:80
34     #
35     #location ~ .php$ {
36     #    proxy_pass   http://127.0.0.1;
37     #}
38
39     # pass the PHP scripts to FastCGI server listening on 127.0.0.1:9000
40     #
41     #location ~ .php$ {
42     #    root           html;
43     #    fastcgi_pass   127.0.0.1:9000;
44     #    fastcgi_index  index.php;
45     #    fastcgi_param  SCRIPT_FILENAME  /scripts$fastcgi_script_name;
46     #    include        fastcgi_params;
47     #}
48
49     # deny access to .htaccess files, if Apache's document root
50     # concurs with nginx's one
51     #
52     #location ~ /.ht {
53     #    deny  all;
54     #}
55 }
重启nginx
systemctl restart nginx
浏览器输入192.168.100.156查看效果
刷新一次为156,再刷新一次157
百度脑图:
