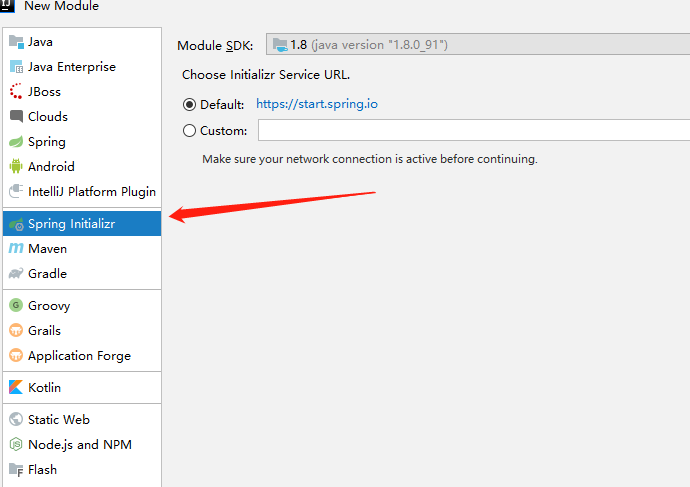
首先搭建注册中心,创建一个springboot的maven工程。


工程创建完成之后,先在资源文件中的application.properties中写配置文件。
server.port=801
spring.application.name=register
eureka.instance.hostname=localhost
#fetch-registry 拉取服务,作为注册中心的时候,要禁用 设为false
eureka.client.fetch-registry=false
#register-with-eureka 把自己注册到注册中心,当作为注册中心的时候 同样要禁用 设为false
eureka.client.register-with-eureka=false
eureka.client.service-url.default=http://${eureka.instance.hostname}:${server.port}/eureka
在启动类上添加注解 @EnableEurekaServer
@EnableEurekaServer
@SpringBootApplication
public class SpringcloudRegisterApplication {
    public static void main(String[] args) {
        SpringApplication.run(SpringcloudRegisterApplication.class, args);
    }
}
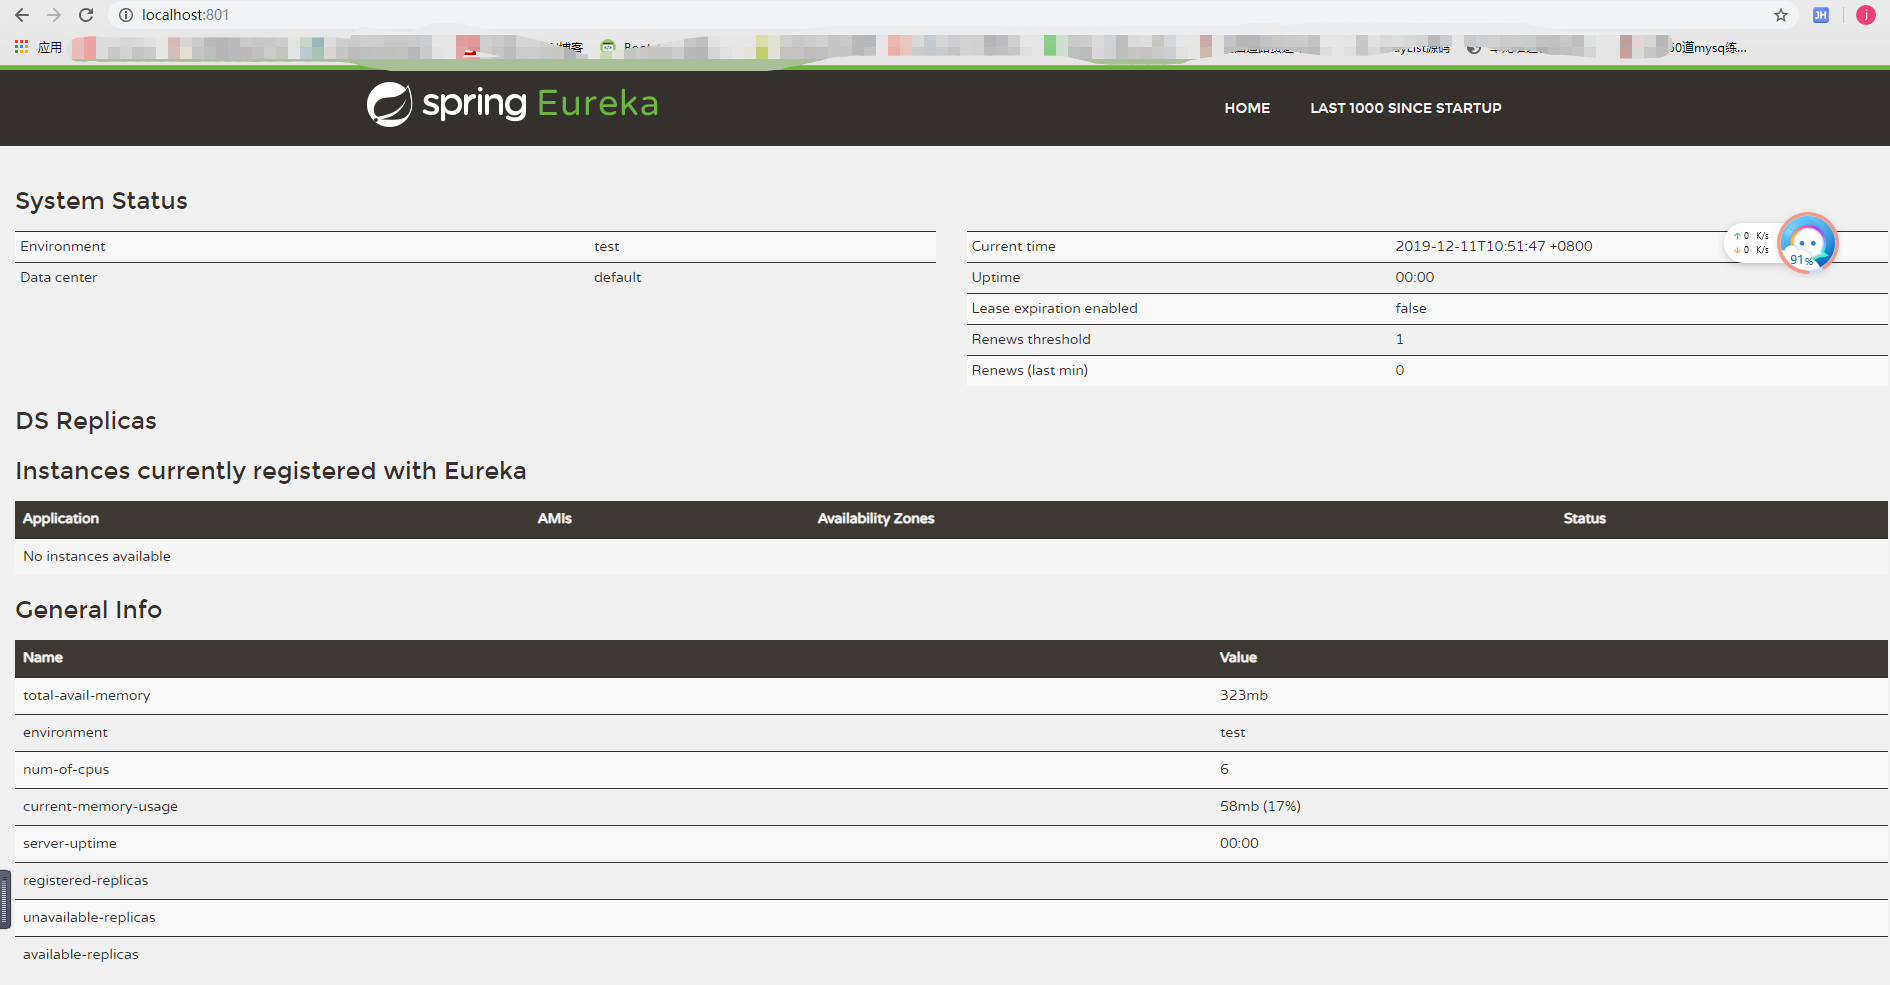
然后启动测试一下,直接访问http://localhost:801,出现下图则表示访问成功
然后开始创建服务提供者,创建过程不详细说了,依旧是创建一个springboot的maven工程,勾选eureka server的依赖。
先编写配置文件(resources资源下的application.properties文件),设置端口以及eureka的地址
server.port=802
spring.application.name=server-provide
eureka.client.service-url.defaultZone=http://localhost:801/eureka/
然后在启动类加注解 @EnableEurekaClient,表明该项目是客户端,用于提供服务
@EnableEurekaClient
@SpringBootApplication
public class SpringcloudServerApplication {
    public static void main(String[] args) {
        SpringApplication.run(SpringcloudServerApplication.class, args);
    }
}
然后在写一个接收请求的代码,用于外界访问,直接在启动类上修改就可以,代码如下
@RestController
@EnableEurekaClient
@SpringBootApplication
public class SpringcloudServerApplication {
    public static void main(String[] args) {
        SpringApplication.run(SpringcloudServerApplication.class, args);
    }
    @Value("${server.port}")  //@Value注解可以把配置文件中的内容赋值到对应属性上
    String port;
    @RequestMapping("hello")
    String test(String name){
        return "你好"+name+",该回复来自端口:"+port;
    }
}
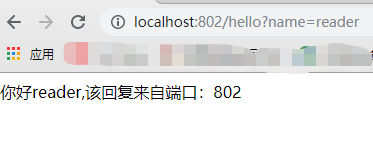
启动项目,在浏览器访问 http://localhost:802/hello?name=reader,出现下图,即表示成功
最后创建服务消费方,创建工程,勾选eureka server的依赖,修改配置文件,启动类,这里要用restTemplate去访问其他微服务。
配置文件
server.port=803
spring.application.name=consumer
eureka.client.service-url.defaultZone=http://localhost:801/eureka/
启动类
@EnableDiscoveryClient  //表明该项目是 用于发现eureka的客户端,然后去消费它
@SpringBootApplication
public class SpringcloudServerComsumerApplication {

    public static void main(String[] args) {
        SpringApplication.run(SpringcloudServerComsumerApplication.class, args);
    }

    @Bean  //把restTemplate注入到容器中
    RestTemplate getRestTemplate(){
        return new RestTemplate();
    }
}
创建消费的方法,要引入RestTemplate
@Service
public class ConsumerService {
    @Autowired
    RestTemplate restTemplate;
    public String getServer(String name){
        return restTemplate.getForObject("http://localhost:802/hello?name="+name,String.class);
    }
}
创建消费的controller
@RestController
public class ControllerConsumer {
    @Autowired
    ConsumerService service;
    @RequestMapping("/go")
    public String go (String name){
        return service.getServer(name);
    }

}
启动服务之后,先看一下eureka中这两个服务有没有出现
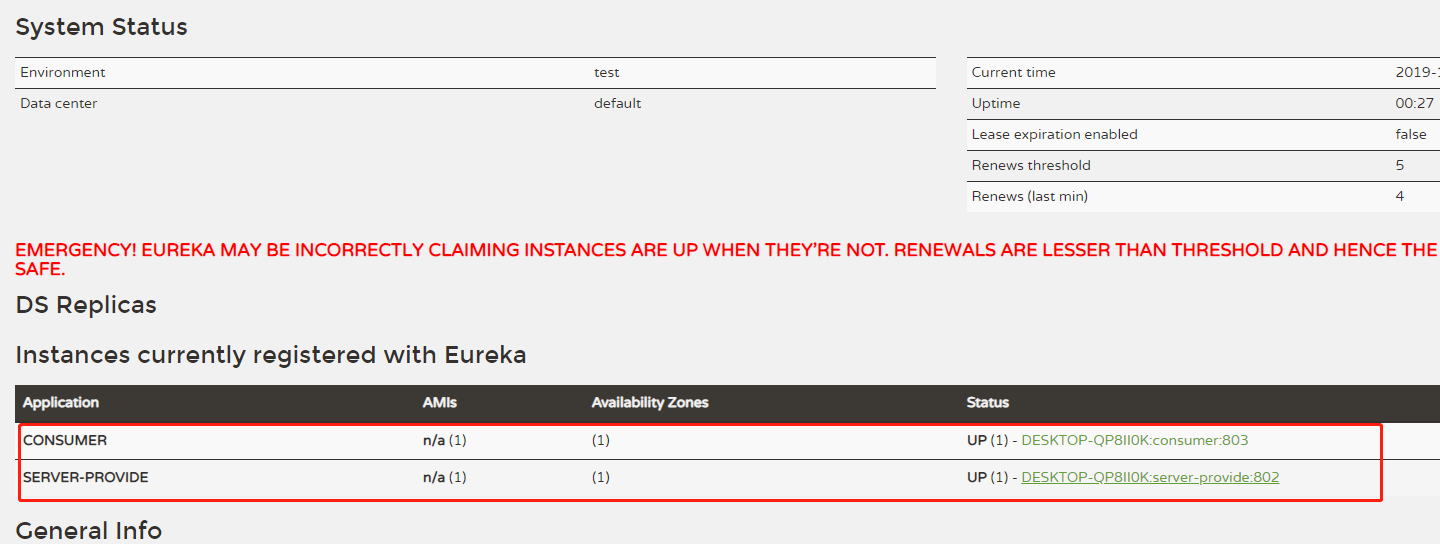
然后访问 http://localhost:803/go?name=reader
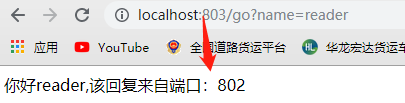
至此,项目搭建成功,后续还会更新负载均衡等一系列项目供大家学习。