步骤1
第一步首先创建一个普通的 Maven 项目,然后要实现二维码功能,我们肯定要使用别人提供好的 Jar 包,这里我用的是 google 提供的 jar,pom.xml 文件配置如下:
<?xml version="1.0" encoding="UTF-8"?>
<project xmlns="http://maven.apache.org/POM/4.0.0"
         xmlns:xsi="http://www.w3.org/2001/XMLSchema-instance"
         xsi:schemaLocation="http://maven.apache.org/POM/4.0.0 http://maven.apache.org/xsd/maven-4.0.0.xsd">
    <modelVersion>4.0.0</modelVersion>

    <groupId>org.javaboy</groupId>
    <artifactId>QRCode</artifactId>
    <version>1.0-SNAPSHOT</version>


    <dependencies>
        <!-- 添加 google 提供的二维码依赖 -->
        <dependency>
            <groupId>com.google.zxing</groupId>
            <artifactId>core</artifactId>
            <version>3.3.0</version>
        </dependency>
    </dependencies>

</project>
步骤2
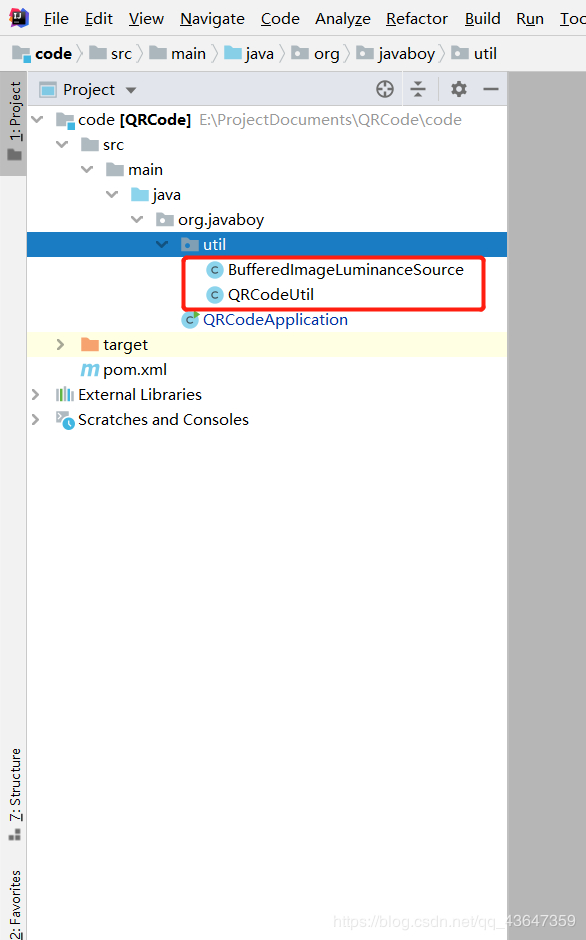
然后使用 google 提供的工具类,在项目根目录下创建一个 util 包,将所需要的工具类放进去。

工具类1 (BufferedImageLuminanceSource)
不废话,直接上代码
package org.javaboy.util;

import java.awt.Graphics2D;
import java.awt.geom.AffineTransform;
import java.awt.image.BufferedImage;

import com.google.zxing.LuminanceSource;

/**
 * @author bai <br/>
 * @date 2020/7/1 9:27<br/>
 */
public class BufferedImageLuminanceSource extends LuminanceSource {

    private final BufferedImage image;
    private final int left;
    private final int top;

    public BufferedImageLuminanceSource(BufferedImage image) {
        this(image, 0, 0, image.getWidth(), image.getHeight());
    }

    public BufferedImageLuminanceSource(BufferedImage image, int left, int top, int width, int height) {
        super(width, height);

        int sourceWidth = image.getWidth();
        int sourceHeight = image.getHeight();
        if (left + width > sourceWidth || top + height > sourceHeight) {
            throw new IllegalArgumentException("Crop rectangle does not fit within image data.");
        }

        for (int y = top; y < top + height; y++) {
            for (int x = left; x < left + width; x++) {
                if ((image.getRGB(x, y) & 0xFF000000) == 0) {
                    image.setRGB(x, y, 0xFFFFFFFF); // = white
                }
            }
        }

        this.image = new BufferedImage(sourceWidth, sourceHeight, BufferedImage.TYPE_BYTE_GRAY);
        this.image.getGraphics().drawImage(image, 0, 0, null);
        this.left = left;
        this.top = top;
    }

    @Override
    public byte[] getRow(int y,