前言
之前一直用的eolinker的免费版,但是人数有限,所以想找个免费开源的API管理平台,然后就选择了CRAP-API。
步骤
部署环境
LNMT部署
我的环境是之前部署的是LNMP,后面又增加的JDK和Tomcat没部署的朋友可以使用oneinstack一键自动部署来安装好。
Maven部署
Maven部署 | 其实正常来说,直接下载编译好的安装包更改下数据库配置就阔以了,但是我当时用NGINX忘记将静态资源跳转,一直加载不到静态资源,所以克隆了源码,用Maven重新又打了包。
创建虚拟主机
# cd oneinstack
# ./vhost.sh

#######################################################################
#       OneinStack for CentOS/RedHat 6+ Debian 8+ and Ubuntu 14+      #
#       For more information please visit https://oneinstack.com      #
#######################################################################

Please choose to use environment:
        1. Use php
        2. Use java
Please input a number:(Default 1 press Enter) 1

What Are You Doing?
        1. Use HTTP Only
        2. Use your own SSL Certificate and Key
        3. Use Let's Encrypt to Create SSL Certificate and Key
        q. Exit
Please input the correct option: 3

Please input domain(example: www.example.com): <域名>
domain=<域名>

Please input the directory for the domain:<域名> :
(Default directory: /data/wwwroot/<域名>):
Virtual Host Directory=/data/wwwroot/<域名>

Create Virtul Host directory......
set permissions of Virtual Host directory......

Do you want to add more domain name? [y/n]: n

Do you want to redirect all HTTP requests to HTTPS? [y/n]: n
[2019年 10月 16日 星期三 09:27:58 CST] Single domain='<域名>'
[2019年 10月 16日 星期三 09:27:58 CST] Getting domain auth token for each domain
[2019年 10月 16日 星期三 09:27:58 CST] Getting webroot for domain='<域名>'
[2019年 10月 16日 星期三 09:27:58 CST] Getting new-authz for domain='<域名>'
[2019年 10月 16日 星期三 09:28:00 CST] The new-authz request is ok.
[2019年 10月 16日 星期三 09:28:00 CST] Verifying:<域名>
[2019年 10月 16日 星期三 09:28:05 CST] Pending
[2019年 10月 16日 星期三 09:28:08 CST] Pending
[2019年 10月 16日 星期三 09:28:10 CST] Pending
[2019年 10月 16日 星期三 09:28:13 CST] Pending
[2019年 10月 16日 星期三 09:28:16 CST] Pending
[2019年 10月 16日 星期三 09:28:19 CST] Pending
[2019年 10月 16日 星期三 09:28:22 CST] Success
[2019年 10月 16日 星期三 09:28:22 CST] Verify finished, start to sign.
[2019年 10月 16日 星期三 09:28:24 CST] Cert success.
-----BEGIN CERTIFICATE-----
xxxxxxxxxxxxxxxx
-----END CERTIFICATE-----
[2019年 10月 16日 星期三 09:28:24 CST] Your cert is in  /root/.acme.sh/<域名>/<域名>.cer
[2019年 10月 16日 星期三 09:28:24 CST] Your cert key is in  /root/.acme.sh/<域名>/<域名>.key
[2019年 10月 16日 星期三 09:28:25 CST] The intermediate CA cert is in  /root/.acme.sh/<域名>/ca.cer
[2019年 10月 16日 星期三 09:28:25 CST] And the full chain certs is there:  /root/.acme.sh/<域名>/fullchain.cer

Do you want to add hotlink protection? [y/n]: n

Allow Rewrite rule? [y/n]: n

Allow Nginx/Tengine/OpenResty access_log? [y/n]: y
You access log file=/data/wwwlogs/<域名>_nginx.log

nginx: the configuration file /usr/local/nginx/conf/nginx.conf syntax is ok
nginx: configuration file /usr/local/nginx/conf/nginx.conf test is successful
Reload Nginx......

#######################################################################
#       OneinStack for CentOS/RedHat 6+ Debian 8+ and Ubuntu 14+      #
#       For more information please visit https://oneinstack.com      #
#######################################################################
Your domain:                  <域名>
Virtualhost conf:             /usr/local/nginx/conf/vhost/<域名>.conf
Directory of:                 /data/wwwroot/<域名>
Let's Encrypt SSL Certificate:/usr/local/nginx/conf/ssl/<域名>.crt
SSL Private Key:              /usr/local/nginx/conf/ssl/<域名>.key
修改NGINX配置
注意静态资源的跳转不要忘记了!!!不要忘记了!!!不要忘记了!!!我就掉在这个坑里过...修改完成后,重新载入下配置文件。
# cd /usr/local/nginx/conf/vhost/
# vi <域名>.conf

server {
  listen 80;
  listen 443 ssl http2;
  ssl_certificate /usr/local/nginx/conf/ssl/xxxxx.crt;
  ssl_certificate_key /usr/local/nginx/conf/ssl/xxxxx.key;
  ssl_protocols TLSv1 TLSv1.1 TLSv1.2 TLSv1.3;
  ssl_ciphers TLS13-AES-256-GCM-SHA384:TLS13-CHACHA20-POLY1305-SHA256:TLS13-AES-128-GCM-SHA256:TLS13-AES-128-CCM-8-SHA256:TLS13-AES-128-CCM-SHA256:EECDH+CHACHA20:EECDH+AES128:RSA+AES128:EECDH+AES256:RSA+AES256:EECDH+3DES:RSA+3DES:!MD5;
  ssl_prefer_server_ciphers on;
  ssl_session_timeout 10m;
  ssl_session_cache builtin:1000 shared:SSL:10m;
  ssl_buffer_size 1400;
  add_header Strict-Transport-Security max-age=15768000;
  ssl_stapling on;
  ssl_stapling_verify on;
  server_name xxxx;
  access_log /data/wwwlogs/xxxxxx_nginx.log combined;
  index index.html index.htm index.jsp;
  root /data/wwwroot/xxxxx/;

  #error_page 404 /404.html;
  #error_page 502 /502.html;

  location / {
                   proxy_set_header  Host $host:80;
                   proxy_set_header  X-Real-IP $remote_addr;
                   proxy_set_header x-forwarded-for $remote_addr;
                   proxy_pass http://127.0.0.1:8080;
                }

   location ~ [^/].php(/|$) {
                    # comment try_files $uri =404; to enable pathinfo
                    try_files $uri =404;
                    fastcgi_pass  unix:/tmp/php-cgi.sock;
                    fastcgi_index index.php;
                    include fastcgi.conf;
                    #include pathinfo.conf;
                }

      location ~ .*.(gif|jpg|jpeg|png|bmp|swf)$ {
                     proxy_pass http://127.0.0.1:8080;
                     expires      30d;
                }

      location ~ .*.(js|css)?$ {
                     proxy_pass http://127.0.0.1:8080;
                     expires      12h;
                }


}

# service nginx reload
下载CRAP
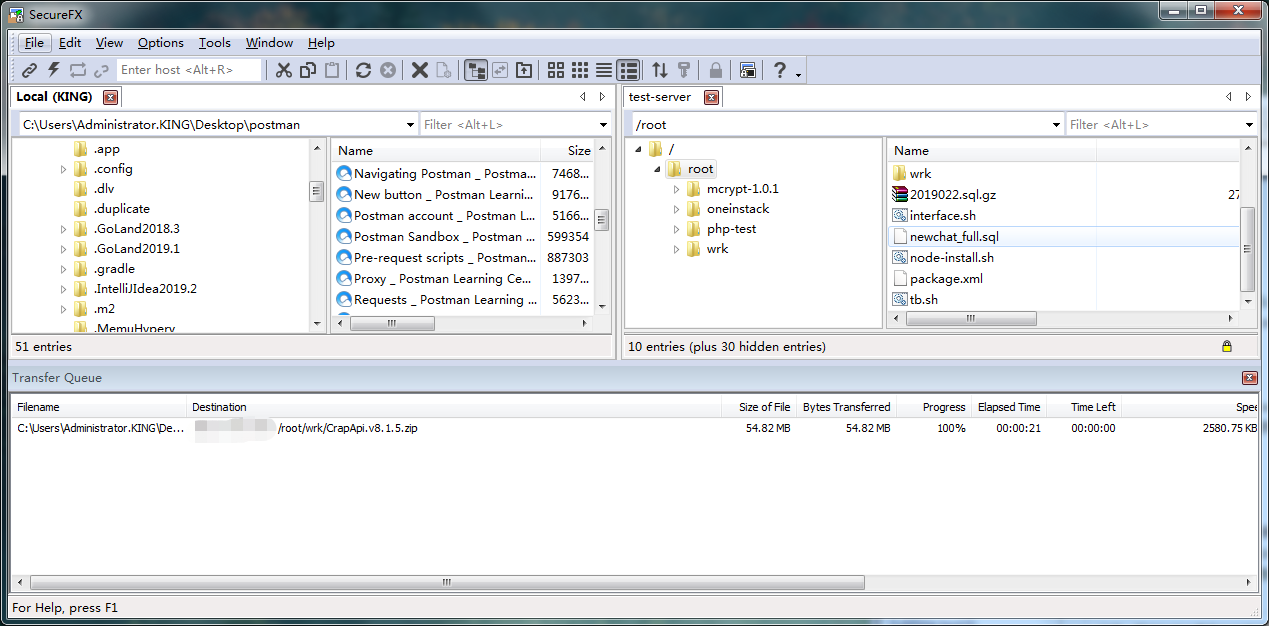
CRAP历史版本源码|安装包下载 | 我这边部署的时候,使用的是最新的包v8.1.5版本的,这边推荐直接下载编译好的包,并通过远程工具SCRT上传到服务器上。
创建数据库
解压压缩文件
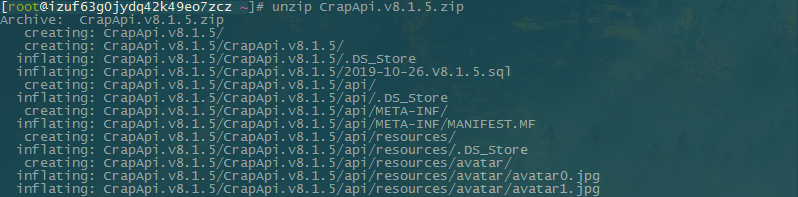
# unzip CrapApi.v8.1.5.zip
查看SQL文件
这是便于后面方便直接导入sql文件。
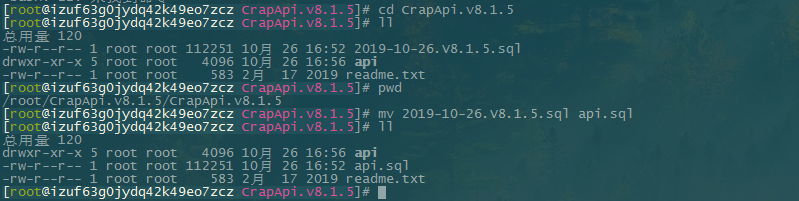
# cd CrapApi.v8.1.5
# ll
总用量 120
-rw-r--r-- 1 root root 112251 10月 26 16:52 2019-10-26.V8.1.5.sql
drwxr-xr-x 5 root root   4096 10月 26 16:56 api
-rw-r--r-- 1 root root    583 2月  17 2019 readme.txt
# pwd
/root/CrapApi.v8.1.5/CrapApi.v8.1.5
# mv 2019-10-26.V8.1.5.sql api.sql
# ll
总用量 120
drwxr-xr-x 5 root root   4096 10月 26 16:56 api
-rw-r--r-- 1 root root 112251 10月 26 16:52 api.sql
-rw-r--r-- 1 root root    583 2月  17 2019 readme.txt
建库并导入SQL文件
# mysql -uroot -p
Enter password:
Welcome to the MySQL monitor.  Commands end with ; or g.
Your MySQL connection id is 150536
Server version: 5.6.42-log MySQL Community Server (GPL)

Copyright (c) 2000, 2018, Oracle and/or its affiliates. All rights reserved.

Oracle is a registered trademark of Oracle Corporation and/or its
affiliates. Other names may be trademarks of their respective
owners.

Type 'help;' or 'h' for help. Type 'c' to clear the current input statement.

MySQL [(none)]> create database api_test;
Query OK, 1 row affected (0.00 sec)

MySQL [(none)]> use api_test;
Database changed
MySQL [api_test]>  source /root/CrapApi.v8.1.5/CrapApi.v8.1.5/api.sql
Query OK, 0 rows affected (0.00 sec)
:
:
:
Query OK, 0 rows affected (0.00 sec)
MySQL [api_test]>
修改CRAP-API配置
这里只修改了数据的配置文件config.properties ,日志的未做修改。
# cd api/WEB-INF/classes/
# vi config.properties

配置Tomcat
删除webapps下的所有文件
# cd /usr/local/tomcat/webapps/
# rm -rvf *
修改编译包名
# cd /root/CrapApi.v8.1.5/CrapApi.v8.1.5
# mv api ROOT
# ll
总用量 120
-rw-r--r-- 1 root root 112251 10月 26 16:52 api.sql
-rw-r--r-- 1 root root    583 2月  17 2019 readme.txt
drwxr-xr-x 5 root root   4096 10月 26 16:56 ROOT
移包并启动服务
# cd CrapApi.v8.1.5/CrapApi.v8.1.5/
# cp -rvf ROOT/ /usr/local/tomcat/webapps/
# cd /usr/local/tomcat/bin/
# ./ startup.sh
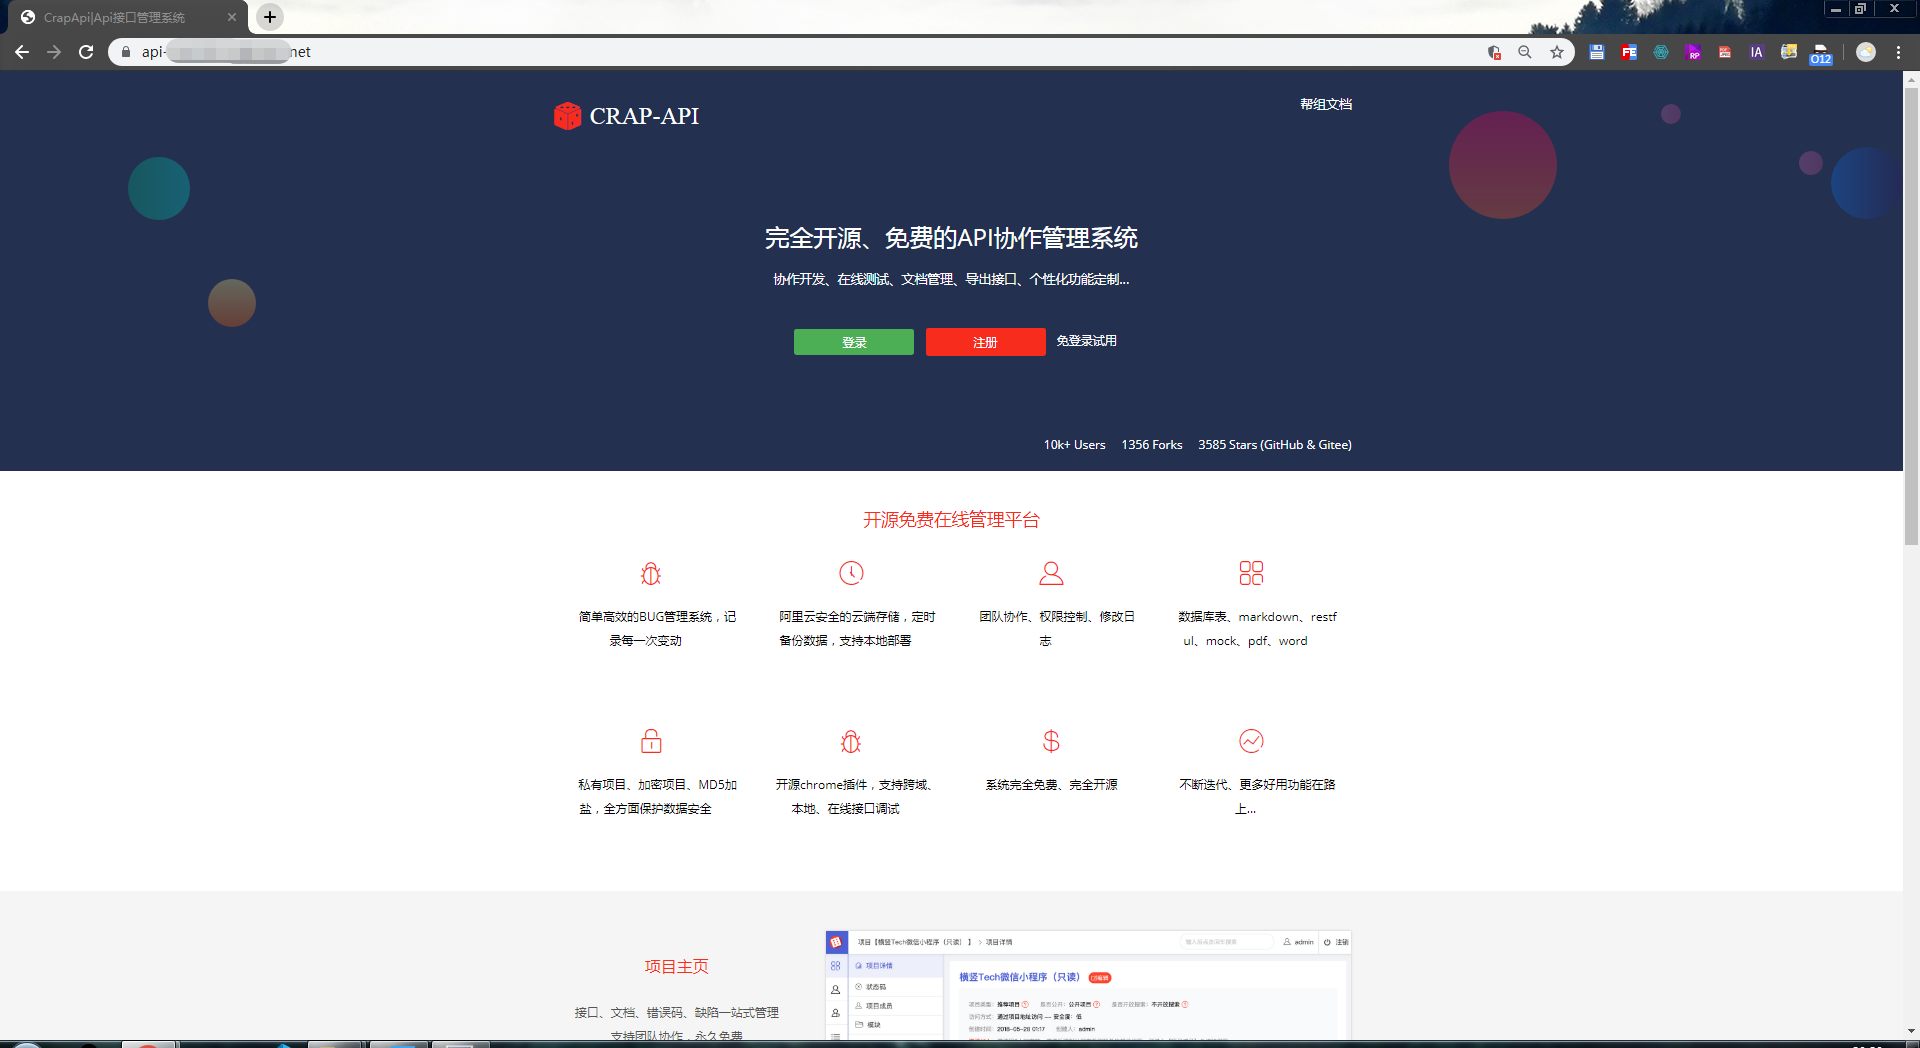
访问页面