Prerequisites:
| Node | OS | IP |
| k8s-master | CentOS7 | 192.168.137.161 |
| k8s-node1 | CentOS7 | 192.168.137.162 |
Now we have 2 working CentOS virtual machine, which can connect to each other, also able access to Internet. Let's do some configuration before we provision kubernetes cluster on them.
Install kubernetes:
- Disable firewall for both master and node by running below command
firewall-cmd --state                          # check firewall state
systemctl stop firewalld.service         # stop firewall
systemctl disable firewalld.service     # disable firewall to auto launch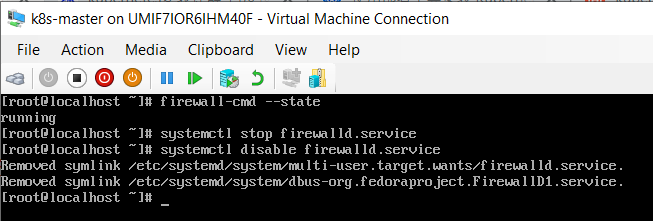
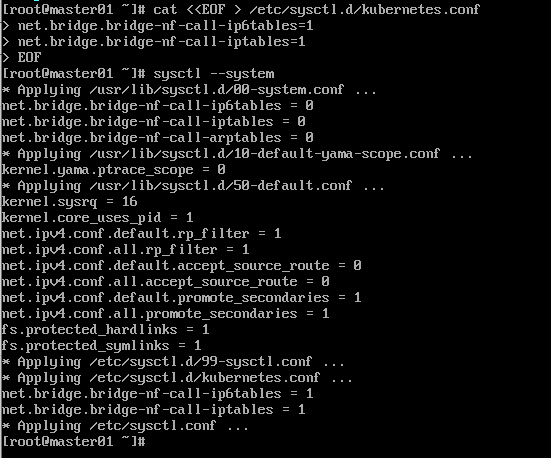
- Update iptables
Running below command to setting iptables for master only
cat <<EOF > /etc/sysctl.d/kubernetes.conf
net.bridge.bridge-nf-call-ip6tables = 1
net.bridge.bridge-nf-call-iptables = 1
EOF

sysctl --system
- Disable SELinux module for both master and node by running below command
getenforce                    # check SELinux status
setenforce 0                  # stop SELinux
sed -i "s/SELINUX=.*/SELINUX=disable/g" /etc/selinux/config          # disable SELinux module

shutdown -r now               # Reboot system is required
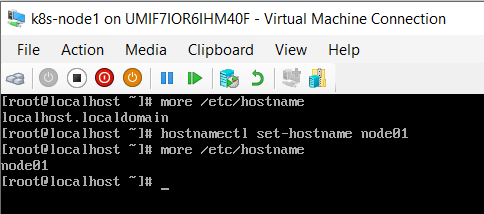
- Update host name
Execute below command for master node:
more /etc/hostname        # check current hostname
hostnamectl set-hostname master01        # update hostname to master01

Perform the same command to update hostname of k8s-node1:
- Modify hosts file /etc/hosts on both node k8s-master and k8s-node1
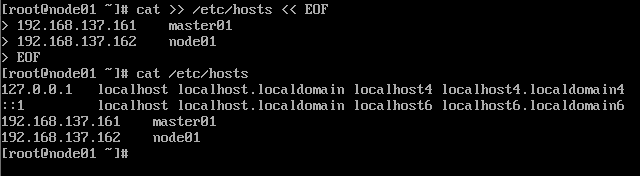
Execute below command to append host details to the end of file /etc/hosts:
cat >> /etc/hosts << EOF
192.168.137.161    master01
192.168.137.162    node01
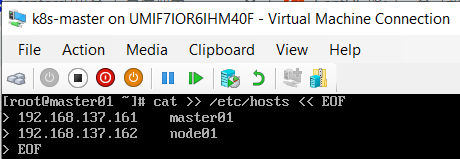
NOTE: Perform the same update for k8s-node1
- Disable swap
Run below commands swapoff -a on both k8s-master and k8s-node1:
sed -i '/swap/d' /etc/fstab
swapoff -a        # switch of swap temporary
free -m           # check if swap turned off successful, the line swap should be showing 0
- Setting up yum resource for both nodes
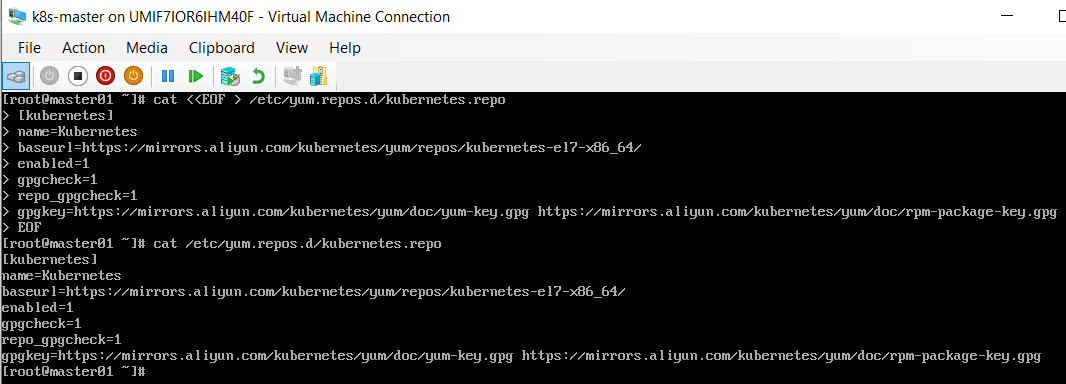
Since some of external site been blocked, so we need to repoint yum source to domestic agent resource, running below command to setup:
cat <<EOF > /etc/yum.repos.d/kubernetes.repo
[kubernetes]
name=Kubernetes
baseurl=https://mirrors.aliyun.com/kubernetes/yum/repos/kubernetes-el7-x86_64/
enabled=1
gpgcheck=1
repo_gpgcheck=1
gpgkey=https://mirrors.aliyun.com/kubernetes/yum/doc/yum-key.gpg https://mirrors.aliyun.com/kubernetes/yum/doc/rpm-package-key.gpg
EOF
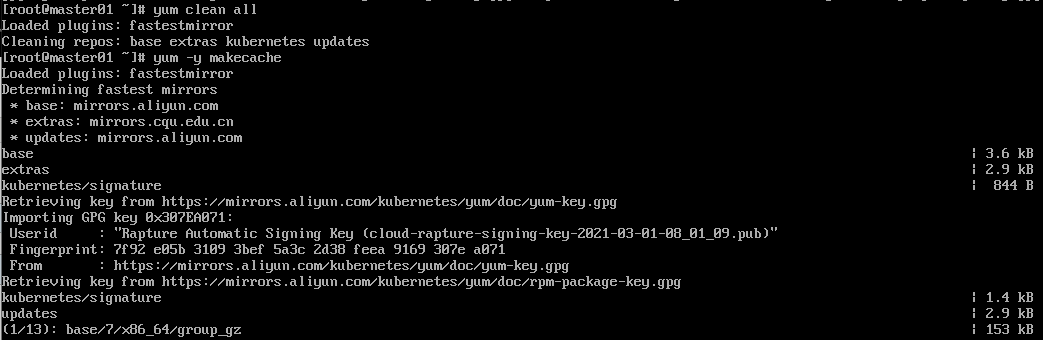
- Execute below commands on both nodes, refresh yum cache
yum clean all
yum -y makecache
- All set for system configuration now. We are ready to provision container and Kubernetes !
Next let's get Docker installed from both master01 and node1.