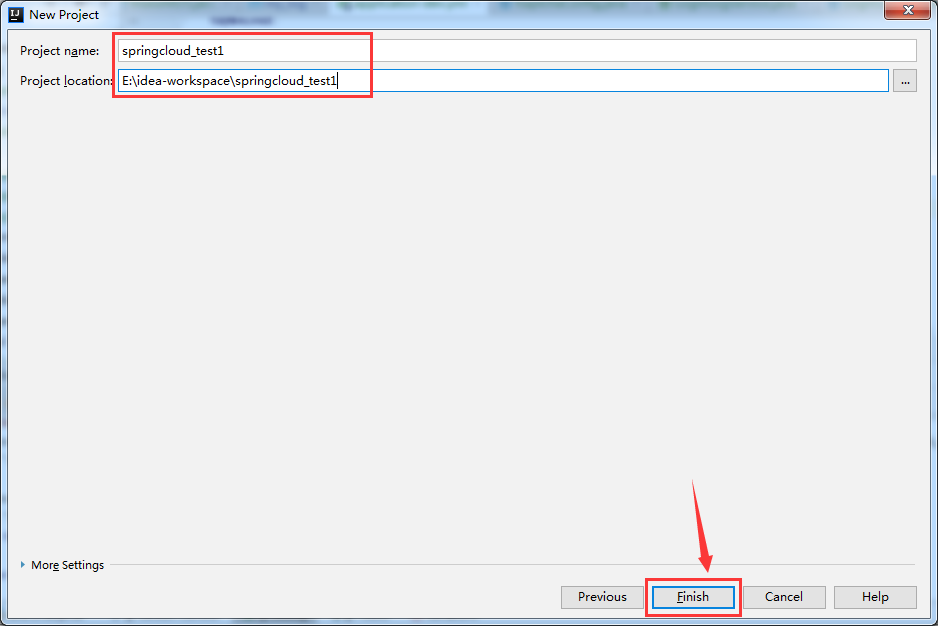
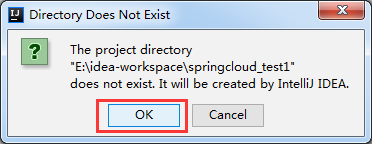
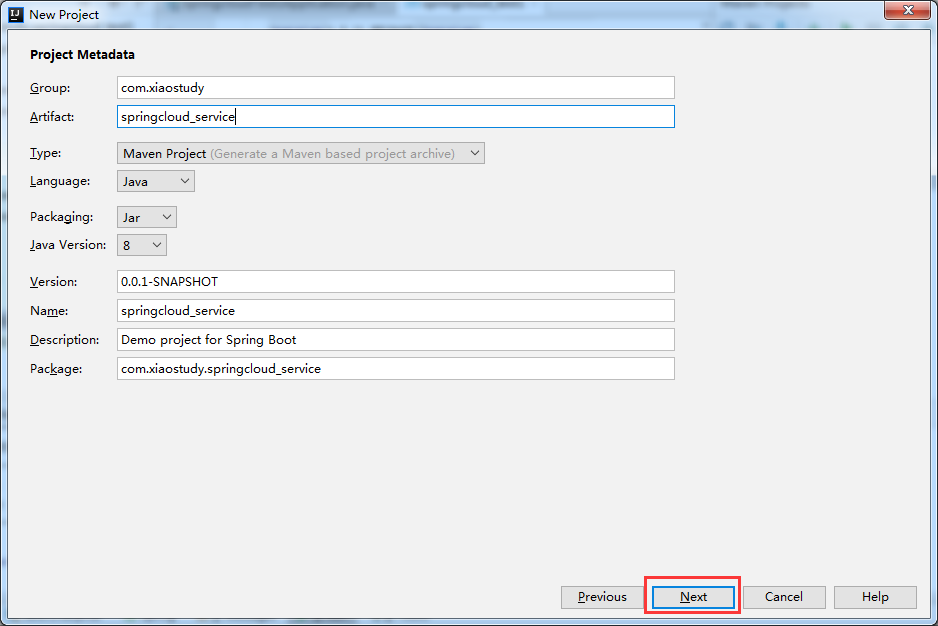
1、新建一个springboot 1.x项目【2.x之上有bug,就没测试】

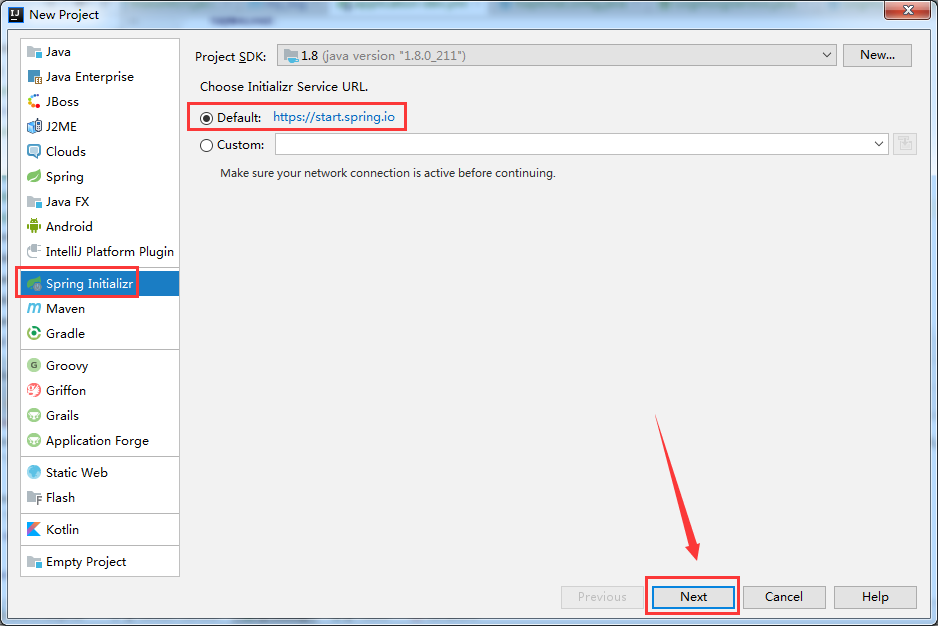
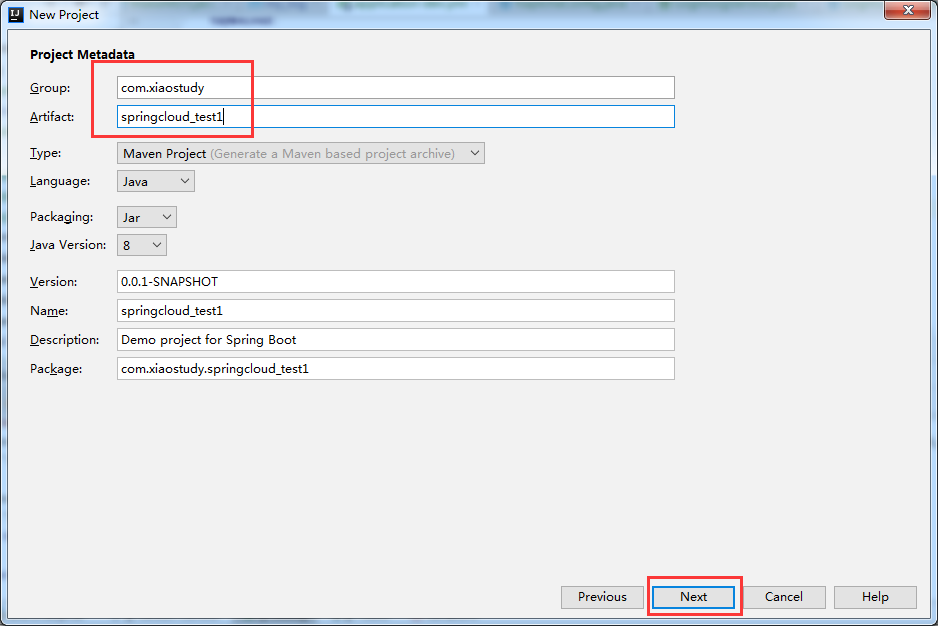
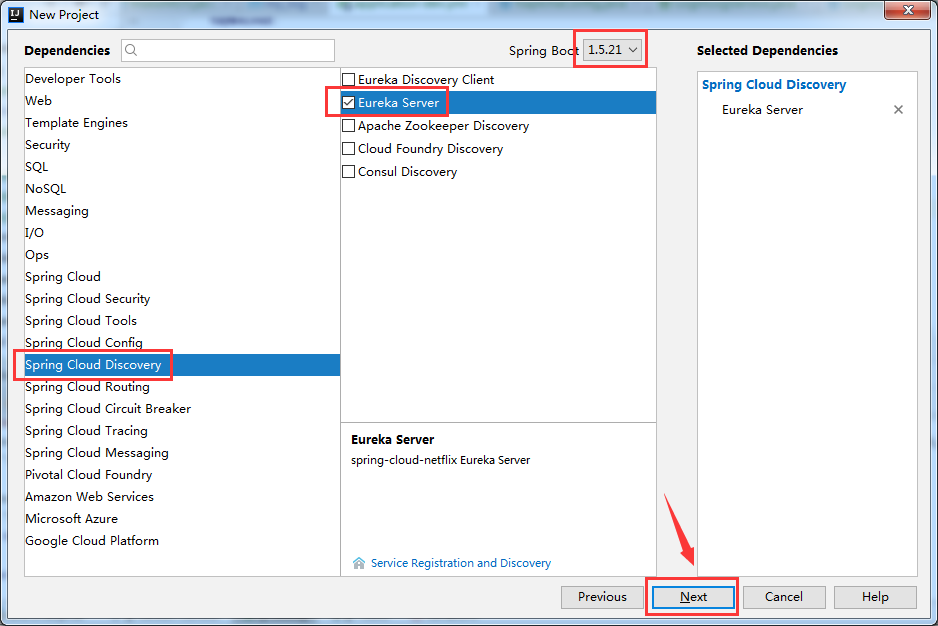
就是新建一个注册中心
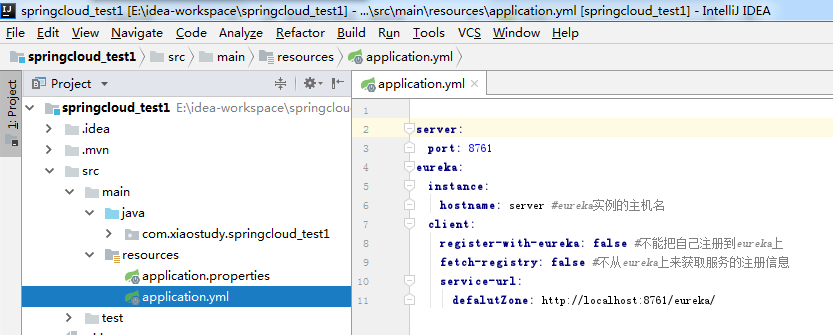
2、等下载完,注册中心配置application.yml
server:
  port: 8761
eureka:
  instance:
    hostname: server #eureka实例的主机名
  client:
    register-with-eureka: false #不能把自己注册到eureka上
    fetch-registry: false #不从eureka上来获取服务的注册信息
    service-url:
      defalutZone: http://localhost:8761/eureka/
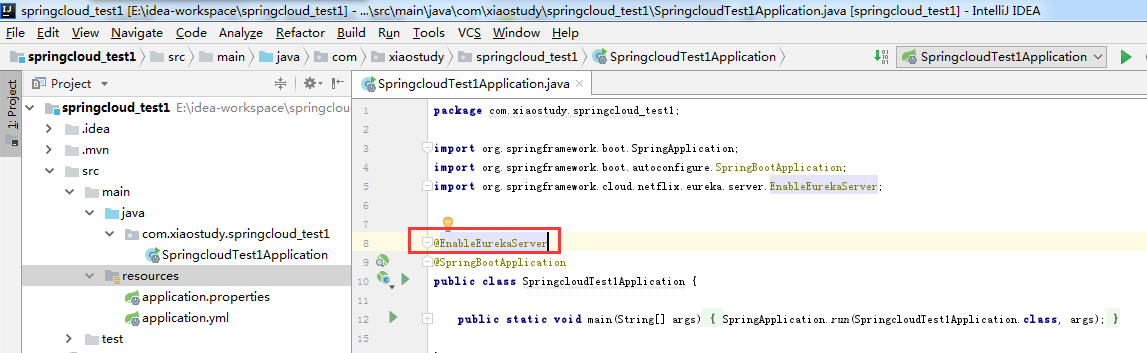
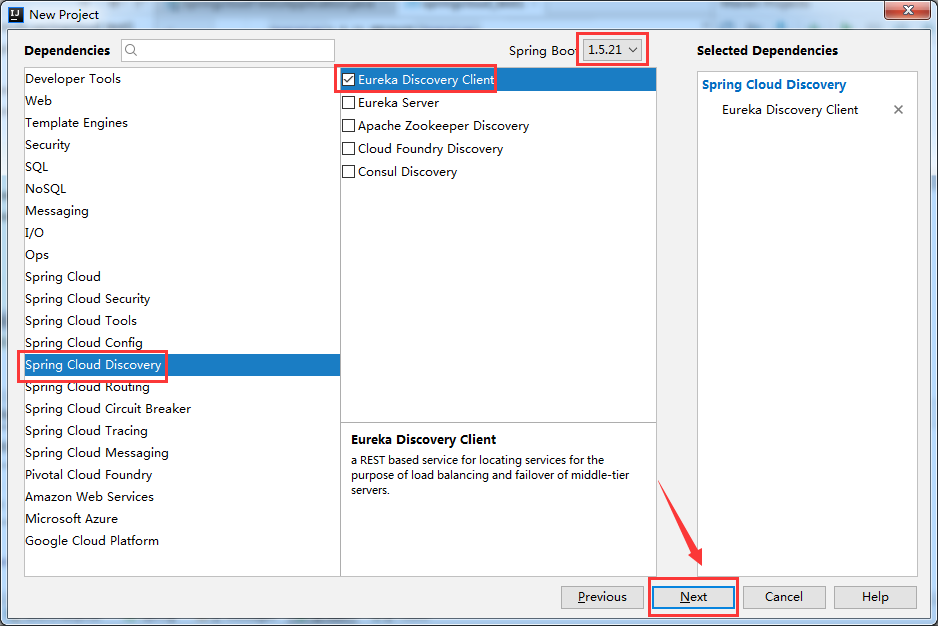
3、注册中心主程序添加@EnableEurekaServer【org.springframework.cloud.netflix.eureka.server.EnableEurekaServer;】
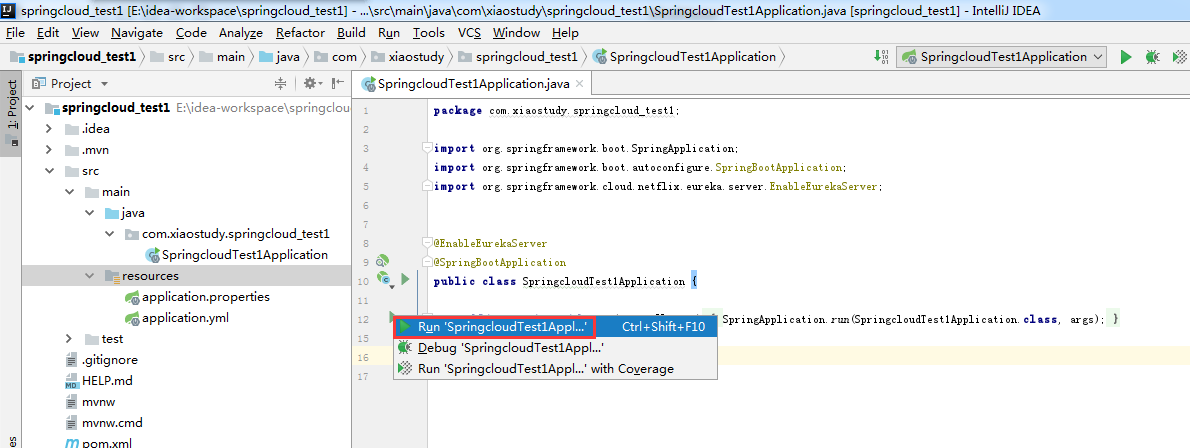
4、运行注册中心
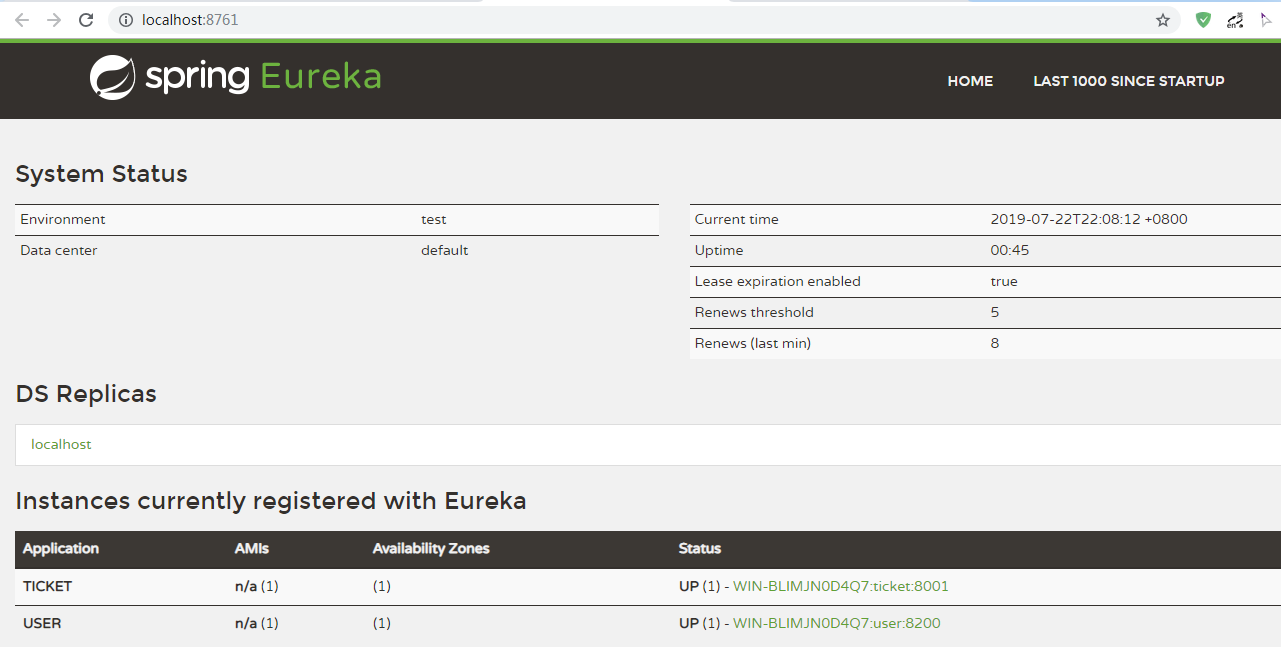
5、访问http://localhost:8761/
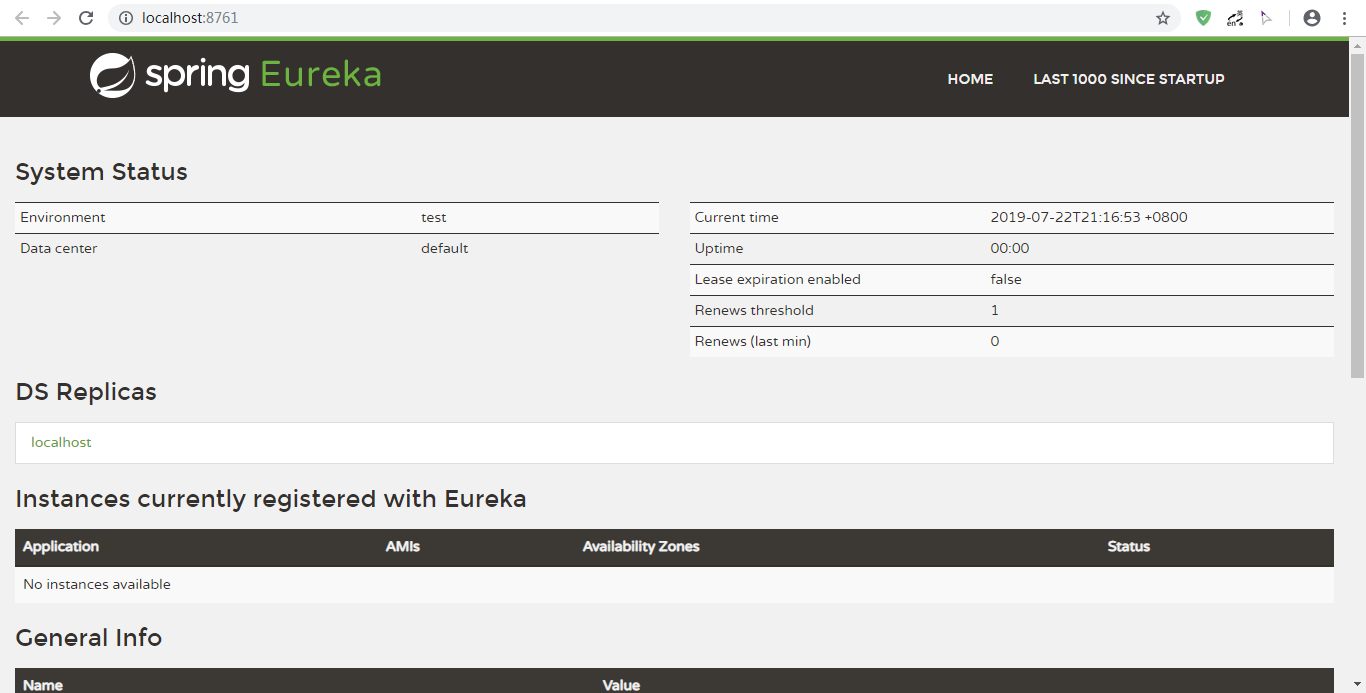
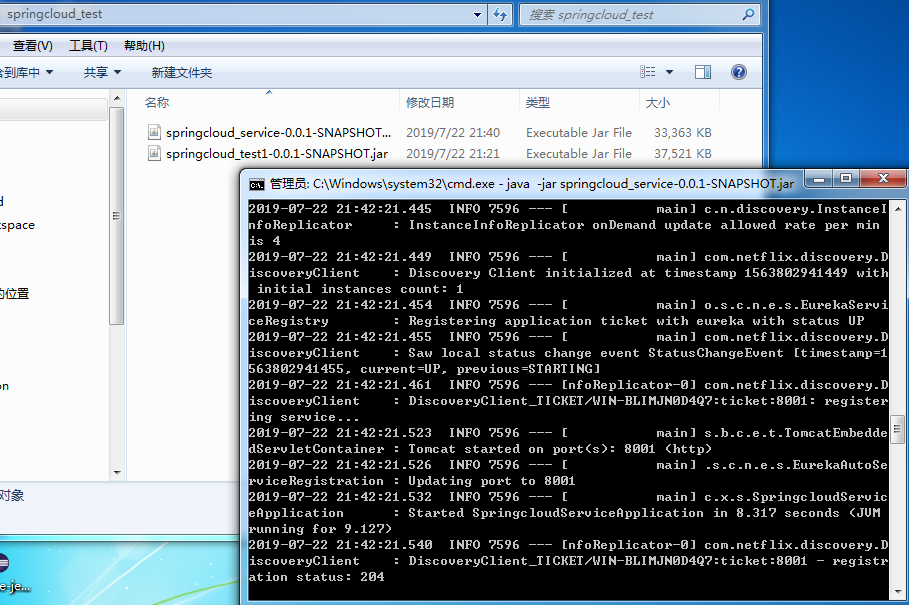
为了方便测试,这里把注册中心打包成可运行的jar,单独运行,不占用idea

6、新建一个服务提供者
7、服务提供者的application.yml
server:
  port: 8001

spring:
  application:
    name: ticket

eureka:
  instance:
    prefer-ip-address: true #注册服务的时候使用服务的ip地址
  client:
    service-url:
      defalutZone: http://localhost:8761/eureka/

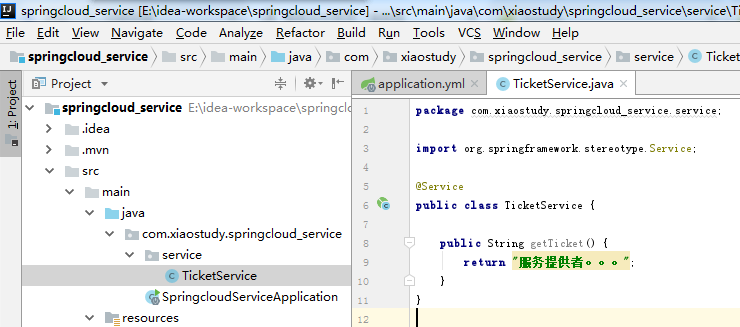
8、写一个service【TicketService.java】
package com.xiaostudy.springcloud_service.service;

import org.springframework.stereotype.Service;

@Service
public class TicketService {

    public String getTicket() {
        return "服务提供者。。。";
    }
}
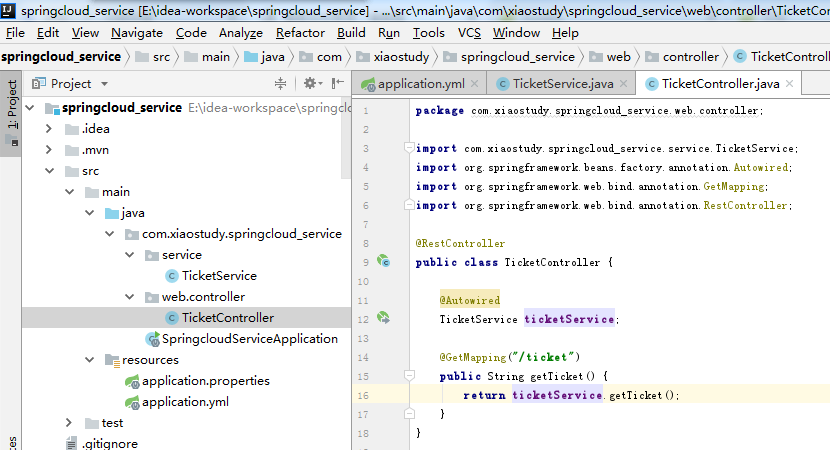
9、写一个controller【TicketController.java】
package com.xiaostudy.springcloud_service.web.controller;

import com.xiaostudy.springcloud_service.service.TicketService;
import org.springframework.beans.factory.annotation.Autowired;
import org.springframework.web.bind.annotation.GetMapping;
import org.springframework.web.bind.annotation.RestController;

@RestController
public class TicketController {

    @Autowired
    TicketService ticketService;

    @GetMapping("/ticket")
    public String getTicket() {
        return ticketService.getTicket();
    }
}
10、运行服务提供者

11、访问http://localhost:8001/ticket
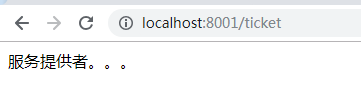
正常,也可以去注册中心看

同样,为了方便测试,把服务也打包成jar,单独运行,不占用idea
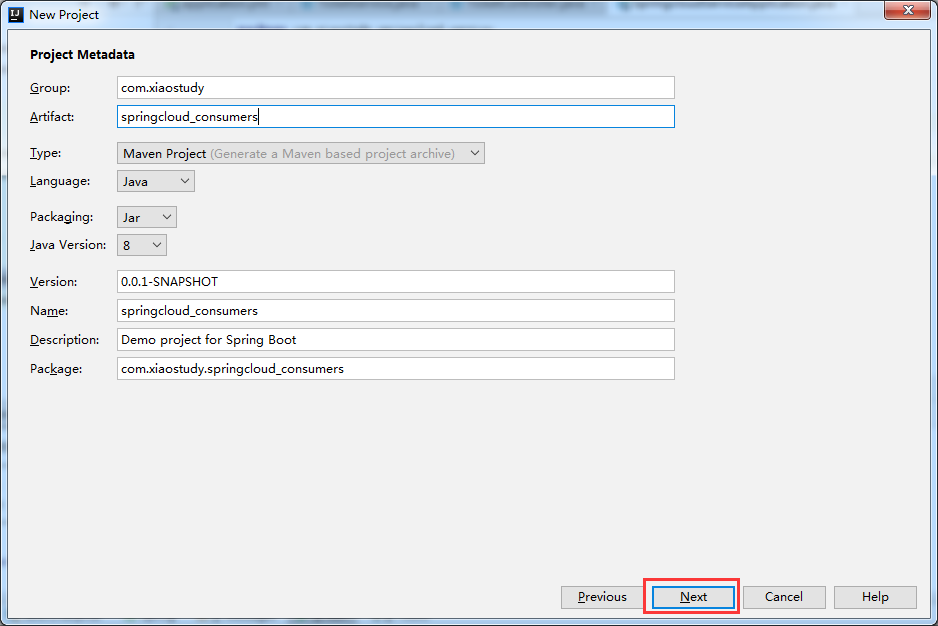
12、新建一个消费者


13、消费者的application.yml
server:
  port: 8200

spring:
  application:
    name: user

eureka:
  instance:
    prefer-ip-address: true #注册服务的时候使用服务的ip地址
  client:
    service-url:
      defalutZone: http://localhost:8761/eureka/
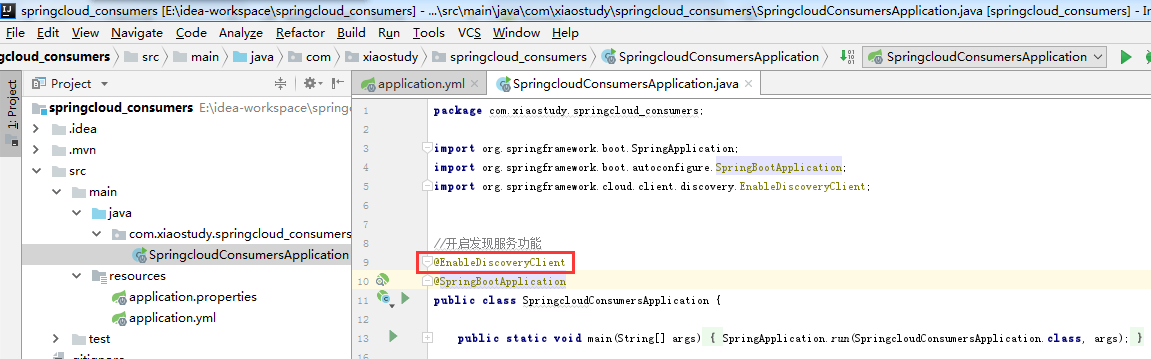
14、消费者主程序添加
//开启发现服务功能
@EnableDiscoveryClient
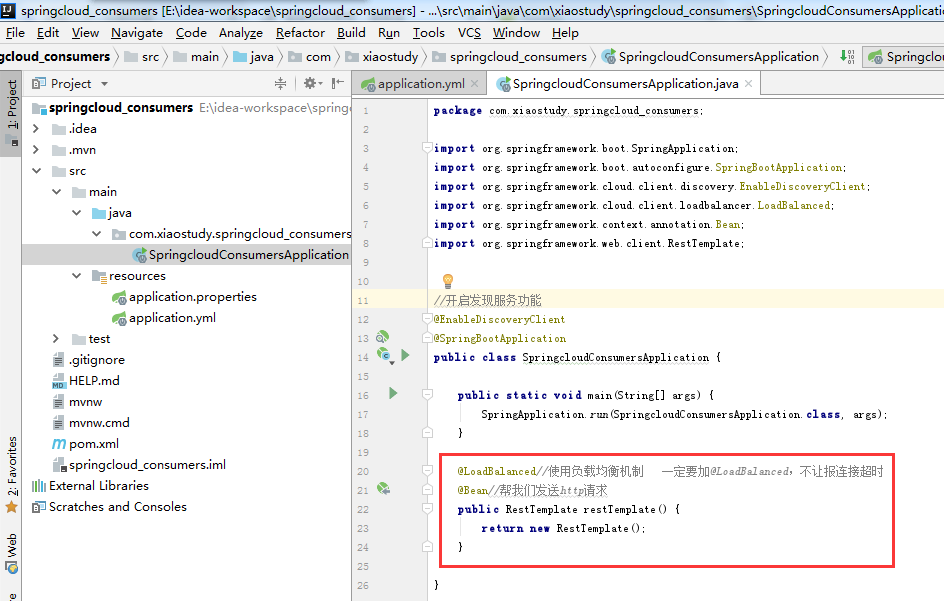
再添加
@LoadBalanced//使用负载均衡机制   一定要加@LoadBalanced,不让报连接超时
@Bean//帮我们发送http请求
public RestTemplate restTemplate() {
    return new RestTemplate();
}
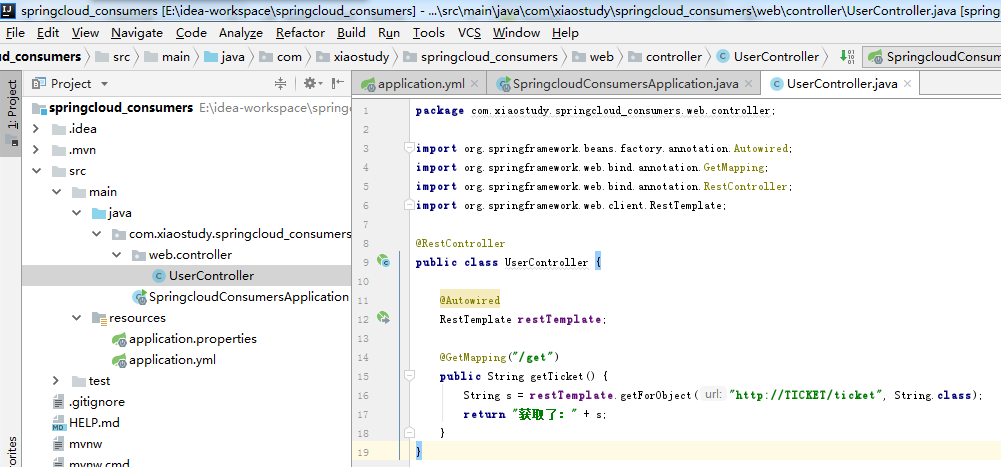
15、消费者新建一个controller【UserController.java】
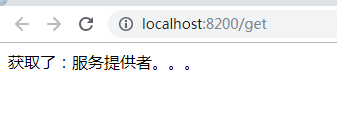
package com.xiaostudy.springcloud_consumers.web.controller;

import org.springframework.beans.factory.annotation.Autowired;
import org.springframework.web.bind.annotation.GetMapping;
import org.springframework.web.bind.annotation.RestController;
import org.springframework.web.client.RestTemplate;

@RestController
public class UserController {

    @Autowired
    RestTemplate restTemplate;

    @GetMapping("/get")
    public String getTicket() {
        String s = restTemplate.getForObject("http://TICKET/ticket", String.class);
        return "获取了:" + s;
    }
}
16、消费者运行

已经启动了

17、访问http://localhost:8200/get
注册中心上也可以看到
到此,一个简单springcloud例子完成
springboot2.1.6用以上方法也可行。
springboot2.x以上可能后面测试