最近在看spring实战,准备先搭建一个hello world出来!。网上的教程或多或少不靠谱,下面是我的步骤。
操作环境说明
操作系统: win10
ide版本: 2017.2
开发过程
本文原始的版本是在个人学习写的,所以很多东西写的不够详细。
本次重新归纳总结,下面开始具体操作:
创建项目
创建一个empty project
File -> new -> project -> empty project
创建module
说明一下,在实际开发中我们喜欢一个项目一个project,但是学习之中,为了方便来回切换,所以我们每一个demo都写成module的形式。
创建 module(在此之前需要创建entity project)
在新版本中,会提示你是下载勾选的mvc的依赖。

然后填写module名 点击确认 module创建完毕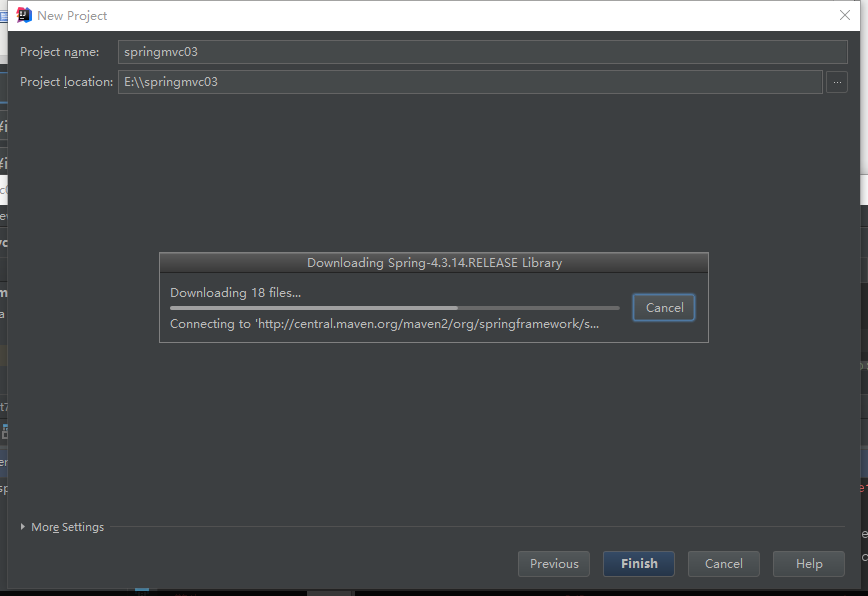
结构预览并修改配置
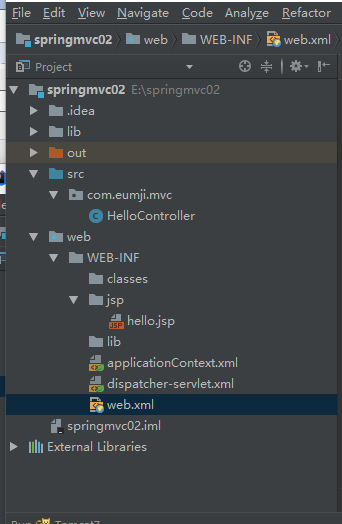
在module的web-WEB-INF下新建 classes和lib文件夹(新版本中的lib在根目录下)

IDEA默认是不会像eclipse那样在web-inf下生成lib文件夹和classes文件夹的的,需要我们手动的创建,并将我们根目录下的lib目录下的内容复制到web-inf/lib文件夹内。
回到主界面,配置tomcat 点击run->edit configurations‘ 
点绿色的十字图标 创建tomcat并配置

选择自己的tomcat位置
点击deployment -> 绿色+号 -> 选择我们的项目


(小插曲)如果没有artifact的话请百度,如果artifact在运行中报错的话见下
打开file->projectstructure->artifact,将available element加入到左边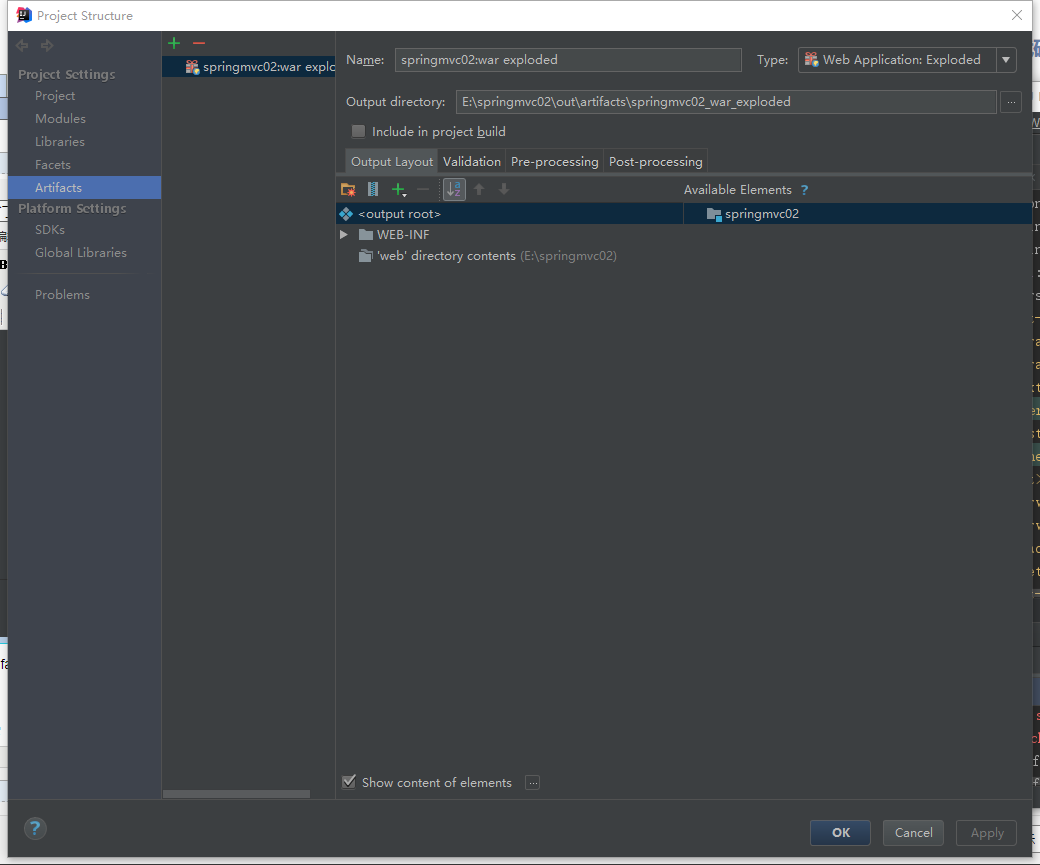
代码编写
-
web,xml
<?xml version="1.0" encoding="UTF-8"?>
<web-app xmlns="http://xmlns.jcp.org/xml/ns/javaee"
         xmlns:xsi="http://www.w3.org/2001/XMLSchema-instance"
         xsi:schemaLocation="http://xmlns.jcp.org/xml/ns/javaee http://xmlns.jcp.org/xml/ns/javaee/web-app_3_1.xsd"
         version="3.1">
    <context-param>
        <param-name>contextConfigLocation</param-name>
        <param-value>/WEB-INF/applicationContext.xml</param-value>
    </context-param>
    <listener>
        <listener-class>org.springframework.web.context.ContextLoaderListener</listener-class>
    </listener>
    <servlet>
        <servlet-name>dispatcher</servlet-name>
        <servlet-class>org.springframework.web.servlet.DispatcherServlet</servlet-class>
        <load-on-startup>1</load-on-startup>
    </servlet>
    <servlet-mapping>
        <servlet-name>dispatcher</servlet-name>
        <url-pattern>/</url-pattern>
    </servlet-mapping>
</web-app>
-
修改dispatcjer-servlet.xml
<?xml version="1.0" encoding="UTF-8"?>
<beans xmlns="http://www.springframework.org/schema/beans"
       xmlns:xsi="http://www.w3.org/2001/XMLSchema-instance"
       xmlns:context="http://www.springframework.org/schema/context"
       xsi:schemaLocation="http://www.springframework.org/schema/beans http://www.springframework.org/schema/beans/spring-beans.xsd http://www.springframework.org/schema/context http://www.springframework.org/schema/context/spring-context.xsd">

    <!--对应src下的报名,需要自己新建-->
    <context:component-scan base-package="com" />

    <bean class="org.springframework.web.servlet.view.InternalResourceViewResolver">
        <property name="prefix">
            <!-- 这个配置是配置JSP页面的位置,按照你自己的配置来配 -->
            <!--jsp文件夹需要自己手动创建-->
            <value>/WEB-INF/jsp/</value>
        </property>
        <property name="suffix">
            <value>.jsp</value>
        </property>

    </bean>

</beans>
3.在jsp目录下新建hello.jsp
<%--
  Created by IntelliJ IDEA.
  User: Ying
  Date: 2018/2/28
  Time: 16:03
  To change this template use File | Settings | File Templates.
--%>
<%@ page contentType="text/html;charset=UTF-8" language="java" %>
<html>
<head>
    <title>hello mvc</title>
</head>
<body>
${msg}
</body>
</html>
4.在src中编写controller类
需要和dispatcher-servlet.xml配置的路径一致
import org.springframework.stereotype.Controller;
import org.springframework.ui.ModelMap;
import org.springframework.web.bind.annotation.RequestMapping;
import org.springframework.web.bind.annotation.RequestMethod;

@Controller
public class HelloController {
    @RequestMapping(value = "/hello",method = RequestMethod.GET)
        public String printWelcome(ModelMap model) {
        model.addAttribute("msg","Spring 3 MVC hello world");
        return "hello";
    }
}
5.点击右上角的绿色三角形进行运行,最后进行测试

第一个小demo到此结束!