一、部署说明
1、python语言介绍
2、实验环境
实验机器:Vmware虚拟机 8核10G
网卡:桥接模式
系统:centos7.5
防火墙:关闭
Selinux:关闭
网段:192.168.10.0/25
WEB01:192.168.10.42
二、部署流程
Centos7.5 + Nginx + python + Django + uwsgi + mysql来部署网站(服务)。
1、部署Nginx
$ wget http://nginx.org/download/nginx-1.15.5.tar.gz -P /usr/src     # 下载nginx
$ cd /usr/src
$ tar xvf nginx-1.15.5.tar.gz
$ cd nginx-1.15.5
$ yum -y install gcc            # nginx是c写的
$ yum -y install pcre-devel   # url重写用到的包
$ yum -y install zlib  zlib-devel    # 解压缩用到的包
# 配置安装环境
$ ./configure  --prefix=/usr/local/nginx

# 编译源码生成可执行程序  依赖gcc
$ make  -j4
# 安装程序
$ make install

# 启动nginx
$ /usr/local/nginx/sbin/nginx
# 访问nginx首页
$ elinks http://192.168.10.42 -dump
# 当前系统监听tcp端口的进程
$ netstat -ntpl

# 删除不再需要的源码
$ rm -rf nginx-1.15.5
2、Mysql安装部署
Mysql是一个关系型数据库,由瑞典的AB公司开发,后卖给oracle公司,目前分为商业版和社区版。
现在主要是使用两大Myql版本:mysql5和mysql8。目前大多数公司使用5版本,因此在这里使用5.7的最新版本。
# 1.安装依赖包
$ yum -y install ncurses-devel gcc-* bzip2-* bison

# 2.升级cmake工具
# 软件获取:https://cmake.org/download
$ wget https://cmake.org/files/v3.13/cmake-3.13.0-rc2.tar.gz
$ tar xf cmake-3.13.0-rc2.tar.gz   # 解压
$ ./configure     # 配置
$ make -j4        # 多核编译减少等待时间
$ make install   # 安装
# 检查是否安装完成
$ cmake --version

# 3. 升级boost库文件
# boost库获取:https://www.boost.org
# 由于这里是安装5.7的mysql,因此下载的是boost_1_59_0.tar.bz2
$ tar xf boost_1_59_0.tar.bz2    # 解压
$ mv boost_1_59_0   /usr/local/boost
在上面部署准备完成后,开始执行mysql安装
# 4.安装mysql
# 添加用户与组
$ useradd -s /sbin/nologin -r mysql
$ mkdir -pv /usr/local/mysql/data

# 软件获取:https://www.oracle.com=>下载=>myql=>社区版本,此处下载mysql-5.7.24.tar.gz
# wget https://cdn.mysql.com//Downloads/MySQL-5.7/mysql-5.7.24-linux-glibc2.12-x86_64.tar.gz

$ tar xf mysql-5.7.24.tar.gz      # mysql解压

# 用cmake配置
# 如果配置失败要重新配置,删除CMakeCache.txt文件即可
$ cmake .
    -DCMAKE_INSTALL_PREFIX=/usr/local/mysql
    -DMYSQL_DATADIR=/usr/local/mysql/data/
    -DMYSQL_UNIX_ADDR=/usr/local/mysql/mysql.sock
    -DWITH_INNBASE_STORAGE_EGNINE=1
    -DWITH_MYISAM_STORAGE_ENGINE=1
    -DENABLED_LOCAL_INFILE=1
    -DEXTRA_CHARSETS=all -DDEFAULT_CHARSET=utf-8 -DDEFAULT_COLLATION=utf8_general_ci
    -DWITH_DEBUG=0
    -DWITH_EMBEDDED_SERVER=1
    -DDOWNLOAD_BOOST=1 -DENABLE_DOWNLOADS=1 -DWITH_BOOST=/usr/local/boost

# 解释
$ cmake .
    -DCMAKE_INSTALL_PREFIX=/usr/local/mysql     # 指定安装路径
    -DMYSQL_DATADIR=/usr/local/mysql/data/     # 指定数据目录
    -DMYSQL_UNIX_ADDR=/usr/local/mysql/mysql.sock    # 指定sock文件路径
    -DWITH_INNBASE_STORAGE_EGNINE=1     # 安装Innodb存储引擎
    -DWITH_MYISAM_STORAGE_ENGINE=1       # 安装myisam存储引擎
    -DENABLED_LOCAL_INFILE=1     # 运行使用Load data命令从本地导入数据
    -DEXTRA_CHARSETS=all -DDEFAULT_CHARSET=utf-8 -DDEFAULT_COLLATION=utf8_general_ci    # 安装所有字符集、默认字符集utf-8、检验字符
    -DWITH_DEBUG=0     # 关闭debug
    -DWITH_EMBEDDED_SERVER=1      # 生成一个libmysqld.a(.so)的库,这个库同时集成了mysql服务与客户端API
    -DDOWNLOAD_BOOST=1 -DENABLE_DOWNLOADS=1 -DWITH_BOOST=/usr/local/boost   # 运行boost    允许下载boost库文件

# 编译
$ make -j4
# 安装
$ make install

# 5.启动测试
$ cp /usr/local/mysql/support-files/mysql.server /etc/init.d/mysql
$ chmod 755 /etc/init.d/mysql   # 赋权限
$ useradd -s /sbin/nologin -r mysql    # 添加用户
$ chown mysql:mysql /usr/local/mysql/ -R   # 修改目录权属
# 建立链接
$ ln -sf /usr/local/mysql/bin/*  /usr/bin/
$ ln -sf /usr/local/mysql/lib/*  /usr/lib/
$ ln -sf /usr/local/mysql/libexec/*  /usr/local/libexec
$ ln -sf /usr/local/mysql/share/man/man1/*  /usr/share/man/man1
$ ln -sf /usr/local/mysql/share/man/man8/*  /usr/share/man/man8
$ ln -s /usr/local/mysql/mysql.sock /tmp/mysql.sock

# 修改配置文件 /etc/my.cnf
[mysqld]
basedir=/usr/local/mysql          # mysql软件在哪
datadir=/usr/local/mysql/data   # mysql的数据在哪
socket=/usr/local/mysql/mysql.sock
symbolic-links=0
[mysqld_safe]
log-error=/var/log/mysql.log
pid-file=/var/run/mysql.pid

# 初始化数据库
$ /usr/local/mysql/bin/mysqld --initialize --user=mysql --basedir=/usr/local/mysql/ --datadir=/usr/local/mysqld/data/
# 注意:初始化后会得到一个临时密码

# 启动数据库
$ /etc/init.d/mysql start
$ lsof -i :3306  # 查看端口情况

# 修改密码
$ mysql_secure_installation   # 要使用刚刚得到的临时密码

# 登录数据库
$ mysql -uroot -pabc123
3、python安装
# 下载python包
$ wget https://www.python.org/ftp/python/3.7.1/Python-3.7.1.tar.xz

# python安装
$ tar xf python-3.7.1.tar.xz
$ cd Python-3.7.1
$ yum -y install gcc-* openssl-* libffi-devel sqlite-devel
$ ./configure --prefix=/usr/local/python3
--enable-optimizations --with-openssl=/usr/bin/oponssl # --enable-optimizations是包优化参数
$ make -j4 # 由于有加配置优化,这个步骤会很久
$ make install
# 建立软链
$ ln -s /usr/local/python3/bin/python3 /usr/bin/python3
python的默认安装路径:/usr/local/lib/python3.7
安装测试:
[root@web01 Python-3.7.1]# python3
Python 3.7.1 (default, Oct 27 2018, 22:51:15)
[GCC 4.8.5 20150623 (Red Hat 4.8.5-28)] on linux
Type "help", "copyright", "credits" or "license" for more information.
>>>
>>> exit();
当我们从Python官方网站下载并安装好Python 3.7后,我们就直接获得一个官方版本的解释 :CPython。
4、升级pip
pip是python包管理工具,该工具提供对python包的查找、下载、安装、卸载功能。由于我们下载了最新的python,因此需要更新pip。
$ ln -s /usr/local/python3/bin/pip3 /usr/bin/pip3
$ pip3 install --upgrade pip
如果出现报错:pip is configured with locations that require TLS/SSL,however the ssl module in Python is not available.
需要修改 ~/Python-3.7.1/Modules/Setup文件,将注释去除。
211 SSL=/usr/local/ssl
212 _ssl _ssl.c
213         -DUSE_SSL -l$(SSL)/include -l$(SSL)/include/openssl
214         -L$(SSL)/lib -lssl -lcrypto
然后重新执行make && make install。
5、安装python虚拟环境
virtualenv 是一个创建隔绝的Python环境的工具。
virtualenv创建一个包含所有必要的可执行文件的文件夹,用来使用 Python 工程所需的包。
[root@web01 ~]# pip3 install virtualenv
6、使用虚拟环境及安装django
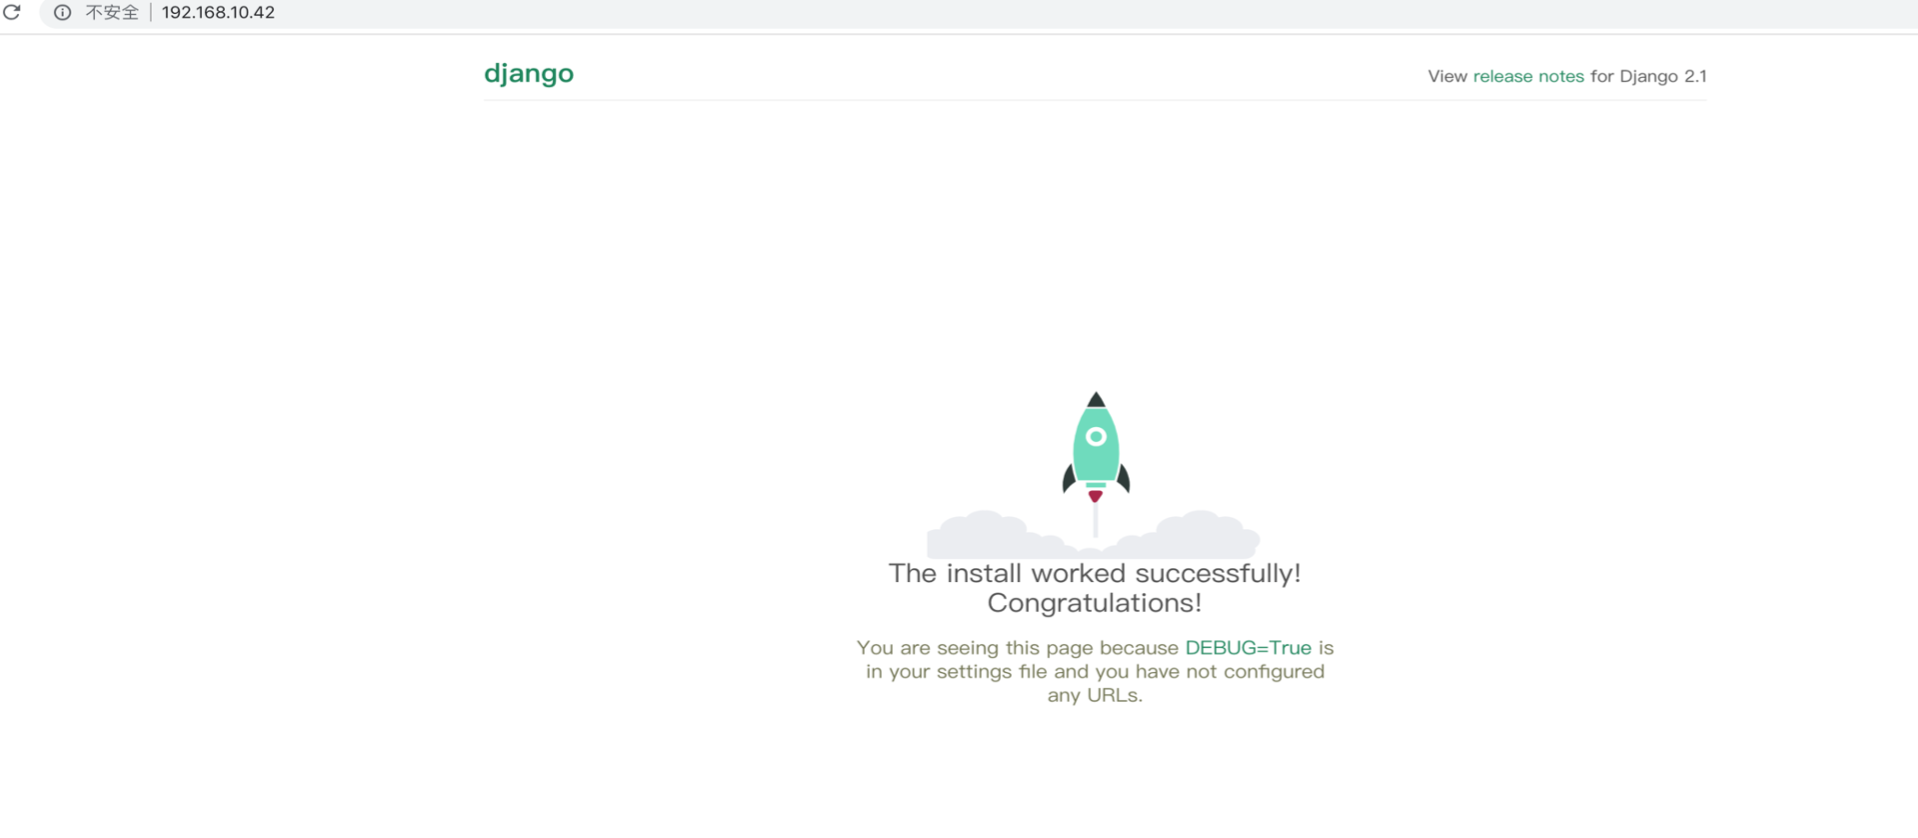
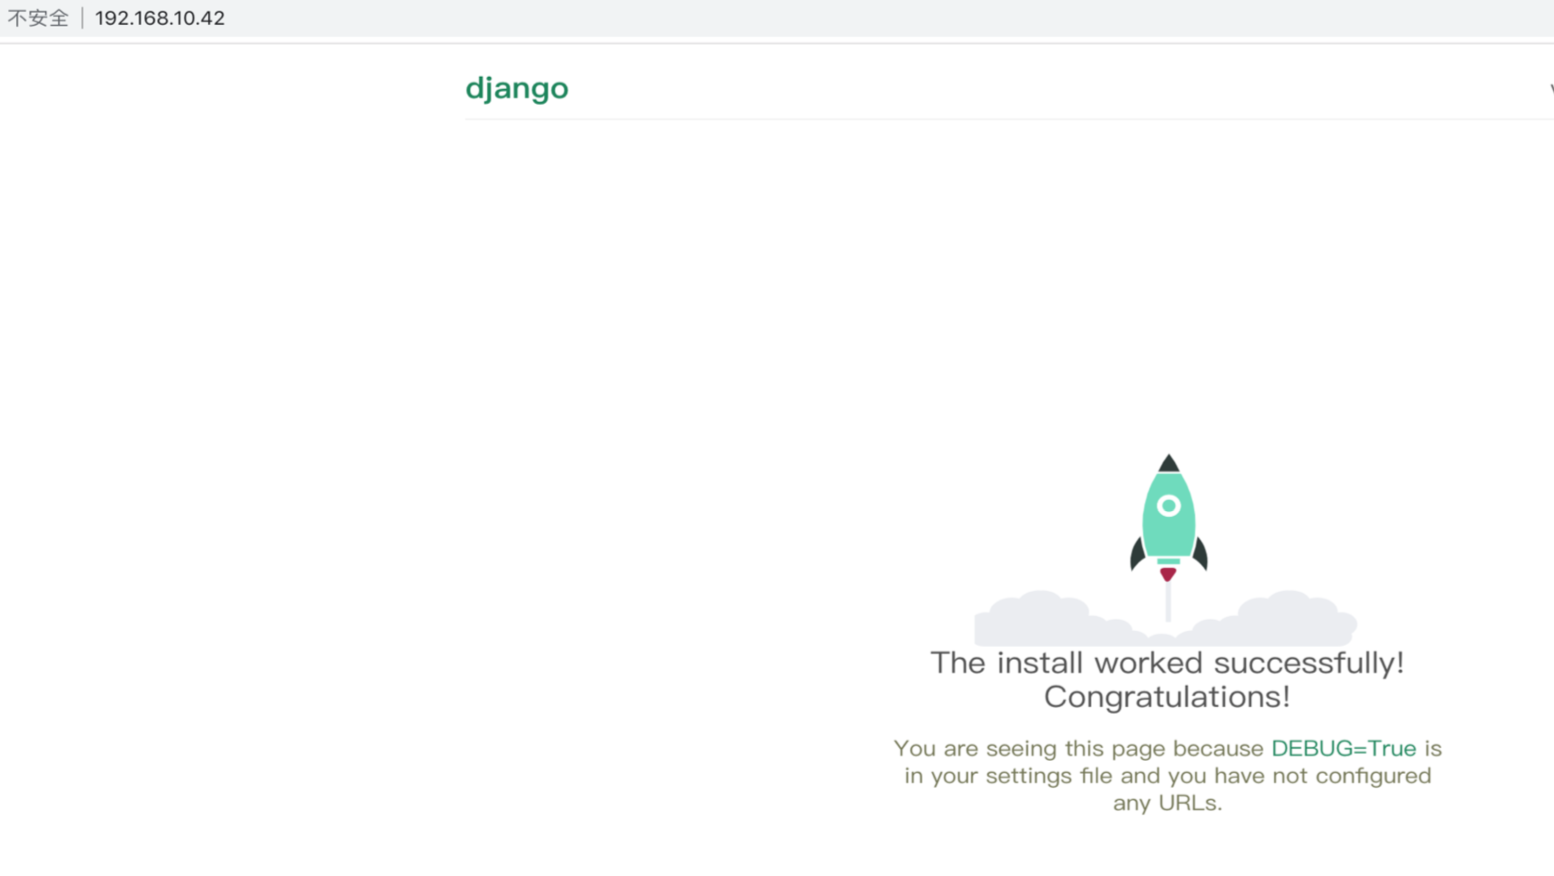
[root@web01 ~]# virtualenv web01   # 创建环境
[root@web01 ~]# source web01/bin/activate    # 环境生效

# 前面带有(web01)说明在环境中
(web01) [root@web01 ~]# pip3 install django
# 用django新建一个项目
(web01) [root@web01 ~]#django-admin.py startproject myweb
# django启动
(web01) [root@web01 ~]#python3 manage.py runserver 192.168.10.42:8000
# 修改ALLOWED_HOSTS
(web01) [root@web01 ~]# vim myweb/settings.py
    ALLOWED_HOSTS = ['*']
此时在网站上可以看到django初始页面:
三、发布WEB
1、业务逻辑图

2、安装uwsgi
uwsgi是服务器和服务端应用程序的通信协议,规定了怎么把请求转发给应用程序和返回。
uWSGI是一个Web服务器,它实现了WSGI协议、uwsgi、http等协议。Nginx中HttpUwsgiModule的作用是与uWSGI服务器进行交换。
nginx 和 uWSGI交互就必须使用同一个协议,而上面说了uwsgi支持fastcgi、uwsgi、http协议,这些都是nginx支持的协议,只要大家沟通好使用哪个协议,就可以正常运行了。
[root@web01 ~]# pip3 install uwsgi
# 运行uwsgi 报错:[uwsgi: command not found] 解决方案:建立软链接
[root@web01 ~]# ln -s /usr/local/python3/bin/uwsgi /usr/bin/uwsgi
(1)编辑uwsgi配置文件
[root@web01 ~]# mkdir /etc/uwsgi
[root@web01 ~]# vim /etc/uwsgi/uwsgi.ini
[uwsgi]
chdir=/home/huangqs/EduCRM
module=EduCRM.wsgi:application
socket=127.0.0.1:7070
wsgi-file=EduCRM/wsgi.py
master=true       //主进程
reload-mercy=10
processes=4
threads=2
vacuum=true         // 退出、重启时清理文件
max-requests=1000
limit-as=512
pidfile=/var/run/uwsgi7070.pid
daemonize=/var/log/uwsgi7070.log
home=/home/huangqs/educrm_env
(2)启动uwsgi
[root@web01 ~]# uwsgi --ini /etc/uwsgi/uwsgi.ini
(3)关闭uwsgi
[root@web01 ~]# cat /var/run/uwsgi7070.pid
101446
[root@web01 ~]# kill -9 101446
3、uwsgi服务脚本管理
(1)定制uwsgi管理脚本
vim /etc/init.d/uwsgi ,init脚本内容如下所示:
#! /bin/sh
  DESC="uwsgi daemon"
  NAME=uwsgi
  DAEMON=/usr/bin/uwsgi          #指向uwsgi的命令路径
  CONFFILE=/etc/uwsgi/$NAME.ini   #uwsgi.ini配置文件路径
  PIDFILE=/var/run/${NAME}7070.pid     #pid文件路径
  SCRIPTNAME=/etc/init.d/$NAME   #启动脚本路径
  FIFOFILE=/tmp/uwsgififo
  set -e
  [ -x "$DAEMON" ] || exit 0

  do_start() {
    if [ ! -f $PIDFILE ];then
      $DAEMON $CONFIGFILE || echo -n “uwsgi running”
    else
      echo "The PID is exist..."
    fi
  }

  do_stop() {
  if [ -f $PIDFILE ];then
    $DAEMON --stop $PIDFILE || echo -n "uwsgi not running"
    rm -f $PIDFILE
    echo "$DAEMON STOPED."
  else
    echo "The $PIDFILE doesn't found."
  fi
  }

    do_reload() {
  if [ -p $FIFOFILE ];then
      echo w > $FIFOFILE
  else
      $DAEMON --touch-workers-reload $PIDFILE || echo -n "uwsgi can't reload"
  fi
  }

  do_status() {
      ps aux|grep $DAEMON
  }

  case "$1" in
  status)
      echo -en "Status $NAME:
"
      do_status
  ;;
  start)
      echo -en "Starting $NAME:
"
      do_start
  ;;
  stop)
      echo -en "Stopping $NAME:
"
      do_stop
  ;;
  reload|graceful)
      echo -en "Reloading $NAME:
"
      do_reload
  ;;
  *)
      echo "Usage: $SCRIPTNAME {start|stop|reload}" >&2
      exit 3
  ;;
  esac
  exit 0
(2)脚本配置和使用
#授权
[root@home-ct75211 html]# chmod 755 /etc/init.d/uwsgi

#关闭
[root@home-ct75211 html]# /etc/init.d/uwsgi stop
Stopping uwsgi:
/usr/local/bin/uwsgi STOPED.
#启动
[root@home-ct75211 html]# /etc/init.d/uwsgi start
Starting uwsgi:
[uWSGI] getting INI configuration from /etc/uwsgi/uwsgi.ini

#查看
[root@home-ct75211 html]# netstat -ntpl
Active Internet connections (only servers)
Proto Recv-Q Send-Q Local Address           Foreign Address         State       PID/Program name
tcp        0      0 127.0.0.1:21190         0.0.0.0:*               LISTEN      26572/uwsgi
tcp        0      0 0.0.0.0:80              0.0.0.0:*               LISTEN      26560/nginx: master
tcp        0      0 0.0.0.0:22              0.0.0.0:*               LISTEN      1081/sshd
tcp        0      0 127.0.0.1:25            0.0.0.0:*               LISTEN      1380/master
tcp6       0      0 :::3306                 :::*                    LISTEN      2425/mysqld
tcp6       0      0 :::22                   :::*                    LISTEN      1081/sshd
tcp6       0      0 ::1:25                  :::*                    LISTEN      1380/master
(3)设置开机启动
$ chkconfig --add /etc/init.d/uwsgi
# 'service uwsgi does not support chkconfig' 如果出现了这样的报错,是因为添加脚本用service启动,必须要脚本里面包含这2行:
# chkconfig: - 85 15
# description: nginx is a World Wide Web server. It is used to serve

$ cd /etc/init.d
$ chkconfig --level 2345 uwsgi on
$ chkconfig --list

Note: This output shows SysV services only and does not include native
      systemd services. SysV configuration data might be overridden by native
      systemd configuration.

      If you want to list systemd services use 'systemctl list-unit-files'.
      To see services enabled on particular target use
      'systemctl list-dependencies [target]'.

jenkins            0:off    1:off    2:on    3:on    4:on    5:on    6:off
jexec              0:off    1:on     2:on    3:on    4:on    5:on    6:off
netconsole         0:off    1:off    2:off   3:off   4:off   5:off   6:off
network            0:off    1:off    2:on    3:on    4:on    5:on    6:off
uwsgi              0:off    1:off    2:on    3:on    4:on    5:on    6:off
4、nginx服务配置
nginx服务网站页面目录默认在/root/myweb目录下,但是/root目录权限不足,需要将应用目录换地方:
$ ls -ld /root/
dr-xr-x--- .   10  root  root  4096  10月  28  07:55  /root/
$ mv /root/myweb  /usr/local/nginx/html
修改默认配置文件:/usr/local/nginx/conf/nginx.conf
http {
    include       mime.types;
    default_type  application/octet-stream;
    sendfile        on;
    keepalive_timeout  65;
    server {
        listen       8000;
        server_name  localhost;

        location / {
            include uwsgi_params;
            uwsgi_pass 127.0.0.1:7070;                       // 必须与uwsgi配置一致
            uwsgi_param UWSGI_CHDIR /home/huangqs/EduCRM;    // 项目根目录
            uwsgi_param UWSGI_SCRIPT EduCRM.EduCRM.wsgi;     // 入口文件,即wsgi.py相对项目根目录的位置
            index  index.html index.htm;
            client_max_body_size 35m;
        }
        location /static {
            alias /home/huangqs/EduCRM/statics;
        }
    }
}
四、测试WEB
重启uwsgi和启动nginx:
$ /etc/init.d/uwsgi stop
$ /etc/init.d/uwsgi start
$ netstat -ntpl    # 查看服务状态

$ /usr/local/nginx/sbin/nginx   # 启动nginx
访问查看页面: