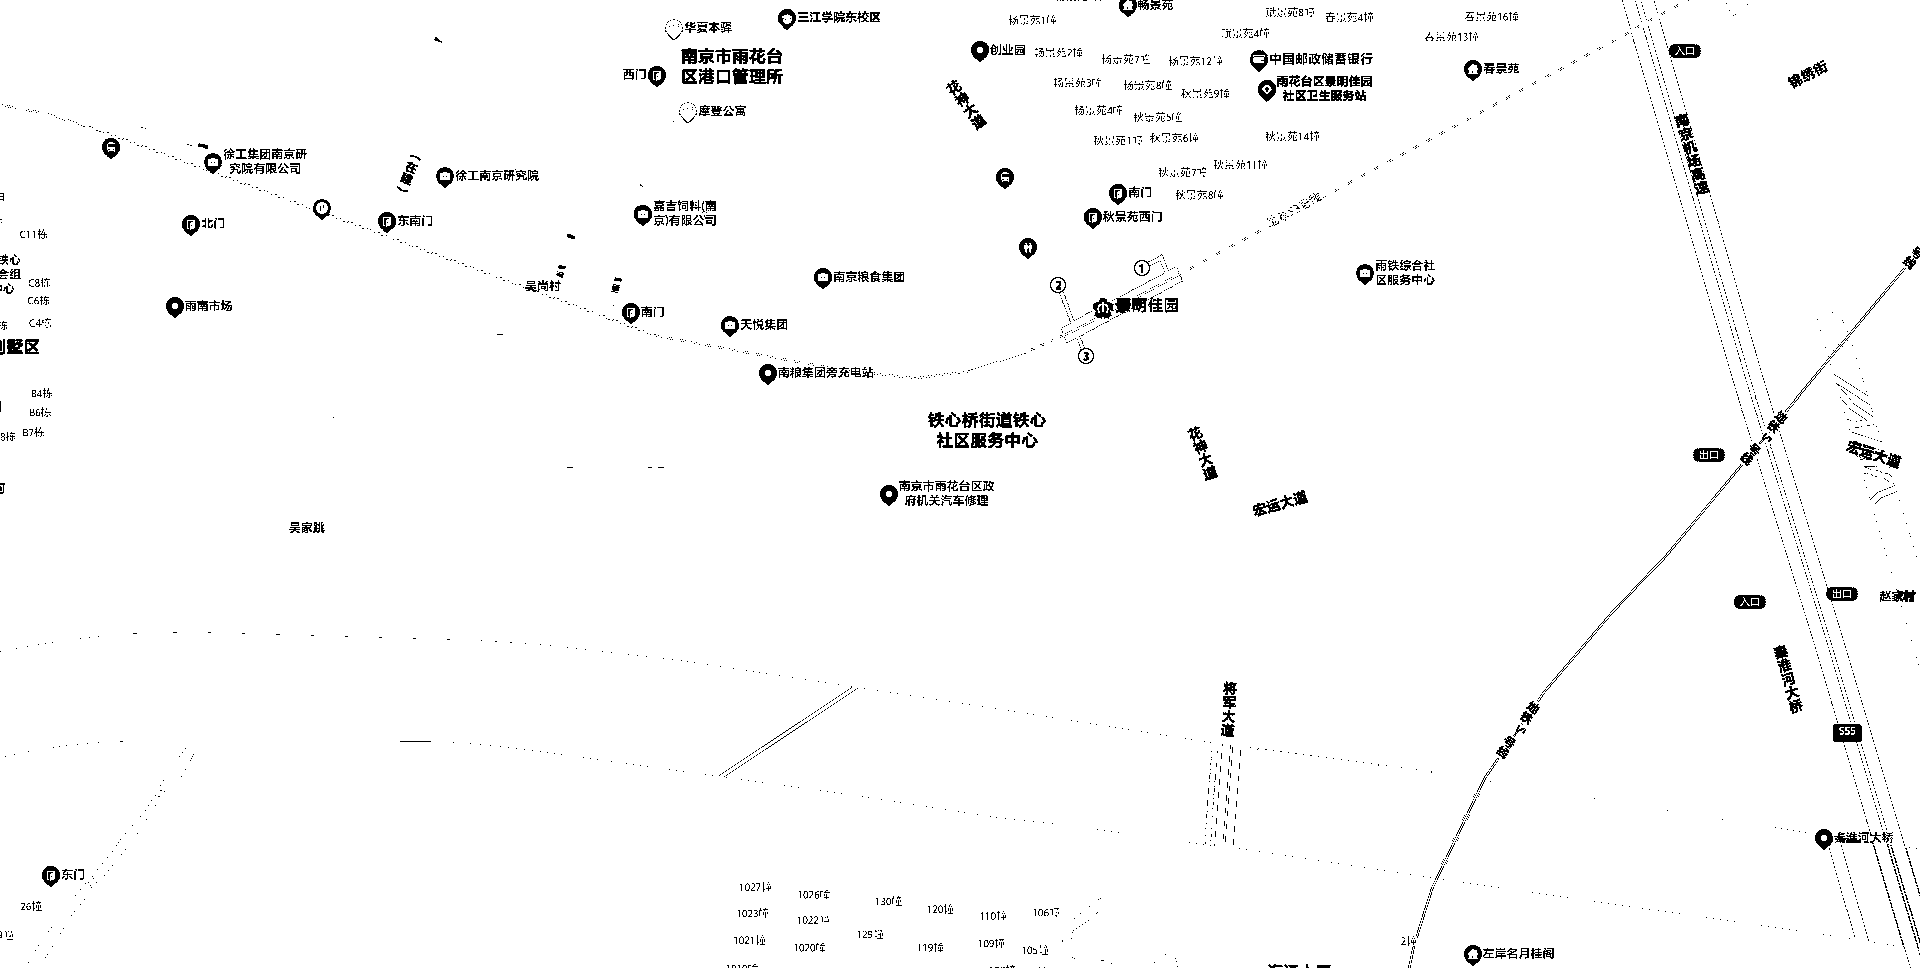
先来c#的,

        private void button1_Click(object sender, EventArgs e)
        {
            var fileName = @"d:Screenshot4.jpg";
            fileName = @"d:Screenshot6.png";
            //mat = new Mat(fileName);
            //pictureBox1.SizeMode = PictureBoxSizeMode.Zoom;
            //pictureBox1.Image = mat.ToBitmap();


            var img = Cv2.ImRead(fileName);
            var pos = detect(img);
            foreach (var p in pos)
            {
                Debug.WriteLine(p);
            }

        }


        private List<OpenCvSharp.Point> detect(Mat img)
        {
            var pos = new List<OpenCvSharp.Point>();
            //1.转化成灰度图
            Mat gray = img.CvtColor(ColorConversionCodes.BGR2GRAY);
            //Cv2.CvtColor(img, gray, ColorConversionCodes.BGR2GRAY);
            //2. 形态学变换的预处理,得到可以查找矩形的图片
            Mat dilation = preprocess(gray);
            //3. 查找和筛选文字区域
            var region = findTextRegion(dilation);
            //4. 用绿线画出这些找到的轮廓
            var nrootdir = @"d:/cut_image/";
            var nrootdir2 = @"d:/cut_image2/";
            int i = 0;
            int j = 1;
            foreach (var item in region)
            {
                var newimage=img[item.Y>0?item.Y:0,  item.Y+item.Height,    item.X>0?item.X:0, item.X+item.Width];
                //放大4倍
                Mat img_gray = new Mat();
                //var img_gray = img.Resize(newimage.Size(), 4, 4, InterpolationFlags.Nearest);
                OpenCvSharp.Size size = new OpenCvSharp.Size();
                Cv2.Resize(newimage, img_gray, size, 4, 4, InterpolationFlags.Nearest);

                var file_name = nrootdir + i.ToString() + ".jpg";
                Cv2.ImWrite(file_name, newimage);

                var file_sub = "";
                var gray2 = img_gray.CvtColor(ColorConversionCodes.BGR2GRAY);
                var dilation2 = preprocess(gray2);
                var region2 = findTextRegion(dilation2);
                foreach (var item2 in region2)
                {
                    var newimage2 = img_gray[item2.Y>0?item2.Y:0,item2.Y+item2.Height,   item2.X>0?item2.X:0, item2.X+item2.Width];
                    if (newimage2.Size().Width > 0)
                    {
                        file_sub = nrootdir2 + i.ToString() + "-" + j.ToString() + ".jpg";
                        Cv2.ImWrite(file_sub, newimage2);
                        j++;
                        pos.Add(new OpenCvSharp.Point(item.X+item2.X/4+item2.Width/8, item.Y+item2.Y/4+item2.Height/8));
                    }
                }
                //如果第一次检测只有一个文字区域,第二次放大再检测则没有。这样直接复制过去
                if (region2 == null || region2.Count == 0)
                {
                    file_sub = nrootdir2 + i.ToString() + "-0" + ".jpg";
                    Cv2.ImWrite(file_sub, newimage);
                    pos.Add(new OpenCvSharp.Point(item.X+item.Width/2, item.Y+item.Height/2));
                }
                i++;

                //画线
                //img.Rectangle(item, new Scalar(0, 255, 0), 2);
            }

            //Cv2.ImShow("img", img);

            return pos;
        }


        public List<Rect> findTextRegion(Mat dilation)
        {
            List<Rect> region = new List<Rect>();
            // 1. 查找轮廓
            OpenCvSharp.Point[][] contours;
            HierarchyIndex[] hierarchly;
            Rect biggestContourRect = new Rect();

            Cv2.FindContours(dilation, out contours, out hierarchly, RetrievalModes.CComp, ContourApproximationModes.ApproxSimple);

            // 2. 筛选那些面积小的
            int i = 0;
            foreach (OpenCvSharp.Point[] contour in contours)
            {
                double area = Cv2.ContourArea(contour);
                //面积小的都筛选掉
                if (area < 1000 || area> 10000)
                {
                    continue;
                }
                //轮廓近似,作用很小
                double epsilon = 0.001 * Cv2.ArcLength(contour, true);
                RotatedRect rect = Cv2.MinAreaRect(contour);

                //找到最小的矩形
                biggestContourRect = Cv2.BoundingRect(contour);

                if (biggestContourRect.Height > (biggestContourRect.Width * 1.2))
                {
                    continue;
                }
                region.Add(biggestContourRect);
            }
            return region;
            //pictureBox1.Image = mat.ToBitmap();

        }

        private Mat preprocess(Mat gray)
        {
            //1.Sobel算子,x方向求梯度
            Mat sobel = new Mat();
            Cv2.Sobel(gray, sobel, MatType.CV_8U, 1, 0, 3);

            //2.二值化
            Mat binary = new Mat();
            Cv2.Threshold(sobel, binary, 0, 255, ThresholdTypes.Otsu | ThresholdTypes.Binary);

            //3. 膨胀和腐蚀操作的核函数
            Mat element1 = new Mat();
            Mat element2 = new Mat();
            OpenCvSharp.Size size1 = new OpenCvSharp.Size(36, 9);
            OpenCvSharp.Size size2 = new OpenCvSharp.Size(24, 6);

            element1 = Cv2.GetStructuringElement(MorphShapes.Rect, size1);
            element2 = Cv2.GetStructuringElement(MorphShapes.Rect, size2);

            //4. 膨胀一次,让轮廓突出
            Mat dilation = new Mat();
            Cv2.Dilate(binary, dilation, element2);

            //5. 腐蚀一次,去掉细节,如表格线等。注意这里去掉的是竖直的线
            Mat erosion = new Mat();
            Cv2.Erode(dilation, erosion, element1);

            //6. 再次膨胀,让轮廓明显一些
            Mat dilation2 = new Mat();
            Cv2.Dilate(erosion, dilation2, element2, null, 2);
            return dilation2;
        }
python3的,

# coding=utf-8
import cv2
import numpy as np
import os

def preprocess(gray):
    # 1. Sobel算子,x方向求梯度
    sobel = cv2.Sobel(gray, cv2.CV_8U, 1, 0, ksize = 3)
    # 2. 二值化
    ret, binary = cv2.threshold(sobel, 0, 255, cv2.THRESH_OTSU+cv2.THRESH_BINARY)
    # 3. 膨胀和腐蚀操作的核函数
    element1 = cv2.getStructuringElement(cv2.MORPH_RECT, (36, 9))
    element2 = cv2.getStructuringElement(cv2.MORPH_RECT, (24, 6))
    # 4. 膨胀一次,让轮廓突出
    dilation = cv2.dilate(binary, element2, iterations = 1)
    # 5. 腐蚀一次,去掉细节,如表格线等。注意这里去掉的是竖直的线
    erosion = cv2.erode(dilation, element1, iterations = 1)
    # 6. 再次膨胀,让轮廓明显一些
    dilation2 = cv2.dilate(erosion, element2, iterations = 2)
    # # 7. 存储中间图片
    # cv2.imwrite("binary.png", binary)
    # cv2.imwrite("dilation.png", dilation)
    # cv2.imwrite("erosion.png", erosion)
    # cv2.imwrite("dilation2.png", dilation2)
    return dilation2
def findTextRegion(img):
    region = []
    # 1. 查找轮廓
    contours, hierarchy = cv2.findContours(img, cv2.RETR_CCOMP, cv2.CHAIN_APPROX_SIMPLE)
    # 2. 筛选那些面积小的
    for i in range(len(contours)):
        cnt = contours[i]
        # 计算该轮廓的面积
        area = cv2.contourArea(cnt)
        # 面积小的都筛选掉
        if(area < 1000 or area> 10000):  #也过滤太的外框
            continue
        # 轮廓近似,作用很小
        epsilon = 0.001 * cv2.arcLength(cnt, True)
        approx = cv2.approxPolyDP(cnt, epsilon, True)
        # 找到最小的矩形,该矩形可能有方向
        rect = cv2.minAreaRect(cnt)
        # print ("rect is: ",rect)
        # box是四个点的坐标
        box = cv2.boxPoints(rect)
        box = np.int0(box)
        # 计算高和宽
        height = abs(box[0][1] - box[2][1])
        width = abs(box[0][0] - box[2][0])
        # 筛选那些太细的矩形,留下扁的
        if(height > width * 1.2):
            continue
        region.append(box)
    return region

def detect(img):
    # 1.  转化成灰度图
    gray = cv2.cvtColor(img, cv2.COLOR_BGR2GRAY)
    # 2. 形态学变换的预处理,得到可以查找矩形的图片
    dilation = preprocess(gray)
    # 3. 查找和筛选文字区域
    region = findTextRegion(dilation)
    # 4. 用绿线画出这些找到的轮廓
    for box in region:
        cv2.drawContours(img, [box], 0, (0, 0, 0), 2)
    cv2.namedWindow("img", cv2.WINDOW_NORMAL)
    cv2.imshow("img", img)
    cv2.waitKey(0)
    cv2.destroyAllWindows()


    nrootdir=("d:/cut_image/")
    if not os.path.isdir(nrootdir):
        os.makedirs(nrootdir)
    nrootdir2=("d:/cut_image2/")
    if not os.path.isdir(nrootdir2):
        os.makedirs(nrootdir2)

    pos=[]
    idx=1
    for i in range(0,len(region)):
        px, py, w, h = cv2.boundingRect(region[i])
        #print(i,px,py,w,h)

        #cv2.rectangle(img, (x,y), (x+w,y+h), (153,153,0), 5)
        # newimage=img[y+2:y+h-2,x+2:x+w-2] # 先用y确定高,再用x确定宽
        newimage=img[py if py>0 else 0:py+h,px if px>0 else 0:px+w]
        # 放大4倍
        img_gray=cv2.resize(newimage,(0,0),fx=4,fy=4,interpolation=cv2.INTER_NEAREST)
        file_name=nrootdir+str(i)+".jpg"
        cv2.imwrite(file_name, newimage)

        gray2 = cv2.cvtColor(img_gray, cv2.COLOR_BGR2GRAY)
        dilation2 = preprocess(gray2)
        region2 = findTextRegion(dilation2)
        for j in range(0,len(region2)):
            x2, y2, w2, h2 = cv2.boundingRect(region2[j])
            cx = x2+w2/2
            cy = y2+h2/2
            #print(j,x2,y2,w2,h2, (cx, cy))
            newimage2=img_gray[y2 if y2>0 else 0:y2+h2,x2 if x2>0 else 0:x2+w2]
            if newimage2.size>0:
                file_name=nrootdir2+str(idx)+".jpg"
                cv2.imwrite(file_name, newimage2)
                idx+=1
                pos.append((px+cx/4,py+cy/4))
    return pos

    # cv2.imwrite("contours.png", img)
    # cv2.waitKey(0)
    # cv2.destroyAllWindows()


# img = cv2.imread("d:Screenshot1.png")
img = cv2.imread("d:Screenshot4.jpg")
pos=detect(img)
for p in pos:
    print(p)


然后坐标就得到了
(x:1513 y:955)
(x:1036 y:949)
(x:993 y:944)
(x:811 y:947)
(x:751 y:939)
(x:871 y:934)
(x:815 y:920)
(x:754 y:912)
。。。
还有然后。
