安装 vue-gird-layout
https://github.com/jbaysolutions/vue-grid-layout
先跑一遍demo 运行起来。
# install with npm
npm install vue-grid-layout --save
index.vue

 1 <template>
 2   <div class="board" style=" 100%">
 3     <div class="home">
 4       <grid-layout
 5         :layout="layoutData"
 6         :col-num="12"
 7         :row-height="layoutHeight"
 8         :is-draggable="dialogVisible"
 9         :is-resizable="dialogVisible"
10         :is-mirrored="false"
11         :vertical-compact="true"
12         :margin="[10, 10]"
13         :use-css-transforms="true"
14       >
15         <grid-item v-for="(item,index) in layoutData"
16                    :x="item.x"
17                    :y="item.y"
18                    :w="item.w"
19                    :h="item.h"
20                    :i="item.i"
21                    :key="item.i"
22         >
23           {{index}}
24         </grid-item>
25       </grid-layout>
26     </div>
27   </div>
28 </template>
29
30 <script>
31   import layoutData from '@/virtualData/layoutData.json'
32   import VueGridLayout from 'vue-grid-layout'
33
34   const GridLayout = VueGridLayout.GridLayout
35   const GridItem = VueGridLayout.GridItem
36   export default {
37     data() {
38       return {
39         // 布局数据
40         layoutData: [],
41         layoutConfig: {
42           height: 100, // 默认高度
43           dialogVisible: false // 是否可拖拽或改变大小
44         }
45       }
46     },
47     components: {
48       GridLayout,
49       GridItem
50     },
51     methods: {
52       init() {
53         this.layoutData = layoutData.mainData
54       }
55     },
56     created() {
57       this.init()
58     }
59   }
60
61 </script>
62
63
64 <style lang="scss" scoped>
65 </style>
layoutData.json

{
  "mainData": [
    {
      "x": 0,
      "y": 0,
      "w": 1,
      "h": 1,
      "i": "0"
    },
    {
      "x": 0,
      "y": 1,
      "w": 1,
      "h": 1,
      "i": "1"
    },
    {
      "x": 0,
      "y": 2,
      "w": 1,
      "h": 1,
      "i": "2"
    },
    {
      "x": 0,
      "y": 3,
      "w": 1,
      "h": 1,
      "i": "3"
    },
    {
      "x": 1,
      "y": 0,
      "w": 1,
      "h": 1,
      "i": "4"
    },
    {
      "x": 1,
      "y": 1,
      "w": 1,
      "h": 1,
      "i": "5"
    },
    {
      "x": 1,
      "y": 2,
      "w": 1,
      "h": 1,
      "i": "6"
    },
    {
      "x": 1,
      "y": 3,
      "w": 1,
      "h": 1,
      "i": "7"
    },
    {
      "x": 2,
      "y": 0,
      "w": 1,
      "h": 1,
      "i": "8"
    },
    {
      "x": 2,
      "y": 1,
      "w": 1,
      "h": 1,
      "i": "9"
    },
    {
      "x": 2,
      "y": 2,
      "w": 1,
      "h": 1,
      "i": "10"
    },
    {
      "x": 2,
      "y": 3,
      "w": 1,
      "h": 1,
      "i": "11"
    },
    {
      "x": 3,
      "y": 0,
      "w": 1,
      "h": 1,
      "i": "12"
    },
    {
      "x": 3,
      "y": 1,
      "w": 1,
      "h": 1,
      "i": "13"
    },
    {
      "x": 3,
      "y": 2,
      "w": 1,
      "h": 1,
      "i": "14"
    },
    {
      "x": 3,
      "y": 3,
      "w": 1,
      "h": 1,
      "i": "15"
    },
    {
      "x": 4,
      "y": 0,
      "w": 1,
      "h": 1,
      "i": "16"
    },
    {
      "x": 4,
      "y": 1,
      "w": 1,
      "h": 1,
      "i": "17"
    },
    {
      "x": 4,
      "y": 2,
      "w": 1,
      "h": 1,
      "i": "18"
    },
    {
      "x": 4,
      "y": 3,
      "w": 1,
      "h": 1,
      "i": "19"
    }
  ]
}
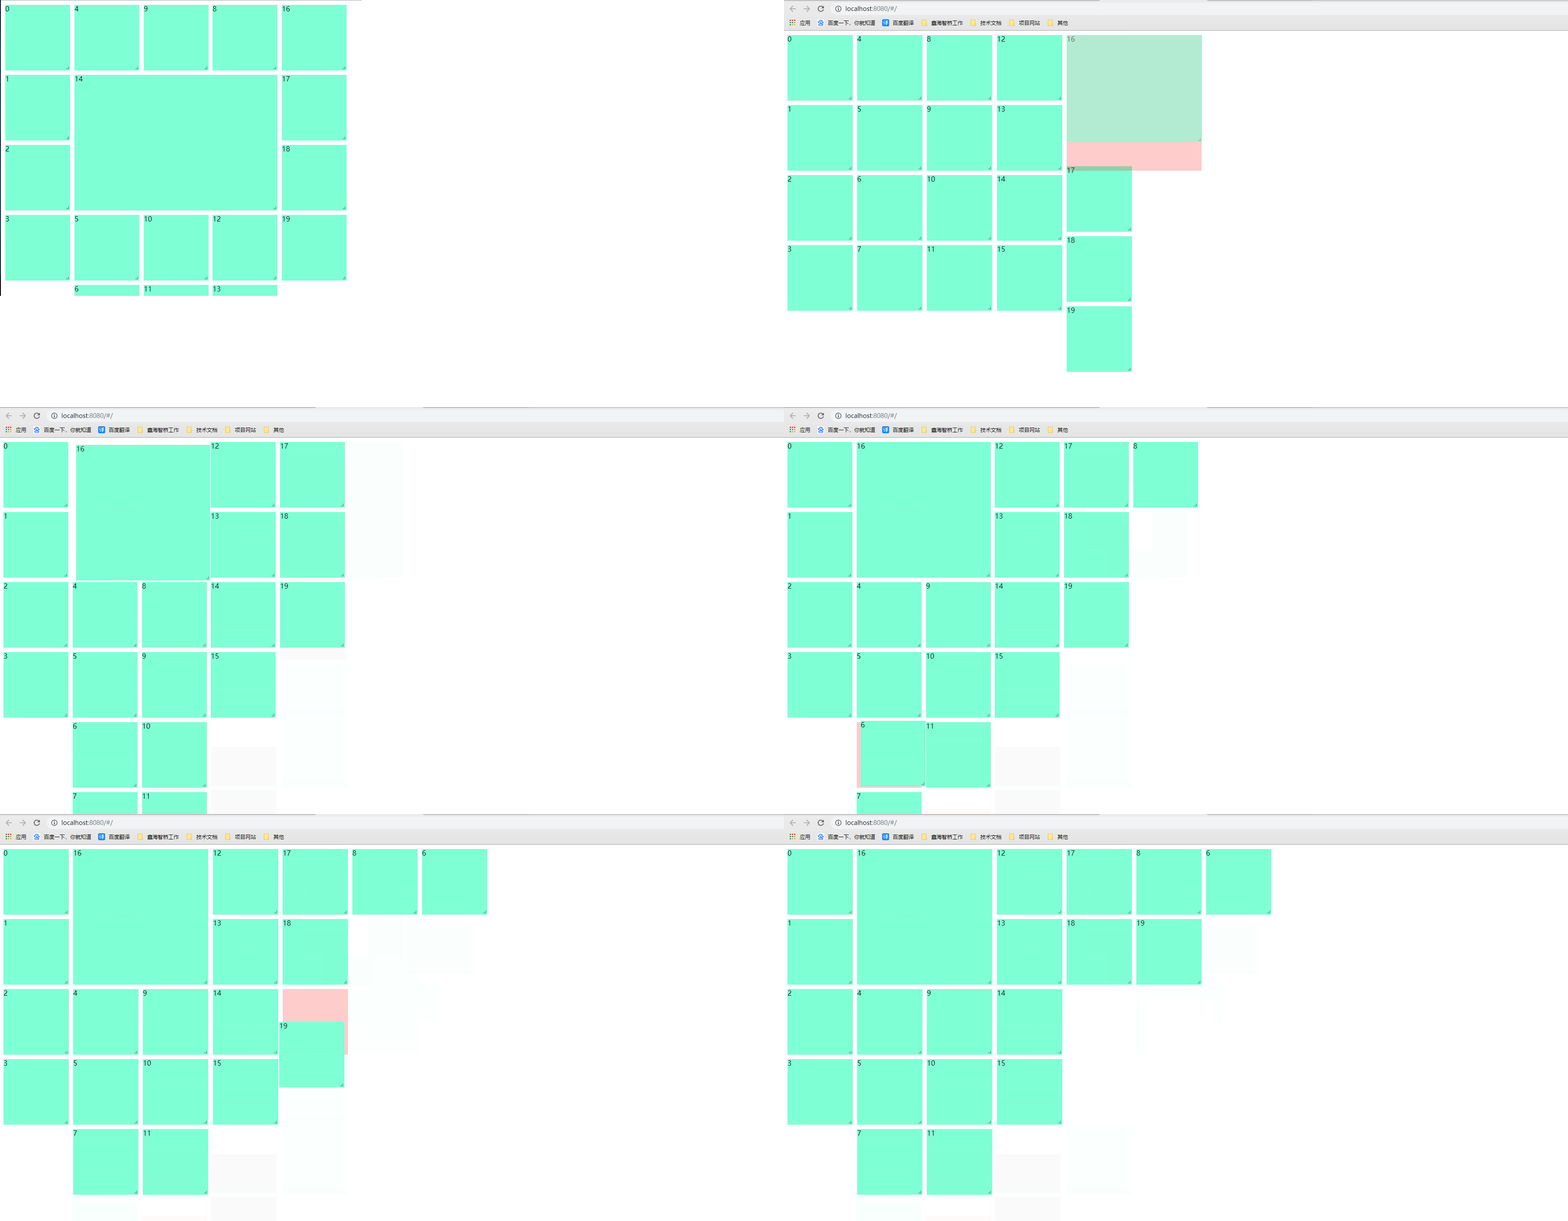
运行起来之后,页面效果
加上点背景颜色
.vue-grid-item {
  background: aquamarine;
}

此时可以拖拽,可以改变格子大小了。
接下来开始写几个方法,封装一下配置
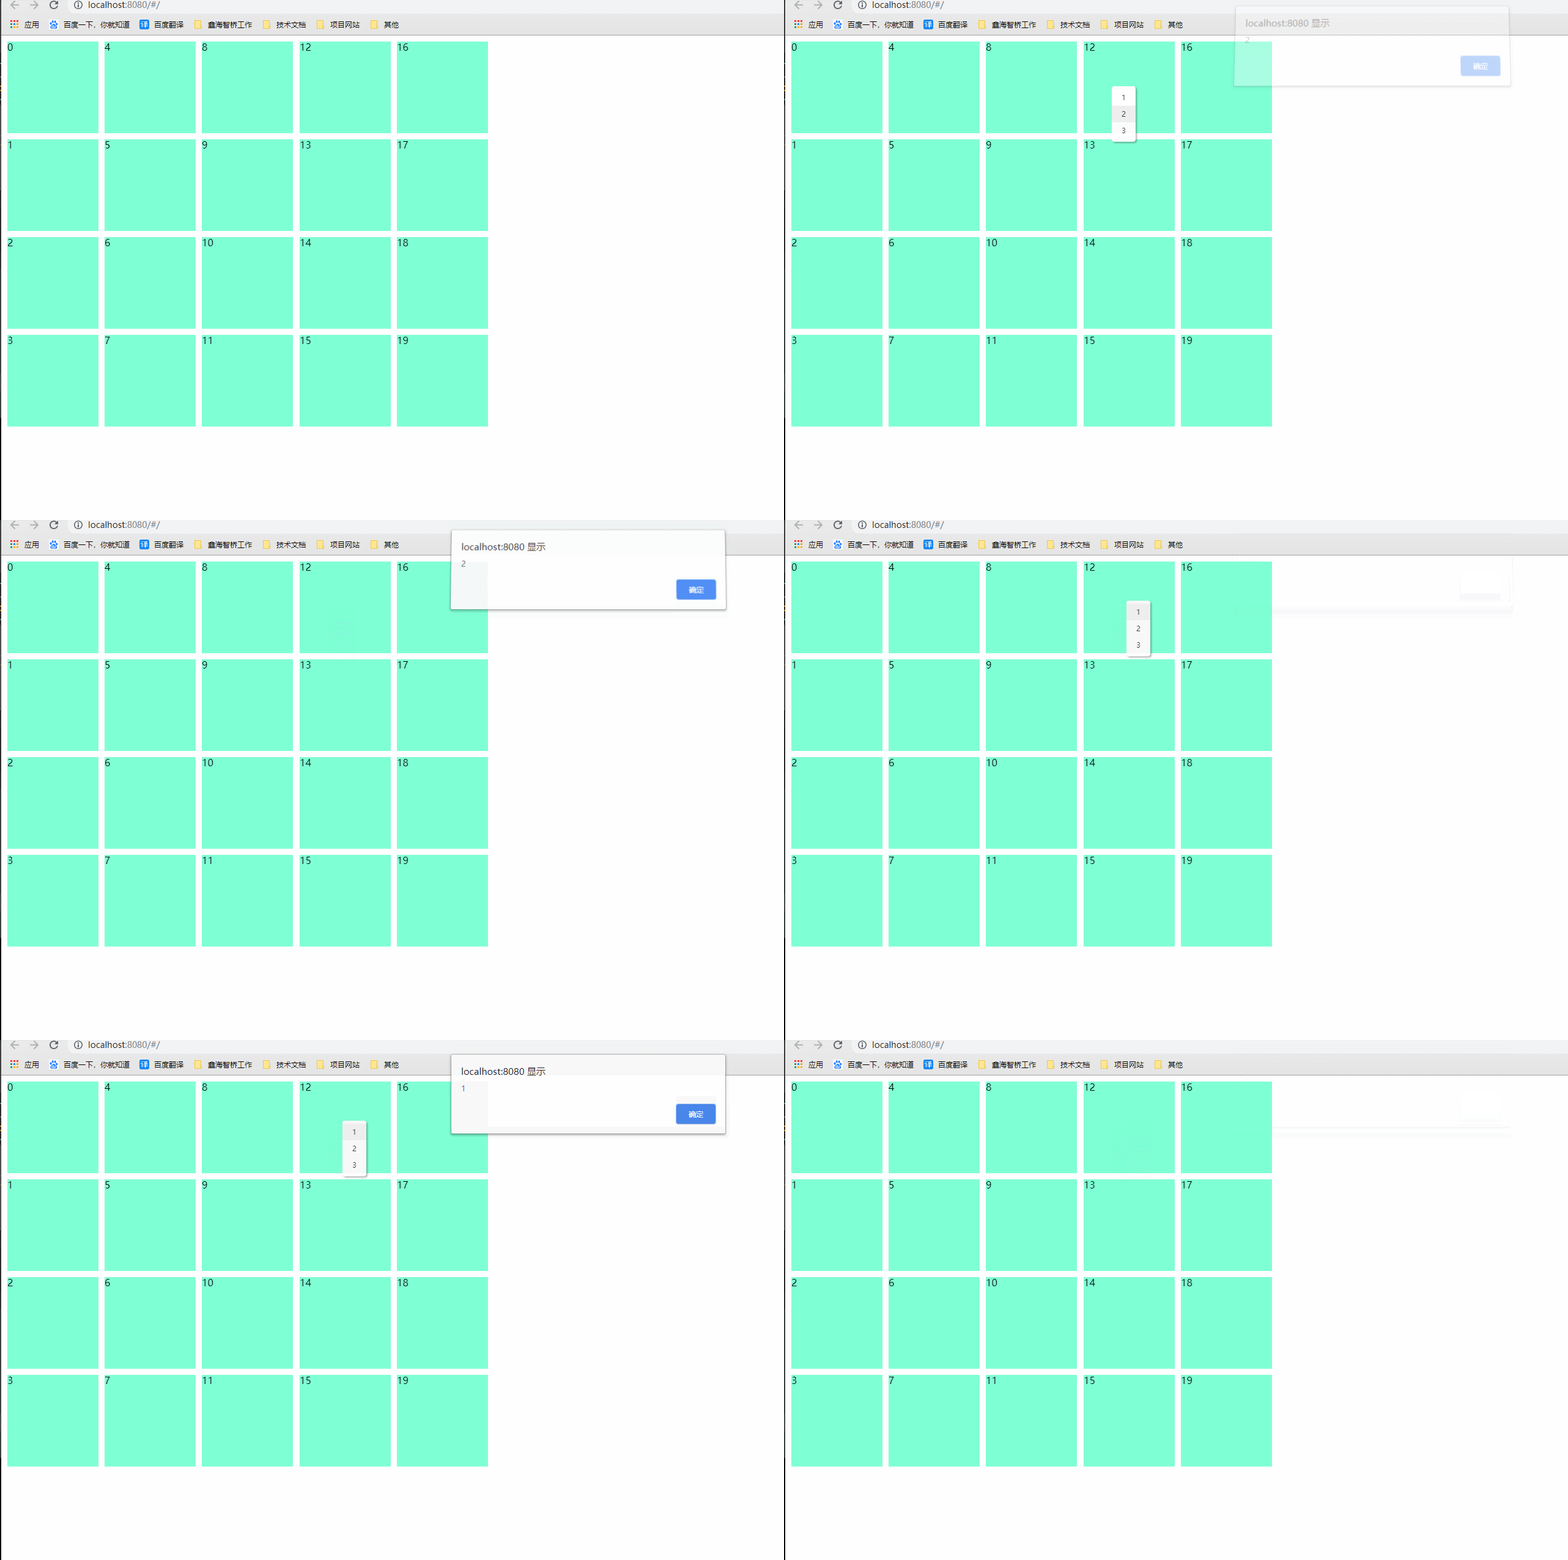
添加右键事件,以后配置的时候用
html:

 <ul class='contextmenu' v-show="menuConfig.visible" :style="{left:menuConfig.left+'px',top:menuConfig.top+'px'}">
      <li @click="test(1)">1</li>
      <li @click="test(2)">2</li>
      <li @click="test(3)">3</li>
    </ul>
<grid-item
v-for="item in layoutData"
:x="item.x"
:y="item.y"
:w="item.w"
:h="item.h"
:i="item.i"
:key="item.i"
>
<div class="layout-Box" @contextmenu.prevent="openMenu(item, $event)">
{{ item.i }}
</div>
</grid-item>
.layout-Box{
100%;
height: 100%;
}
script:

 <data>
        menuConfig: {
          visible: false,
          left: 0,
          top: 0
        }
    <methods>
      // 右键打开菜单
      openMenu(tag, e) {
        this.menuConfig.visible = true
        this.menuConfig.left = e.clientX
        this.menuConfig.top = e.clientY
      },
      // 关闭菜单
      closeMenu() {
        this.menuConfig.visible = false
      },
      // 测试方法
      test(i) {
        console.log(i)
      }
    },
<watch>
// 点击任意处,关闭菜单
 'menuConfig.visible'() {
        if (this.menuConfig.visible) {
          document.body.addEventListener('click', this.closeMenu)
        } else {
          document.body.removeEventListener('click', this.closeMenu)
        }
      }
style:
   .contextmenu {
      margin: 0;
      background: #fff;
      z-index: 100;
      position: absolute;
      list-style-type: none;
      padding: 5px 0;
      border-radius: 4px;
      font-size: 12px;
      font-weight: 400;
      color: #333;
      box-shadow: 2px 2px 3px 0 rgba(0, 0, 0, .3);
      li {
        margin: 0;
        padding: 7px 16px;
        cursor: pointer;
        &:hover {
          background: #eee;
        }
      }
    }

