1.整合MyBatis-Plus背景
【分布式】-- 基于Nacos、OpenFeign搭建的微服务抽奖系统后台小案例
本篇是基于上一篇博文微服务抽奖系统后台对持久层MyBatis进行更换,并整合MyBatis-Plus替换掉原来的MyBatis框架为目的来进行整合说明的。
1.1.为什么要使用MP
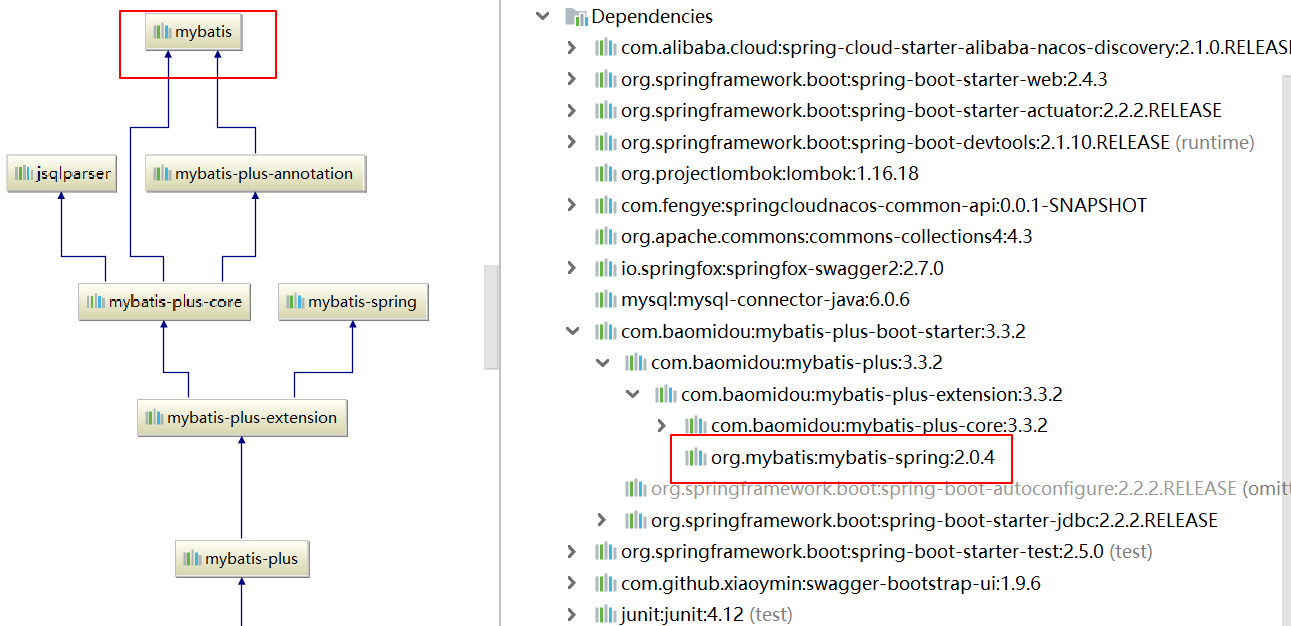
基于MyBatis-Plus本身jar包底层就包含了MyBatis的基本jar,是在MyBatis基础上的进一步扩展,而且就如同使用JPA一样,不需要我们再去编写基础的xml与注解sql。
可以使用注解方式完成基本的表与PoJo之间的映射关系。

2.基于抽奖系统整合MyBatis-Plus
基于provider-product6700服务方进行添加配置。
2.1.配置pom依赖
 <!--mybatis-plus插件-->
 <dependency>
     <groupId>com.baomidou</groupId>
     <artifactId>mybatis-plus-boot-starter</artifactId>
     <version>3.3.2</version>
 </dependency>
2.2.对应的application.yml配置
#整合mybatis-plus配置
mybatis-plus:
  #配置Mapper映射文件
  mapper-locations: classpath:/mybatis/mapper/*.xml
  # 配置Mybatis数据返回类型别名(默认别名为类名)
  type-aliases-package: com.fengye.springcloud.entities
  configuration:
    #自动驼峰命名
    map-underscore-to-camel-case: false

#配置控制台打印日志Debug
logging:
  level:
    com.jd.mapper: debug
2.3.修改Mapper与Service实现
基于MyBatis-Plus实现Mapper层直接继承BaseMapper,即可实现基本的增删改查操作,无需再编写基本的sql语句,十分清爽。而在ServiceImpl中调用也非常方便,直接调用简单的内置方法即可。
Mapper:
@Repository
public interface ProductMapper extends BaseMapper<Product> {
}
ServiceImpl:
@Service
public class ProductServiceImpl implements ProductService {
    @Autowired
    private ProductMapper productMapper;

    @Override
    public Product getProductById(Integer id) {
        return productMapper.selectById(id);
    }

    @Override
    public List<Product> getProductList() {
        return productMapper.selectList(null);
    }

    @Override
    public Integer insertProduct(Product product) {
        return productMapper.insert(product);
    }
}
2.4.启动类上添加@MapperScan扫描
使用这个注解之后,在Mapper层上就可以不用添加@Mapper注解了:
@SpringBootApplication
@EnableDiscoveryClient
//主启动类上标注,在XxxMapper中可以省略@Mapper注解
@MapperScan("com.fengye.springcloud.mapper")
public class ProviderProductMain6700 {
    public static void main(String[] args) {
        SpringApplication.run(ProviderProductMain6700.class, args);
    }
}
2.5.关于数据库表与PoJo类映射
在实际过程中,为了实现Mapper API调用的自动化CURD,在配置数据库和PoJo实体类的关系上还是有必要进行一些细节的说明,这些是坑点、也是重点!
数据库实体类POJO:
@Data
@AllArgsConstructor
@NoArgsConstructor
@ApiModel("用户实体类")
@TableName("mk_product")  //用于指定表名,表名与实体名称不一致时必须使用
public class Product
{
    @ApiModelProperty("主键id")
    //注意:表主键使用@TableId
    //value表示数据库中实际列名,若实体类属性名与表主键列名一致可省略value
    @TableId(value = "productId", type = IdType.AUTO)  //type指定自增策略
    private Integer id;   //主键id
    @ApiModelProperty("商品名称")
    //指定实体类中属性与表中列名的对应关系
    @TableField(value = "pname")
    private String productName;  //商品名称
    @ApiModelProperty("中奖率")
    //@TableField("winrate")
    // 如果开启了map-underscore-to-camel-case: true 自动驼峰命名,
    // 那么这里会将winRate修改为win_rate进行sql封装查询,有两种方式处理不对应问题:
    //1.设置@TableField("winrate");2.修改map-underscore-to-camel-case: false(不使用驼峰命名方式)
    //@TableField(value = "winrate", exist = true) //exist表明数据库表中有没有对应列存在,默认true表示存在
    private float winRate;  //中奖率 -- 请用户输入小数点后两位
}
数据库表:

对应mybatis-plus配置自动驼峰命名:
#整合mybatis-plus配置
mybatis-plus:
  #配置Mapper映射文件
  mapper-locations: classpath:/mybatis/mapper/*.xml
  # 配置Mybatis数据返回类型别名(默认别名为类名)
  type-aliases-package: com.fengye.springcloud.entities
  configuration:
    #自动驼峰命名
    map-underscore-to-camel-case: false
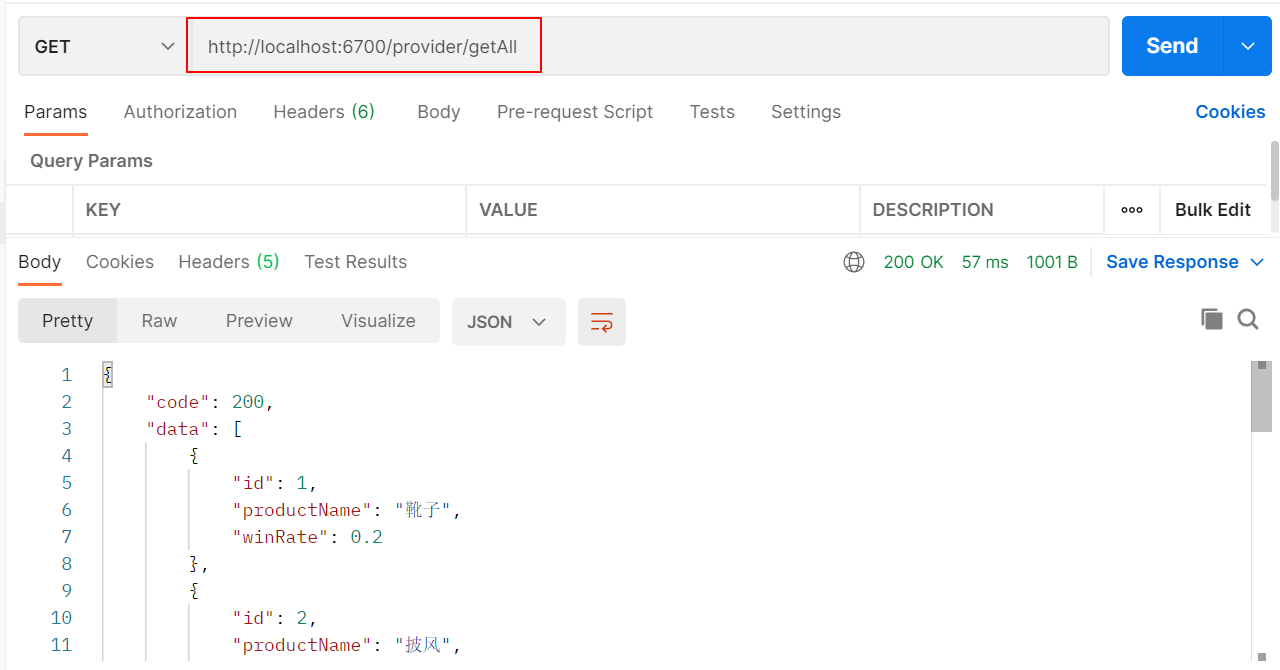
上述为整合MP的主要步骤,整合完成之后即可在项目中实际使用上MyBatis-Plus啦:

参考博文:
博客示例及相关代码已上传至GitHub: