HAProxy的高级配置选项-自定义错误跳转案例
作者:尹正杰
版权声明:原创作品,谢绝转载!否则将追究法律责任。
一.安装Apache Httpd及准备测试数据
1>.试验架构说明
  node102.yinzhengjie.org.cn:
    Haproxy服务器

  node105.yinzhengjie.org.cn:
    测试服务器,模拟客户端

  node106.yinzhengjie.org.cn:
    Apache httpd服务器

  node107.yinzhengjie.org.cn:
    Apache httpd服务器

  node108.yinzhengjie.org.cn:
    Apache httpd服务器
2>.安装Apache httpd服务
此过程相对简单,我这里就直接略过了,可参考我之前的笔记:https://www.cnblogs.com/yinzhengjie/p/12114195.html
二.自定义错误跳转案例实战
1>.编辑haproxy的配置文件
[root@node102.yinzhengjie.org.cn ~]# cat /etc/haproxy/haproxy.cfg
global
    maxconn 100000
    chroot /yinzhengjie/softwares/haproxy
    stats socket /yinzhengjie/softwares/haproxy/haproxy.sock mode 600 level admin
    user haproxy
    group haproxy
    daemon
    nbproc 2
    cpu-map 1 0
    cpu-map 2 1
    nbthread 2
    pidfile /yinzhengjie/softwares/haproxy/haproxy.pid
    log 127.0.0.1 local5 info

defaults
    option http-keep-alive
    option  forwardfor
    option redispatch
    option abortonclose
    maxconn 100000
    mode http
    timeout connect 300000ms
    timeout client  300000ms
    timeout server  300000ms
    #自定义错误跳转,可以将错误页面放在一台web服务器上
    errorloc 503 http://node107.yinzhengjie.org.cn/monitor/503.html

listen status_page
    bind 172.30.1.102:8888
    stats enable
    stats uri /haproxy-status
    stats auth    admin:yinzhengjie
    stats realm "Welcome to the haproxy load balancer status page of YinZhengjie"
    stats hide-version
    stats admin if TRUE
    stats refresh 5s

frontend WEB_PORT_80
    bind 172.30.1.102:80
    mode http
    acl my_pc_page hdr_dom(host) -i pc.yinzhengjie.org.cn
    acl firefox_agent hdr(User-Agent) -m sub -i "Firefox"
    redirect prefix https://www.cnblogs.com/yinzhengjie/ if my_pc_page
    use_backend firefox_web if firefox_agent
    default_backend backup_web

backend firefox_web
    server web01 172.30.1.106:80  check inter 3000 fall 3 rise 5
    server web02 172.30.1.107:80  check inter 3000 fall 3 rise 5

backend backup_web
    server web03 172.30.1.108:80  check inter 3000 fall 3 rise 5
[root@node102.yinzhengjie.org.cn ~]#
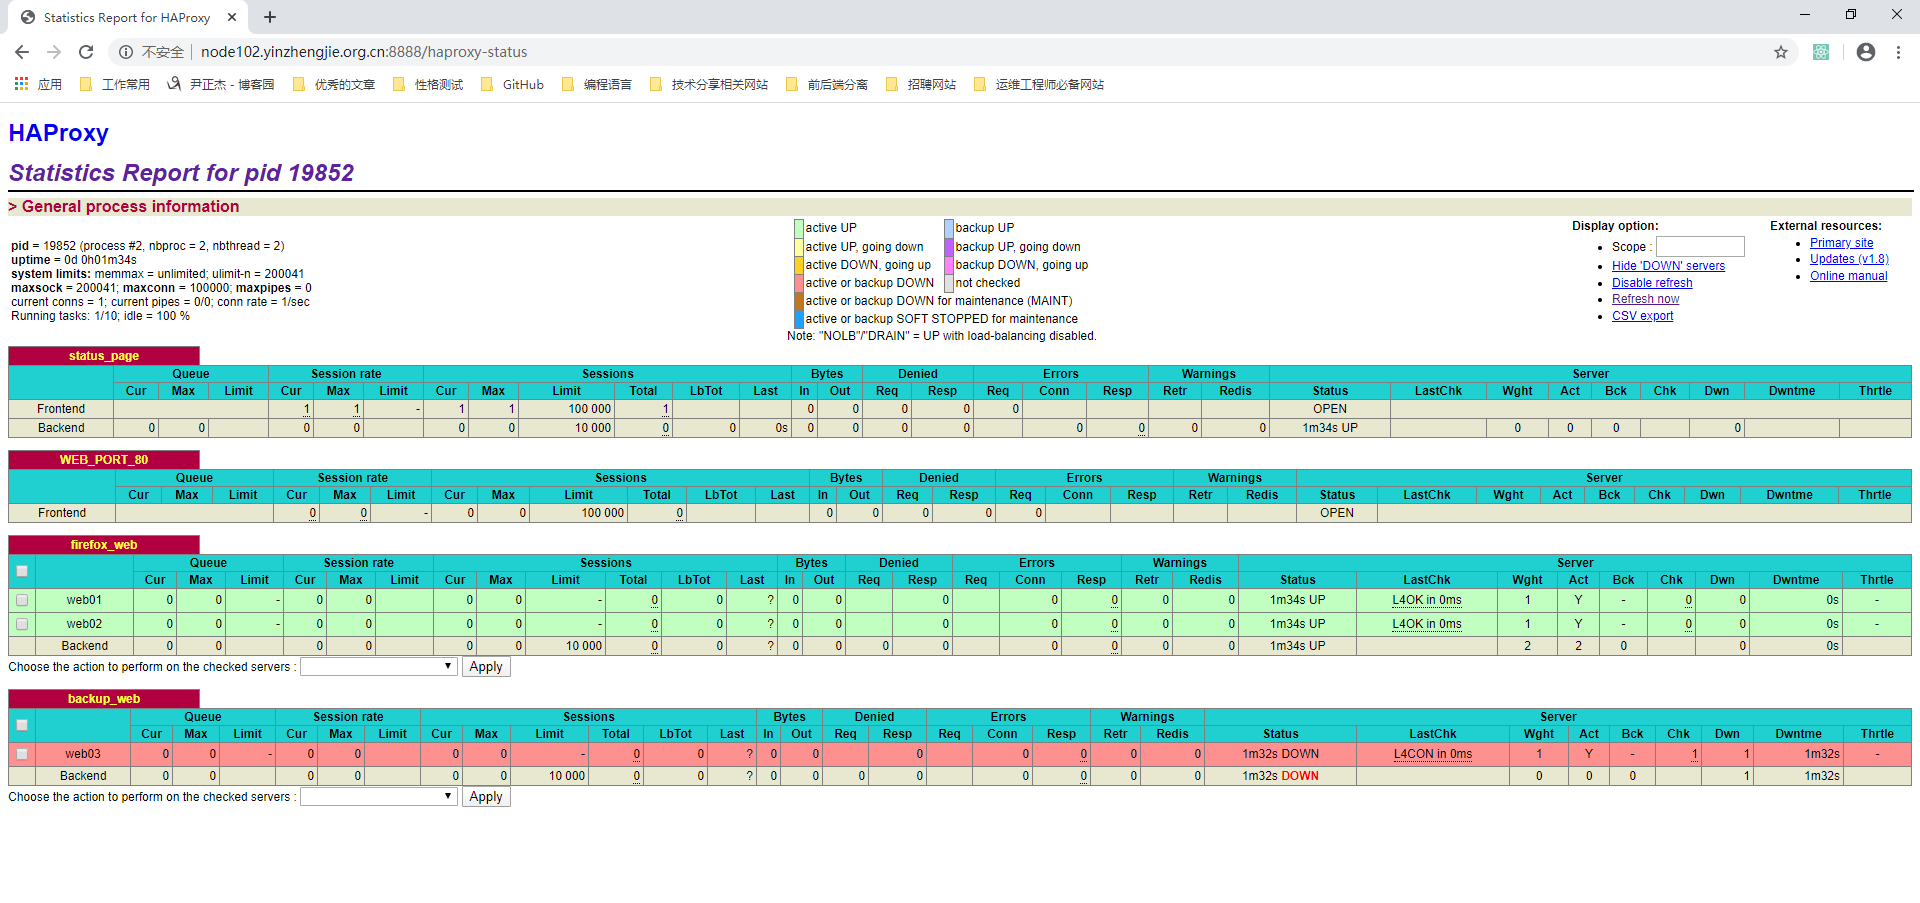
[root@node102.yinzhengjie.org.cn ~]# systemctl restart haproxy              #别忘记重启haproxy服务使得配置生效,可以观察到haproxy的状态页,如下图所示。
[root@node102.yinzhengjie.org.cn ~]#
[root@node102.yinzhengjie.org.cn ~]#

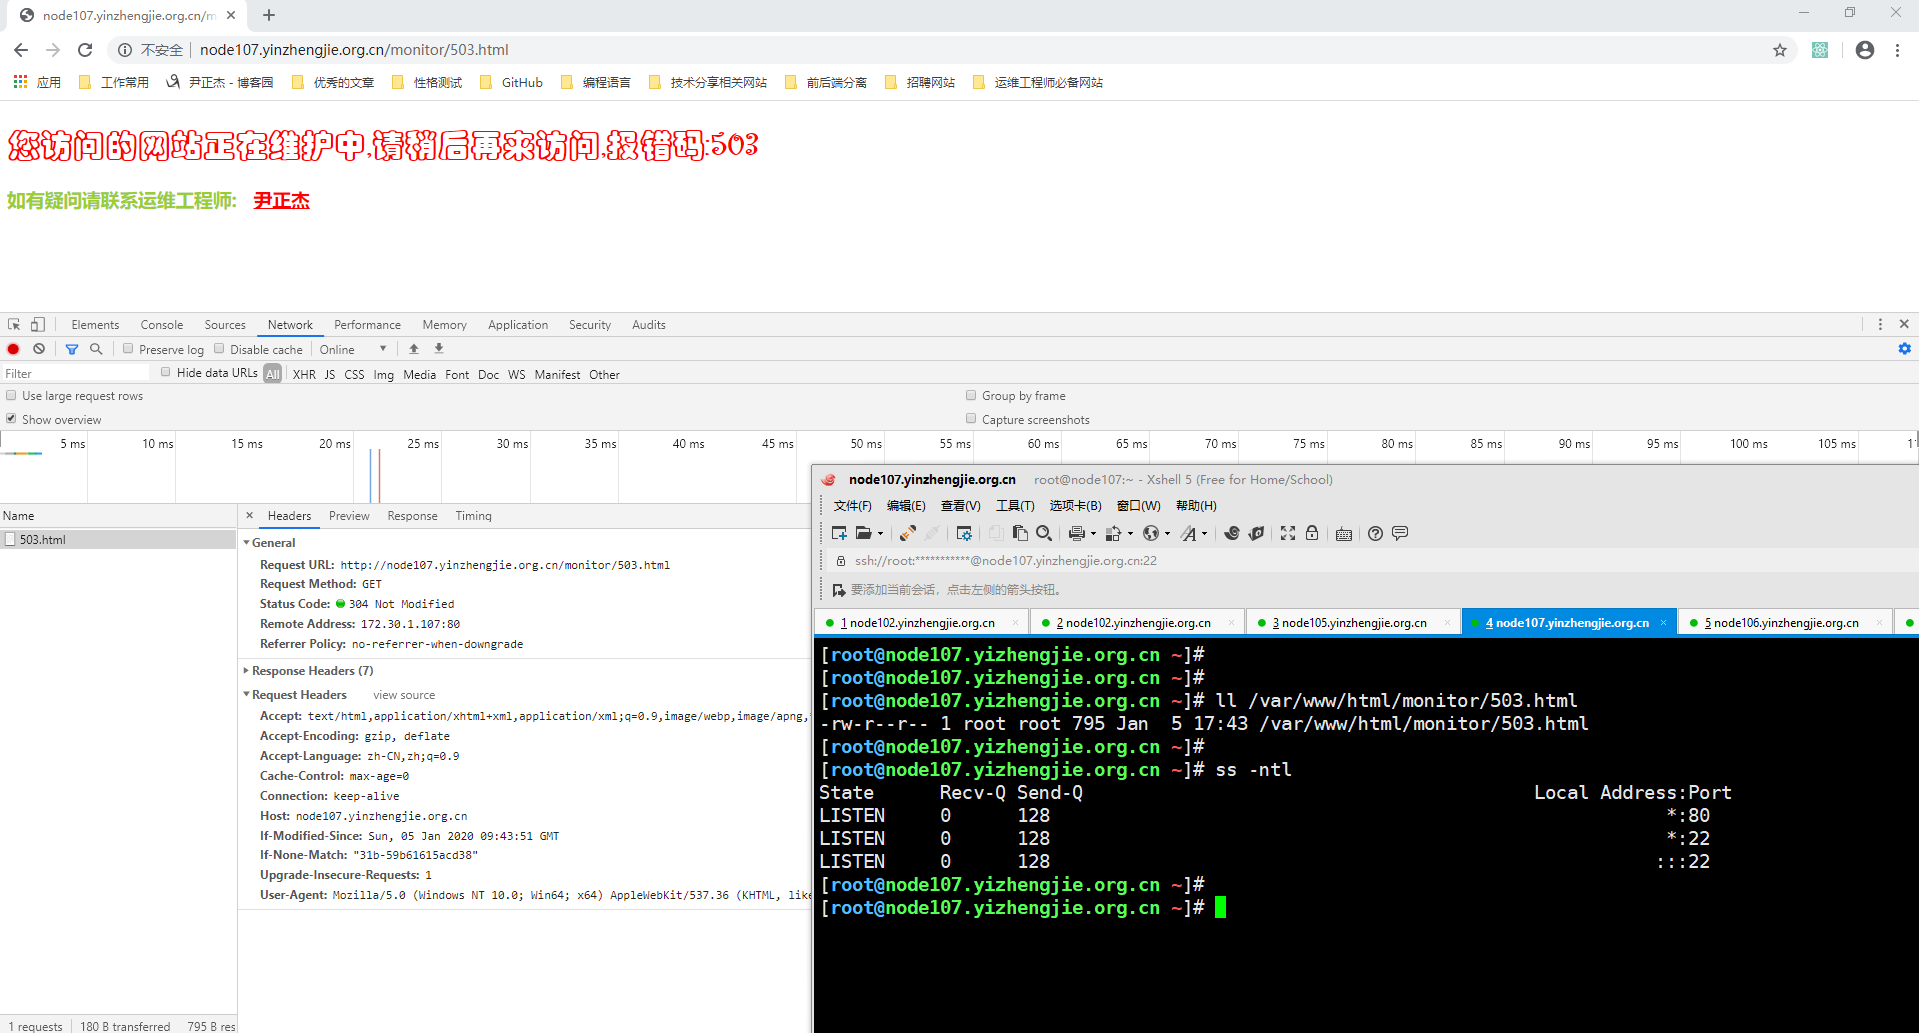
2>.在web服务器创建错误页面数据,并验证是否可以正常范围

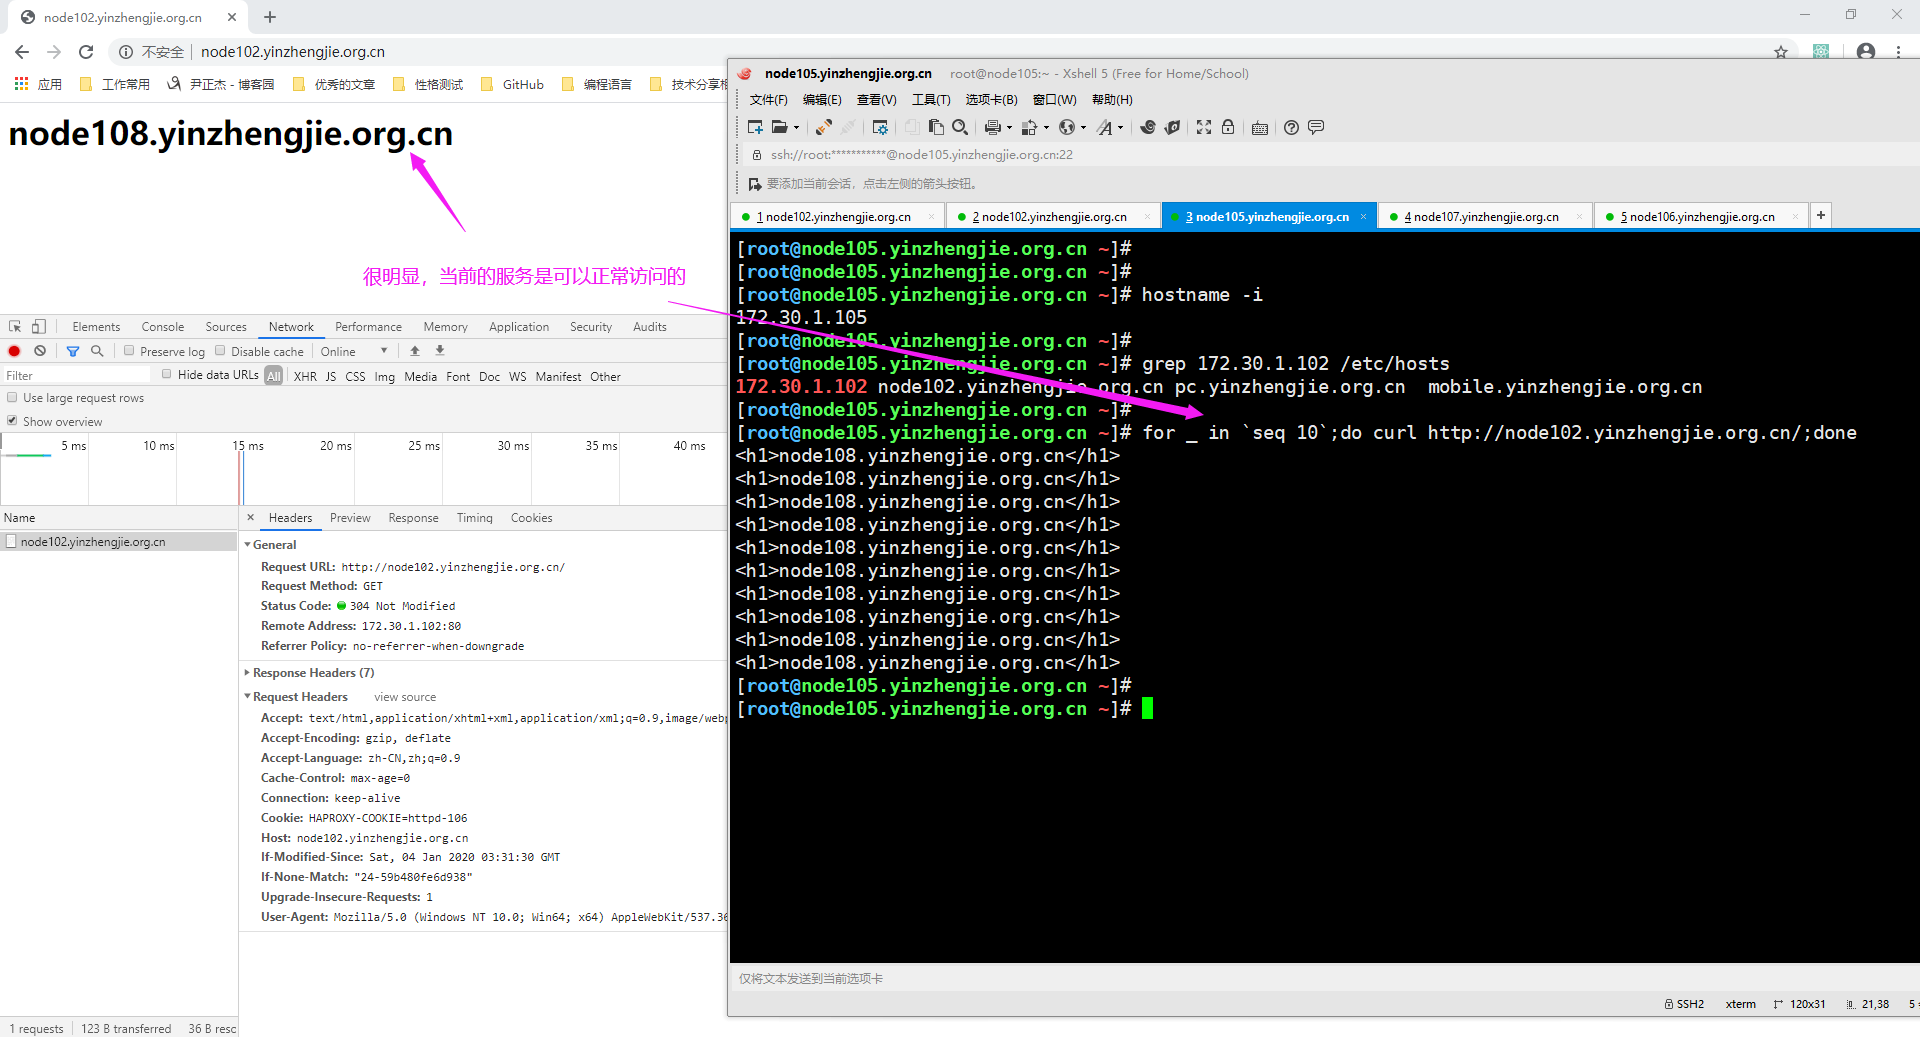
3>.使用浏览器访问"http://node102.yinzhengjie.org.cn/",如下图所示。

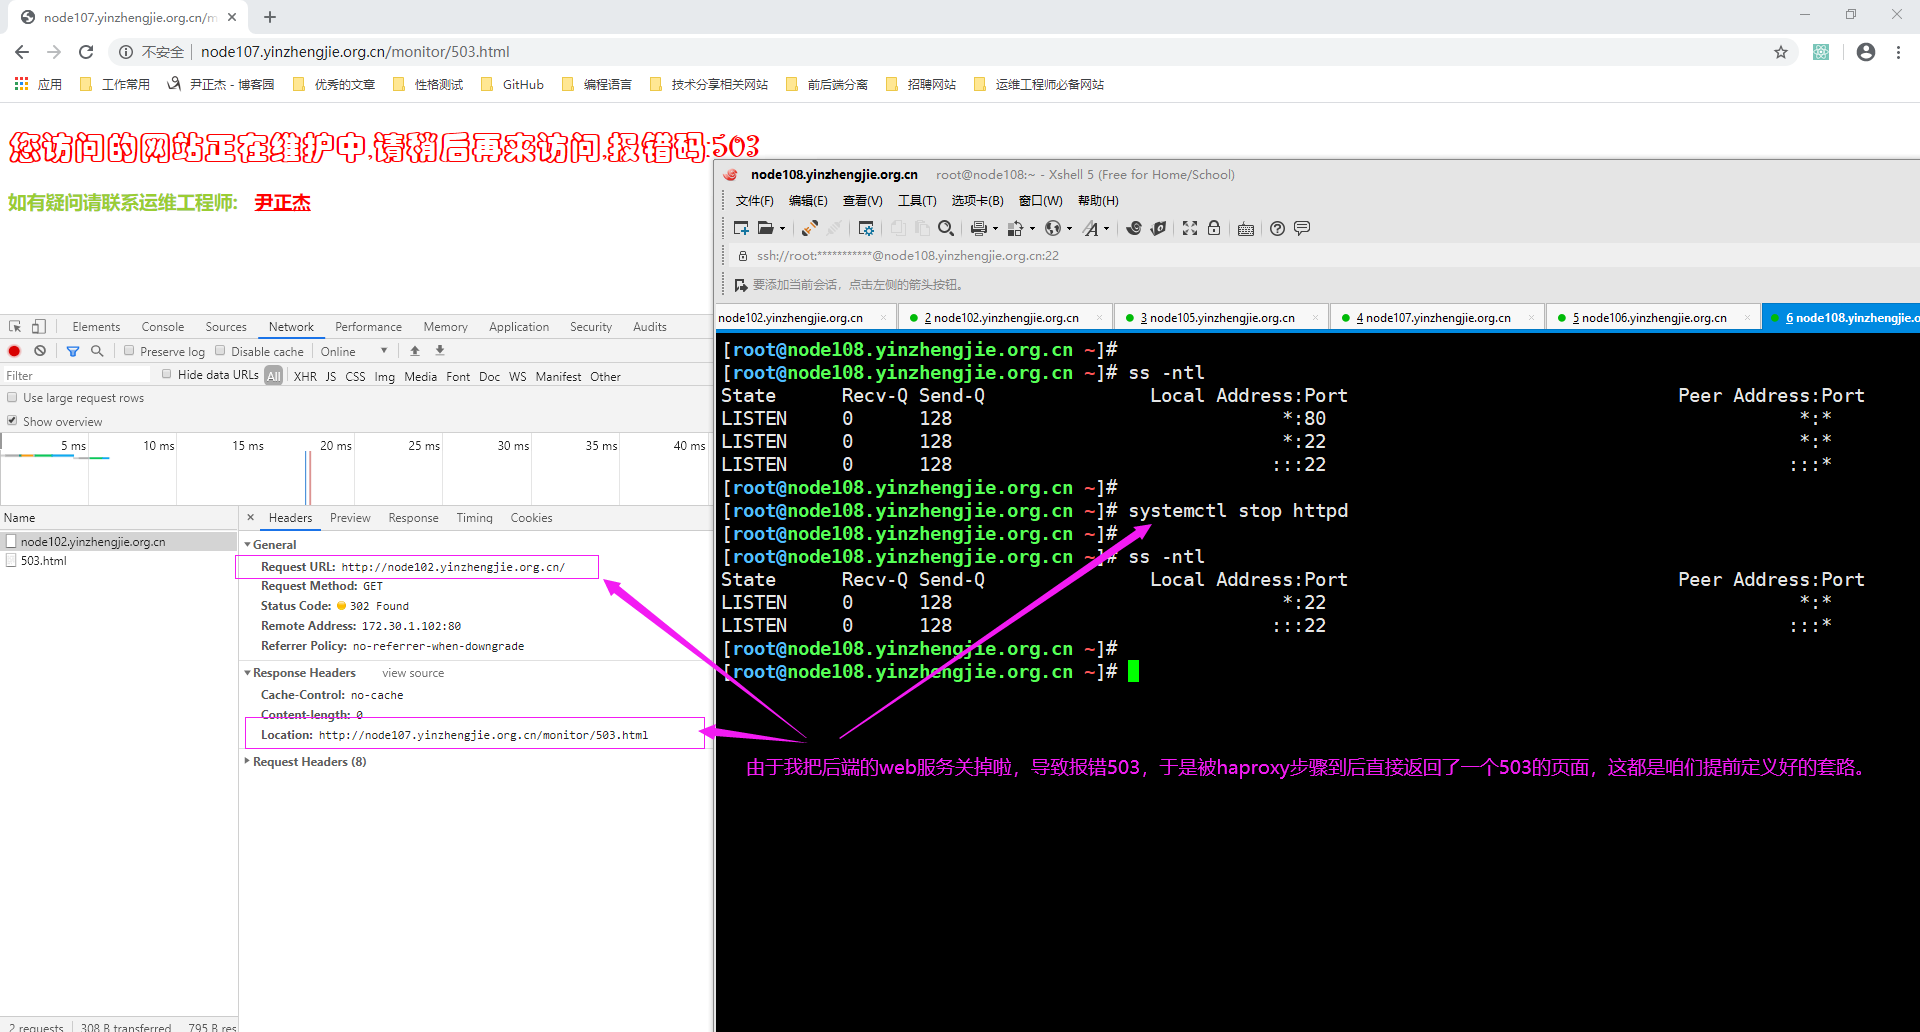
4>.手动将后端的"node108.yinzhengjie.org.cn"节点的Apache httpd服务下线
[root@node108.yinzhengjie.org.cn ~]# ss -ntl
State      Recv-Q Send-Q               Local Address:Port                              Peer Address:Port
LISTEN     0      128                              *:80                                           *:*
LISTEN     0      128                              *:22                                           *:*
LISTEN     0      128                             :::22                                          :::*
[root@node108.yinzhengjie.org.cn ~]#
[root@node108.yinzhengjie.org.cn ~]# systemctl stop httpd
[root@node108.yinzhengjie.org.cn ~]#
[root@node108.yinzhengjie.org.cn ~]# ss -ntl
State      Recv-Q Send-Q               Local Address:Port                              Peer Address:Port
LISTEN     0      128                              *:22                                           *:*
LISTEN     0      128                             :::22                                          :::*
[root@node108.yinzhengjie.org.cn ~]#
5>.再次使用浏览器访问"http://node102.yinzhengjie.org.cn/",如下图所示。
