1.eDelivery中下载Oracle Database 19C和Oel的安装介质,并安装好操作系统
2.安装Oracle环境准备工具
环境准备工具会自动完成用户和用户组的创建、系统参数配置、依赖包检查与安装,实现一键准备好oracle安装环境
[root@localhost ~]# yum -y install oracle-database-preinstall-19c
Loaded plugins: langpacks, ulninfo
Resolving Dependencies
--> Running transaction check
---> Package oracle-database-preinstall-19c.x86_64 0:1.0-1.el7 will be installed
--> Processing Dependency: compat-libcap1 for package: oracle-database-preinstall-19c-1.0-1.el7.x86_64
--> Processing Dependency: ksh for package: oracle-database-preinstall-19c-1.0-1.el7.x86_64

(many more lines suppressed)

Installed:
  oracle-database-preinstall-19c.x86_64 0:1.0-1.el7

Dependency Installed:
  compat-libcap1.x86_64 0:1.10-7.el7              compat-libstdc++-33.x86_64 0:3.2.3-72.el7
  glibc-devel.x86_64 0:2.17-260.0.17.el7_6.6      glibc-headers.x86_64 0:2.17-260.0.17.el7_6.6
  kernel-headers.x86_64 0:3.10.0-957.21.3.el7     ksh.x86_64 0:20120801-139.0.1.el7
  libaio-devel.x86_64 0:0.3.109-13.el7            libstdc++-devel.x86_64 0:4.8.5-36.0.1.el7_6.2

Dependency Updated:
  glibc.x86_64 0:2.17-260.0.17.el7_6.6           glibc-common.x86_64 0:2.17-260.0.17.el7_6.6
  libstdc++.x86_64 0:4.8.5-36.0.1.el7_6.2

Complete!
[root@localhost ~]#
(备注:如果是在centos或者rhel等没有oracle的yum源上要先设置源
wget http://public-yum.oracle.com/public-yum-ol7.repo -O /etc/yum.repos.d/public-yum-ol7.repo
wget http://public-yum.oracle.com/RPM-GPG-KEY-oracle-ol7 -O /etc/pki/rpm-gpg/RPM-GPG-KEY-oracle
或者直接这样
yum install -y https://yum.oracle.com/repo/OracleLinux/OL7/latest/x86_64/getPackage/oracle-database-preinstall-19c-1.0-1.el7.x86_64.rpm
)
3.创建目录
[root@localhost ~]# mkdir -p /u01/app/oraInventory
[root@localhost ~]# mkdir -p /u01/app/oracle/product/19.3.0/dbhome_1
[root@localhost ~]# chown -R oracle: /u01/app/oraInventory
[root@localhost ~]# chown -R oracle: /u01/app/oracle
[root@localhost ~]# su - oracle
[oracle@localhost ~]$ unzip -q /stage/db/V982063-01.zip -d /u01/app/oracle/product/19.3.0/dbhome_1/
[oracle@localhost ~]$
4.开始安装
[oracle@localhost ~]$ unzip -q /stage/db/V982063-01.zip -d /u01/app/oracle/product/19.3.0/dbhome_1/
[oracle@localhost ~]$ export ORACLE_HOME=/u01/app/oracle/product/19.3.0/dbhome_1
[oracle@localhost ~]$ export DISPLAY=10.0.0.1:0.0
[oracle@localhost ~]$ /u01/app/oracle/product/19.3.0/dbhome_1/runInstaller
选择”Create and configure a single instance database”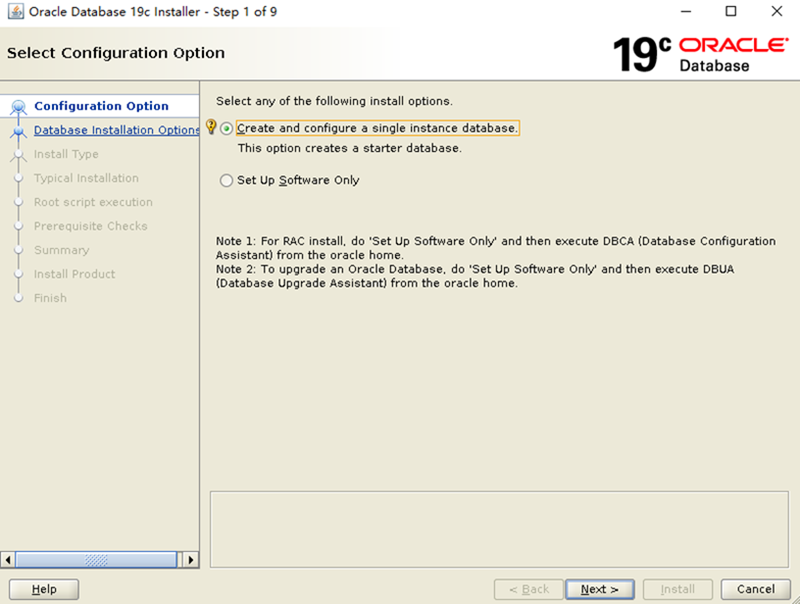
选择”Server class”来获得更多高级选项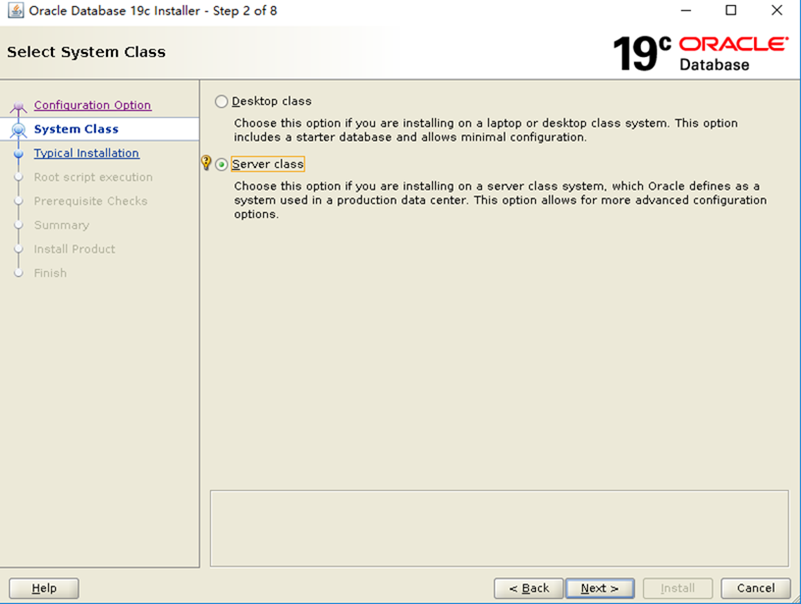 选择企业版
选择企业版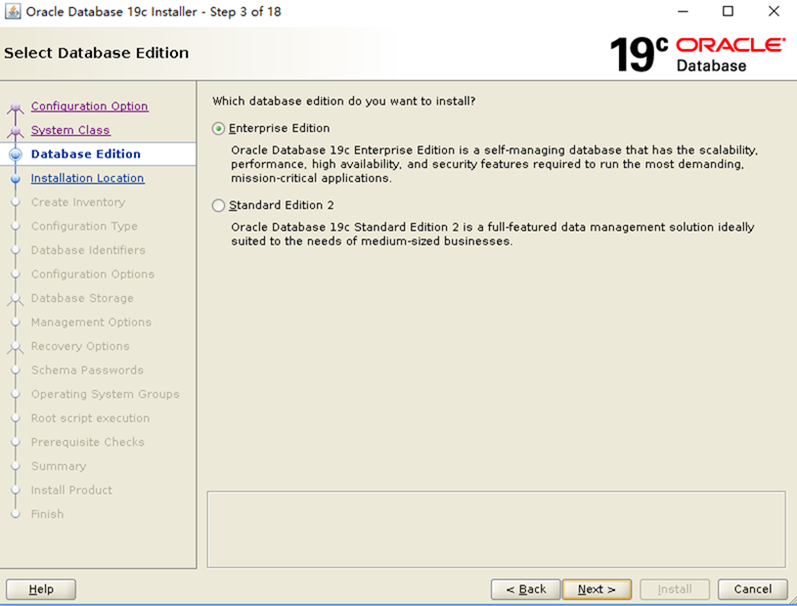 选择oracle base目录
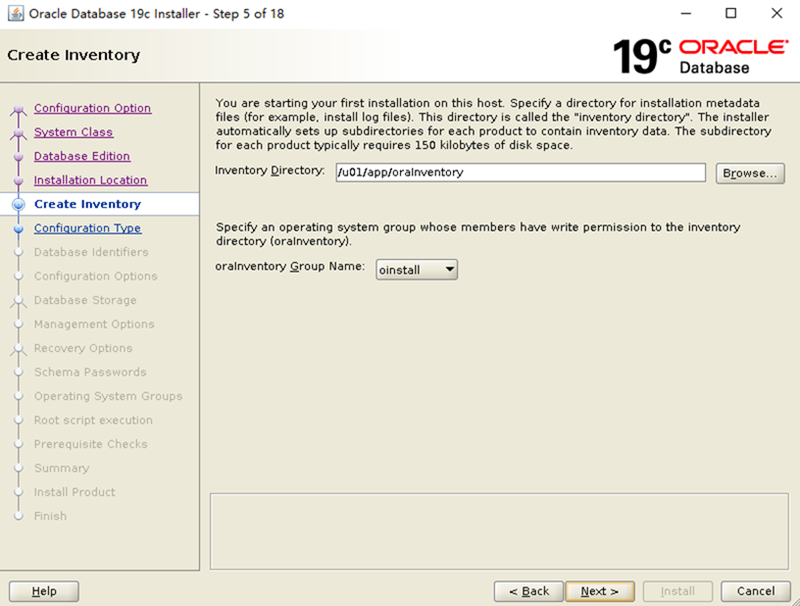
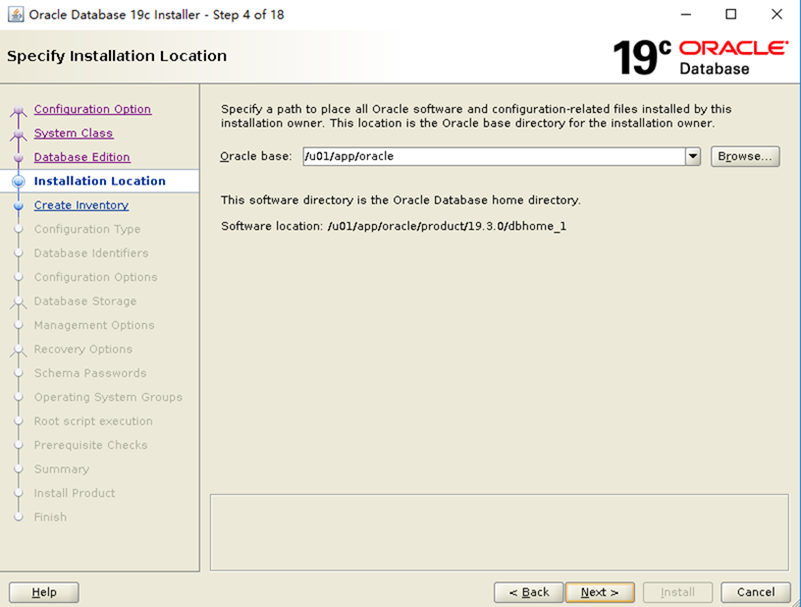 选择inventory目录
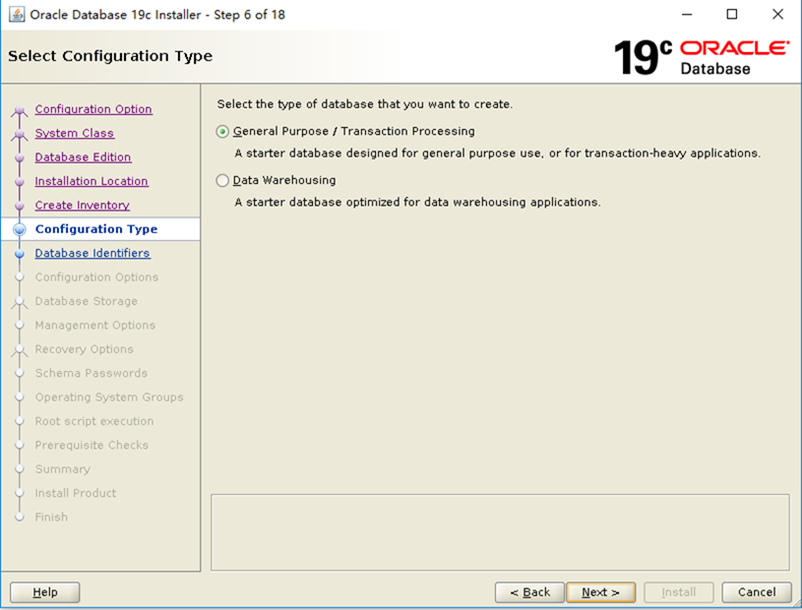
 选择一般数据库
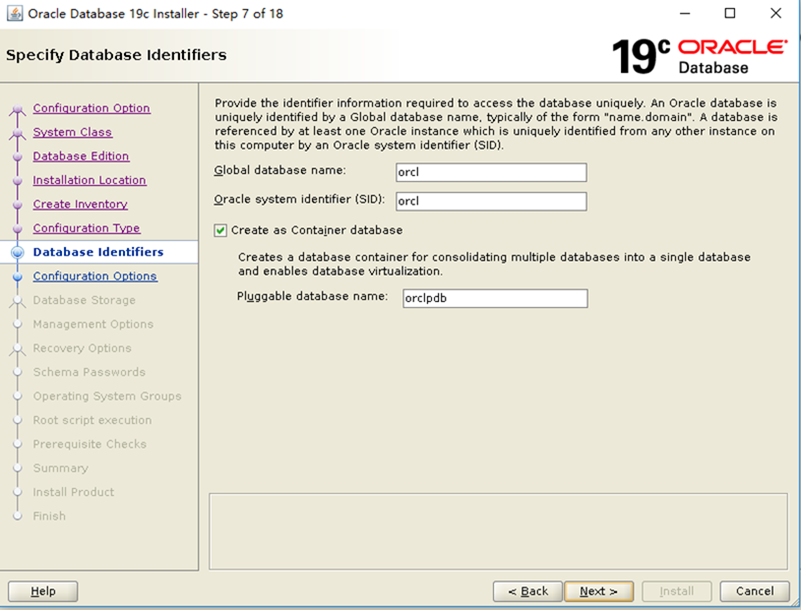
 填写数据库名,保持orcl不变
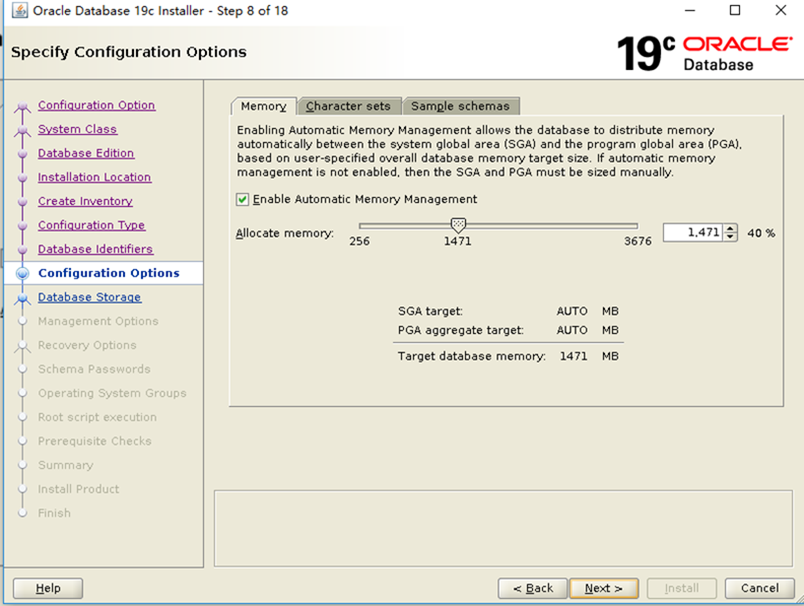
 选择内存大小
 选择数据文件存访路径
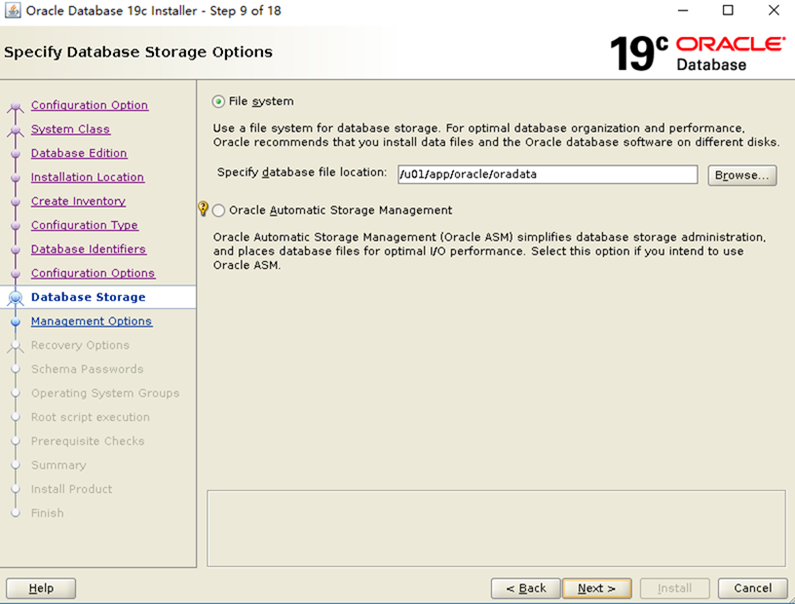 不用oem
不用oem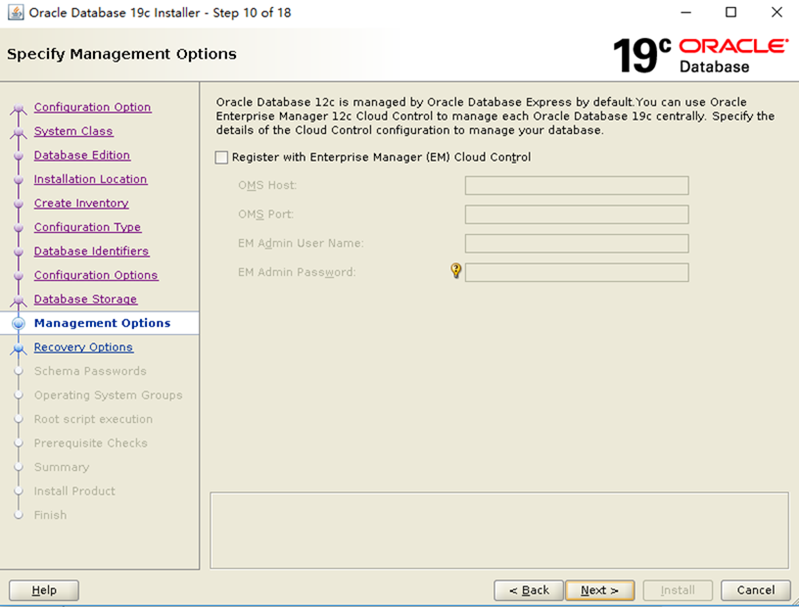 测试用途,不用恢复区
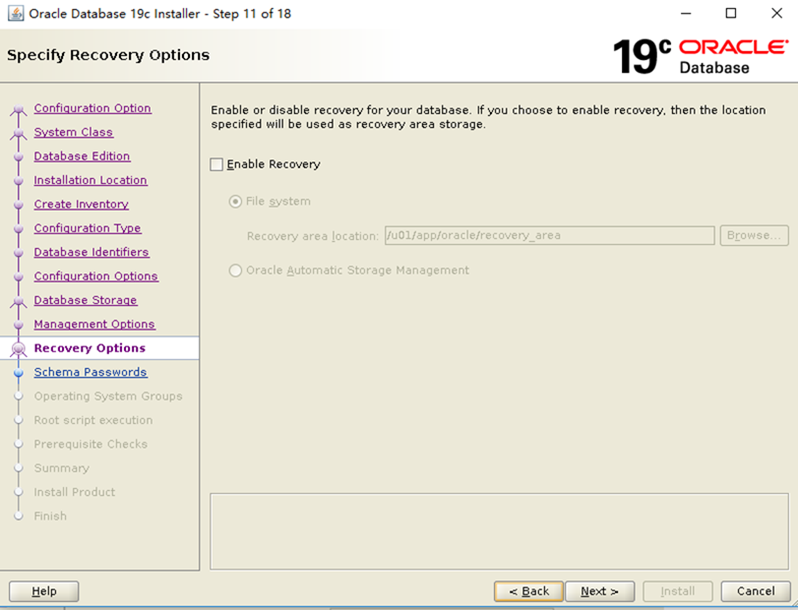 设置数据库密码
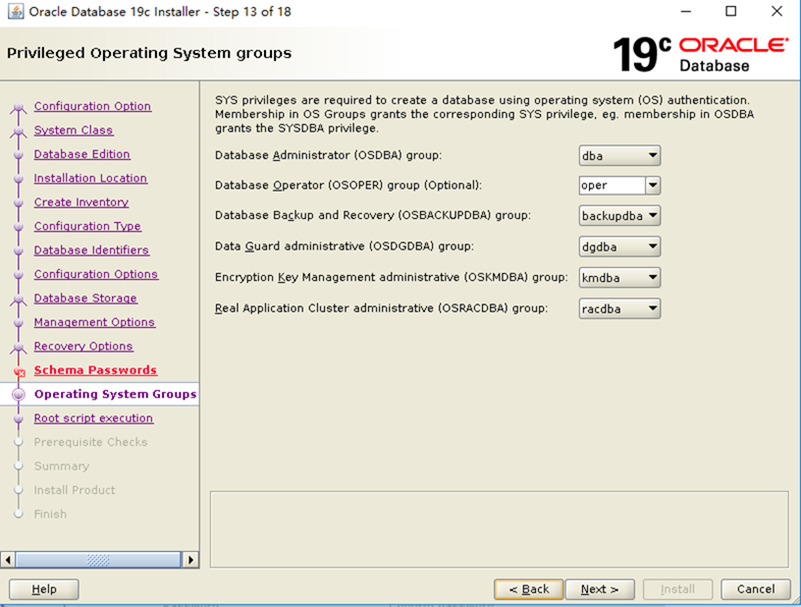
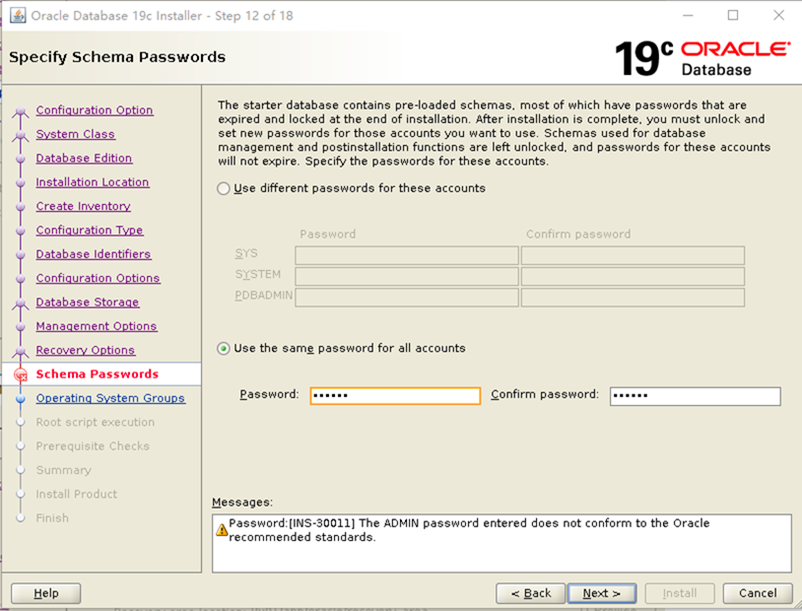 查用户和用户组
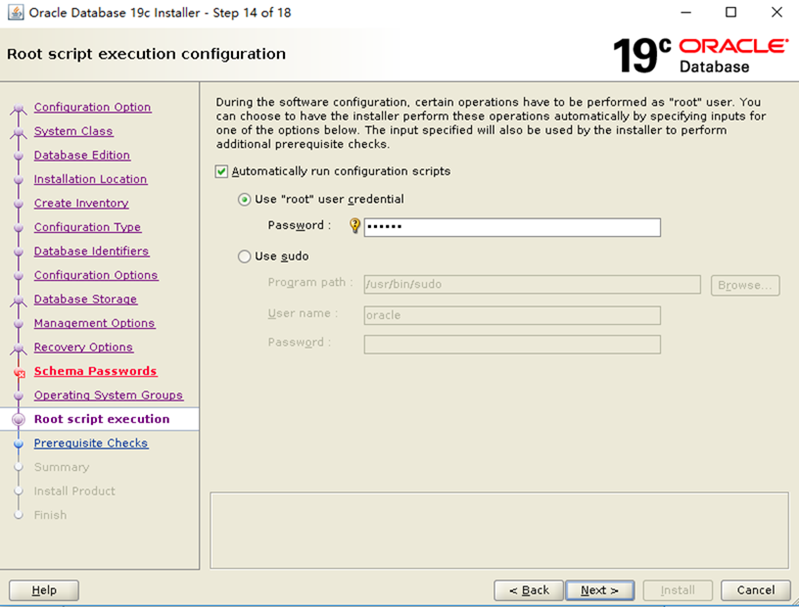
 输入系统密码,自动执行root脚本
预检查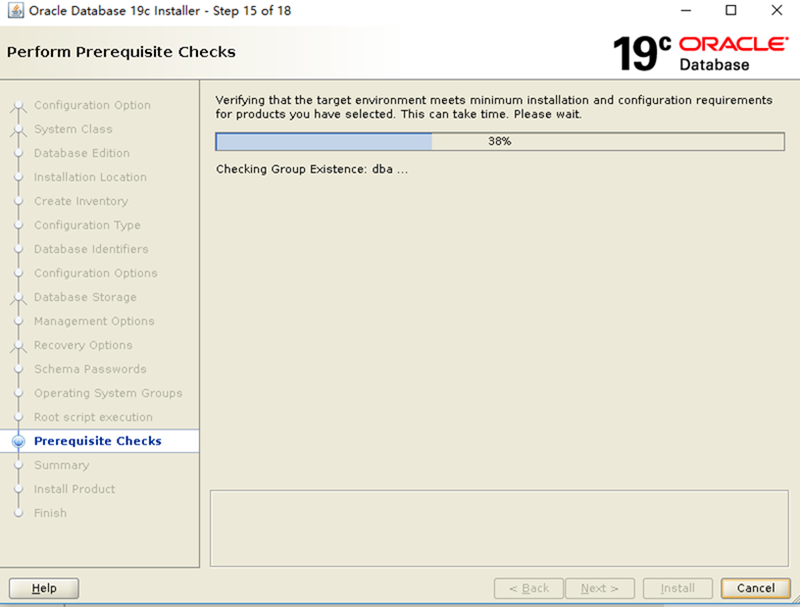 点击安装
点击安装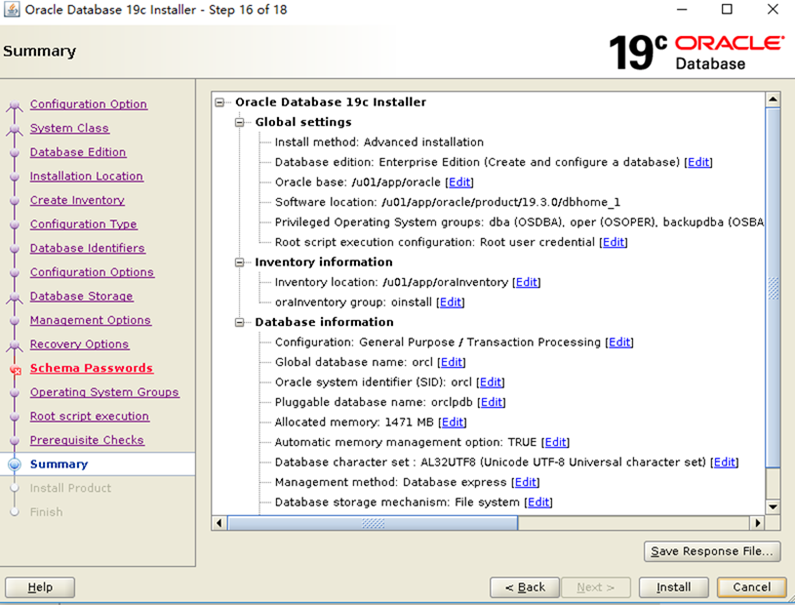
安装开始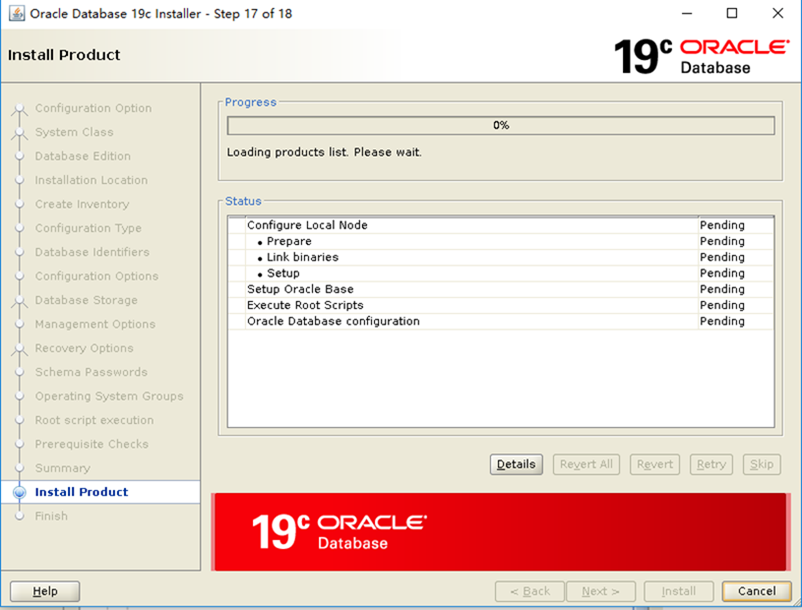
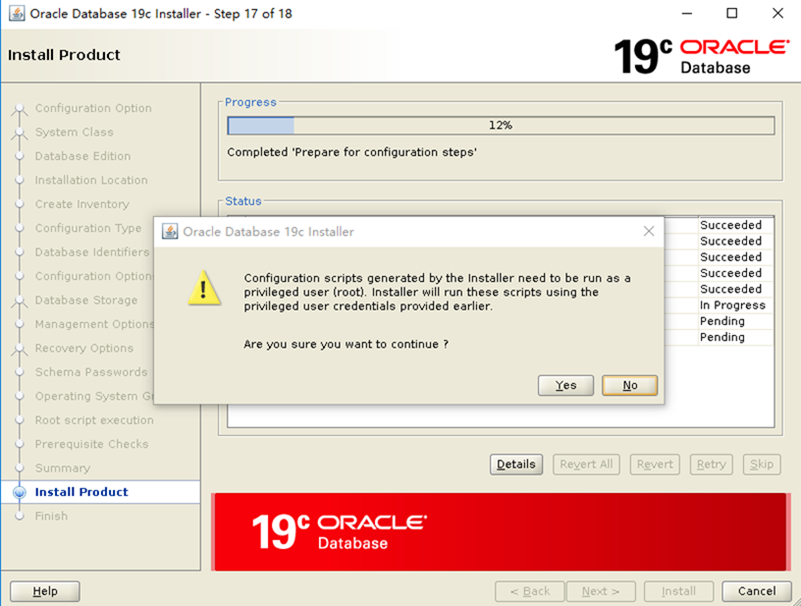
点击yes以继续,让安装程序自动执行root脚本
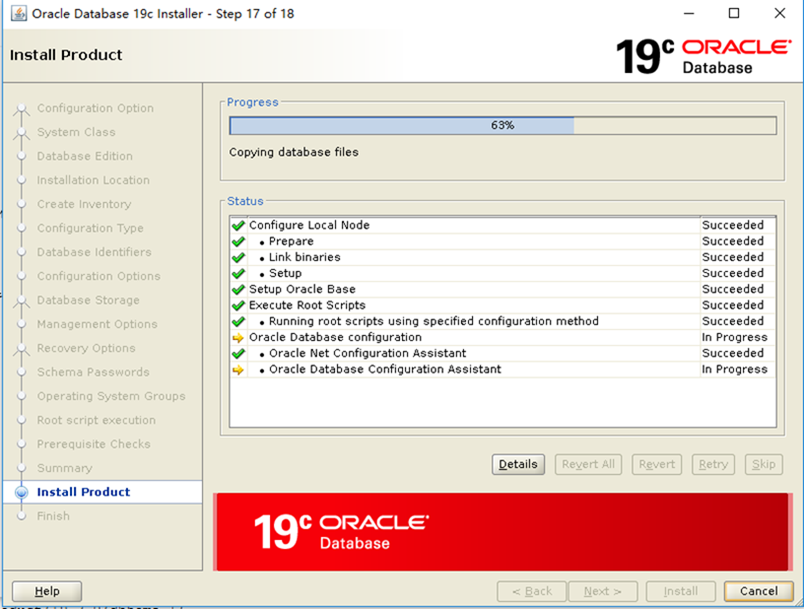
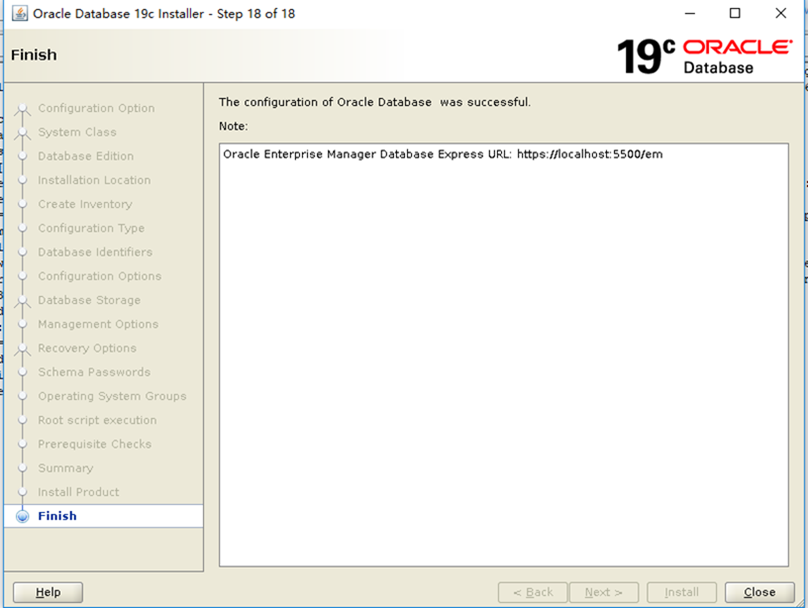 测试下
测试下[oracle@localhost ~]$ export ORACLE_SID=orcl
[oracle@localhost ~]$ export ORACLE_HOME=/u01/app/oracle/product/19.3.0/dbhome_1
[oracle@localhost ~]$ export ORACLE_BASE=/u01/app/oracle/
[oracle@localhost ~]$ export PATH=$PATH:$ORACLE_HOME/bin
[oracle@localhost ~]$ sqlplus / as sysdba
SQL*Plus: Release 19.0.0.0.0 - Production on Thu Jul 25 17:59:11 2019
Version 19.3.0.0.0
Copyright (c) 1982, 2019, Oracle. All rights reserved.
Connected to:
Oracle Database 19c Enterprise Edition Release 19.0.0.0.0 - Production
Version 19.3.0.0.0
SQL> show pdbs;
CON_ID CON_NAME OPEN MODE RESTRICTED
---------- ------------------------------ ---------- ----------
2 PDB$SEED READ ONLY NO
3 ORCLPDB READ WRITE NO
SQL>
可以玩玩19C有啥新特性了
注意从Oracle 18c开始,在安装数据库软件时,需要把压缩文件解压到 $ORACLE_HOME 路径下,在此目录下运行 ./runInstaller
保存下相应文件,以备后查
[root@localhost db]# cat db.rsp |grep -v ^#|grep -v ^$
oracle.install.responseFileVersion=/oracle/install/rspfmt_dbinstall_response_schema_v19.0.0
oracle.install.option=INSTALL_DB_AND_CONFIG
UNIX_GROUP_NAME=oinstall
INVENTORY_LOCATION=/u01/app/oraInventory
ORACLE_BASE=/u01/app/oracle


oracle.install.db.InstallEdition=EE
oracle.install.db.OSDBA_GROUP=dba
oracle.install.db.OSOPER_GROUP=oper
oracle.install.db.OSBACKUPDBA_GROUP=backupdba
oracle.install.db.OSDGDBA_GROUP=dgdba
oracle.install.db.OSKMDBA_GROUP=kmdba
oracle.install.db.OSRACDBA_GROUP=racdba
oracle.install.db.rootconfig.executeRootScript=true
oracle.install.db.rootconfig.configMethod=ROOT
oracle.install.db.rootconfig.sudoPath=
oracle.install.db.rootconfig.sudoUserName=
oracle.install.db.CLUSTER_NODES=
oracle.install.db.config.starterdb.type=GENERAL_PURPOSE
oracle.install.db.config.starterdb.globalDBName=orcl
oracle.install.db.config.starterdb.SID=orcl
oracle.install.db.ConfigureAsContainerDB=true
oracle.install.db.config.PDBName=orclpdb
oracle.install.db.config.starterdb.characterSet=AL32UTF8
oracle.install.db.config.starterdb.memoryOption=true
oracle.install.db.config.starterdb.memoryLimit=1471
oracle.install.db.config.starterdb.installExampleSchemas=false
oracle.install.db.config.starterdb.password.ALL=
oracle.install.db.config.starterdb.password.SYS=
oracle.install.db.config.starterdb.password.SYSTEM=
oracle.install.db.config.starterdb.password.DBSNMP=
oracle.install.db.config.starterdb.password.PDBADMIN=
oracle.install.db.config.starterdb.managementOption=DEFAULT
oracle.install.db.config.starterdb.omsHost=
oracle.install.db.config.starterdb.omsPort=0
oracle.install.db.config.starterdb.emAdminUser=
oracle.install.db.config.starterdb.emAdminPassword=
oracle.install.db.config.starterdb.enableRecovery=false
oracle.install.db.config.starterdb.storageType=FILE_SYSTEM_STORAGE
oracle.install.db.config.starterdb.fileSystemStorage.dataLocation=/u01/app/oracle/oradata
oracle.install.db.config.starterdb.fileSystemStorage.recoveryLocation=
oracle.install.db.config.asm.diskGroup=
oracle.install.db.config.asm.ASMSNMPPassword=
[root@localhost db]#