pytest
基础篇
1,最简单的示例
import pytest


def test_case_01():
    print("执行test01")
    assert 1  # 断言成功


def test_case_02():
    print("执行test02")
    assert 0  # 断言失败


if __name__ == '__main__':
    pytest.main(['test_01.py'])
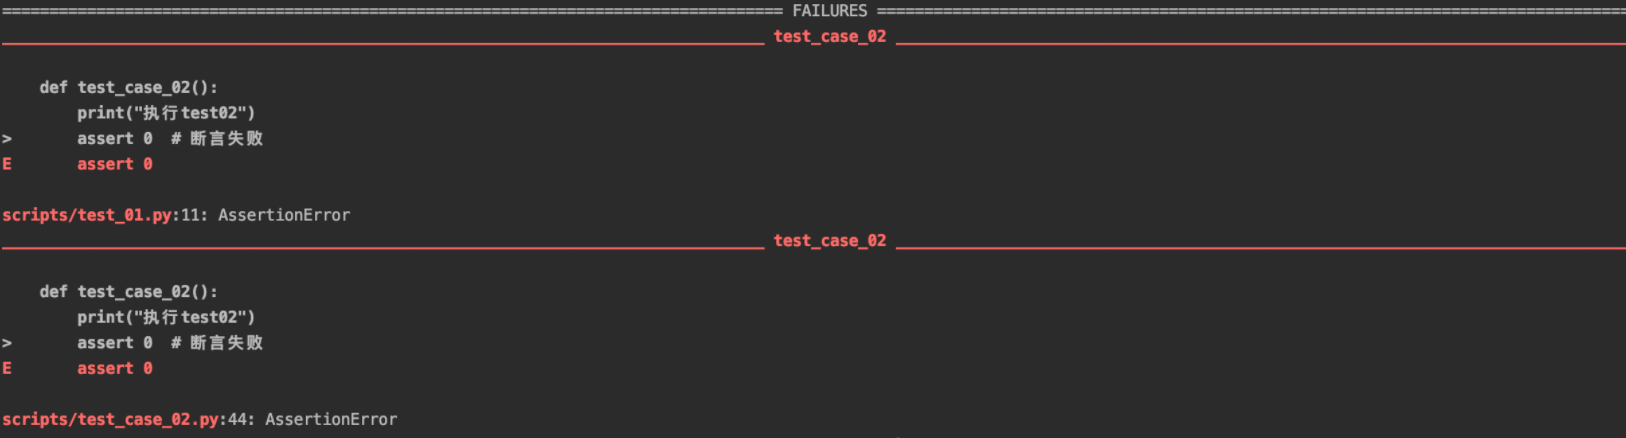
运行结果如下:
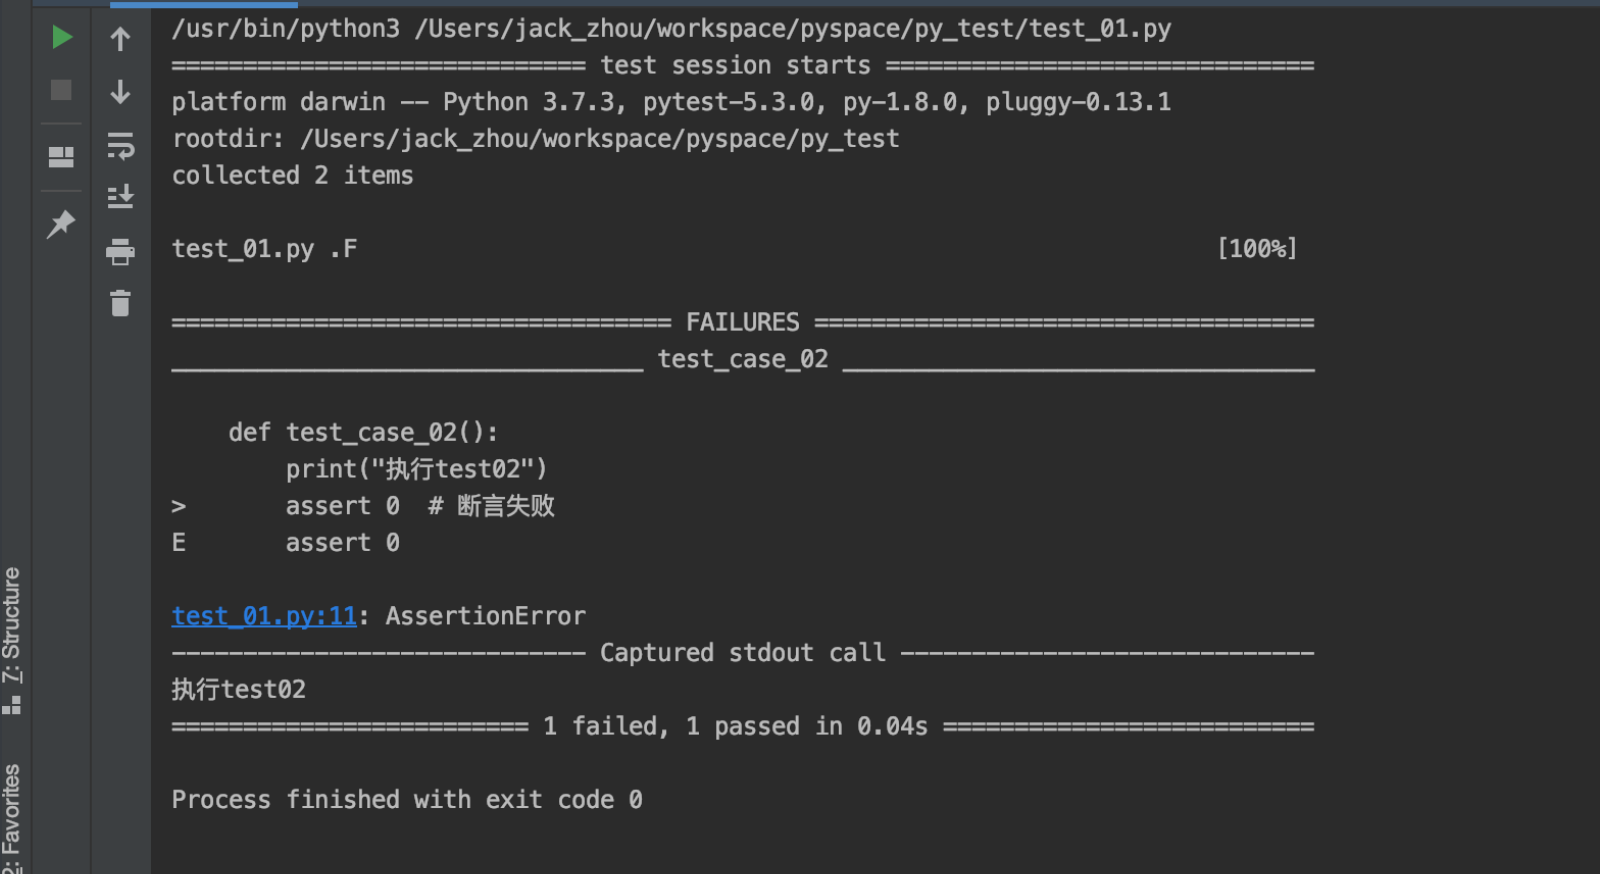
如图所示:
在执行完成之后先会显示test01.py,后面跟着.F
其中.代表执行成功,F代表执行失败,并且在下方会展示错误的提示
2,pytest使用步骤:
1,导入pytest
2,编写测试用例
一,无需在测试类下编写测试用例,可以直接编写测试函数
二,测试函数名必须包含test_ 开头,或者_test结尾;
3,在pytest框架下执行测试用例
在py文件内执行测试用例: pytest.main(['test_01.py'])
3,查看执行结果
一,.代表执行成功
二,F代表执行失败
4,pytest中的setup和teardown函数
首先看原有的unitest的博文中:点击进入
一,模块级别,对整个py文件作用
setup_module/teardown_module
二,函数级别,对测试用例作用(不在测试类中)
setup_function/teardown/function
三,类级别,对测试类作用
setup_class/teardown_class
四,方法级别,对测试类中的测试用例起作用
setup_method/teardown_method
下面看一下实现过程:
# -*- coding=utf-8 -*-
# @Time    : 2019/11/25 10:49 下午
# @Site    :
# @File    : test_case_02.py
# @Software: PyCharm
# @Author 周力


import pytest

"""
函数级别的setup/teardown
"""


def setup_function():
    print("在测试用例执行前去执行")


def teardown_function():
    print("在测试用例执行后去执行")


def test_case_01():
    print("执行test01")
    assert 1  # 断言成功


def test_case_02():
    print("执行test02")
    assert 0  # 断言失败


if __name__ == '__main__':
    pytest.main(['test_case_02.py'])
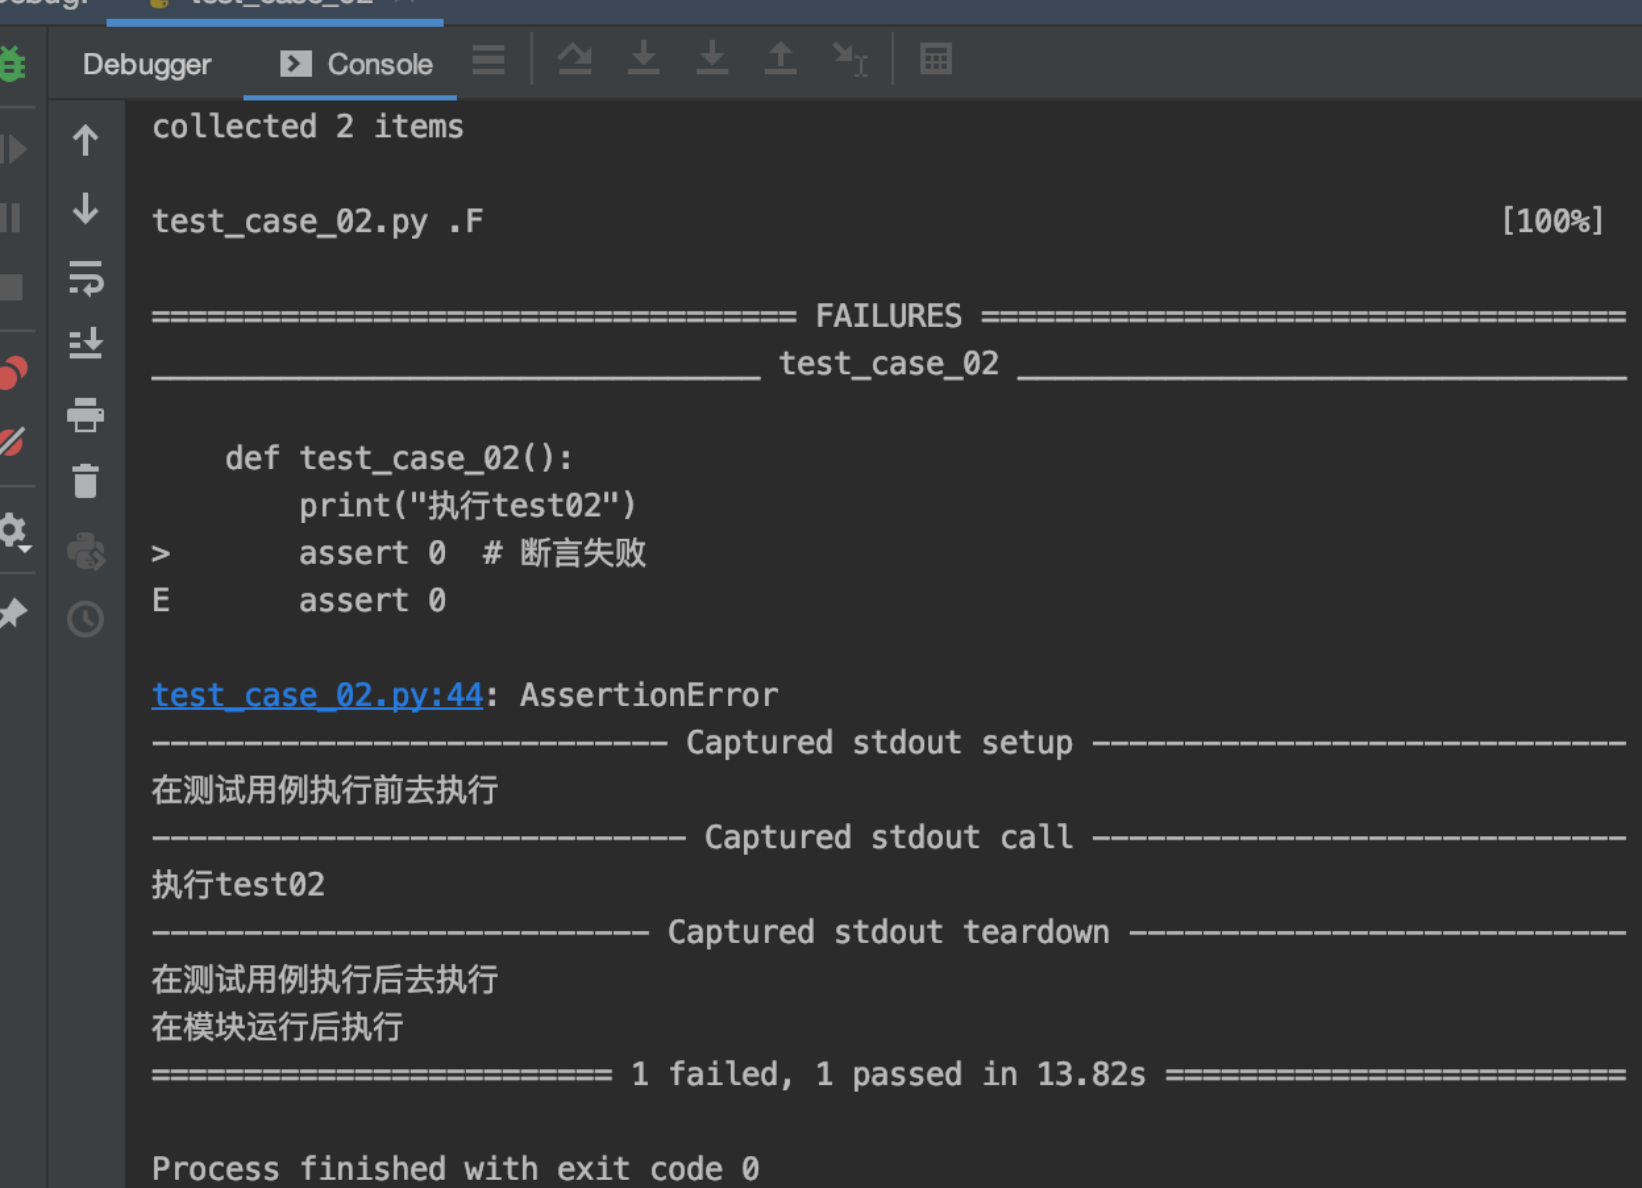
打印结果如下:

# -*- coding=utf-8 -*-
# @Time    : 2019/11/25 10:49 下午
# @Site    :
# @File    : test_case_02.py
# @Software: PyCharm
# @Author 周力


import pytest

"""
函数级别的setup/teardown
"""


def setup_function():
    print("在测试用例执行前去执行")


def teardown_function():
    print("在测试用例执行后去执行")


"""
模块级别的setup/teardown
"""


def setup_module():
    print("在模块运行前执行")


def teardown_module():
    print("在模块运行后执行")


def test_case_01():
    print("执行test01")
    assert 1  # 断言成功


def test_case_02():
    print("执行test02")
    assert 0  # 断言失败


if __name__ == '__main__':
    pytest.main(['test_case_02.py'])
# -*- coding=utf-8 -*-
# @Time    : 2019/11/25 11:14 下午
# @Site    :
# @File    : test_case_03.py
# @Software: PyCharm
# @Author 周力

import pytest

"""
类级别和方法级别,前提是在测试类中进行使用
"""


class TestCase:  # 不需要继承
    """
    类级别的setup/teardown
    """

    def setup_class(self):
        print("在类执行前执行一次")

    def teardown_class(self):
        print("在类执行后执行一次")

    def setup_method(self):
        print("在测试方法执行前执行")

    def teardown_method(self):
        print("在测试方法执行后执行一次")

    def test_a(self):
        print("执行测试用例a")
        assert 1

    def test_b(self):
        print("执行测试用例b")
        assert 0


if __name__ == '__main__':
    pytest.main(['test_case_03.py'])
4,总结:
一,pytest测试类写法:
1,测试类开头Test,必须大写
######     2,测试类中不需要 __init__ 方法

######     3,测试类中的测试方法的编写规则和测试函数的编写规则一致
5,pytest配置文件
一,pytest的配置文件通常放在测试目录下:名称pytest.ini,命令行运行时会使用配置文件进行配置
1,配置命令行的运行参数
addopts = -s # 空格分割,可添加多个命令行参数,所有参数均为插件包参数
2,配置测试搜索的文件名
testpaths = ./scripts # 当前目录下的scripts文件夹 可以自定义
3,配置测试搜索的类名
python_files = test_*.py # 当前目录下所有scripts文件夹下,以test开头, 以.py为结尾的所有文件
4,配置测试搜索的函数名
python_classes = Test_* # 当前目录下所有scripts文件夹下,以 test_ 开头,以.py结尾的所有文件中,以Test_开头的所有类
5,配置测试搜索的测试函数名
python_functions = test_* # 当前目录下所有scripts文件夹下,以 test_ 开头,以.py结尾的所有文件中,以Test_开头的所有类,中的以test_开头的方法
示例如下(pytest.ini):
[pytest]

addopts = -s

testpaths = ./scripts

python_files = test_*.py

python_classes = Test*

python_functions = test*
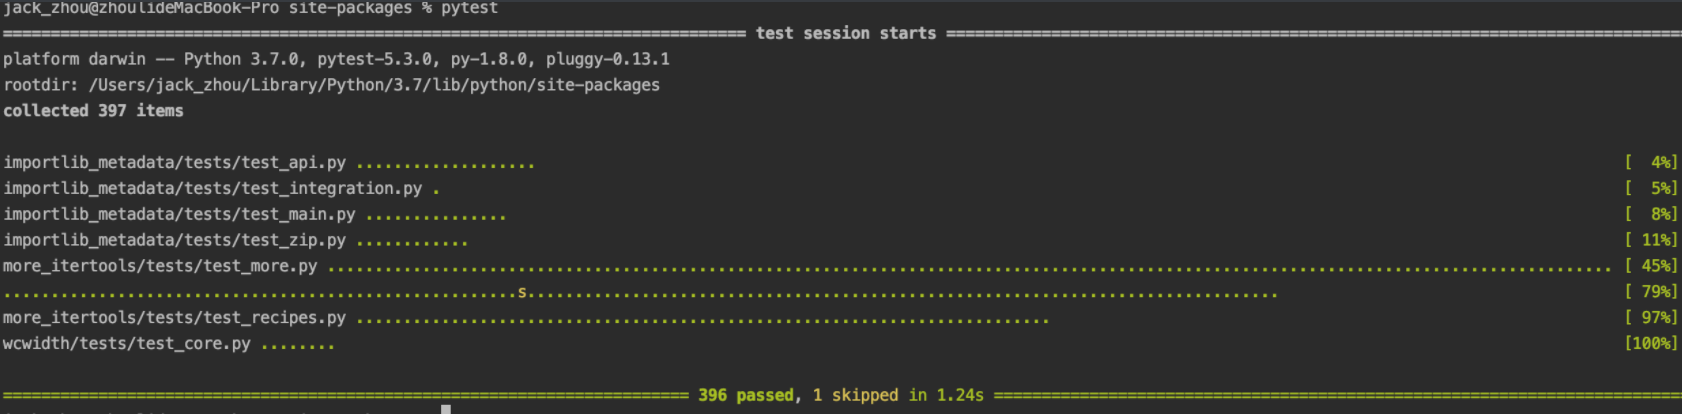
在终端中直接输入pytest即可执行
6,pytest常用插件
一,pytest-html (生成测试报告)
在配置文件中添加 addopts = -s --html=report/report.html
也就是配置文件变为:
[pytest]

addopts = -s --html=report/report.html

testpaths = scripts

python_files = test_*.py

python_classes = Test*

python_functions = test*
再次运行pytest,就会在测试目录下生成一个report的文件夹,存放着report.html文件
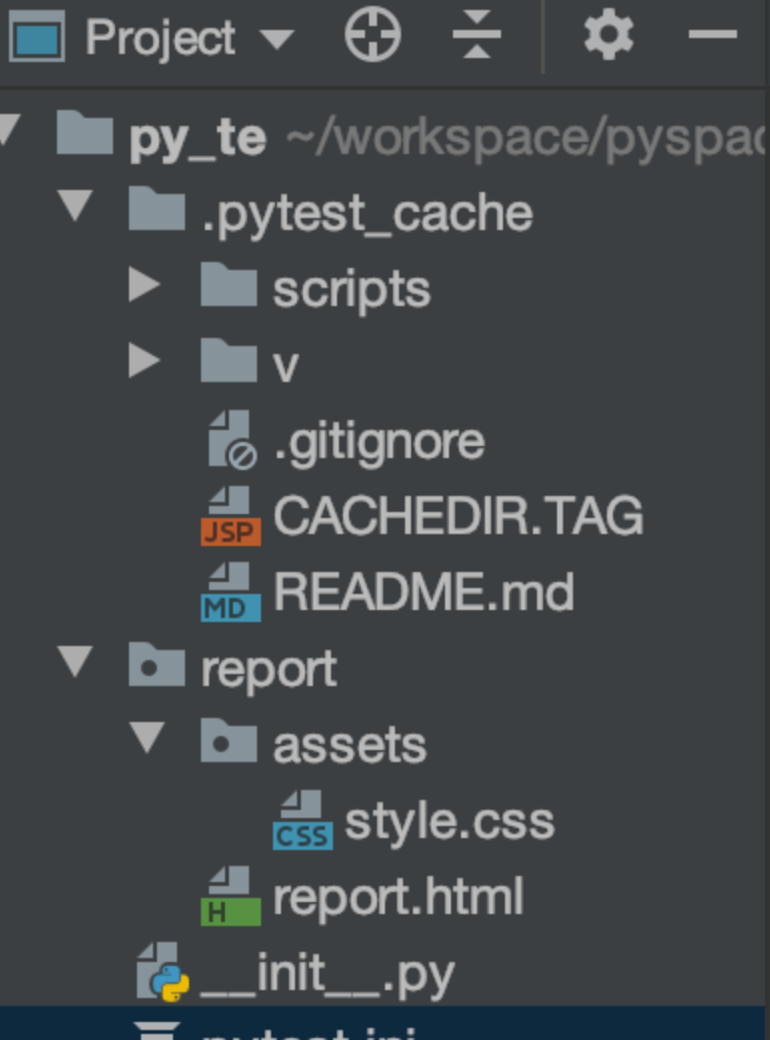
页面打开如图:

二,pytest-ordering(控制测试用例的执行顺序)
在被执行的用例前添加 @pytest.mark.run(order=x)
示例代码如下:
# -*- coding=utf-8 -*-
# @Time    : 2019/11/27 12:10 上午
# @Site    :
# @File    : test_ordering.py
# @Software: PyCharm
# @Author 周力


import pytest
"""
pytest 控制用例执行顺序的方法
在所需要调整用例执行顺序的函数or方法之前增加@pytest.mark.run(order=x) x表示数字
"""


class TestOrdering:
    def test_login(self):
        print("login……")
        assert 1

    def test_register(self):
        print("register……")
        assert 1

    def test_buy(self):
        print("buy(^_^)")
        assert 1
执行pytest test_ordering.py 结果如下:
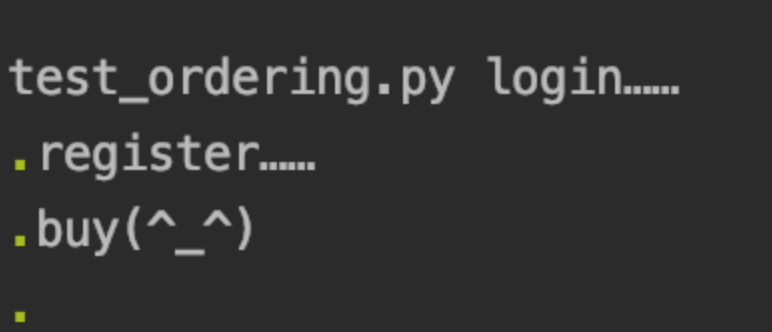
可以看到,目前执行顺序是按写的顺序执行,那如果加上装饰器呢?
# -*- coding=utf-8 -*-
# @Time    : 2019/11/27 12:10 上午
# @Site    :
# @File    : test_ordering.py
# @Software: PyCharm
# @Author 周力


import pytest
"""
pytest 控制用例执行顺序的方法
在所需要调整用例执行顺序的函数or方法之前增加@pytest.mark.run(order=x) x表示数字
数字的形式:小数;整数;等
正数:
零
负数
小数:
"""


class TestOrdering:
    @pytest.mark.run(order=3)
    def test_login(self):
        print("login……")
        assert 1

    @pytest.mark.run(order=2)
    def test_register(self):
        print("register……")
        assert 1

    @pytest.mark.run(order=1)
    def test_buy(self):
        print("buy(^_^)")
        assert 1
执行顺序恰恰相反:
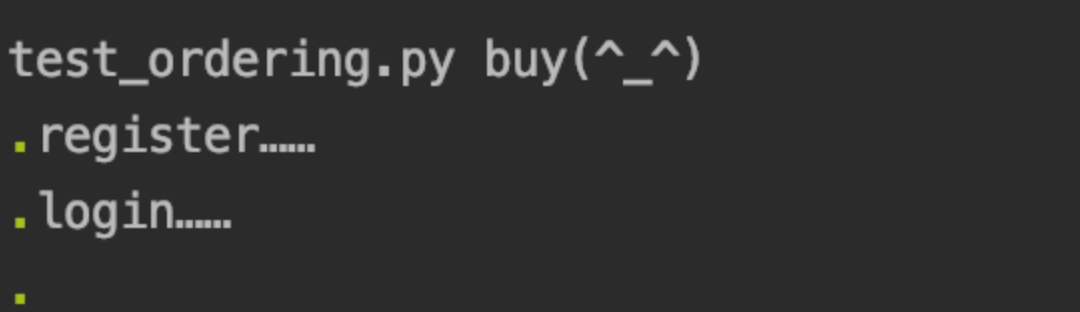
使用pytest.mark.run(order=x)
执行顺序按以下排列
0>正数>没有修饰>负数>
7,Pytest 失败重试
简介:通过命令行的方式,控制失败函数的重试次数
安装pytest-rerunfailures
使用方法:
一,在配置文件中命令行参数中添加新参数
1, --reruns=2 失败重跑2次
[pytest]

addopts = -s --html=report/report.html --reruns=2

testpaths = scripts

python_files = test_*.py

python_classes = Test*

python_functions = test*
运行pytest之后完全可以看到,失败之后重跑了2次
2, 什么才算失败?
当然如果在失败重跑未达到最大次数之前成功了,就不会算做失败了
进阶篇
1,跳过测试函数
根据特定条件,不执行标志的测试函数
一,使用方法
skipif(condition, reason=None)
1,condition:跳过的条件,必传参数
2,reason:标注原因,(约定俗成必传参数)
@pytest.mark.skipif(condition, reason="XXX")
二,代码示例
# -*- coding=utf-8 -*-
# @Time : 2019/11/27 11:47 下午
# @Site :
# @File : test_skip.py
# @Software: PyCharm
# @Author 周力
import pytest
"""
跳过测试的使用方法
@pytest.mark.skipif(条件, 原因)
"""
@pytest.mark.skipif(2>1, reason="条件为真跳过")
def test_skip_01():
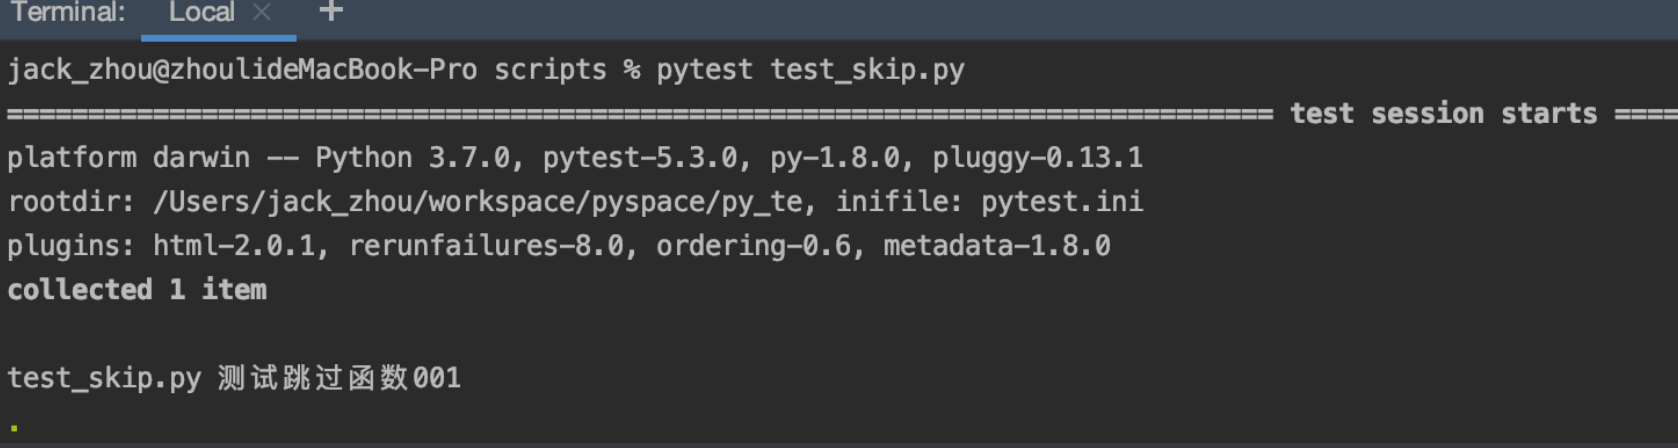
print("测试跳过函数001")
assert 2 > 1
@pytest.mark.skipif(1>2, reason="条件为假跳过")
def test_skip_01():
print("测试跳过函数001")
assert 1
结果如下:
2,预期失败
标记函数为失败函数
一,使用方法
xfail(condition=None, reason=None, raise=None, run=True, strict=False)
1,condition:预期失败的条件
2,reason:标注原因,(约定俗成必传参数)
二,代码示例:
# -*- coding=utf-8 -*-
# @Time    : 2019/11/28 12:00 上午
# @Site    :
# @File    : test_xfail.py
# @Software: PyCharm
# @Author 周力


import pytest

"""
预期失败的方法
预期失败---》失败
预期失败---》成功
预期成功---》成功
预期成功---》失败
"""


@pytest.mark.xfail(1 < 2, reason="预期失败")
def test_xfail1():
    print("预期失败---》失败")
    assert 0


@pytest.mark.xfail(1 < 2, reason="预期失败")
def test_xfail2():
    print("预期失败---》成功")
    assert 1


@pytest.mark.xfail(2 > 1, reason="预期成功")
def test_xfail3():
    print("预期成功---》成功")
    assert 1


@pytest.mark.xfail(2 > 1, reason="预期成功")
def test_xfail4():
    print("预期成功---》失败")
    assert 0
结果如下:

当然我们也可以读报告
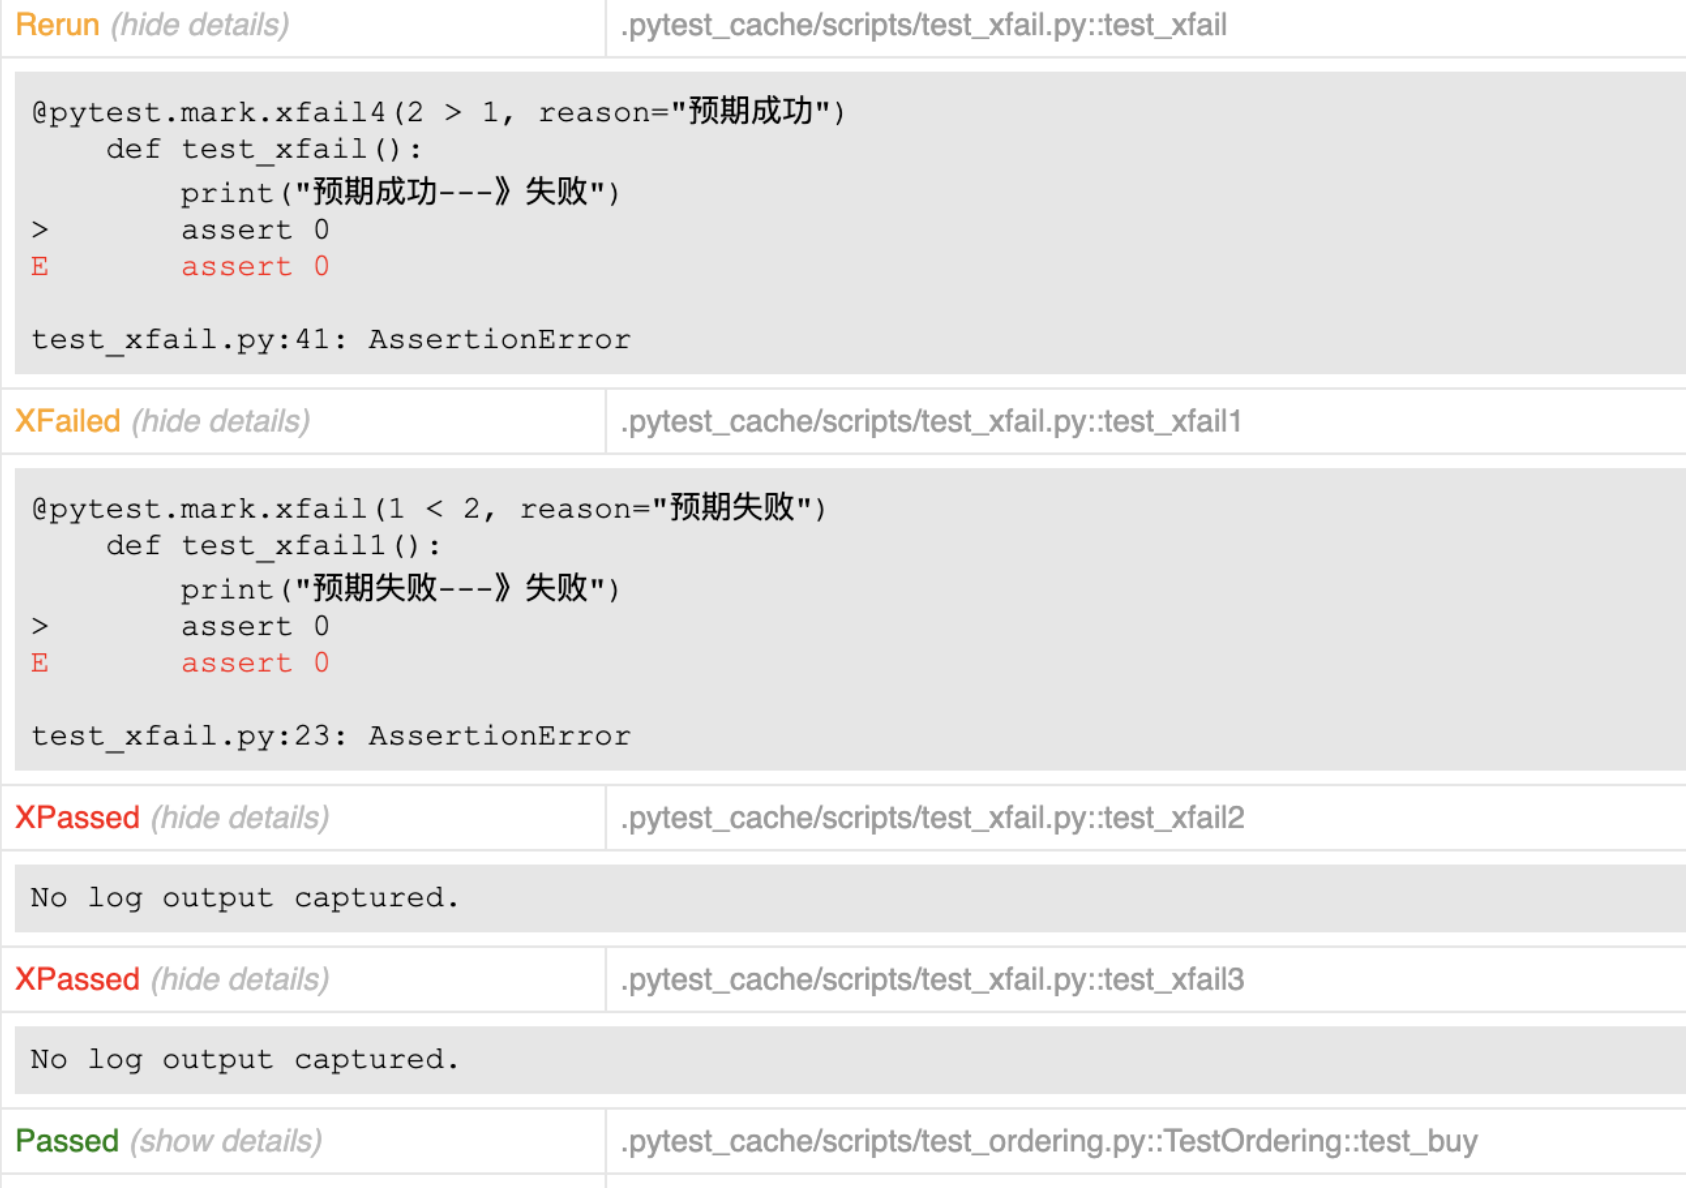
三,总结
预期失败---》失败
预期失败---》成功
预期成功---》成功
预期成功---》失败
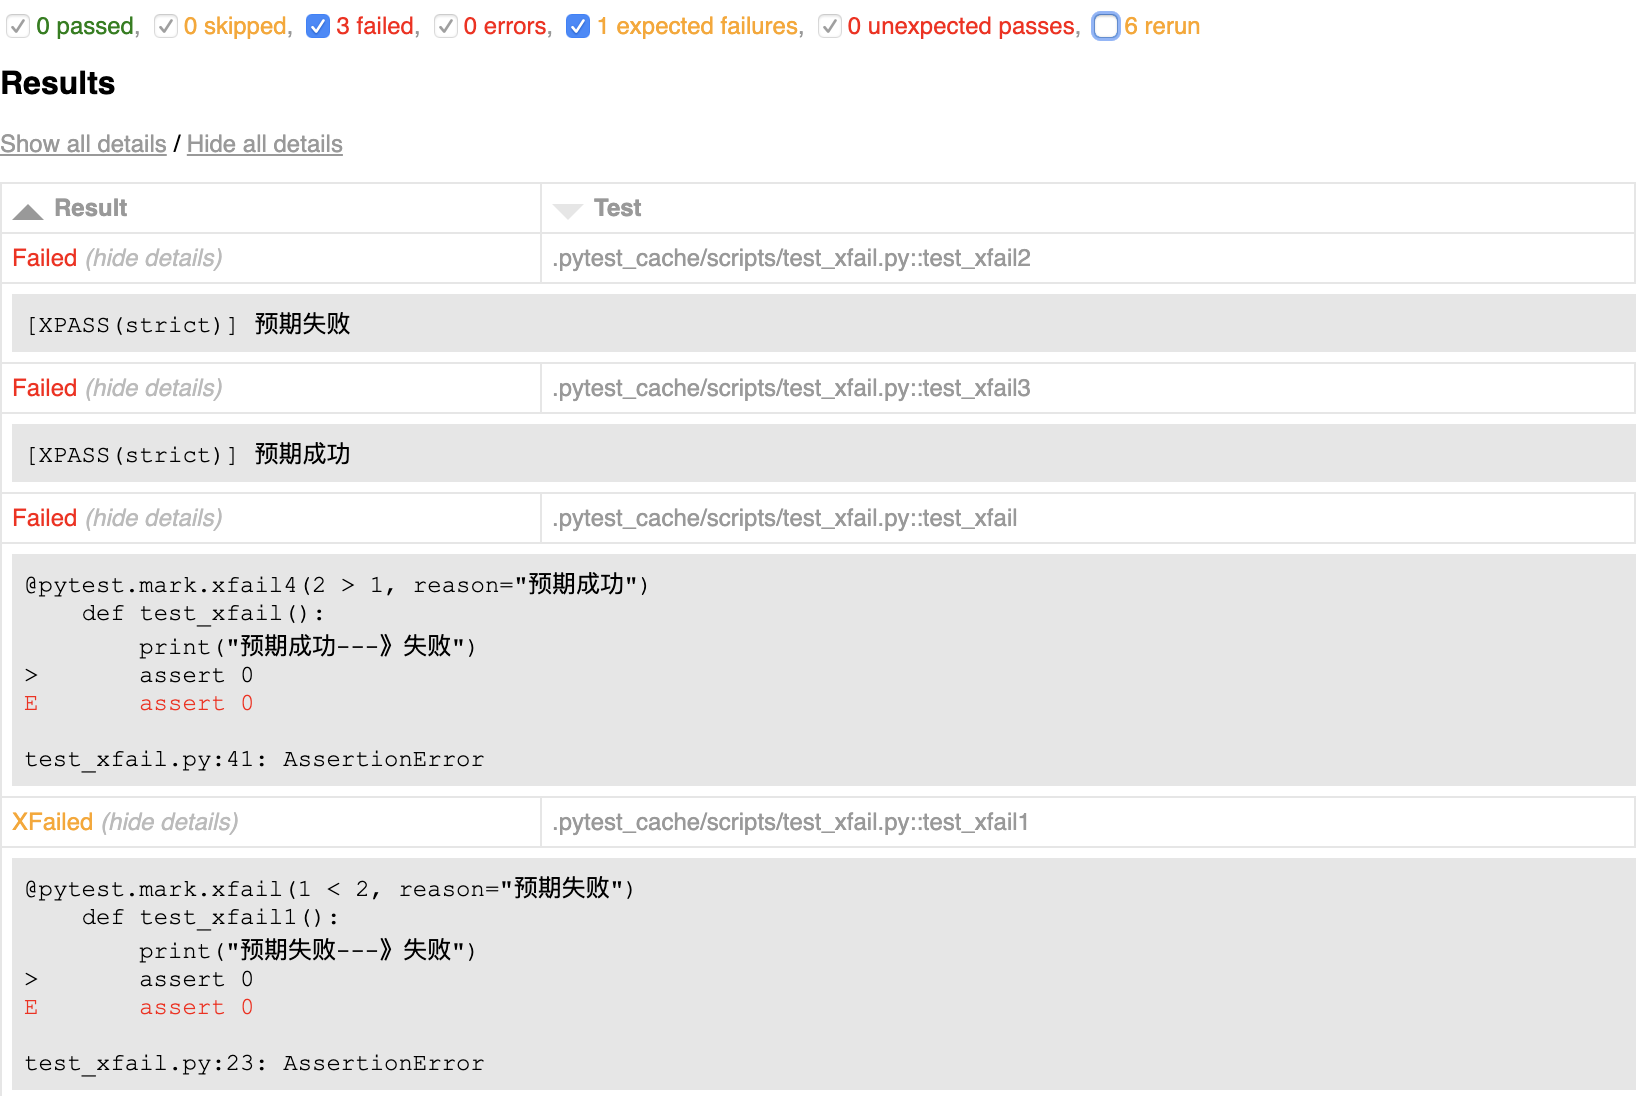
在配置文件中添加一个参数就可以过滤掉 比如预期失败结果成功或者预期成功结果失败的情况出现
xfail_strict=true
在执行pytest后,就会把不符合预期的结果直接标记为失败
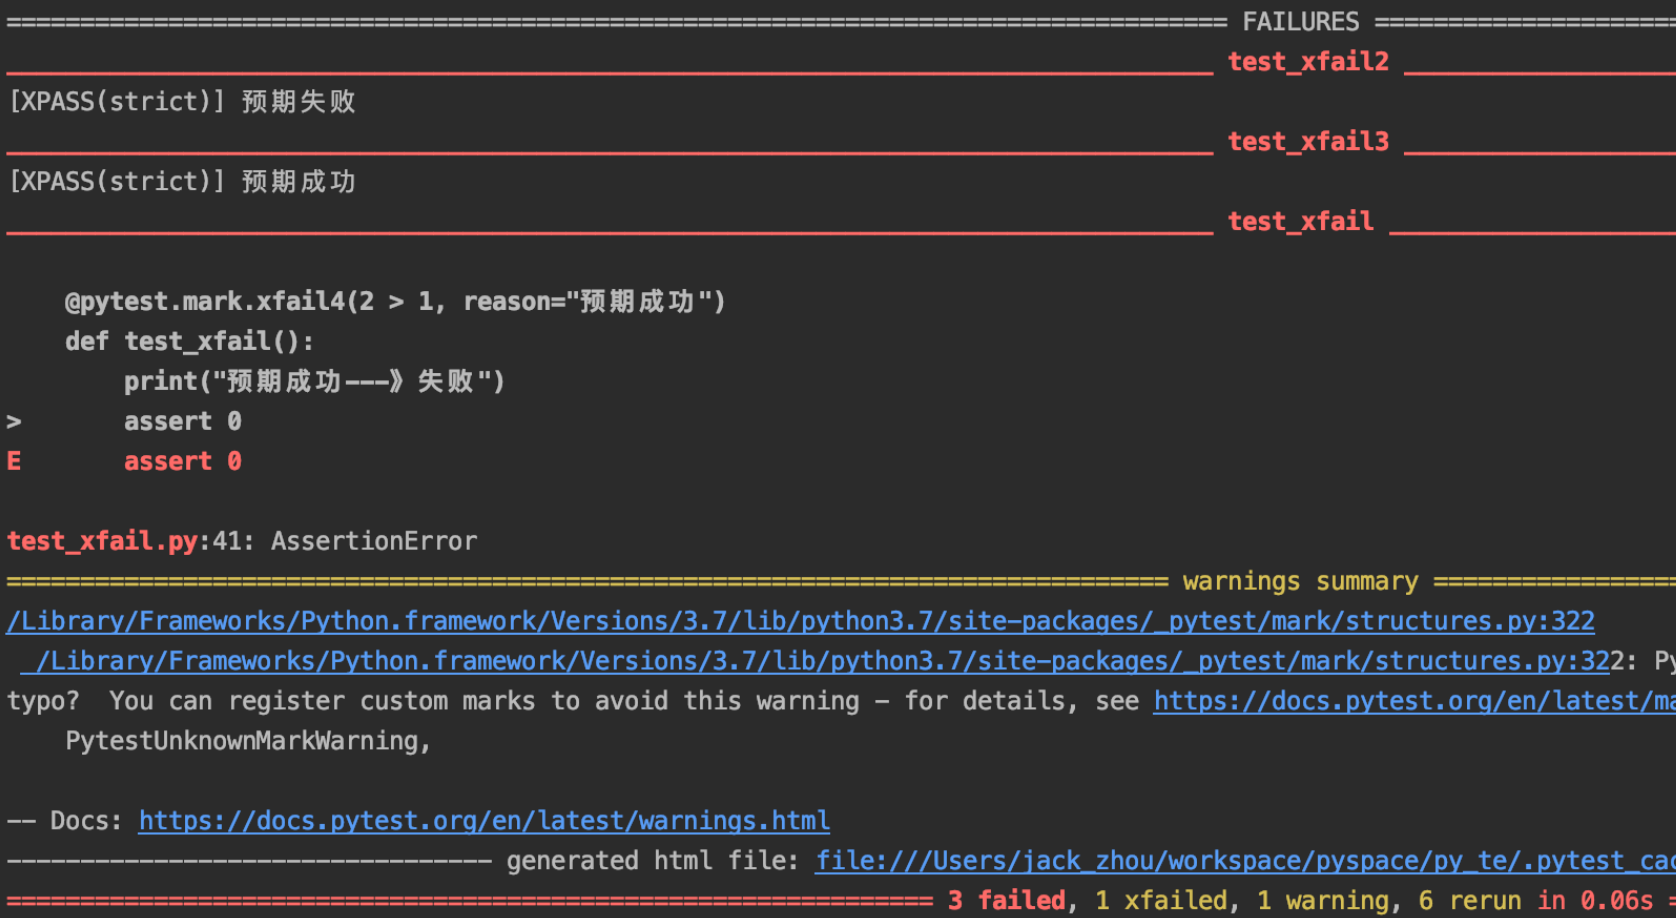
配置文件如下:
[pytest]

addopts = -s --html=report/report.html --reruns=2

testpaths = scripts

python_files = test_*.py

python_classes = Test*

python_functions = test*

xfail_strict=true
3,函数数据参数化
方便测试函数对于测试数据的获取
一,使用方法
使用parametraize(argnames, argvalues)
1,argnames,表示参数名
2,argvalues,参数值 类型是列表格式
二,使用方式
@pytest.mark.parametrize(argnames, argvalues)
1,首先看单参数的
# -*- coding=utf-8 -*-
# @Time : 2019/11/28 10:12 下午
# @Site :
# @File : test_parametrize.py
# @Software: PyCharm
# @Author 周力
import pytest
"""
语法:@parametrize(argnames, argvalues)
"""
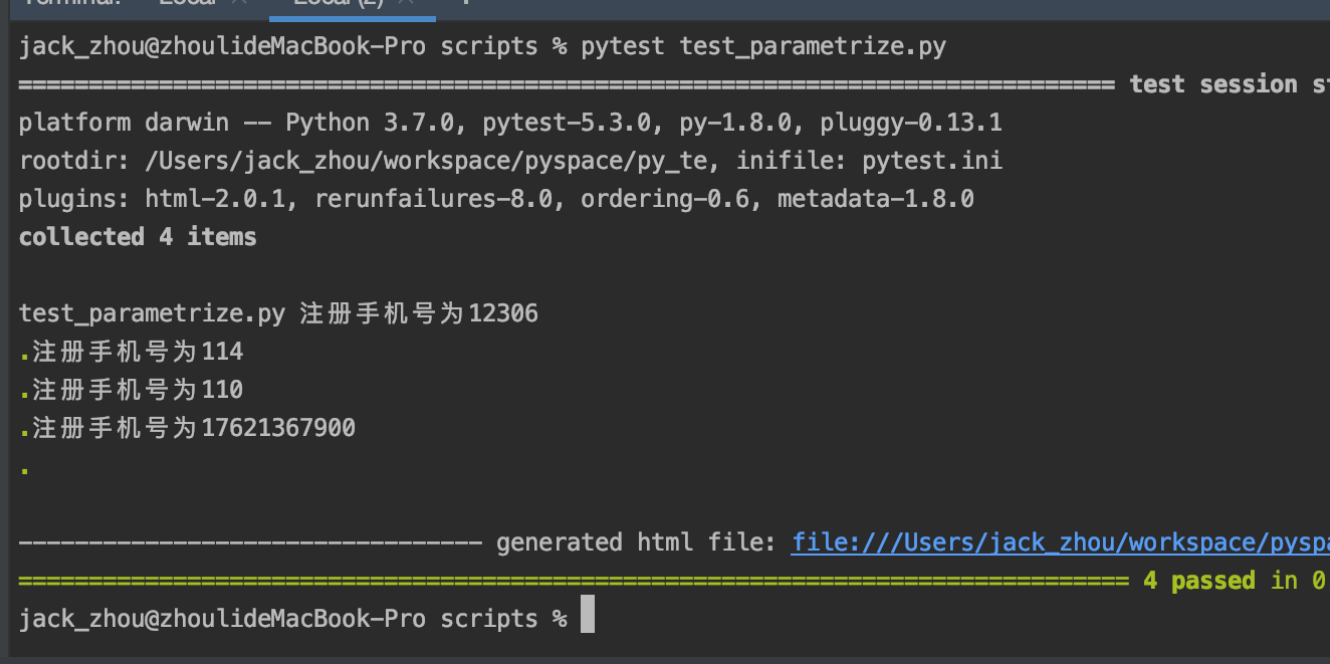
@pytest.mark.parametrize("mobile", ["12306", "114", "110", "17621367900"])
def test_register(mobile):
"""
单参数的测试
用户注册使用手机号
:return:
"""
print(f"注册手机号为{mobile}")
运行如下:
2,多个参数示例:
# -*- coding=utf-8 -*-
# @Time    : 2019/11/28 10:12 下午
# @Site    :
# @File    : test_parametrize.py
# @Software: PyCharm
# @Author 周力


import pytest
"""
语法:@parametrize(argnames, argvalues)
"""


@pytest.mark.parametrize("mobile", ["12306", "114", "110", "17621367900"])
@pytest.mark.parametrize("code", ["12", "23", "99"])
def test_register(mobile, code):
    """
    单参数的测试
    用户注册使用手机号
    用户注册使用验证码
    :return:
    """
    print(f"注册手机号为{mobile}")
    print(f"注册验证码为{code}")
那如果100个参数这样岂不是累死?
所以将上述参数改为"mobile, code", [(), (), ()]形式即可
4,使用pytest-fixture
优势:
firture相对于setup和teardowm来说应该有以下几点优势:
① 命名方式灵活,不局限于setup和teardown这几个命名
② conftest.py 配置里可以实现数据共享,不需要import就能自动找到一些配置
③ scope="module" 可以实现多个.py跨文件共享配置,每一个文件调用一次
④ scope="session" 以实现多个.py跨文件使用一个session来完成多个用例
pytest的fixture命名不在局限于setup和teardown命名方式
所有的fixture都可以卸载一个conftest.py的文件中,方便所有测试用例的使用
一,fixture的创建
# 1,@pytest.fixture()
# 2,编写一个普通函数
# 3,创建一个fixture
@pytestfixture()
def login():
  print("我在执行登陆操作")
二,fixture的使用
# 在需要使用fixture的测试用例中,当做参数传入即可
def test_shopping(login):  # 参数就是待测试函数名
  print("测试函数")
三,使用fixture实现setup和teardown
# -*- coding=utf-8 -*-
# @Time    : 2019/11/30 8:15 下午
# @Site    :
# @File    : test_fixture.py
# @Software: PyCharm
# @Author 周力

import pytest

"""
创建:
@pytest.fixture()
def fixture 名称()
    代码块
使用:
def 测试用例(fixture名):
    用例步骤

编写一个fixture,并用在测试用例中


"""


# 创建一个fixture
@pytest.fixture()
def login():
    print("用户登录成功")


# 使用fixture
def test_shopping(login):
    """
    测试购物
    :param login:
    :return:
    """
    print("正在执行购物操作")


def test_browser_goods():
    """
    测试浏览商品  无需登录
    :return:
    """
    print("测试浏览商品,不需要登录")
执行结果如下:
test_fixture.py 用户登录成功
正在执行购物操作
.测试浏览商品,不需要登录
.
从上面可以看出,fixture默认实现了setup方法,那如果假如teardown呢?
# -*- coding=utf-8 -*-
# @Time    : 2019/11/30 8:53 下午
# @Site    :
# @File    : test_fixture_setup_teardown.py
# @Software: PyCharm
# @Author 周力


import pytest

"""
使用yield关键字
"""


@pytest.fixture()
def login():
    print("打开浏览器,登录成功")
    yield
    print("关闭浏览器")


# 使用fixture
def test_shopping(login):
    """
    测试购物
    :param login:
    :return:
    """
    print("正在执行购物操作")


def test_ask_goods(login):
    """咨询商品需要登录"""
    print("我在咨询商品")


def test_browser_goods():
    """
    测试浏览商品  无需登录
    :return:
    """
    print("测试浏览商品,不需要登录")
pytest test_fixture_setup_teardown.py
结果如下:
test_fixture_setup_teardown.py 打开浏览器,登录成功
正在执行购物操作
关闭浏览器
.打开浏览器,登录成功
我在咨询商品
关闭浏览器
.测试浏览商品,不需要登录
.
四,使用addfinalizer(断开函数)
和yield的区别在于
① yield当用例执行完之,会执行yield后方的代码,但不能return
②addfinalizer这个实现功能和yield一样,可以return参数传给后面的用例
# -*- coding=utf-8 -*-
# @Time    : 2019/11/30 9:52 下午
# @Site    :
# @File    : test_addfinalizer.py
# @Software: PyCharm
# @Author 周力


import pytest
from selenium import webdriver


# 创建fixture
@pytest.fixture()
def open(request):
    driver = webdriver.Chrome()
    print("打开Chrome")

    def end():
        driver.quit()

    request.addfinalizer(end)  # 终结函数---自动实现teardown
    return driver


def test_baidu(open):
    open.get("http://www.baidu.com")
    title = open.title
    print(f"百度首页标题{title}")
    assert "百度" in title


def test_sina(open):
    open.get("http://www.ina.com")
    title = open.title
    print(f"新浪首页标题{title}")
    assert "新浪" in title
五,fixture其他方法的使用
# 参数化
@pytest.fixture(params=[1, 2, 3])
def phone(request):
    """获取参数"""
    return request.param  # 返回之后如何使用呢?


def test_mobile(phone):
    print(f"电话ID{phone}")
# 参数化
@pytest.fixture(params=[1, 2, 3])  # 电话ID
def phone(request):
    """获取参数"""
    return request.param  # 返回之后如何使用呢?


# 处理测试数据
@pytest.fixture(params=[12, 34, 56, 78])  # 验证码
def logininfo(phone, request):
    return (phone, request.param)


def test_login(logininfo):
    print(f"登录数据是{logininfo}")
.登录数据是(2, 12)
.登录数据是(3, 12)
.登录数据是(1, 34)
.登录数据是(2, 34)
.登录数据是(3, 34)
.登录数据是(1, 56)
.登录数据是(2, 56)
.登录数据是(3, 56)
.登录数据是(1, 78)
.登录数据是(2, 78)
.登录数据是(3, 78)