
程序代码
# coding: utf-8

'''
东南大学《数字图像处理》课程 作业3 - 灰度图放大
09017227 卓旭 written with Python 3

本程序内灰度图像作为二维数组,存储顺序为[行][列],像素点坐标表示为img[x][y],坐标系为
O--------> [y axis]
|
|
V [x axis]
'''

import imageio
import numpy as np
import cv2 # OpenCV仅用于显示图片,未使用其中的resize函数

IMAGE_PATH='./Img_Zoom.bmp'
ZOOM_IN_RATE=5

'''
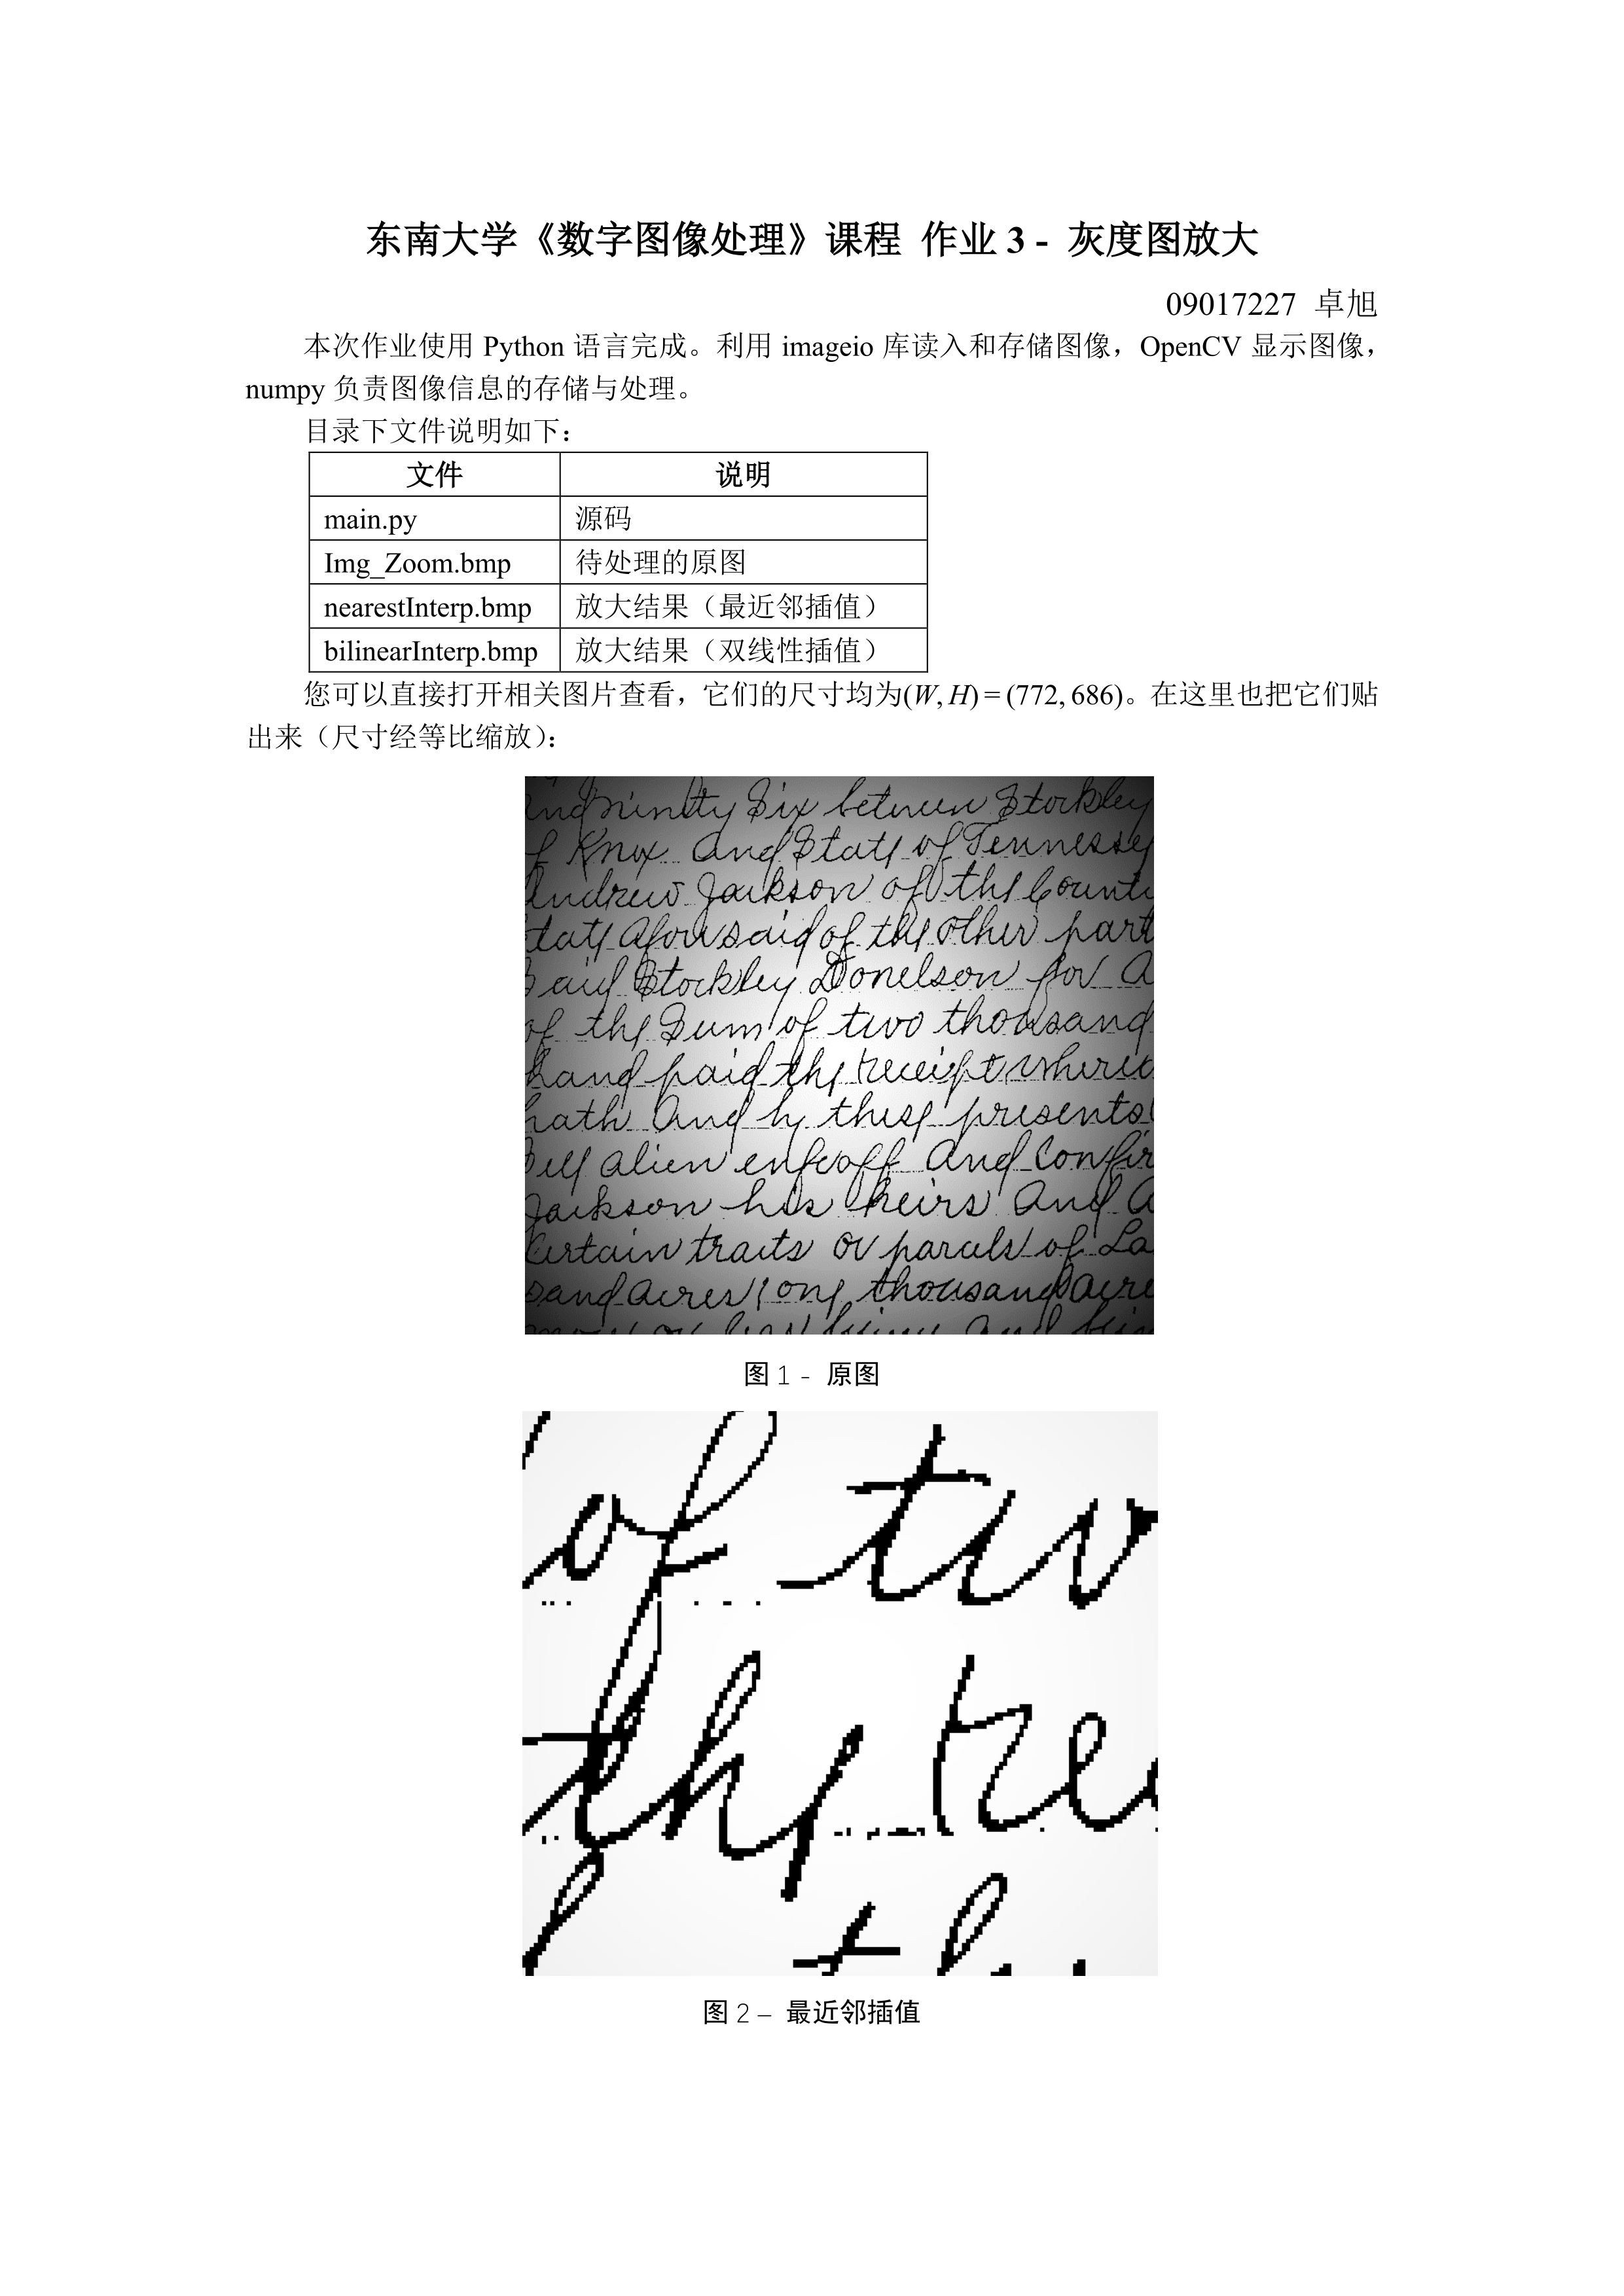
  读入灰度图像,转为二维numpy数组
'''
def readImage(imagePath):
  return imageio.imread(imagePath)

'''
  利用放大倍率计算目标图像在原图像的对应视区,返回四元组 (左上角x坐标, 左上角y坐标, 宽度, 高度)
'''
def getViewport(sourceImage, zoomInRate):
  centerX, centerY = list(map(lambda x: x / 2, sourceImage.shape))
  # width, height = list(map(lambda x: x / zoomInRate, sourceImage.shape))
  height, width = list(map(lambda x: x / zoomInRate, sourceImage.shape)) # 这里之前写错了,这次提交修改
  leftTopX, leftTopY = centerX - height / 2, centerY - width / 2
  return (leftTopX, leftTopY, width, height)

'''
  最近邻插值
'''
def nearestInterp(sourceImage, zoomInRate):
  leftTopX, leftTopY, _, _ = getViewport(sourceImage, ZOOM_IN_RATE)
  targetImage = np.zeros(sourceImage.shape, dtype=np.uint8)  # 生成全0目标图像,准备填充,数据类型为8bit数
  # 循环目标图像
  for i in range(targetImage.shape[0]):
    for j in range(targetImage.shape[1]):
      # 目标图像中一像素的步进,在原图像中相当于 1/zoomInRate 像素的步进
      # 利用四舍五入,自带取最近邻像素点的效果。半像素是分界线
      targetImage[i][j] = sourceImage[round(i / zoomInRate + leftTopX)][round(j / zoomInRate + leftTopY)]
  return targetImage

'''
  双线性插值
'''
def bilinearInterp(sourceImage, zoomInRate):
  leftTopX, leftTopY, _, _ = getViewport(sourceImage, ZOOM_IN_RATE)
  targetImage = np.zeros(sourceImage.shape, dtype=np.uint8)  # 生成全0目标图像,准备填充,数据类型为8bit数
  F = lambda point: sourceImage[point[0]][point[1]] # 返回原图指定坐标处的灰度值
  # 循环目标图像
  for i in range(targetImage.shape[0]):
    for j in range(targetImage.shape[1]):
      # 目标图像中一像素的步进,在原图像中相当于 1/zoomInRate 像素的步进
      # 算出原图像四个插值数据点的坐标
      p00 = [int(i / zoomInRate + leftTopX), int(j / zoomInRate + leftTopY)]
      p01 = [int(i / zoomInRate + leftTopX), int(j / zoomInRate + leftTopY) + 1]
      p10 = [int(i / zoomInRate + leftTopX) + 1, int(j / zoomInRate + leftTopY)]
      p11 = [int(i / zoomInRate + leftTopX) + 1, int(j / zoomInRate + leftTopY) + 1]
      # 当前点在原图像的坐标
      p = [i / zoomInRate + leftTopX, j / zoomInRate + leftTopY]
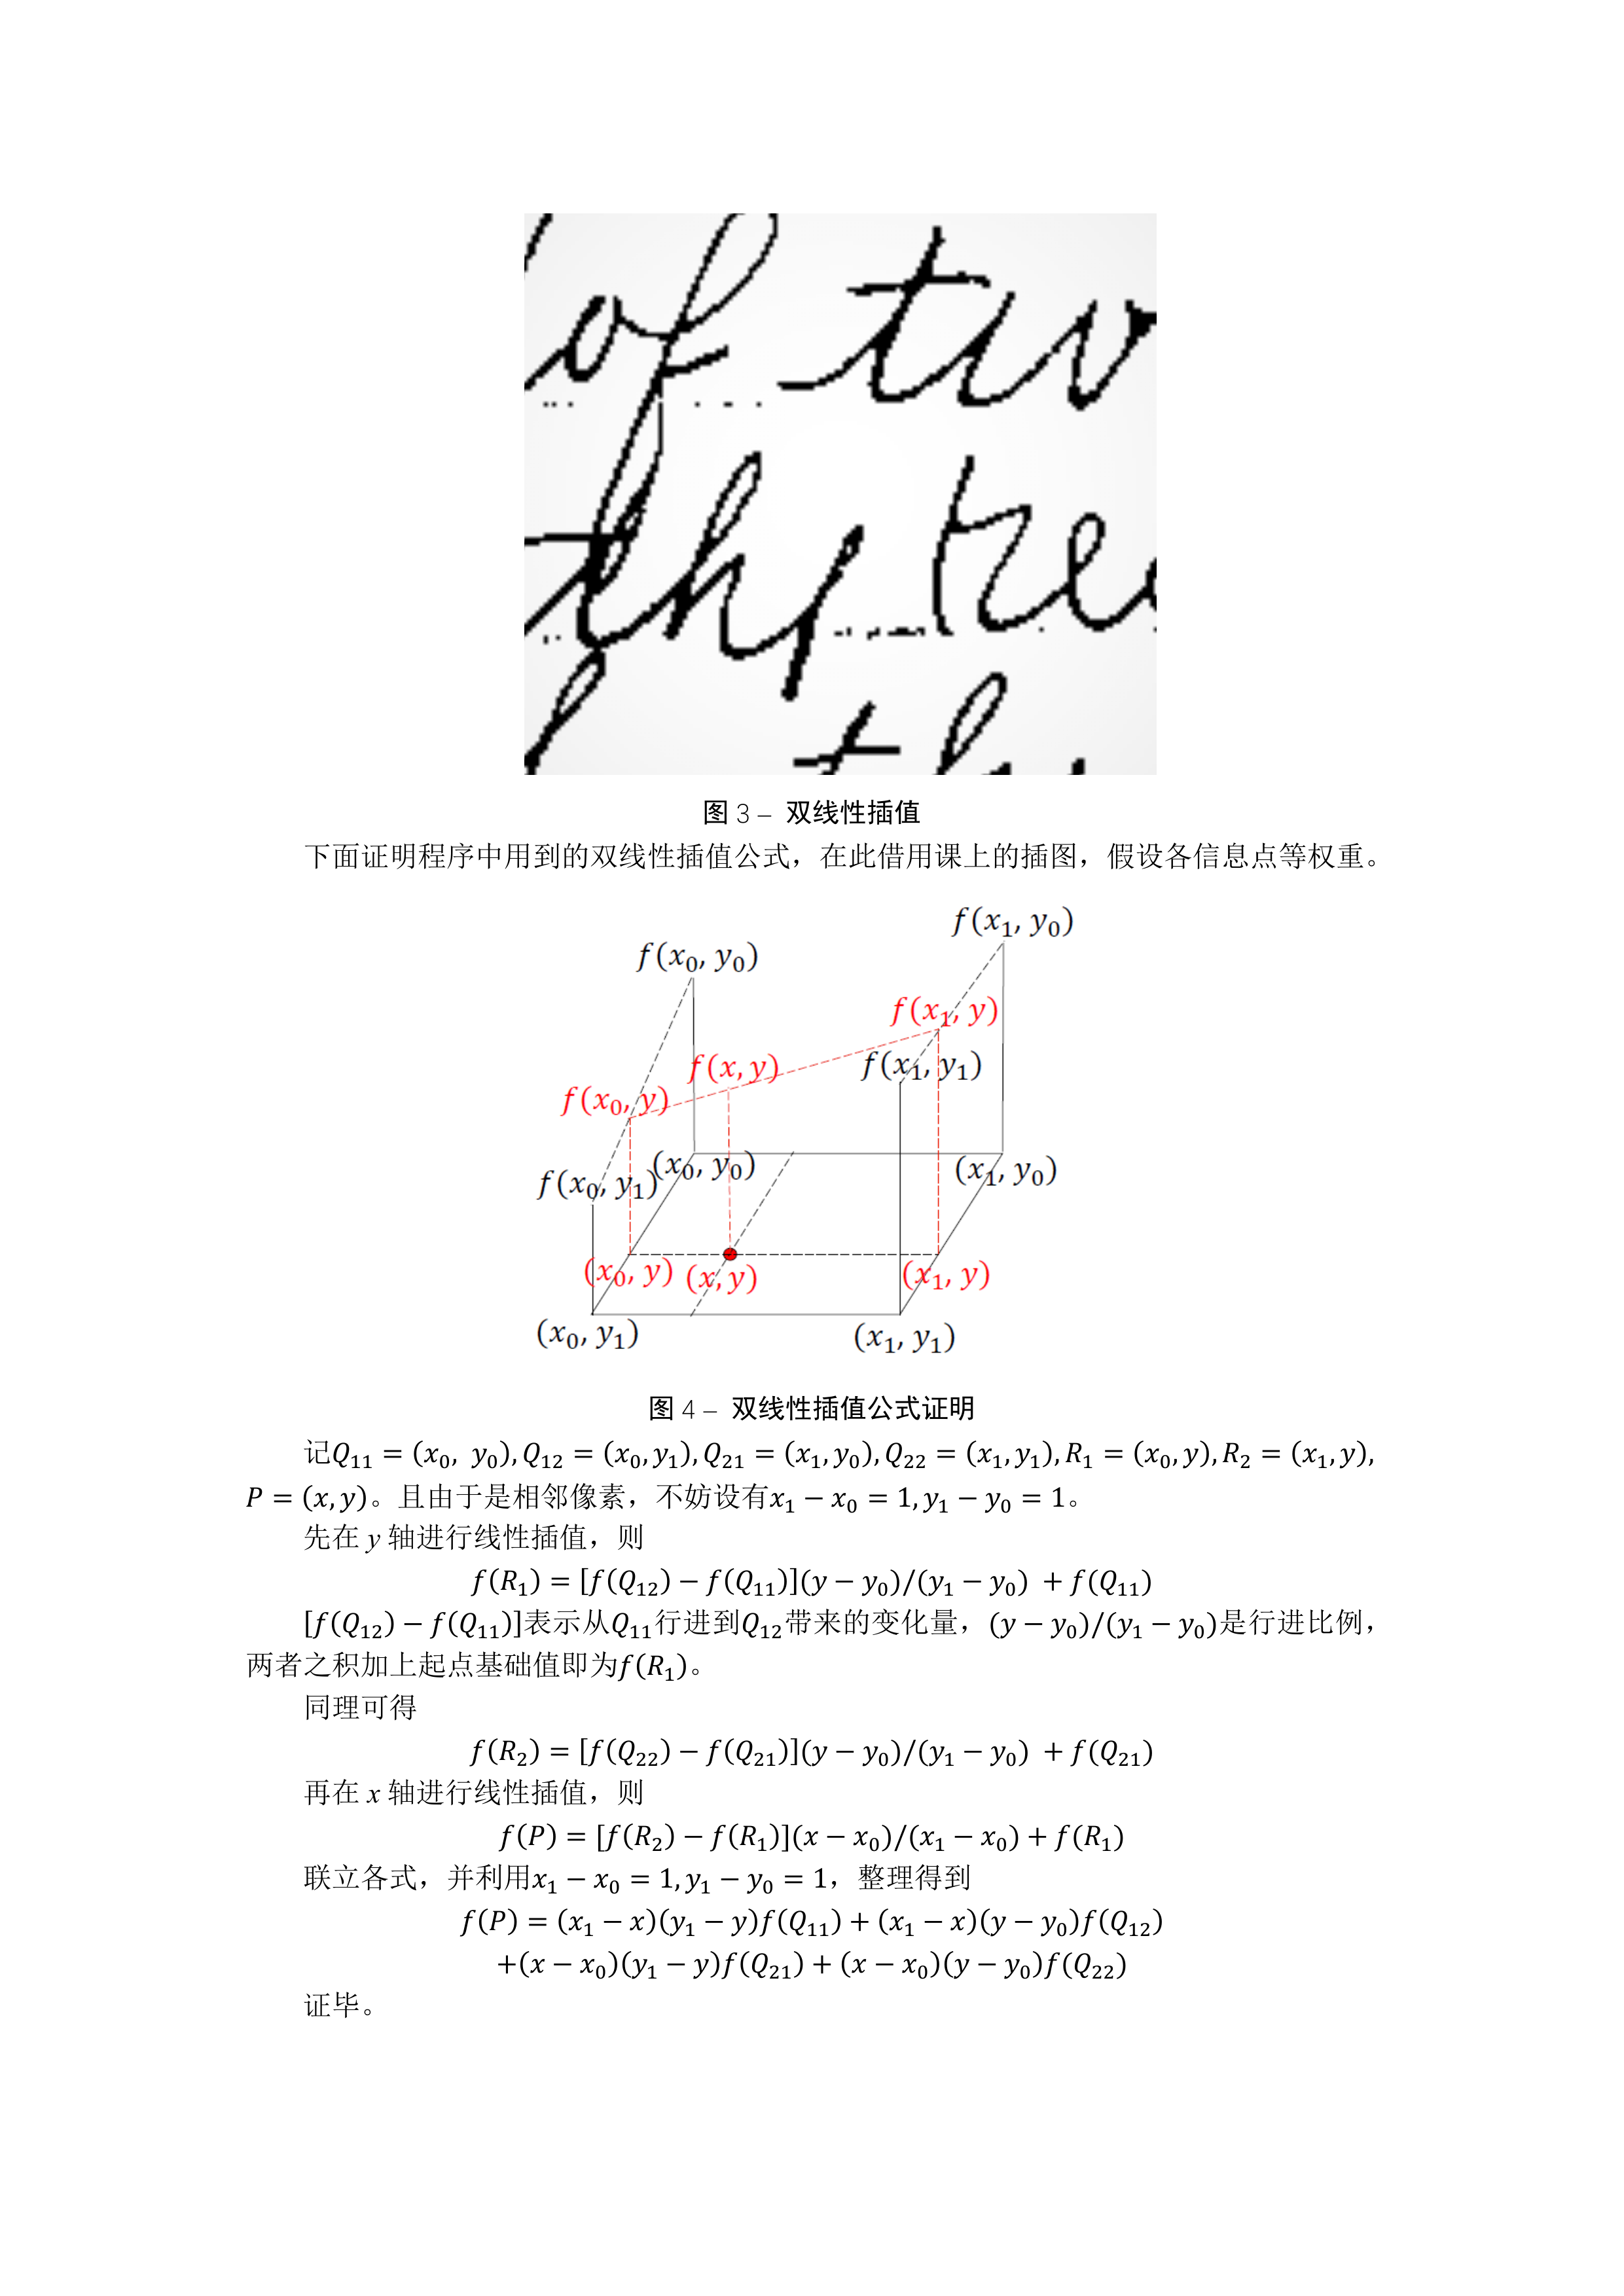
      # 假设四个插值数据点的权重均相同,该公式的推导请看附带文档
      x0 = p00[0]; x1 = x0 + 1; y0 = p00[1]; y1 = y0 + 1; x = p[0]; y = p[1]
      targetImage[i][j] = (x1 - x) * (y1 - y) * F(p00) +
                          (x1 - x) * (y - y0) * F(p01) +
                          (x - x0) * (y1 - y) * F(p10) +
                          (x - x0) * (y - y0) * F(p11)
  return targetImage

if __name__ == '__main__':
  sourceImage = readImage(IMAGE_PATH)
  print("计算最近邻插值中...")
  targetImage1 = nearestInterp(sourceImage, ZOOM_IN_RATE)
  print("计算双线性插值中...")
  targetImage2 = bilinearInterp(sourceImage, ZOOM_IN_RATE)
  print("计算完成,开始依次显示")
  cv2.imshow("nearestInterp", targetImage1)
  cv2.waitKey(0)
  imageio.imwrite('nearestInterp.bmp', targetImage1)
  print("最近邻插值保存成功")
  cv2.imshow("bilinearInterp", targetImage2)
  imageio.imwrite('bilinearInterp.bmp', targetImage2)
  print("双线性插值保存成功")
  cv2.waitKey(0)

