比起传统复杂的单体工程,使用Maven的多模块配置,可以帮助项目划分模块,鼓励重用,防止POM变得过于庞大,方便某个模块的构建,而不用每次都构建整个项目,并且使得针对某个模块的特殊控制更为方便。接下来,本文将重点阐述SpringBoot在Maven环境的多模块构建过程。
第一步:创建父工程
使用spring Tool Suite的童鞋可以直接new一个spring starter project;使用idea和eclipse童鞋可以通过插件使用 Spring Initializr ,快速创建springboot工程;
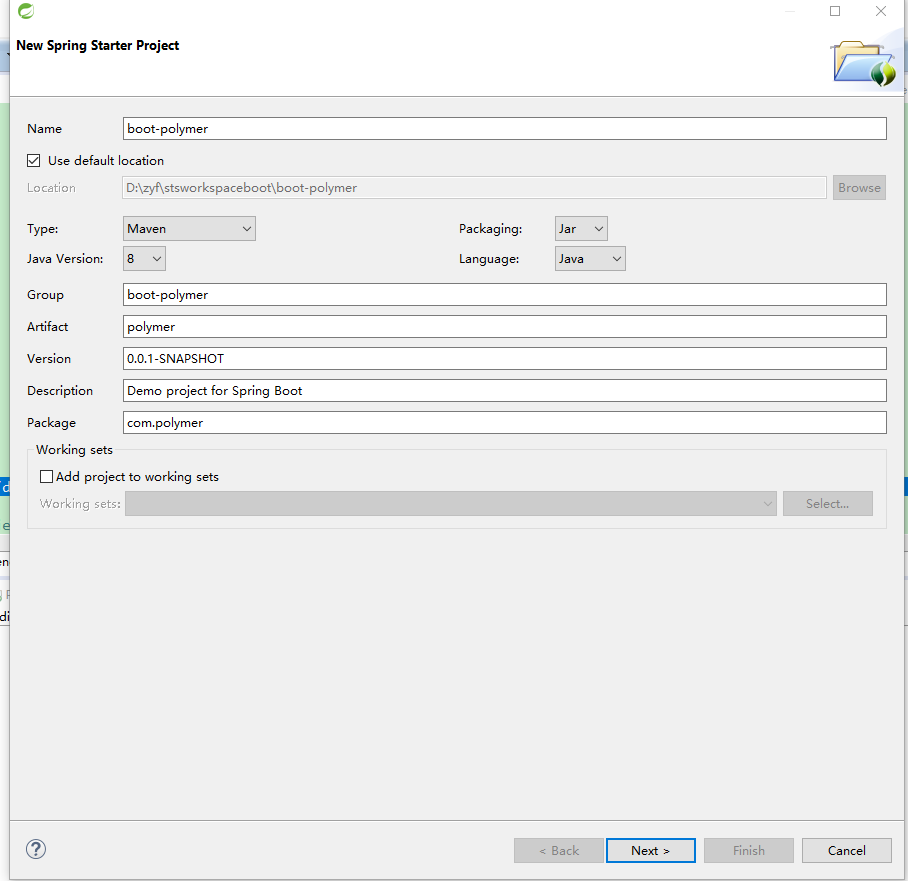
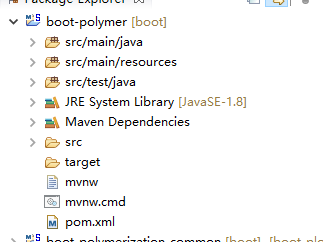 然后去掉,无关紧要的东西留下pom文件就好了,这样父工程就创建好了;
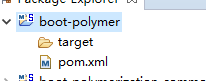
第二步:给父工程添加pom文件配置:
<?xml version="1.0" encoding="UTF-8"?>
<project xmlns="http://maven.apache.org/POM/4.0.0" xmlns:xsi="http://www.w3.org/2001/XMLSchema-instance"
    xsi:schemaLocation="http://maven.apache.org/POM/4.0.0 http://maven.apache.org/xsd/maven-4.0.0.xsd">

    <!-- 基本信息 -->
    <description>SpringBoot 多模块构建示例</description>
    <modelVersion>4.0.0</modelVersion>
    <name>boot-polymer</name>
    <packaging>pom</packaging>

    <!-- 项目说明:这里作为聚合工程的父工程 -->
    <groupId>com.polymer</groupId>
    <artifactId>boot-polymer</artifactId>
    <version>1.0.0.RELEASE</version>

    <!-- 继承说明:这里继承SpringBoot提供的父工程 -->
    <parent>
        <groupId>org.springframework.boot</groupId>
        <artifactId>spring-boot-starter-parent</artifactId>
        <version>2.1.2.RELEASE</version>
        <relativePath /> <!-- lookup parent from repository -->
    </parent>

    <!-- 模块说明:这里声明多个子模块 -->
    <modules>
        <module>boot-polymer-web</module>
        <module>boot-polymer-service</module>
        <module>boot-polymer-repository</module>
        <module>boot-polymer-entity</module>
        <module>boot-polymer-common</module>
    </modules>

    <properties>
        <java.version>1.8</java.version>
    </properties>

    <dependencyManagement>
        <dependencies>
            <dependency>
                <groupId>com.polymerization</groupId>
                <artifactId>boot-polymer-web</artifactId>
                <version>1.0.0.RELEASE</version>
            </dependency>
            <dependency>
                <groupId>com.polymerization</groupId>
                <artifactId>boot-polymer-service</artifactId>
                <version>1.0.0.RELEASE</version>
            </dependency>
            <dependency>
                <groupId>com.polymerization</groupId>
                <artifactId>boot-polymer-repository</artifactId>
                <version>1.0.0.RELEASE</version>
            </dependency>
            <dependency>
                <groupId>com.polymerization</groupId>
                <artifactId>boot-polymer-entity</artifactId>
                <version>1.0.0.RELEASE</version>
            </dependency>
            <dependency>
                <groupId>com.polymerization</groupId>
                <artifactId>boot-polymer-common</artifactId>
                <version>1.0.0.RELEASE</version>
            </dependency>
        </dependencies>
    </dependencyManagement>


</project>
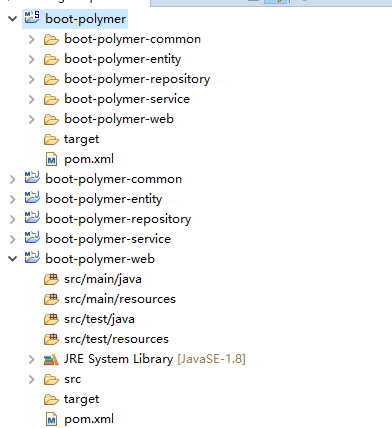
第三步;创建子工程
右击父工程->new ->maven module->创建选择jar->全部创建jar包工程,别创建war包否则你就别用springboot,不要问为什么
第四步:测试工程是否能启动
首先在boot-polymer-web工程添加pom配置
<project xmlns="http://maven.apache.org/POM/4.0.0" xmlns:xsi="http://www.w3.org/2001/XMLSchema-instance"
    xsi:schemaLocation="http://maven.apache.org/POM/4.0.0 http://maven.apache.org/xsd/maven-4.0.0.xsd">
    <modelVersion>4.0.0</modelVersion>
    <parent>
        <groupId>com.polymer</groupId>
        <artifactId>boot-polymer</artifactId>
        <version>1.0.0.RELEASE</version>
    </parent>
    <artifactId>boot-polymer-web</artifactId>

    <dependencies>
        <dependency>
            <groupId>com.polymer</groupId>
            <artifactId>boot-polymer-service</artifactId>
        </dependency>
        <dependency>
            <groupId>com.polymer</groupId>
            <artifactId>boot-polymer-repository</artifactId>
        </dependency>
        <dependency>
            <groupId>com.polymer</groupId>
            <artifactId>boot-polymer-entity</artifactId>
        </dependency>
        <dependency>
            <groupId>com.polymer</groupId>
            <artifactId>boot-polymer-common</artifactId>
        </dependency>
        <dependency>
            <groupId>org.springframework.boot</groupId>
            <artifactId>spring-boot-starter-web</artifactId>
        </dependency>
        <dependency>
            <groupId>org.springframework.boot</groupId>
            <artifactId>spring-boot-starter-test</artifactId>
            <scope>test</scope>
        </dependency>
    </dependencies>
</project>
然后再web项目下新建一个启动类:
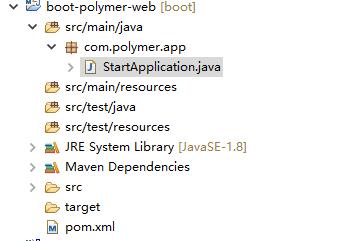
package com.polymer.app;
import org.springframework.boot.SpringApplication;
import org.springframework.boot.autoconfigure.SpringBootApplication;
import org.springframework.web.bind.annotation.RequestMapping;
import org.springframework.web.bind.annotation.RestController;
import org.springframework.web.servlet.config.annotation.ResourceHandlerRegistry;


@RestController
@SpringBootApplication //Spring Boot核心注解,用于开启自动配置
public class StartApplication {
//程序可以直接在此启动
    @RequestMapping("/")
    String index(){
      return "ok";
    }

    public static void main(String[] args) {
        SpringApplication.run(StartApplication.class, args);
    }

    public void addResourceHandlers(ResourceHandlerRegistry registry) {
        //配置静态资源处理
        registry.addResourceHandler("/**")
        .addResourceLocations("classpath:/META-INF/")
        .addResourceLocations("classpath:/hospitalpay");
    }
}
然后run as application——》
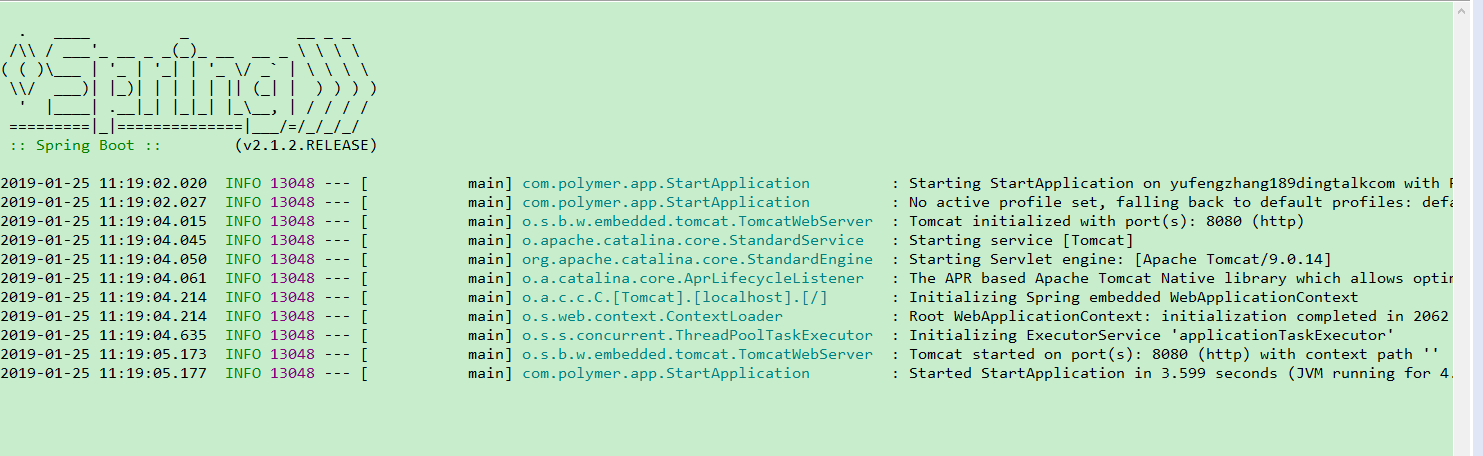
看到这个就表示启动成功了;然后再去访问一下
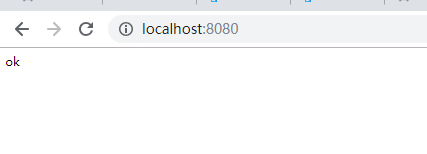
成功了;