在官网下载thingsboard和tb-gateway
需要安装java8
thingsboard服务安装
https://thingsboard.io/docs/user-guide/install/windows/
把thingsboard-windows-1.4.zip解压到C盘
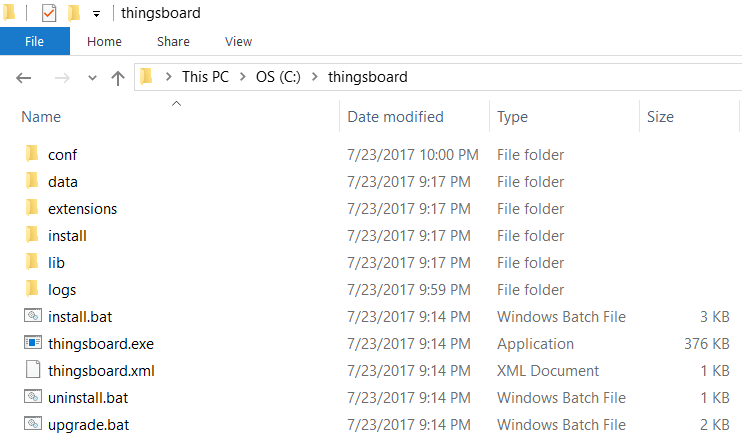
在这个文件夹打开管理员模式cmd 输入
install.bat
安装服务,成功后提示
  C:	hingsboard>install.bat --loadDemo
  Detecting Java version installed.
  Detecting if it is 64 bit machine
  CurrentVersion
  Detecting if it is 32 bit machine
  CurrentVersion 1.8
  Java 1.8 found!
  Installing thingsboard ...
   ===================================================
   :: ThingsBoard ::       (v1.4)
   ===================================================

  Starting ThingsBoard Installation...
  Installing DataBase schema...
  Installing Cassandra DataBase schema...
  Loading system data...
  Installation finished successfully!
  2017-07-23 21:47:12,079 INFO  - Starting ServiceWrapper in the CLI mode
  2017-07-23 21:47:12,317 INFO  - Completed. Exit code is 0
  ThingsBoard installed successfully!
tb-gateway服务安装
https://thingsboard.io/docs/iot-gateway/install/windows/
下载tb-gateway-windows-1.2.1.zip解压到c盘
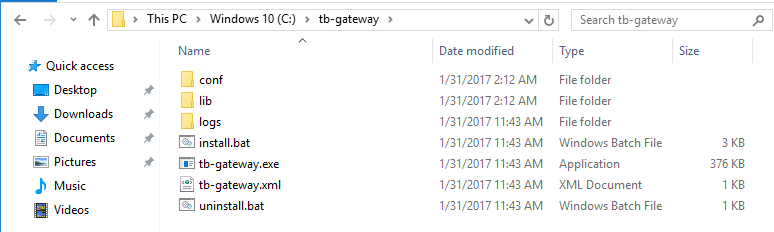
输入
install.bat
出现下文就安装成功
C:	b-gateway>install.bat
Detecting if it is 64-bit machine
CurrentVersion 1.8
Java 1.8 found!
Installing tb-gateway ...
2017-01-31 02:26:50,704 INFO  - Starting ServiceWrapper in the CLI mode
2017-01-31 02:26:50,907 INFO  - Completed. Exit code is 0
DONE.
启动服务
安装成功后启动thingsboard服务
net start thingsboard
如果需要重启thingsboard服务:
net stop thingsboard
net start thingsboard
启动服务后查看C: hingsboardlogs下的log,出现这些才算启动完成
2018-04-13 09:42:59,091 [main] INFO  o.s.b.c.e.t.TomcatEmbeddedServletContainer - Tomcat started on port(s): 8080 (http)
2018-04-13 09:42:59,108 [main] INFO  o.t.s.ThingsboardServerApplication - Started ThingsboardServerApplication in 54.39 seconds (JVM running for 56.581)
可能的错误:
2018-04-02 14:29:23,215 [main] ERROR o.t.s.s.c.rpc.ClusterGrpcService - Failed to start RPC server!
java.io.IOException: Failed to bind
原因是端口占用,删除占用端口的进程
netstat   -ano|findstr  9001
taskkill  /pid  4708  /f
使用ThingsBoard GUI进行后续工作
log提示thingsboard启动后可以打开网页 它的作用和live demo一样 只不过在本地
http://localhost:8080/先登录admin
sysadmin@thingsboard.org
sysadmin
在租户添加下面账号
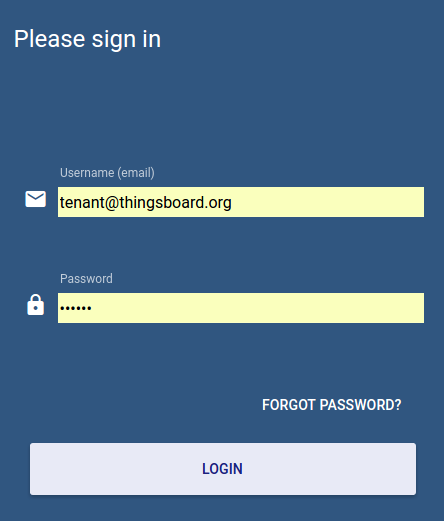
- Username: tenant@thingsboard.org
- Password: tenant
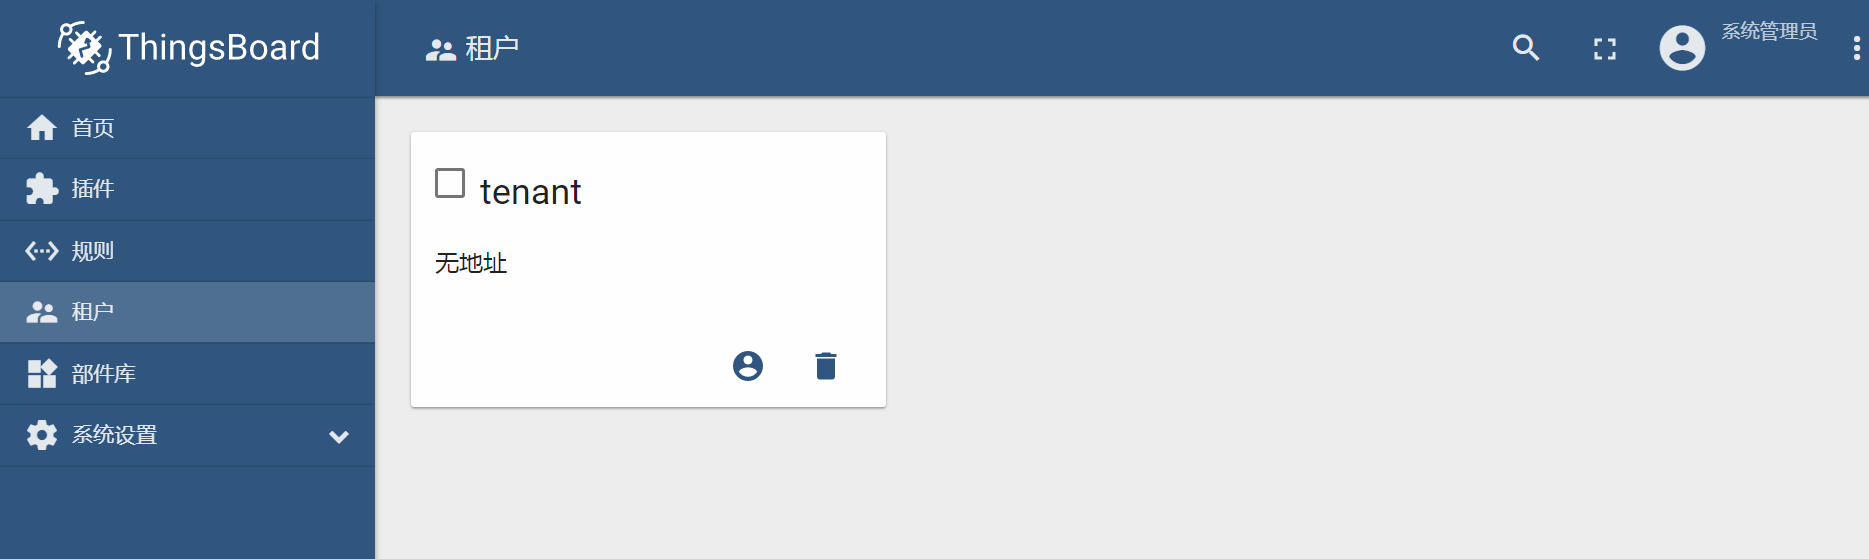
登录租户tenant,tenant可以管理设备,添加规则等
启动完thingsboard后可以启动tb-gateway
net start tb-gateway
启动成功:
YYYY-MM-DD HH:mm:ss,sss [main] INFO o.t.gateway.GatewayApplication - Started GatewayApplication in x.xxx seconds (JVM running for x.xxx)
装完服务后这两个服务会开机启动,如果log提示有问题只能一个个重启,先重启thingsboard再重启tb-gateway
net stop thingsboard
net start thingsboard

net stop tb-gateway
net start tb-gateway
如果要在本地启动,修改 tb-gateway.yml,不然yml写的是live demo的配置,之后再启动tb-gateway
live demo 网址,需注册
https://demo.thingsboard.io/signup
IoT Gateway Configuration
Change gateway.connection.host and gateway.connection.port properties to your ThingsBoard host (leave without modifications in case of live demo instance).
Change gateway.connection.security.accessToken property to your access token that was copied during step 3.
原来的配置:
gateway:
  reporting:
    interval: 60000
  persistence:
    type: file
    path: storage
    bufferSize: 1000
  connection:
    host: "demo.thingsboard.io"
    port: 1883
    retryInterval: 3000
    maxInFlight: 1000
    security:
      accessToken: your_token
#      keystore: mqttclient.jks
#      keystorePassword: password
#      keystoreKeyAlias: clientalias
#      truststore: mqttclient.jks
#      truststorePassword: password

opc:
  enabled: false
  configuration: opc-config.json

mqtt:
  enabled: false
  configuration: mqtt-config.json

sigfox:
  enabled: false
  configuration: sigfox-config.json

server:
  # Server bind address
  address: "0.0.0.0"
  # Server bind port
  port: "9090"

# Check new version updates parameters
updates:
  # Enable/disable updates checking.
  enabled: "${UPDATES_ENABLED:true}"
本地使用,修改了host 和accessToken :
如果要通过ThingsBoard GUI设置ThingsBoard Gateway, remoteConfiguration在tb-gateway.yaml必须设置为true:
gateway:
  tenants:
      label: "Tenant"
      # Some configuration omitted
      remoteConfiguration: true
  reporting:
    interval: 60000
  persistence:
    type: file
    path: storage
    bufferSize: 1000
  connection:
    host: "localhost"
    port: 1883
    retryInterval: 3000
    maxInFlight: 1000
    security:
      accessToken: "6BW88NMt0nbsfVefQsGc"
#      keystore: mqttclient.jks
#      keystorePassword: password
#      keystoreKeyAlias: clientalias
#      truststore: mqttclient.jks
#      truststorePassword: password


opc:
  enabled: false
  configuration: opc-config.json

mqtt:
  enabled: false
  configuration: mqtt-config.json

sigfox:
  enabled: false
  configuration: sigfox-config.json

server:
  # Server bind address
  address: "0.0.0.0"
  # Server bind port
  port: "9090"

# Check new version updates parameters
updates:
  # Enable/disable updates checking.
  enabled: "${UPDATES_ENABLED:true}"
remoteConfiguration官方例子:
gateways:
  tenants:
    -
      label: "Tenant"
      # Some configuration omitted
      remoteConfiguration: true
If remoteConfiguration is set to false, GUI configuration will not take effect and ThingsBoard Gateway will look for configuration in config files.
获得Gateway的Access Token
在租户账号下:
In order to connect your IoT gateway to ThingsBoard server, you need to provision gateway credentials first. We will use access token credentials as the most simple one. See device authentication options for more details.
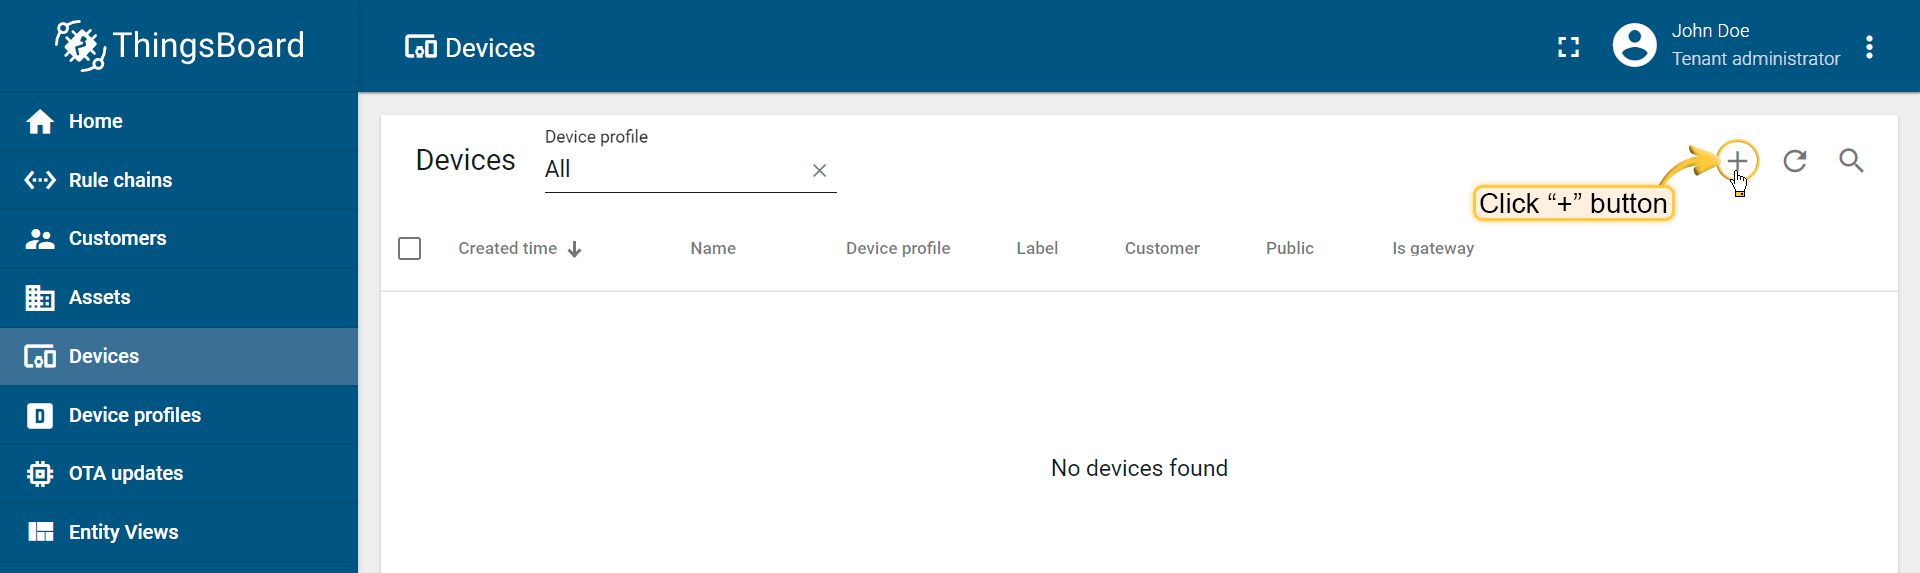
新建设备
Login as tenant administrator. Use default credentials in case of local ThingsBoard server. Open Devices and click on big red “+” button in the bottom right corner.
Populate your gateway name and select “Is gateway” checkbox.
设置为网关
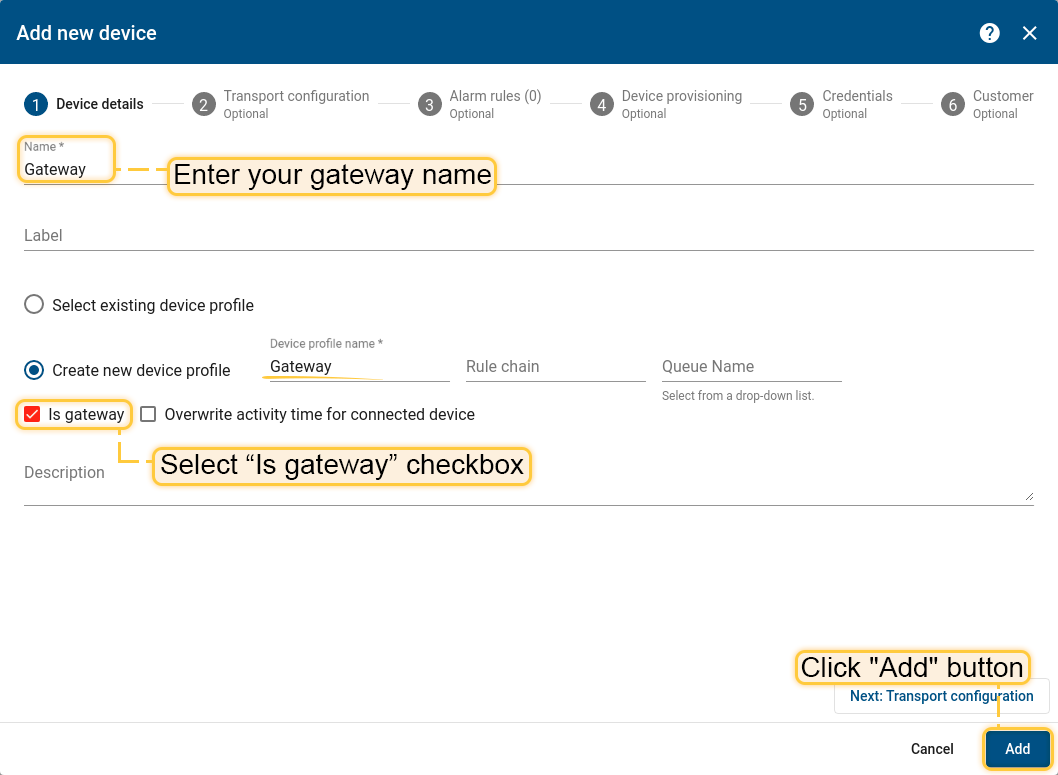
NOTE: Gateway and device names should be unique in the scope of a tenant.
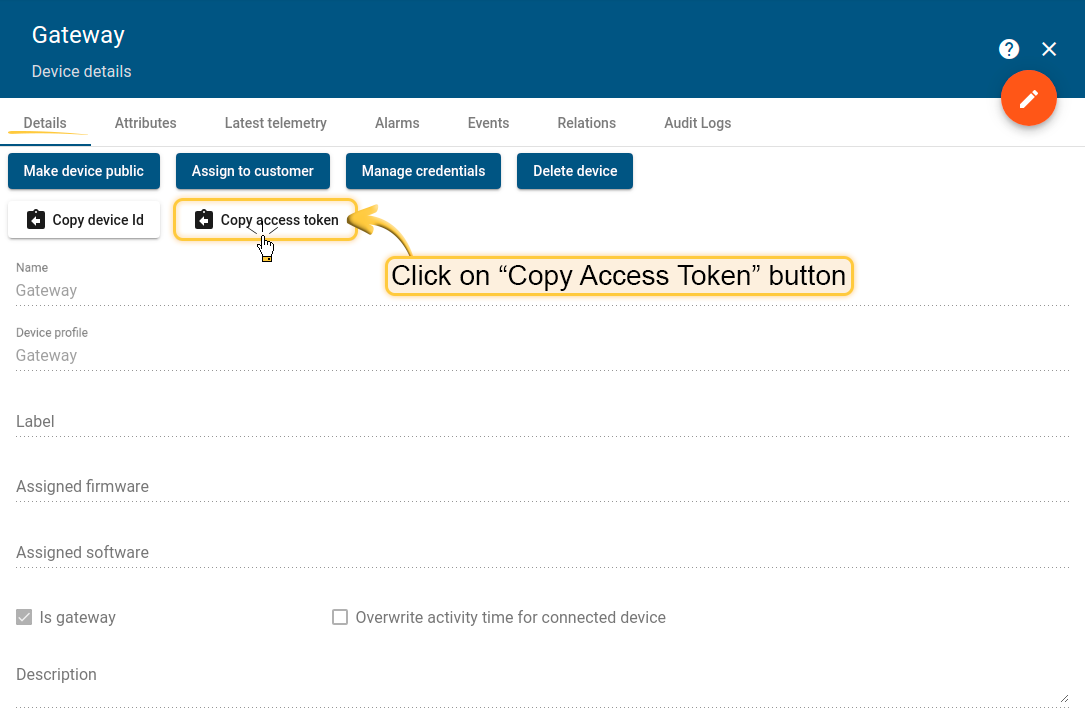
Open new device card and click on “Copy Access Token” button.
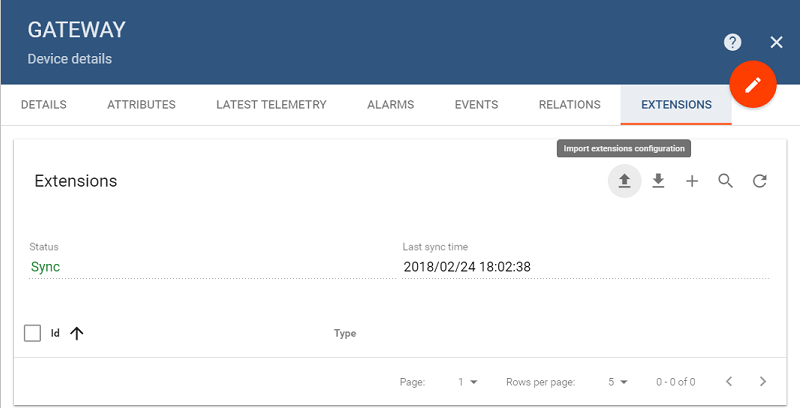
查看gateway设备详情,复制 Access Token
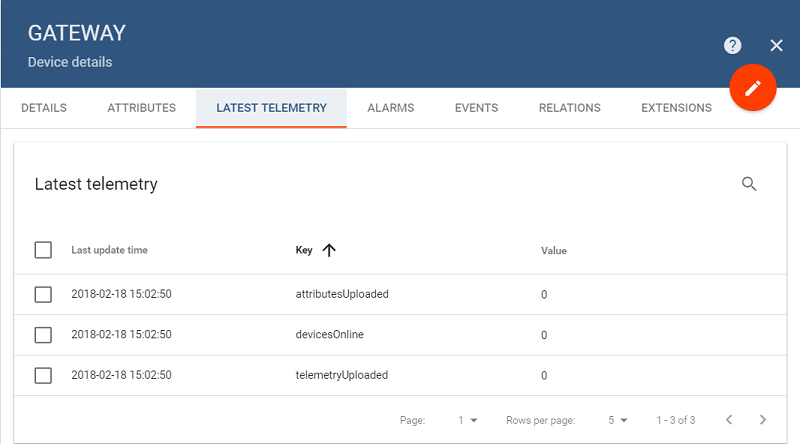
如果gateway和thingsboard连上gateway设备的last elementry会出现“devicesOnline”, “attributesUploaded” and “telemetryUploaded”.:
Open the web UI of your ThingsBoard server and review statistics that is uploaded from your thingsboard gateway. Login as Tenant Administrator and open Devices page. Click on the gateway device card. Open “Latest Telemetry” tab and review following statistics: “devicesOnline”, “attributesUploaded” and “telemetryUploaded”. All values should be set to “0”.
使用GateWay连接到MQTT broker
https://thingsboard.io/docs/iot-gateway/getting-started/#step-8-connect-to-external-mqtt-broker
首先下载安装Mosquitto MQTT broker
有两种配置方式,一种是通过file configuration,一种是在ThingsBoard GUI
tb-gateway.yaml配置文件需要注意:
file configuration:remoteConfiguration:false
ThingsBoard GUI:remoteConfiguration:ture
同时如果用file启动要修改配置文件mqtt-config.json,且tb-gateway.yaml应该修改
mqtt:
  enabled: true
  configuration: mqtt-config.json
官方的配置不管怎么做都无法做到status出现sync希望会的人告知(不管是mqtt还是opcua)
不需要网关Sync连接MQTT并建立dashboard:
救命视频:Creating an MQTT (IOT) Dashboard Using Thingsboard
https://www.youtube.com/watch?v=eqbTNXf2m7s
视频中的代码
http://www.steves-internet-guide.com/thingsboard-mqtt-dashboard/
用kafka plugin发送数据到kafka
Kafka plugin is responsible for sending messages to Kafka brokers triggered by specific rules
https://thingsboard.io/docs/reference/plugins/kafka/
需要注意的最后发送数据他写错了,引号写的不对,应该是
mosquitto_pub -d -h "localhost" -p 1883 -t "v1/devices/me/telemetry" -u "1EU6SlQetuBTC4I5a0bk" -m "{'temp':73.4}"
这里1883是tb-gateway的端口,mqtt和它本来是同一个端口,我修改了mqtt的端口
v1/devices/me/telemetry是固定的语句
1EU6SlQetuBTC4I5a0bk是accesstoken
关键点是把数据发送到特定access token,这样有这个access token的device就可以读取发送的数据
Kafka Plugin Action 没试过
This component allows creating a kafka message by substitution of device attributes and message data into configurable templates.
https://thingsboard.io/docs/reference/actions/kafka-plugin-action/
thingsboard拜拜喽