一直用百度的ueditor,可是阿里云这种"wo chuo"的云上部署的beego做的服务,总是出现ueditor.all.min.js语法错误,清理浏览器缓存后又会好起来。本地调试也没问题。反复无常。
用froala也是因为体验了官方的demo,带图片的word直接粘贴,不像ueditor那样需要word图片转存。
还有就是少了好多配置。什么ueditor.config.js,config.json,还有什么// 服务器统一请求接口路径URL +, serverUrl: "/controller",光写这个controller就折腾你了,因为golang语言它官方不提供啊。
开始以为froala也像ueditor那样,有语言上的障碍,用后果然如别人说的,跟语言毫无关系,只有一个上传图片的服务就好了。
所以,早点脱离苦海吧。
1.上传图片
网络上都是写这个的,我开始纳闷,难道这个编辑器只有这个吗?用了后确实,就只要这个有了,然后,就没有了,不用其他的了。
配置里:
<script>
    // $(function(){
    //   $('#edit').froalaEditor()
    // });
$(function (){
  //超大屏幕
  var toolbarButtons   = ['fullscreen', 'bold', 'italic', 'underline', 'strikeThrough', 'subscript', 'superscript', 'fontFamily', 'fontSize', '|', 'color', 'emoticons', 'inlineStyle', 'paragraphStyle', '|', 'paragraphFormat', 'align', 'formatOL', 'formatUL', 'outdent', 'indent', 'quote', 'insertHR', '-', 'insertLink', 'insertImage', 'insertVideo', 'insertFile', 'insertTable', 'undo', 'redo', 'clearFormatting', 'selectAll', 'html'];
  //大屏幕
  var toolbarButtonsMD = ['fullscreen', 'bold', 'italic', 'underline', 'fontFamily', 'fontSize', 'color', 'paragraphStyle', 'paragraphFormat', 'align', 'formatOL', 'formatUL', 'outdent', 'indent', 'quote', 'insertHR', 'insertLink', 'insertImage', 'insertVideo', 'insertFile', 'insertTable', 'undo', 'redo', 'clearFormatting'];
  //小屏幕
  var toolbarButtonsSM = ['fullscreen', 'bold', 'italic', 'underline', 'fontFamily', 'fontSize', 'insertLink', 'insertImage', 'insertTable', 'undo', 'redo'];
  //手机
  var toolbarButtonsXS = ['bold', 'italic', 'fontFamily', 'fontSize', 'undo', 'redo'];
  var pid = $('#pid').val();
  //编辑器初始化并赋值
  $('#edit').froalaEditor({
      placeholderText: '请输入内容',
      charCounterCount       : true,//默认
      // charCounterMax         : -1,//默认
      saveInterval            : 0,//不自动保存,默认10000
      // theme                    : "red",
      height                   : "300px",
      toolbarBottom           : false,//默认
      toolbarButtonsMD        : toolbarButtonsMD,
      toolbarButtonsSM        : toolbarButtonsSM,
      toolbarButtonsXS        : toolbarButtonsXS,
      toolbarInline           : false,//true选中设置样式,默认false
      imageUploadMethod       : 'POST',
      heightMin: 450,
      charCounterMax: 3000,
      // imageUploadURL: "uploadImgEditor",
      imageParams: { postId: "123" },
      params: {
            acl: '01',
            AWSAccessKeyId: '02',
            policy: '03',
            signature: '04',
          },
      autosave: true,
      autosaveInterval: 2500,
      saveURL: 'hander/FroalaHandler.ashx',
      saveParams: { postId: '1'},
      spellcheck: false,
      imageUploadURL: '/uploadimg',//上传到本地服务器
      imageUploadParams: {pid: '{{.Id}}'},
      imageDeleteURL: 'lib/delete_image.php',//删除图片
      imagesLoadURL: 'lib/load_images.php',//管理图片
      enter: $.FroalaEditor.ENTER_BR,
      language: 'zh_cn',
      // toolbarButtons: ['bold', 'italic', 'underline', 'paragraphFormat', 'align','color','fontSize','insertImage','insertTable','undo', 'redo']
      });
    })
  </script>
其实只有一句重点,带参数的图片上传,如下
imageUploadURL: '/uploadimg',//上传到本地服务器
      imageUploadParams: {pid: '{{.Id}}'},
这样服务端就取到图片和pid参数了。
func (c *FroalaController) UploadImg() {
    //解析表单
    pid := c.Input().Get("pid")
    // beego.Info(pid)
    //pid转成64为
    pidNum, err := strconv.ParseInt(pid, 10, 64)
    if err != nil {
        beego.Error(err)
    }
    //根据proj的parentIdpath
    Url, DiskDirectory, err := GetUrlPath(pidNum)
    if err != nil {
        beego.Error(err)
    }
    beego.Info(DiskDirectory)
    //获取上传的文件
    _, h, err := c.GetFile("file")
    if err != nil {
        beego.Error(err)
    }
    // beego.Info(h.Filename)
    fileSuffix := path.Ext(h.Filename)
    // random_name
    newname := strconv.FormatInt(time.Now().UnixNano(), 10) + fileSuffix // + "_" + filename
    // err = ioutil.WriteFile(path1+newname+".jpg", ddd, 0666) //buffer输出到jpg文件中(不做处理,直接写到文件)
    // if err != nil {
    //     beego.Error(err)
    // }
    year, month, _ := time.Now().Date()
    err = os.MkdirAll(DiskDirectory+"\"+strconv.Itoa(year)+month.String()+"\", 0777) //..代表本当前exe文件目录的上级,.表示当前目录,没有.表示盘的根目录
    if err != nil {
        beego.Error(err)
    }
    var path string
    var filesize int64
    if h != nil {
        //保存附件
        path = DiskDirectory + "\" + strconv.Itoa(year) + month.String() + "\" + newname
        Url = "/" + Url + "/" + strconv.Itoa(year) + month.String() + "/"
        err = c.SaveToFile("file", path) //.Join("attachment", attachment)) //存文件    WaterMark(path)    //给文件加水印
        if err != nil {
            beego.Error(err)
        }
        filesize, _ = FileSize(path)
        filesize = filesize / 1000.0
        c.Data["json"] = map[string]interface{}{"state": "SUCCESS", "link": Url + newname, "title": "111", "original": "demo.jpg"}
        c.ServeJSON()
    } else {
        c.Data["json"] = map[string]interface{}{"state": "ERROR", "link": "", "title": "", "original": ""}
        c.ServeJSON()
    }
}
服务端返回{‘link’:图片的地址}就行了。
2.文章显示
官网有例子了。
<div class="fr-view">
              {{str2html .article.Content}}
            </div>
引入
<link rel="stylesheet" href="/static/froala/css/froala_style.css">
即可。比ueditor简单吧。
3.文章内容获得并提交服务端
function save2(){
var html = $('div#edit').froalaEditor('html.get');
$.ajax({
        type:"post",
url:"/project/product/addarticle",
        data: {content:html},
        success:function(data,status){
          alert("添加“"+data+"”成功!(status:"+status+".)");
        },
      });
用
var html = $('div#edit').froalaEditor('html.get');
就行了。
4.文章编辑
跟新建文章一样。
或者,如果是form表单提交,可能是按下列方法。官方的Textarea Editor例子不知道是不是想表达这个意思。
<div id="editor">
  <h3>编辑文章</h3>
  <form  method="post" action="/project/product/updatearticle" enctype="multipart/form-data">
      <label>文章内容:</label>
        <textarea id='edit' style="margin-top: 30px;" placeholder="Type some text">
          {{str2html .article.Content}}
        </textarea>
        <br />
      <button type="submit" class="btn btn-primary" style="float:right">提交修改</button>
  </form>
</div>
//编辑器初始化并赋值
  $('#edit')
  .on('froalaEditor.initialized', function (e, editor) {
        $('#edit').parents('form').on('submit', function () {
          // console.log($('#edit').val());
          var articleid = {{.article.Id}};
          var subtext = $('#subtext').val();
          $.ajax({
            type:"post",
            url:"/project/product/updatearticle",
            data: {aid:articleid,subtext:subtext,content:$('#edit').val()},
            success:function(data,status){
              alert("修改成功!");
              window.location.reload();//刷新页面
            },
          });
          // return false;
        })
      })
  .froalaEditor({
      // enter: $.FroalaEditor.ENTER_P,
      placeholderText: '请输入内容',
      charCounterCount       : true,//默认
      // charCounterMax         : -1,//默认
      saveInterval            : 0,//不自动保存,默认10000
      // theme                    : "red",
      height                   : "550px",
      toolbarBottom           : false,//默认
      toolbarButtonsMD        : toolbarButtonsMD,
      toolbarButtonsSM        : toolbarButtonsSM,
      toolbarButtonsXS        : toolbarButtonsXS,
      toolbarInline           : false,//true选中设置样式,默认false
      imageUploadMethod       : 'POST',
      heightMin: 450,
      charCounterMax: 3000,
      // imageUploadURL: "uploadImgEditor",
      imageParams: { postId: "123" },
      params: {
            acl: '01',
            AWSAccessKeyId: '02',
            policy: '03',
            signature: '04',
          },
      autosave: true,
      autosaveInterval: 2500,
      saveURL: 'hander/FroalaHandler.ashx',
      saveParams: { postId: '1'},
      spellcheck: false,
      imageUploadURL: '/uploadimg',//上传到本地服务器
      imageUploadParams: {pid: '{{.product.ProjectId}}'},
      imageDeleteURL: 'lib/delete_image.php',//删除图片
      imagesLoadURL: 'lib/load_images.php',//管理图片
      enter: $.FroalaEditor.ENTER_BR,
      language: 'zh_cn',
      // toolbarButtons: ['bold', 'italic', 'underline', 'paragraphFormat', 'align','color','fontSize','insertImage','insertTable','undo', 'redo']
      });
    })
5.官方例子直接下载看
在github上下载的包,直接用浏览器打开index.html
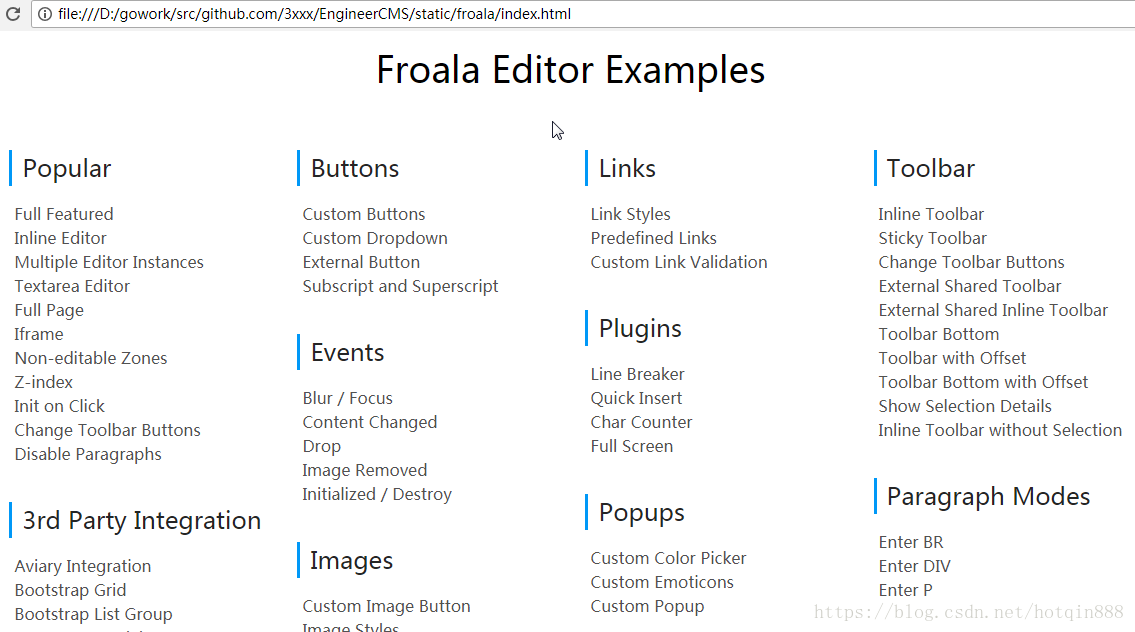
一切都在,不过关于参数传递还真没找到例子。