一、在eclipse中绘制流程图
1、右键包,新建,选择activiti:

2、选中下一步之后,输入流程文件名(注意:这个名称不是部署名称,部署名称在部署时指定):
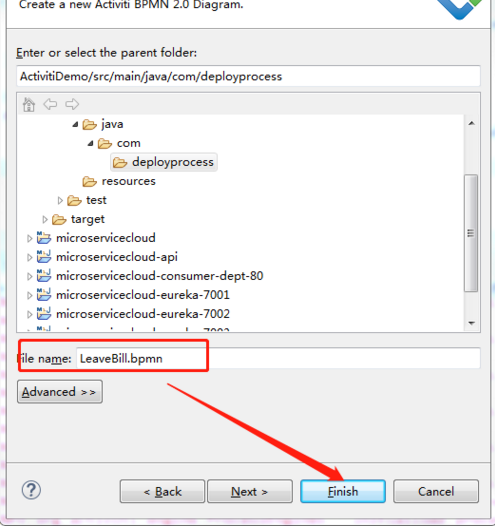
然后就可以开始绘制流程图了。
2.1.1 设置节点属性
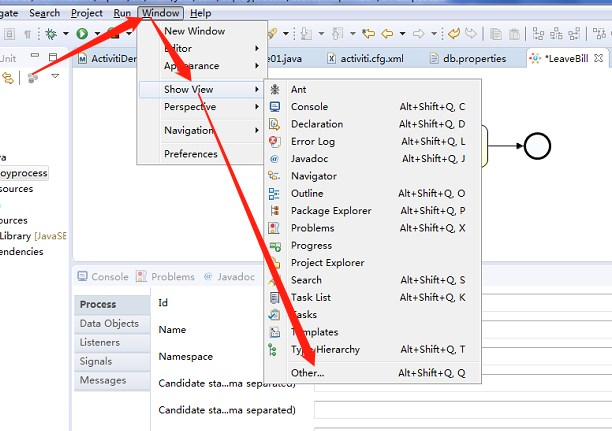
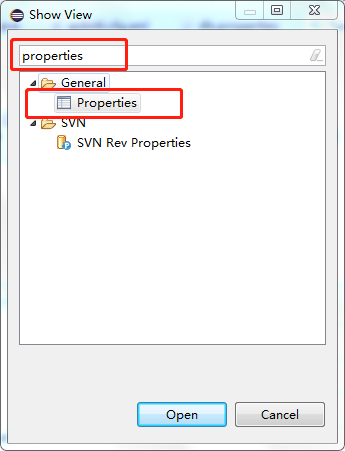
点击eclipse工具栏的window,show view,选择 Other...找到properties即可:
点击流程图的空白处,在properties中显示的id则为部署id(此处的ID也是流程定义表中的流程key),name则为部署name:
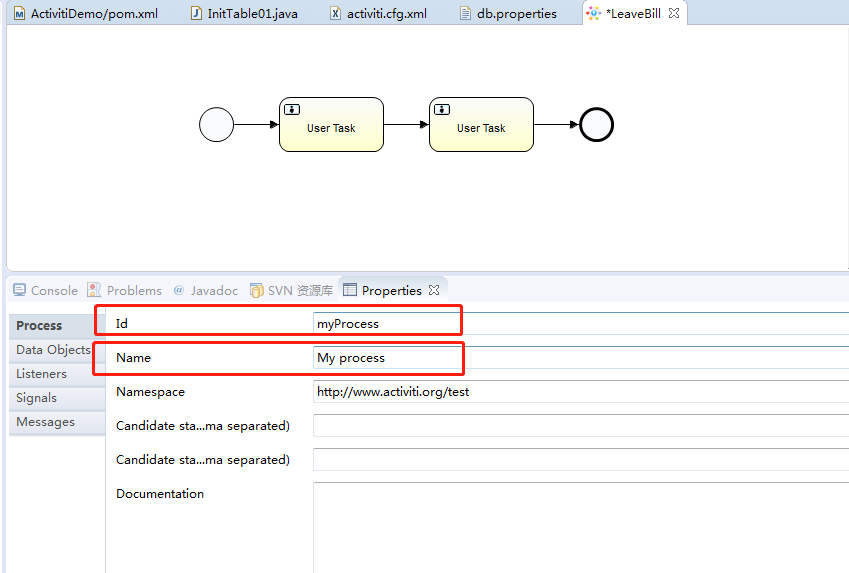
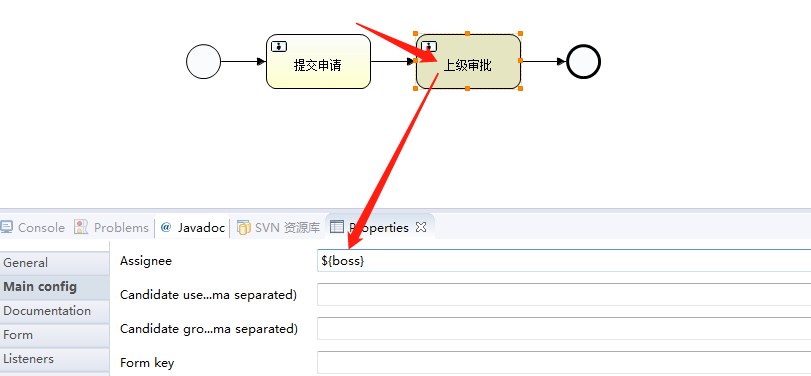
选中节点,即可设置节点属性(此处为任务节点),在main config中可以设置任务办理人,办理人可以直接指定,也可以使用表达式的方式指定,第二种方式要求在流程变量表中有此变量:
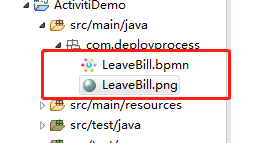
点击保存,包中多了两个文件,代表流程图已经画好了:
二、流程图的部署(存在路径问题未解决)
1、部署方式一:classpath方式进行部署
1.1首先需要获取流程引擎对象,再由流程引擎对象获取RepositoryService,由此对象进行流程的部署
public class DeployProcess {
ProcessEngine processEngine = ProcessEngines.getDefaultProcessEngine();
@Test
public void deploy1() {
RepositoryService repositoryService = processEngine.getRepositoryService();
Deployment deploy = repositoryService.createDeployment().name("请假流程")
.addClasspathResource("/LeaveBill.bpmn")
.addClasspathResource("/LeaveBill.png").deploy();
System.out.println("部署成功,部署ID为"+deploy.getId());
}
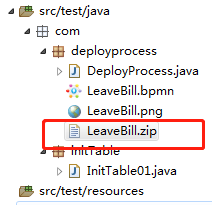
}2、部署方式二:zip包方式进行部(常用)
将流程图画好之后打包,复制到项目中:
创建部署方法:
部署时指定的name是部署表当中的name:
@Test
public void deploy2() {
InputStream inputStream = this.getClass().getResourceAsStream("LeaveBill.zip");
ZipInputStream zipInputStream = new ZipInputStream(inputStream);
RepositoryService repositoryService = processEngine.getRepositoryService();
Deployment deploy = repositoryService.createDeployment().name("请假流程")
.addZipInputStream(zipInputStream).deploy();
System.out.println("部署成功,部署ID为"+deploy.getId());
}
流程部署结束之后,就可以启动流程了。