1、Logstash与Redis的读写
1.1 Logstash 写入Redis
看完Logstash的输入,想必大家都清楚了Logstash的基本用法,那就是写配置文件。
output{
    {
        redis {
            host => ["127.0.0.1:6379"] #这个是标明redis服务的地址
            port => 6379
            codec => plain
            db => 0 #redis中的数据库,select的对象
            key => #redis中的键值
            data_type => list #一般就是list和channel
            password => 123456
            timeout => 5
            workers => 1
        }
    }
}
其他配置选项
reconnect_interval => 1 #重连时间间隔
batch => true  #通过发送一条rpush命令,存储一批的数据,默认为false,也就是1条rpush命令,存储1条数据。配置为true会根据一下两条规则缓存,满足其中之一时push。
batch_events => 50 #默认50条
batch_timeout => 5  #默认5s
# 拥塞保护(仅用于data_type为list)
congestion_interval => 1#每多长时间进行一次拥塞检查,默认1s,如果设为0,则表示对每rpush一个,都进行检测。
congestion_threshold => 0 #默认是0:表示禁用拥塞检测,当list中的数据量达到congestion_threshold,会阻塞直到有其他消费者消费list中的数据


1.2 补充,从redis中获取数据到Logstash
input {
	redis {
		codec => plain
		host => "127.0.0.1"
		port => 6379
		data_type => list
		key => "input"
		db => 1
	}
}
output{
	redis{
		codec => plain
		host => ["127.0.0.1:6379"]
		data_type => list
		key => logstash
	}
}

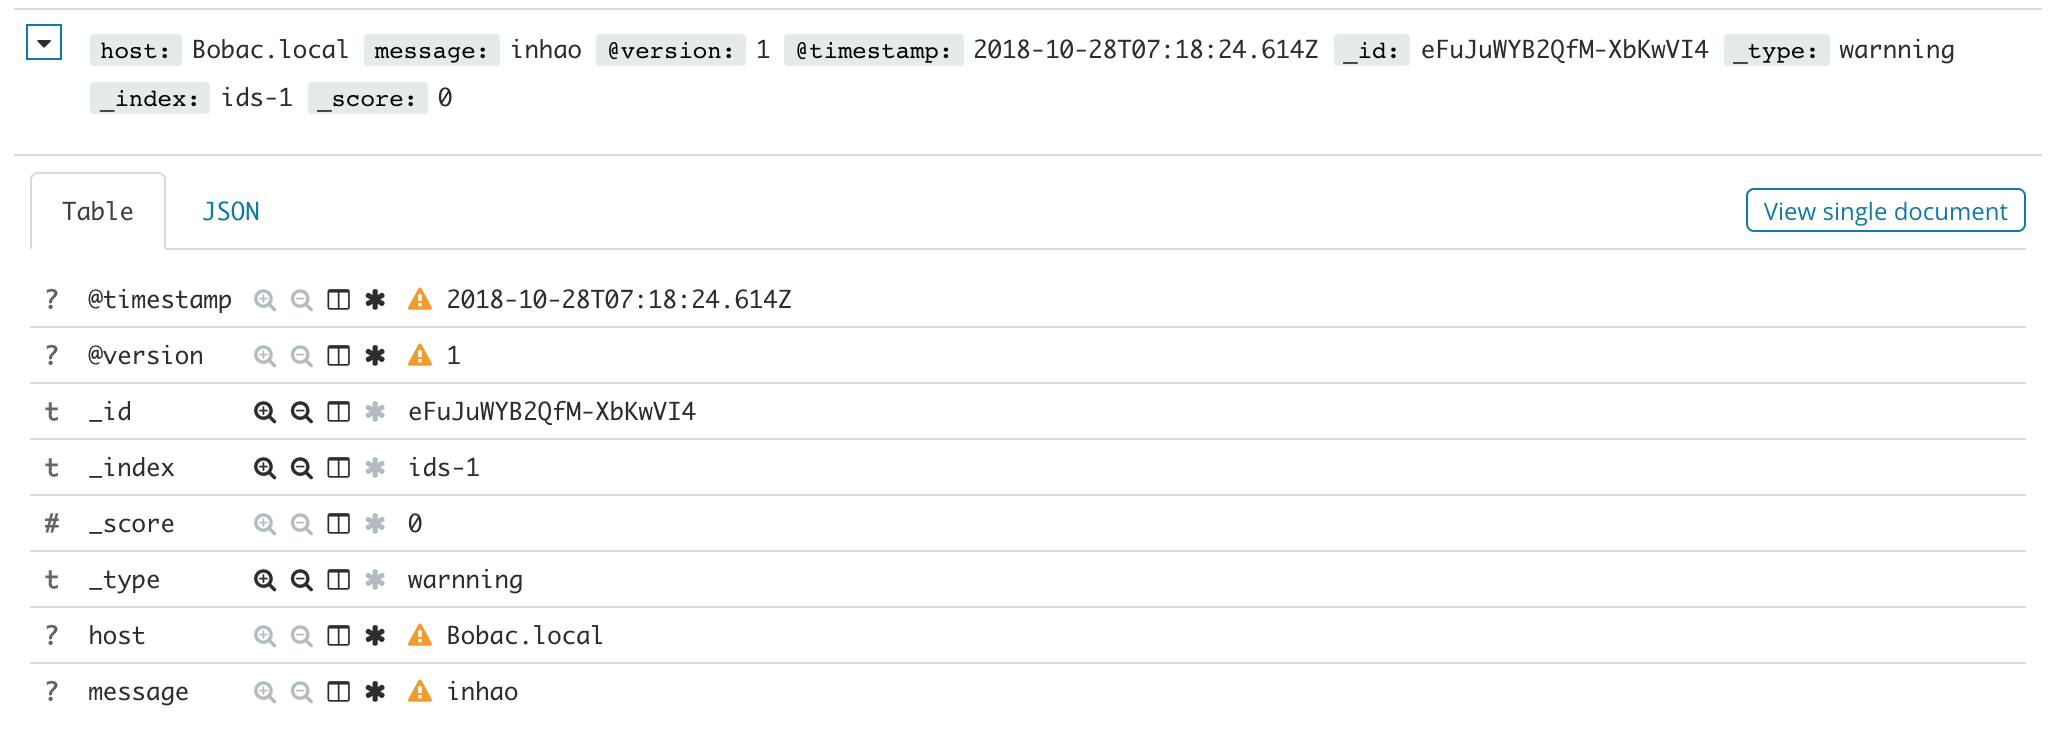
2、Logstash 写入Elasticsearch
output{
	 elasticsearch {
		hosts => ["http://127.0.0.1:9200"]
		index => "ids-1"
		document_type => warnning
	}
}


其他配置项
output {
    elasticsearch {
        hosts => ["127.0.0.1:9200"]  #elasticsearch的索引
        action => index #有几个动作,index,create,create、update
        cacert => /xxx #验证证书合法性
        codec => plain
        doc_as_upsert => false
        document_id => 1 #id号
        document_type => xxx #文档类型
        flush_size => 500 #满500刷磁盘
        idle_flush_time => 1 #满1s刷自盘
        index => logstash-%{+YYYY.MM.dd} #索引名字
        keystore => /xxx
        keystore_password => xxx
        manage_template => true
        max_retries => 3 #失败重连次数
        password => xxx
        path => /
        proxy => xxx
        retry_max_interval => 2
        sniffing => false
        sniffing_delay => 5
        ssl => false
        ssl_certificate_verification => true
        template => /xxx
        template_name => logstash
        template_overwrite => false
        timeout => 5  #超时
        user => xxx
        workers => 1
    }
}