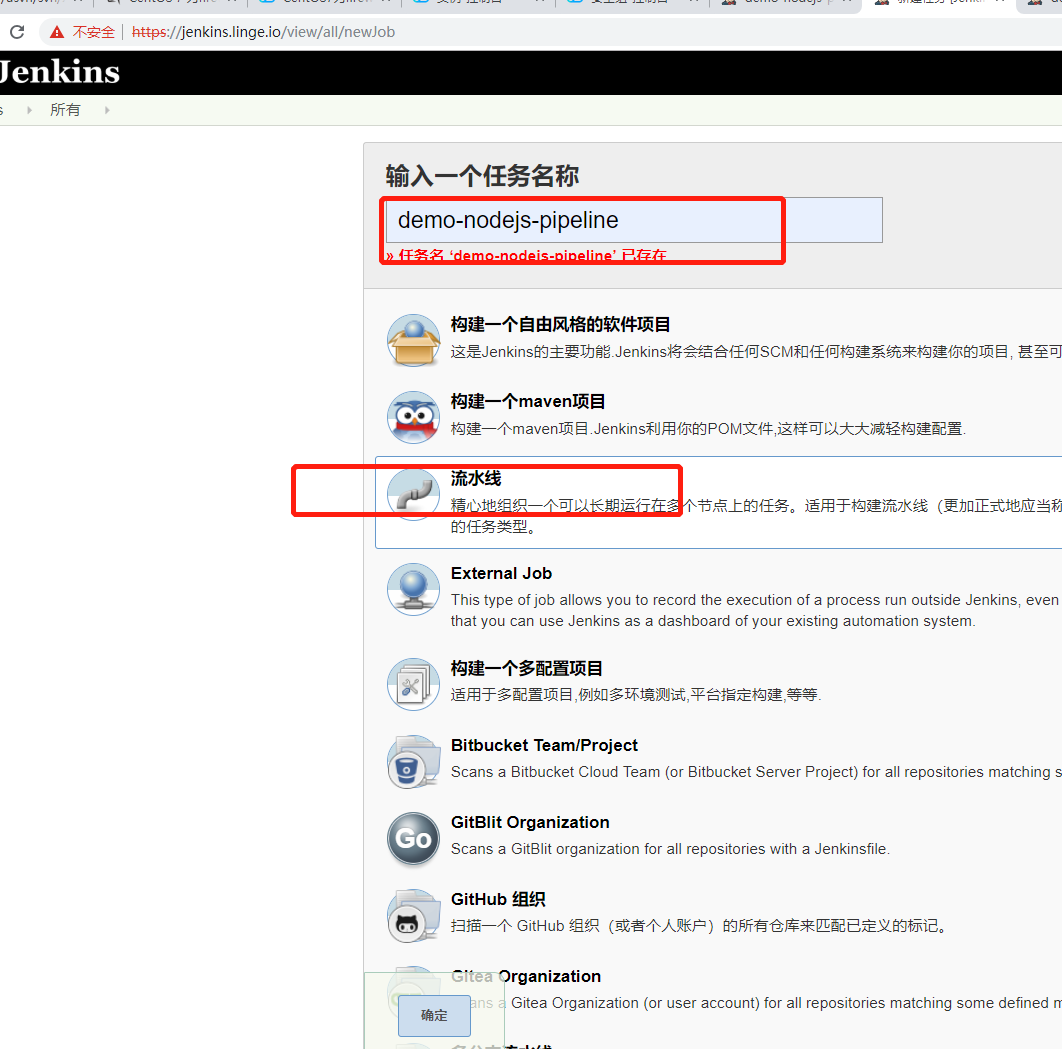
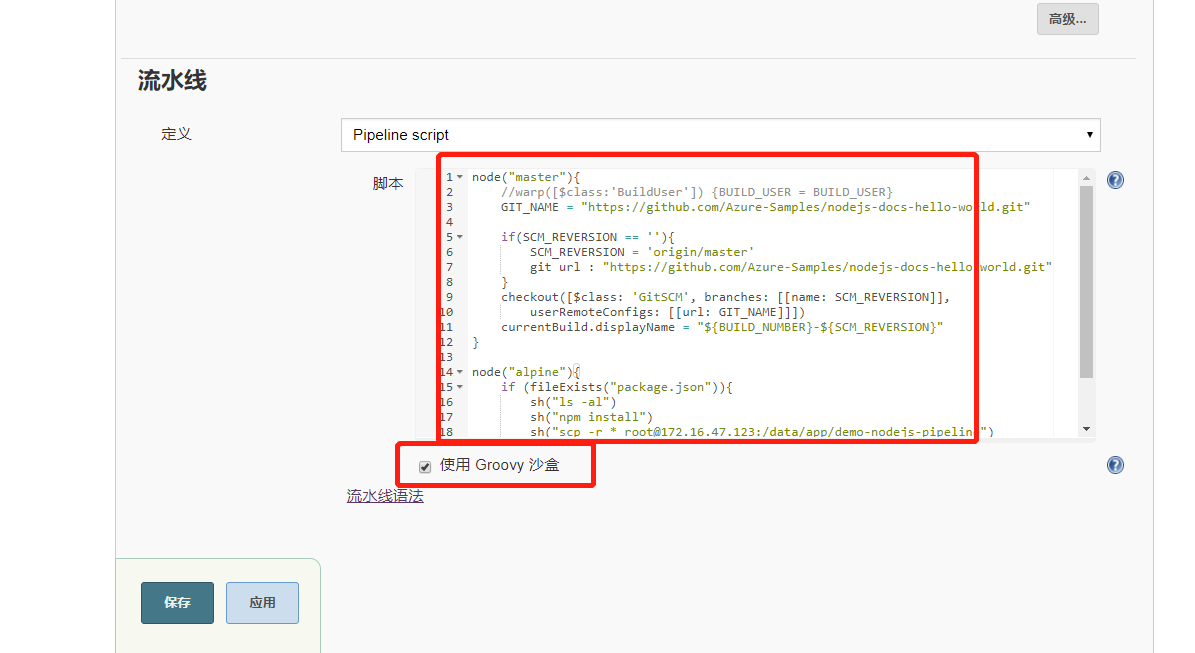
Step3 上图代码如下
node("master"){
    //warp([$class:'BuildUser']) {BUILD_USER = BUILD_USER}
    GIT_NAME = "https://github.com/Azure-Samples/nodejs-docs-hello-world.git"

    if(SCM_REVERSION == ''){
        SCM_REVERSION = 'origin/master'
        git url : "https://github.com/Azure-Samples/nodejs-docs-hello-world.git"
    }
    checkout([$class: 'GitSCM', branches: [[name: SCM_REVERSION]],
        userRemoteConfigs: [[url: GIT_NAME]]])
    currentBuild.displayName = "${BUILD_NUMBER}-${SCM_REVERSION}"
}

node("alpine"){
    if (fileExists("package.json")){
        sh("ls -al")
        sh("npm install")
        sh("scp -r * root@172.16.47.123:/data/app/demo-nodejs-pipeline")
    }else{
        error "File not found:package.json"
    }
}
node("master"){
// 默认上面的node使用就是master节点 所以可加 ("master")也可以不添加
//warp([$class:'BuildUser']) {BUILD_USER = BUILD_USER}
GIT_NAME = "https://github.com/Azure-Samples/nodejs-docs-hello-world.git"
// 定义git地址链接
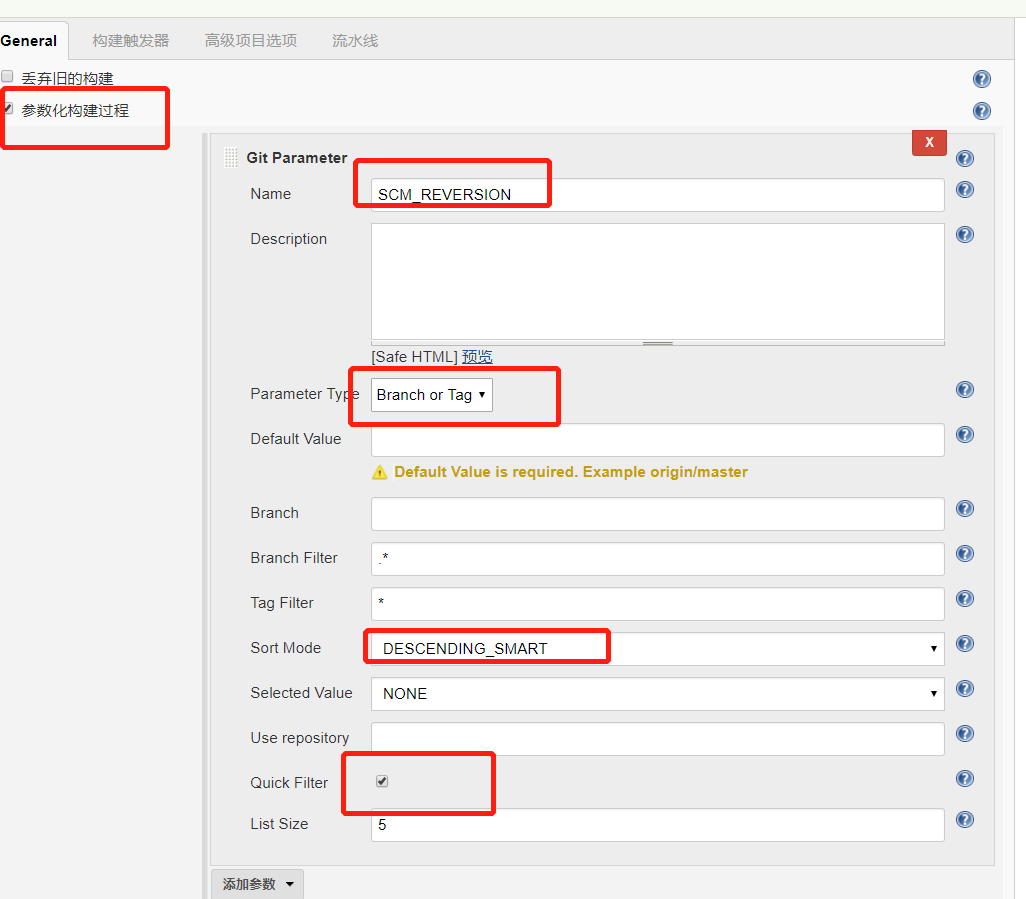
if(SCM_REVERSION == ''){
// 使用 git parameter 参数设置名字 然后下面进行构建的时候可以直接使用名称 分情况进行添加$SCM_REVERSION类型进行使用
SCM_REVERSION = 'origin/master'
//默认使用的 远程分支 因为上面使用的是开源的不需要输入密码的github地址
git url : "https://github.com/Azure-Samples/nodejs-docs-hello-world.git"
// 也可以在开头直接定义 GIT_NAME 之后上面直接使用 git url 进行继续定义使用
}
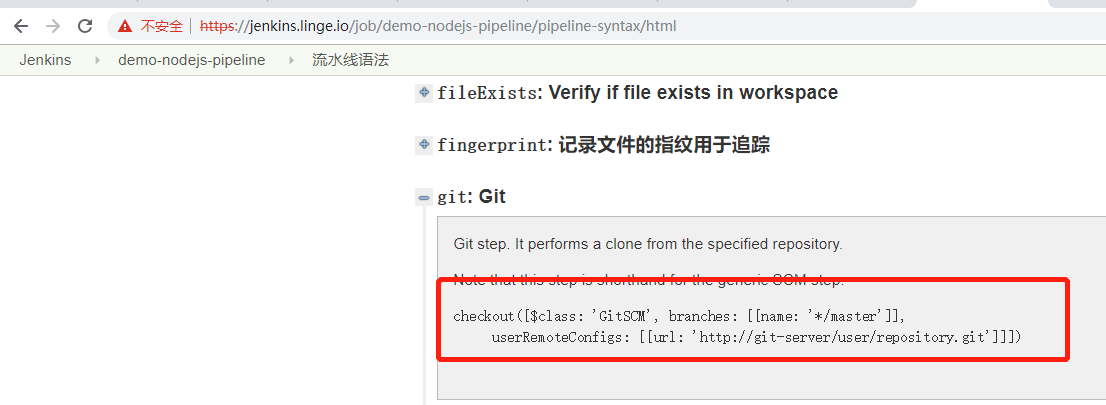
checkout([$class: 'GitSCM', branches: [[name: SCM_REVERSION]],
userRemoteConfigs: [[url: GIT_NAME]]])
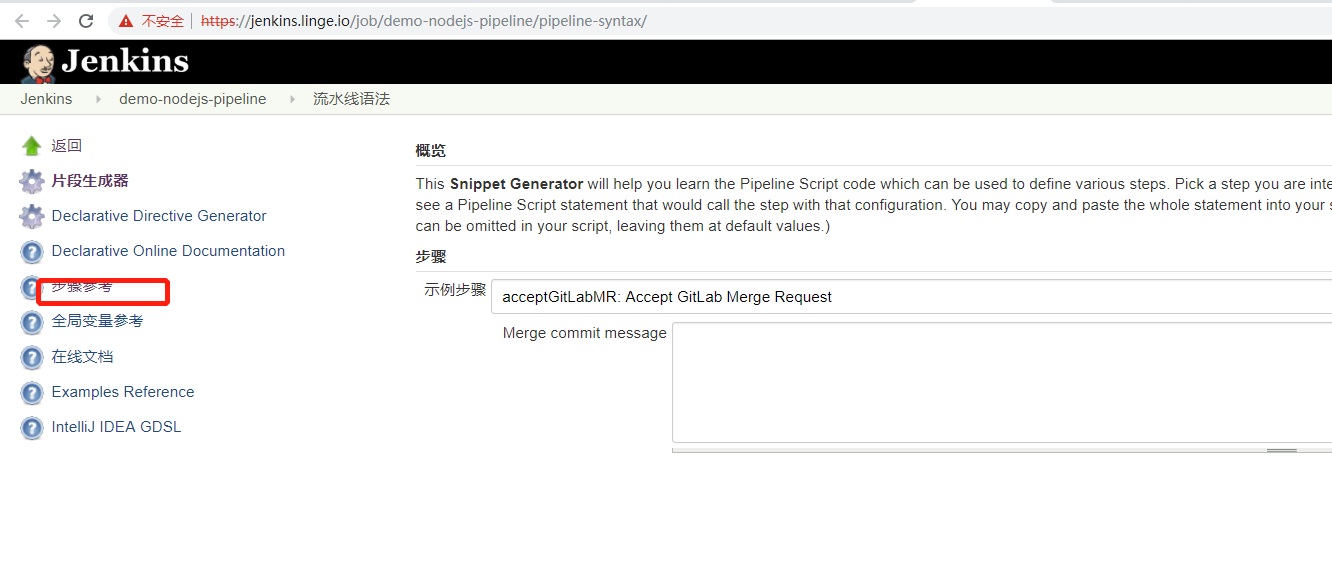
// 上面的语法是从pipeline语法中找到的 下面的图可以指导自己找到
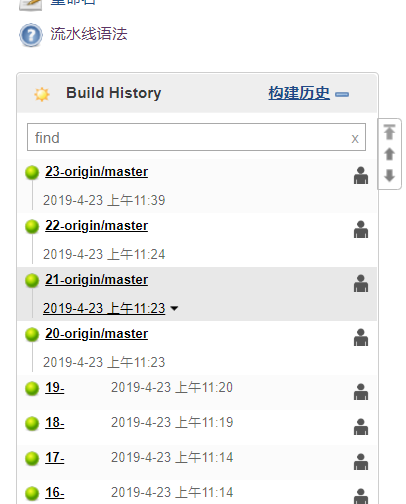
currentBuild.displayName = "${BUILD_NUMBER}-${SCM_REVERSION}"
// 上面定义的菜蔬可以去掉构建之后数字前面的#号 后面的参数可以直接拿到远程的分支是 主分支还是其它分支的类型 在构建完成之后 显示的更加清晰明了
}
node("alpine"){
// 上面git执行构建完成之后 定义哪个节点继续进行安装 使用 将代码进行发布
if (fileExists("package.json")){
// if进行判断 构建之后的任意一个新生成的文件是否已经存在了 然后继续进行发布 不然构建失败之后 也是直接发送给客户端了
sh("ls -al")
sh("npm install")
// 节点执行安装 构建之后需要安装的包
sh("scp -r * root@172.16.47.123:/data/app/demo-nodejs-pipeline")
// 将构建之后的内容递归发布到其它机器
}else{
error "File not found:package.json"
// 错误回复客户端
}
}